 |
 |
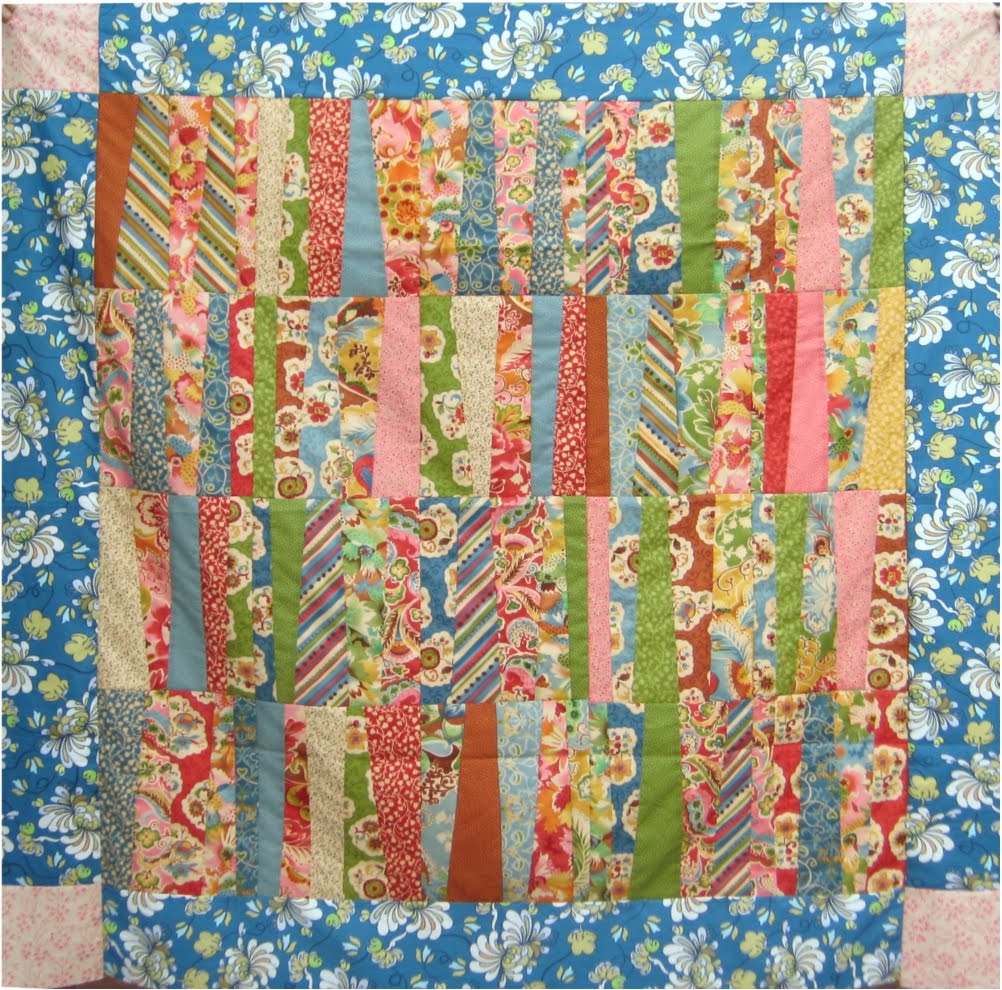
Don’t throw away your leftover fabric scraps! Instead, save them to make these unique patchwork fabric cards. By using baby shower or Christmas or Halloween, etc.-themed fabrics, you can easily customize these cards for a one-of-a-kind holiday or special occasion greeting card.
Materials:
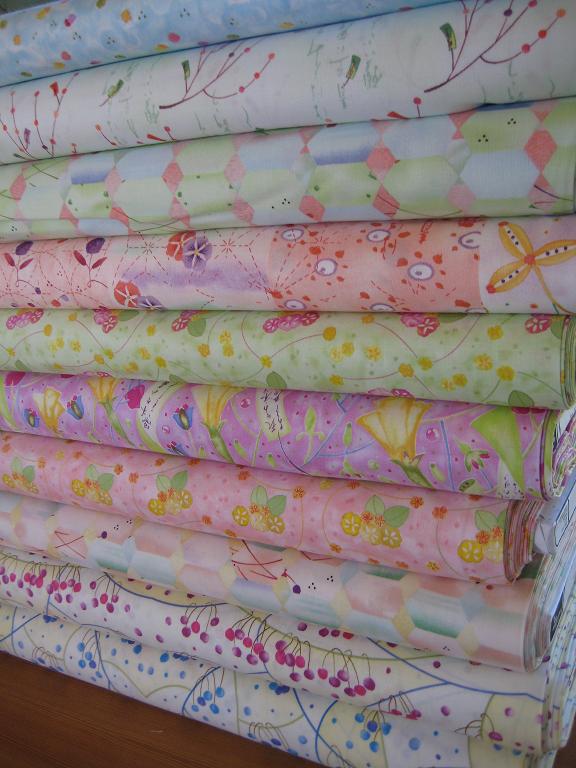
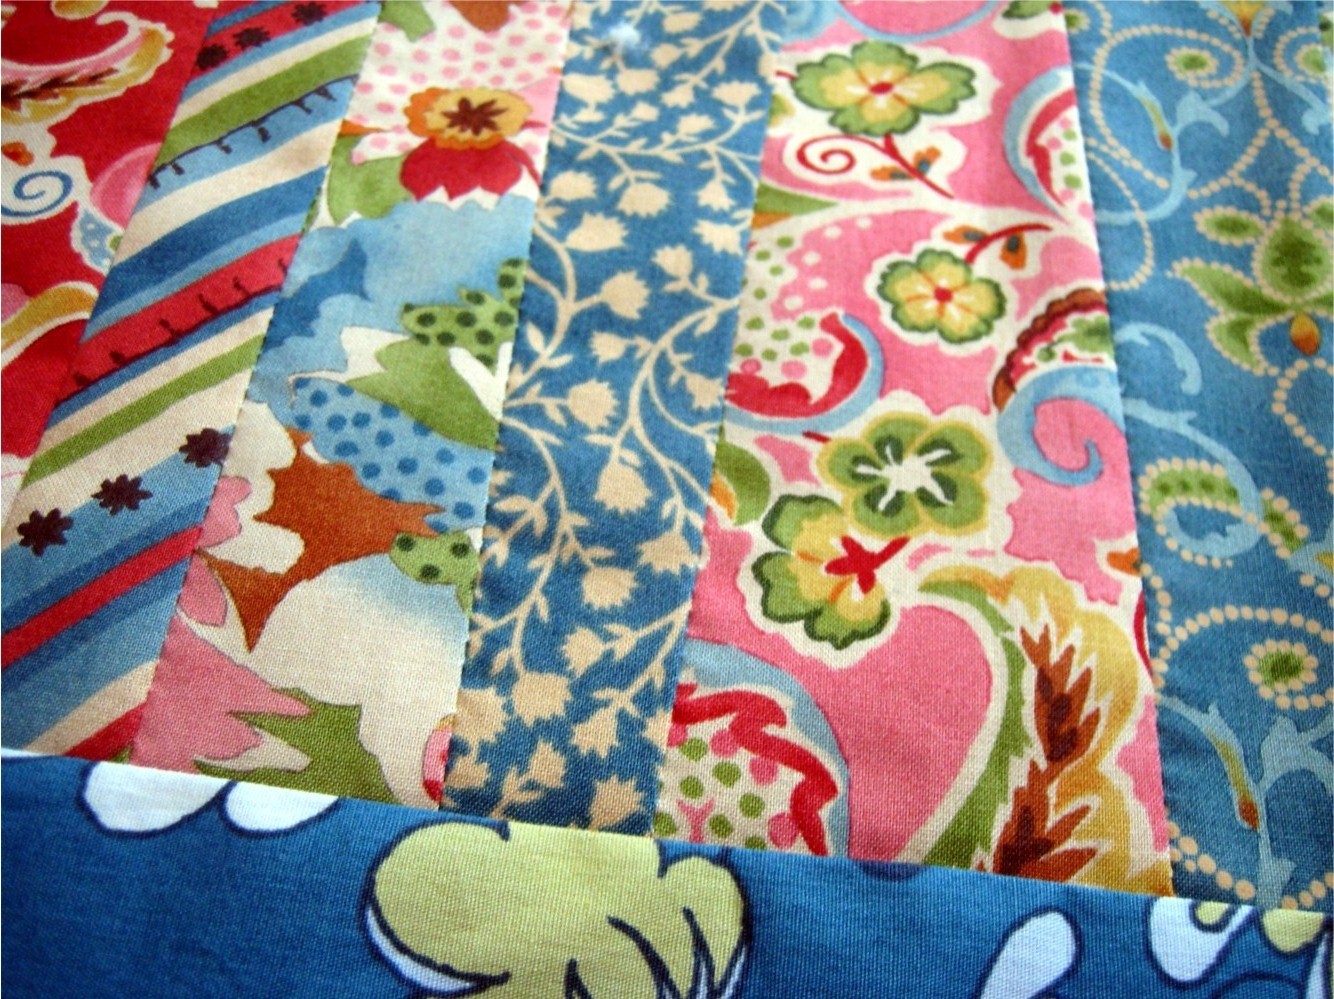
- Fabric scraps
- Plain cardstock (you can get this at your local crafts or paper store)
- Coordinating thread (I used white colored thread in the bobbin to match my cardstock)
Instructions:
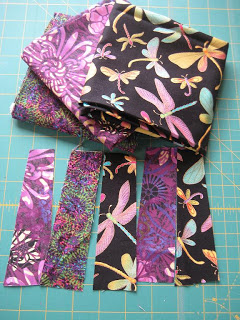
- Start by cutting your fabric scraps into random size strips. Make sure the strips are at least ½ an inch longer than the front of your cardstock. You will trim the extra fabric later (in step 4).
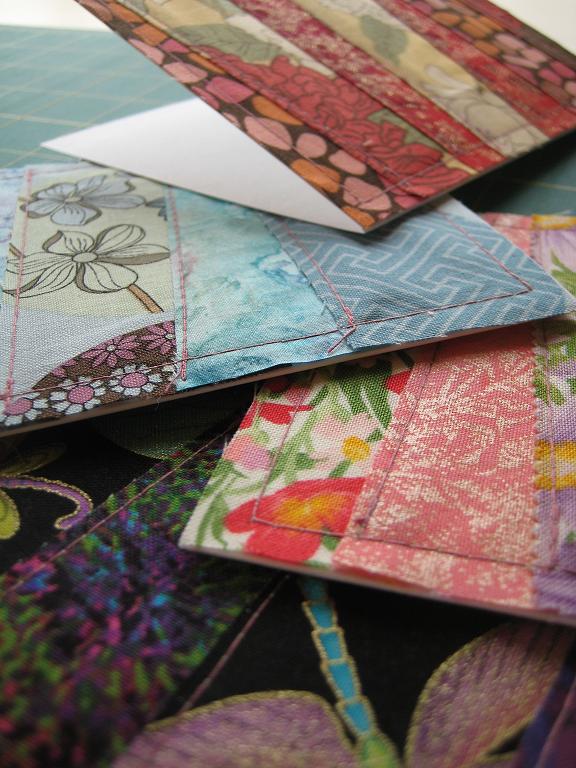
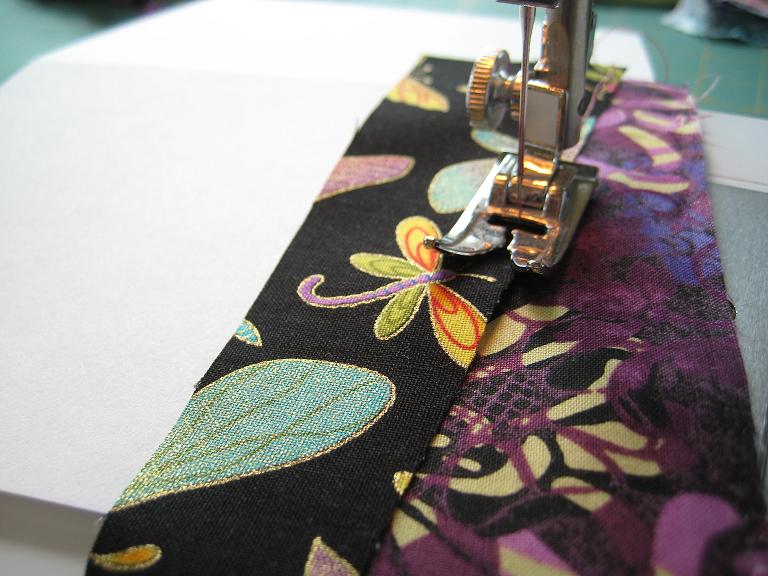
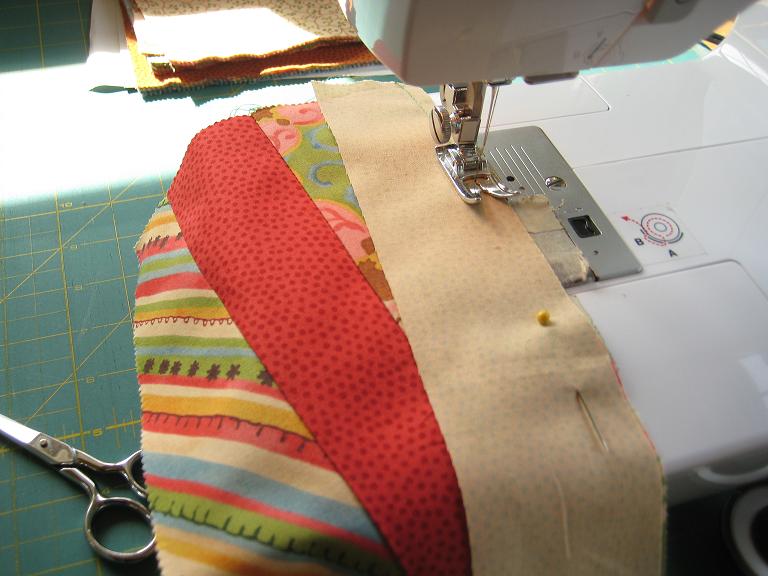
- Starting from the right end of the cardstock, place one strip of fabric on top of the front of the card. Take a second strip of fabric and place it to the left of the first strip, overlapping the first strip by at least ¼ inch (shown in figure 1). Next, sew along the edge of the second strip making sure to stitch through both layers of fabric (shown in figure 2). When you sew, start and end your stitch with a backstitch.
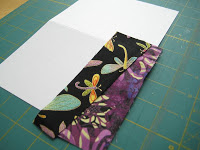
Figure 1
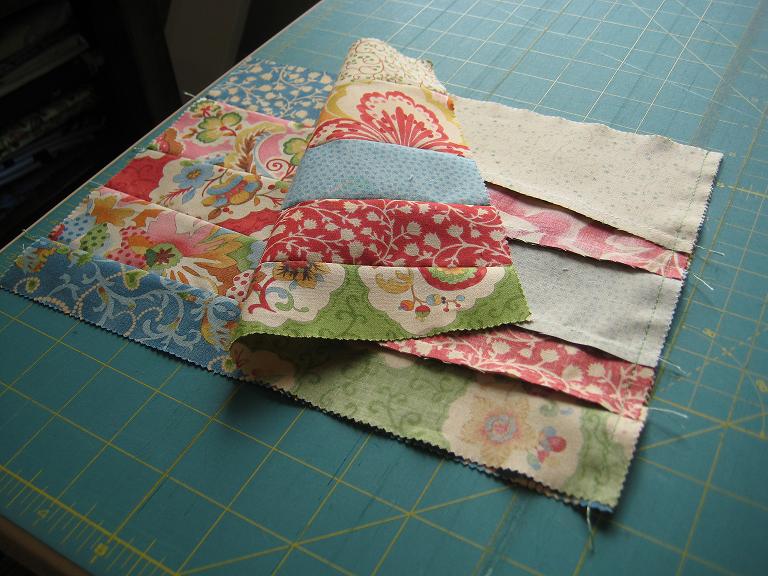
Figure 2 - Continue the process above using the rest of your strips until the front of the card is covered (shown in figure 3). Be creative and place the strips however you like – you can make the strips extra wide or perfectly straight; you can even use a zig-zag stitch or your favorite embroidery stitch if you wish. For this example, I used a simple straight-stitch. Figure 4 (below) is how the stitching on the back of the card will look after the front is covered.
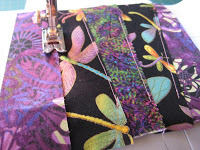
Figure 3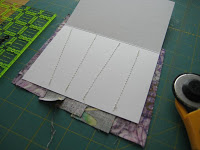
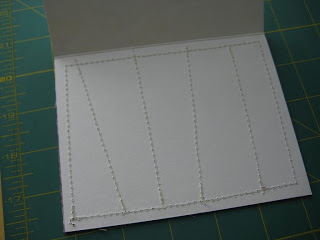
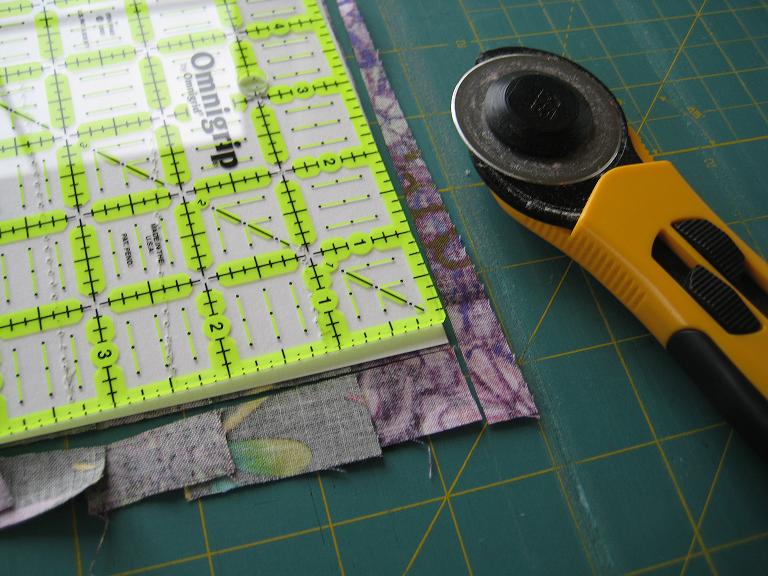
Figure 4 - Turn your card face down, and trim off the excess fabric around the card (shown in figure 5). I used a ruler and rotary cutter for a clean cut. Lastly, sew a ¼ inch seam around the border of the card to stitch the fabric in place (shown in figure 6). Start and end your stitch with a backstitch.

Figure 5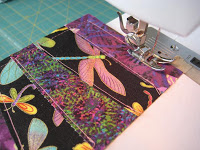
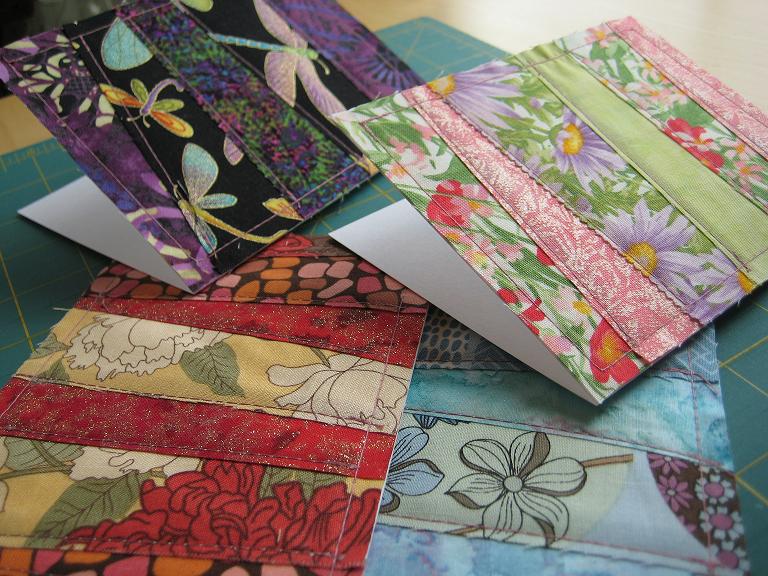
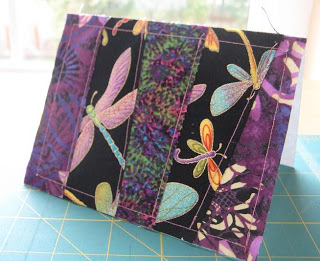
Figure 6 - And that’s all there is to it! Now you have a beautiful, one of-a-kind patchwork card! =) The 2nd picture below is how the back of the card top will look. I think it looks really cool and emphasizes that it really is patchwork, while showing off your awesome sewing skillz (yes, with a “z”, because you’re that kewl). But if it bothers you or if you wanted that extra space to write in, simply glue in a sheet of card stock or paper cut to size and cover. Enjoy!


Oh and one minor note – set aside a sewing needle for your patchwork cards only as paper will dull your needle.


Comments: 25 | Leave a comment