 Making a quilt is a 3 step process: (1) Sewing the quilt top, (2) basting and quilting the top and (3) binding the quilt. Step 1 is sewing the actual patchwork of the quilt top. Step 2 is when you sandwich the quilt in three layers: the quilt top, batting and the backing. You need to baste these three layers together before doing the actual quilting. The 3rd and final step is binding the quilt. There several ways to do each of these steps in which I will attempt to go over in later tutorials. I will continue to update this post with links to tutorials as I make them (i.e. how to bind a quilt).
Below are some basics/terminology to start with:
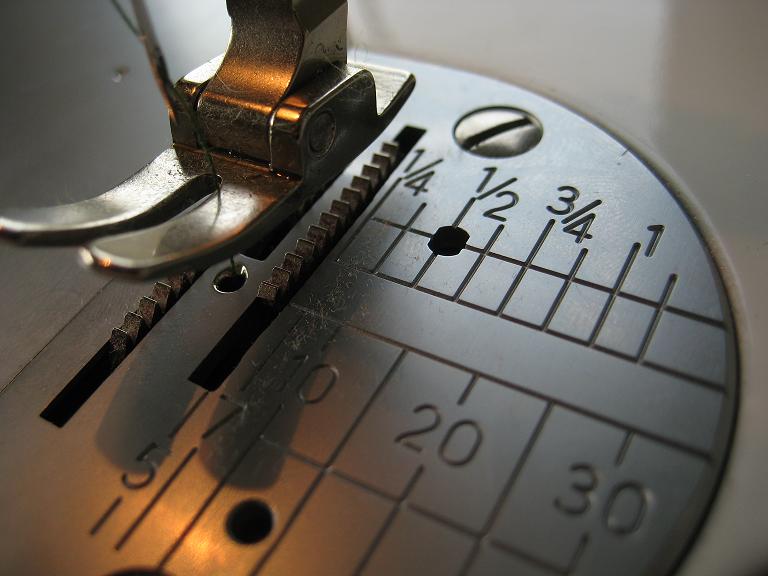
1/4 inch seam allowance
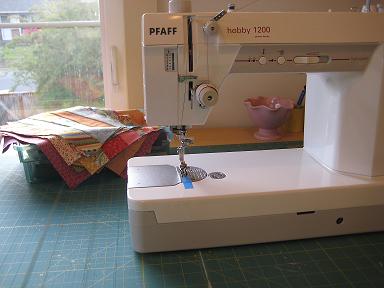
For the accuracy of your quilt pattern, it is important to be consistent with a 1/4 inch seam allowance for all quilting projects. A lot of sewing machines come with a seam guidance plate below the presser foot, as shown in the picture below.
 |
 |
A helpful tip that I still use is after I find the perfect 1/4 inch from the needle, I put painters tape along the 1/4 inch line as a guide for my fabric (as shown above). It helps create a consistent 1/4 inch seam, and all you have to do is guide the edge of your fabric along the tape.
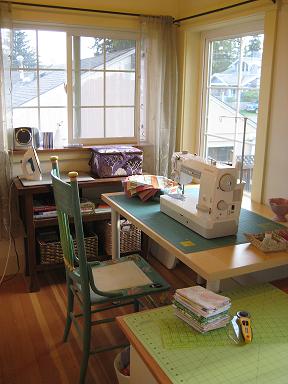
Quilting Tools
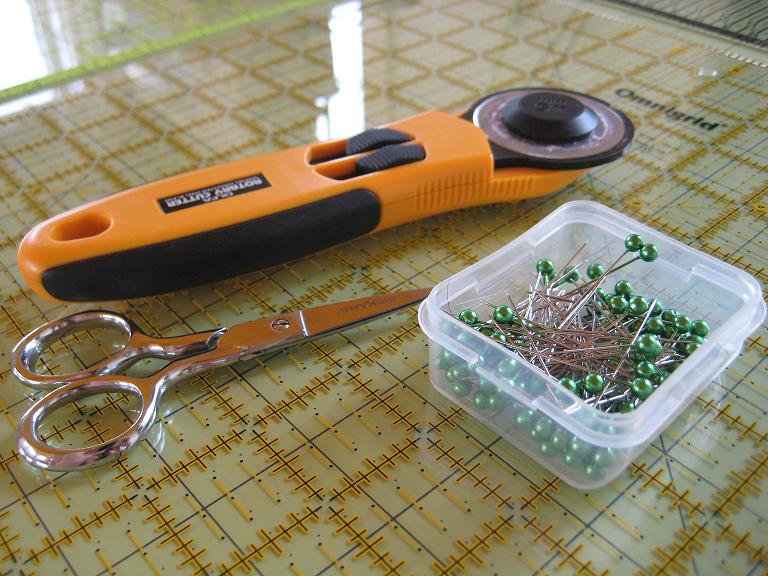
Basic tools you will need (other than your sewing machine):
- Rotary cutter. I use a 45 mm by Olfa and love it.
- Rotary mat. I started with a 12″x18″ cutting mat. I suggest eventually investing in the 36″x24″ mat or else you will hate cutting bigger pieces such as border or binding strips.
- 1.5″ pins and large safety pins. You will need the pins when piecing together your quilt top. The safety pins may come in handy later when basting your quilt top, batting and backing together.
- Quilting ruler(s). You don’t have to get these all at once, but if you bought the following rulers you’d probably be set: 8″ square, 10″ square and 6″x24″. The 6×24 is great for cutting border pieces and binding strips; I probably use this ruler the most.
- Iron for pressing the seams.
- Scissors for cutting thread. I like to use applique scissors because they’re really sharp.

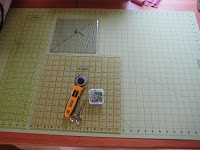
(Pictures above: Rotary cutter, pins, applique scissors, rotary mat and quilting rulers)

Cutting your Fabrics
Before rotary cutters and quilting rulers came about, quilters would trace the pieces they need onto the fabric and then cut each piece out with scissors. Thank heaven for rotary cutters and quilting rulers – they’re quick and accurate! If you haven’t used one before, it takes several cuts to get the hang of it.
When cutting, do not use the rotary cutter like a pizza cutter where you roll it back and forth. That will create a messy cut and if you roll it back you will nick your blade on the ruler. Place the fabric and ruler in a position where you can make a single, forward cut away from you.
Once you have more practice, you can layer your fabrics to make more cuts. If you have a project where you need multiples of a single shape cut out (i.e. twenty 5″ squares), there are quick cutting tricks, such as layering your fabrics and cutting 5″x20″ rectangles, and from the rectangle cutting 5″ squares).
Below is a quick, 3-step tutorial on how to cut a 4″ square using a rotary cutter and ruler:
- To cut a square, you first need to cut a perfect 90 degree angle. In the picture above, I’ve positioned the ruler on the fabric to cut ~5″ square
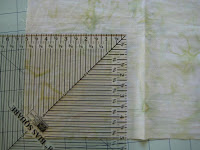

- Keep the ruler in place with one hand, and with your other hand use the rotary cutter to make a single, outward cut away from you. In the picture below, you almost have a perfect square. The top portion that you cut has a perfect 90 degree angle; now you just need to trim the bottom portion.

- Tip: When you make the cut, apply a little pressure to the cutter to ensure you cut through the fabric. If you find yourself at an awkward cutting position, move the mat or move to a different position around your cutting mat so that you’ll be in a comfortable position to make outward cuts.
- Now that a perfect 90 degree angle has been cut (from step 2), rotate the square to trim the opposite corner. Line the freshly cut 90 degree angle against the inside lines of the ruler as shown below. In this case, we’re cutting a 4″ square, so position the freshly cut angle on the 4″ lines. Make your outward cuts to trim the excess fabric.
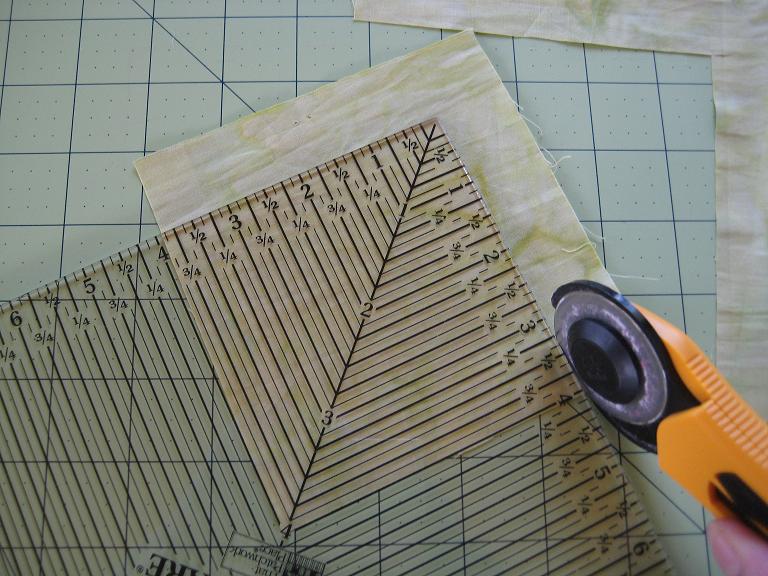
- And now you have a perfect 4″ square! The above is the basics in using your rotary cutter, it takes a little practice but before you know it, you’ll get the hang of it.
Fabric Cuts
When I first started quilting, I had no idea what the measurements were for one yard of fabric from a fabric bolt, or the difference between a fat quarter vs. a quarter yard cut. This will help you get an idea of what cuts you may need for different projects.
One yard of fabric typically measures 36″x44″.
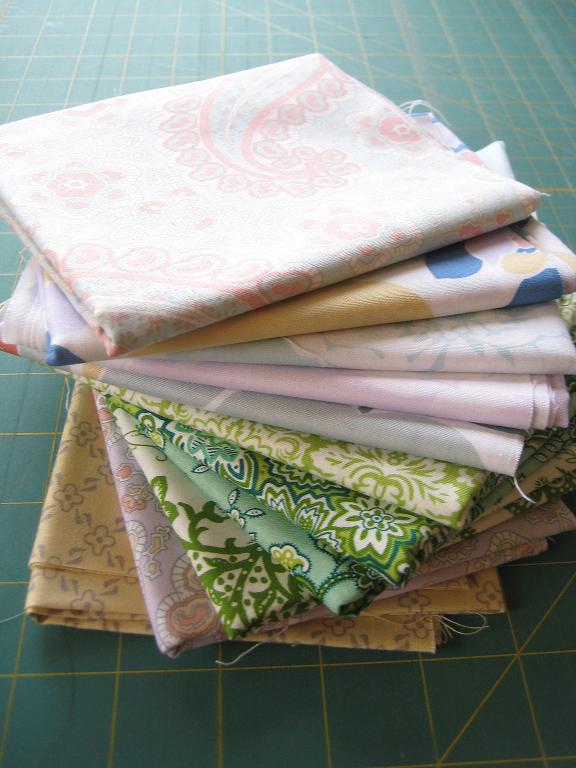
Fat quarter vs. quarter yard cut – A fat quarter is 1/4 yard cut of fabric that measures 18″x22″; usually you can get more cuts out of this measurement instead of the typical 9″x44″ quarter yard cut. Some quilt shops/fabric boutiques sell fat quarter packs, as shown in the picture below. It’s a great way to get an assortment of matching fabrics for piecing quilt tops.
Pre-cut fabrics – In select shops (mostly fabric boutiques) you can buy pre-cut squares, triangles and strips. These are great because they come packaged with an assortment of fabrics (usually up to 10 different prints) that are all in the same color scheme. Below are packs of 5″ squares, aka charm packs. 10″ pre-cut squares are aka layer cakes. Squares are great because with a single cut, you can make them into rectangles or triangles, allowing you to create an array of shapes/quilt blocks.

That’s all I have for Quilting 101 for now. I’m happy to answer any questions you may have or suggestions on 101 tutorials, so please let me know. 🙂 And like I mentioned earlier, I will continue to update this post with more quilting basics and tutorials as they come.

Comments: 8 | Leave a comment