How to Baste a Quilt

Basting a quilt is when you sandwich the quilt in three layers: the quilt top, batting and the backing. You need to baste these three layers together before doing the actual quilting. Here’s how to do it, 4 steps below!

Update (added 5/02/11) – I also added a basting alternative at the end of this tutorial, which explains how to baste without using pins. The method is spray basting. I’ve tried it before and would recommend it, especially for bigger quilts.

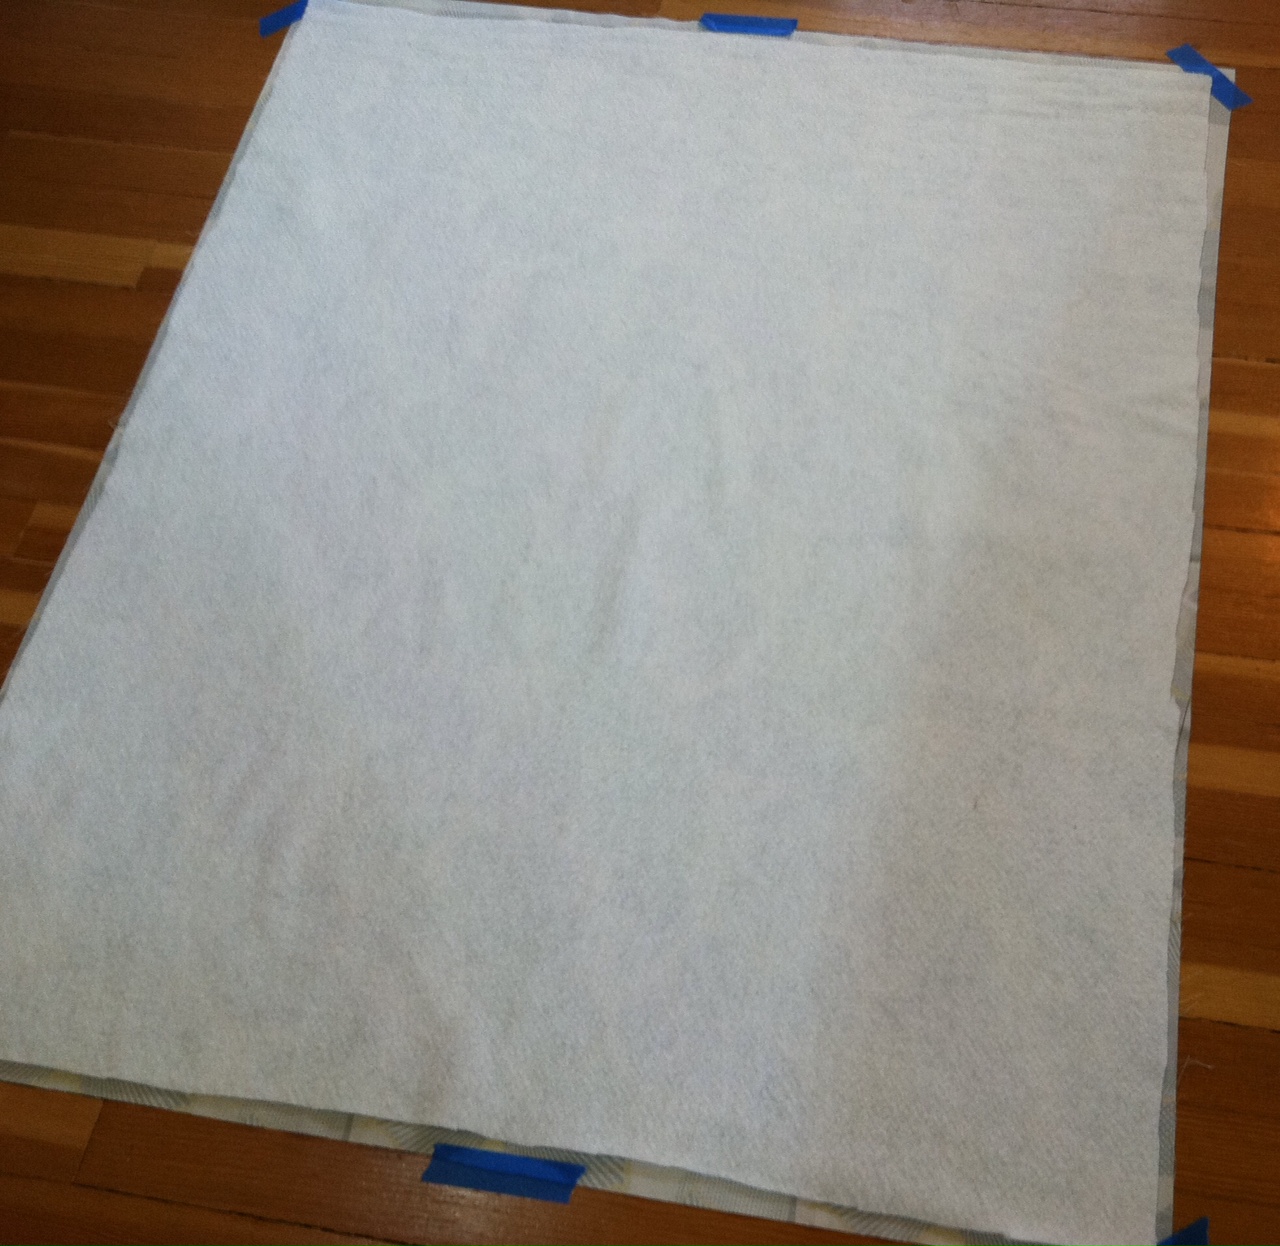
Step 1 – On a flat surface, lay your backing fabric flat on the floor with the right side facing down (the wrong side of the fabric will be facing you). Flatten out any bumps as best as you can (tip: it helps to use a yardstick or your 6″x23″ rotary ruler to help smooth out bumps). Tape the corners and sides as needed so that the fabric doesn’t shift around on the floor; I recommend using painter’s tape. The backing fabric should always be at least 2-3″ bigger around the perimeter than the quilt top.

Step 2 -Next, lay your batting on top of the backing fabric. Flatten out any bumps as best as you can. (Tip: I suggest using Warm & White cotton batting or Soft & Bright polyester batting. Both are made by “The Warm Company” and have almost a fleece-like feel to them, making them much easier to work with (i.e. you don’t have to deal with uneven batting that bunches while you’re machine quilting). However, if you are working with a fluffier batting, throw it in the dryer for ~10 minutes to help un-wrinkle it).

Step 3 – Next, lay your quilt-top on top of the batting. The right side of the quilt top should be facing you (the wrong side should be facing the batting). Make sure the quilt top is centered on the batting. Flatten out any bumps as best as you can.
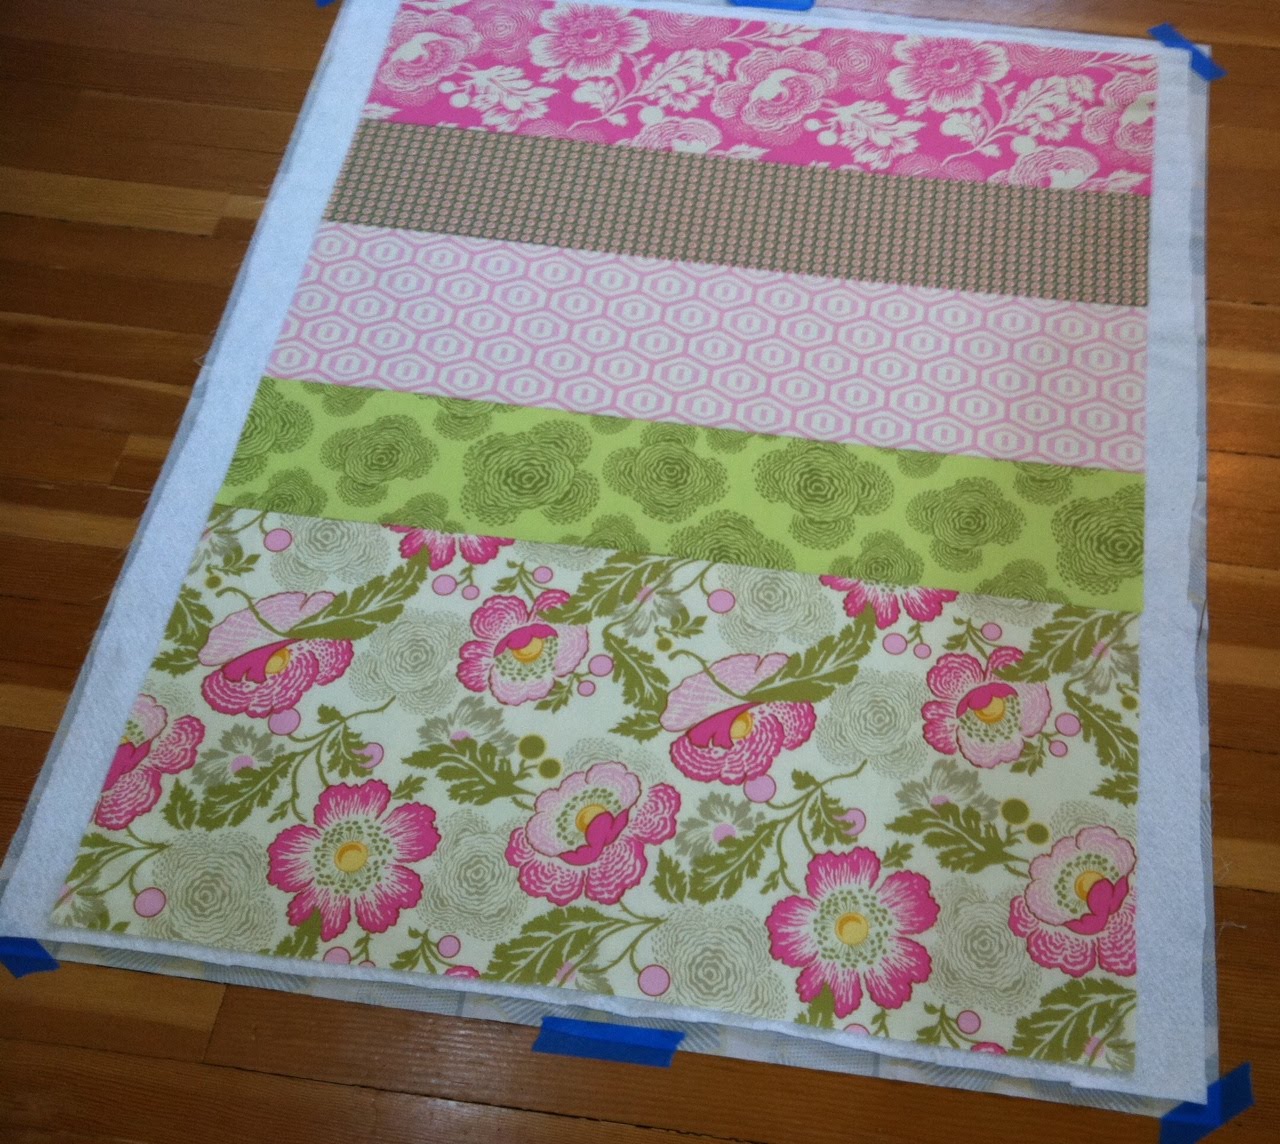
At this point, your quilt should be layered as shown below with the batting sandwiched in between the quilt top and backing fabric. This is called a quilt sandwich.


Step 4 – Now, you need to pin all three layers together to keep them in place so that they don’t shift around later while you’re quilting. I recommend using curved safety pins, as shown below. The curve in the pin helps immensely when trying to pin through all three layers on a flat surface. Pin every 5-8 inches.

Start pinning on one end of the quilt. Remove the tape on one end, and start pinning every 5-8 inches. As shown below, roll the pinned quilt upward as you go for easier pinning access.
That’s pretty much it. Let me know if you have any questions!

Basting Alternative – Spray Basting (no pins needed!)

I typically use pins (as explained above) to baste my smaller quilts; however, for the larger ones I would recommend spray basting them. Below are two video tutorials I found on YouTube that explain pretty well how to spray baste. In these videos, the gal spray bastes them by pinning the quilt layers to a wall so that all layers three layers drape evenly over one another.

However, you can also spray baste on the floor (which is what I’ve done in the past). You just have to get down on all fours to make sure the layers are smoothed out evenly; it still helps to tape the backing fabric to the floor as described in step 1 above. Similar to the video tutorials, be sure to line your floors with newspaper around the quilt so you don’t get sticky floors.

I recommend you watch this video first. Fast forward it to minute 6:15.

For more details on spray basting on a wall, you can watch this supplemental video:

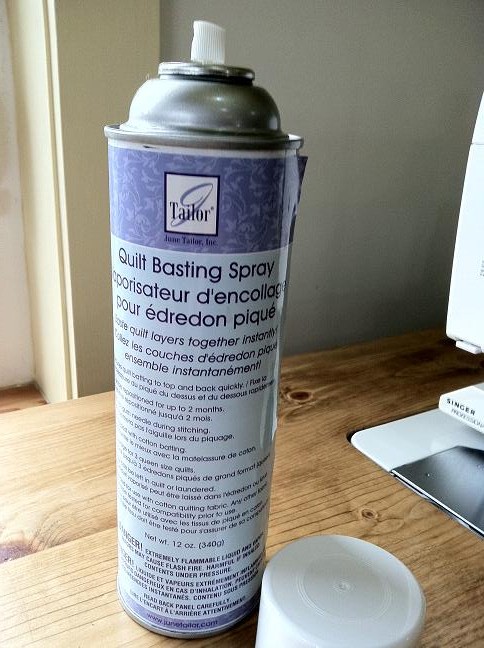
You can likely find spray basting glue at your local quilt shop or crafting chain store. Below is the brand (Tailor) that I’ve used. I’ve also heard the brand 505 is very good.

Hope this tid bit helps. It’s always nice having some options. 🙂

Comments: 25 | Leave a comment


Quilting with my Furry Children

Yes, I’m one of those crazy pet owners. That’s my excuse for posting so many pictures, of every single angle, of my dogs. :-p Last weekend was fun. Paige spent the afternoon with me making this quilt using charm squares. I used the Hullabaloo collection, and will likely post a tutorial on this after I’ve finished quilting it. It’s a straight forward pattern since they’re all squares, but with a tutorial at least you’ll get all the measurements, maybe learn a few quilting tips, etc. 🙂
Simple is good. Simple is fresh. Best of all, simple is quick! I finished this quilt top in a few hours. This is a great quilt for showing off one of your favorite fabric collections.
Mid-way through piecing together the quilt top, I got a visit from Bodie (the black and white Corgi). He’s my sweetheart, but he prefers to hang out on the stairs while I’m crafting…honestly i think he’s afraid of my sewing machine…notice the uneasy look on his face?
Clearly, Paige was ready for a walk. She wouldn’t move her furry buns until I agreed.

Anyway, that’s it for now. Just a short and sweet post to show off my pride and joys..oh, and there’s a quilt in there somewhere 😉

Happy Crafting!

Comments: 10 | Leave a comment


My First Time at the West Seattle Fabric Co.!

My weekend is off to a good start! I spent the afternoon shopping for fabric and made a quick detour away from my neighborhood quilt shops (mainly, the Quilting Loft) and into West Seattle, where the charming West Seattle Fabric Co. boutique is. I’ve been meaning to go for a while now and kept oogling over articles about it online. The shop owner, Monica Skov, opened the West Seattle Fabric Co. in December of 2010. This charming store is a hit! …from the moment I entered her shop to the time I left, there were enthusiastic quilters in and out of her shop excited to start new projects. Monica was cool and let me snap some photos (thanks again Monica!) to share with all of you. 🙂 So here’s some eye candy!
I couldn’t stop looking at this cute setup mainly featuring the Sun kissed collection by Moda (same collection I used to make the Quilt for Japan). You can’t quite tell from this picture, but those are sparkly fabrics by Michael Miller on the first shelf! I can’t get enough of those.
There’s lots of different styles and colorways of fabric, so you’ll be sure to find prints that appeal to you (i sure did!).
Lots of notions (the sewing necessities) and a decent collection of books. Though the shop is smallish, I managed to walk around it about 5 times because there’s a lot to look at!
It’s located on 2210 California Ave in West Seattle. You can’t miss the bright pink and blue canopy!
I left with a bag full of goodies wrapped beautifully. I felt like I left with a birthday present 🙂 I’m loving the skull-themed prints by Alexander Henry…I bought some last week from the Quilting Loft, and found the one above at the West Seattle fabric Co.
And I couldn’t leave without this adorable collection called Delilah by Free Spirit. I bought 6 fat quarters (great price, the least expensive I’ve seen) and a yard.

I’m happy to know there’s another great fabric boutique in Seattle. If you’re from around here, I recommend you check it out! If you’re not, you can oogle over these photos. 😉 And for all of you avid quilters/crafters, I urge you to support your local small business owners by buying local from boutiques like this!

Happy Quilting!

Comments: 5 | Leave a comment


~Strawberry Fields Forever!~

Another one done! First of all, thank you all for your creative quilt name ideas! It was a tough choice…I almost went with Strawberry Jam (thank you, mom of 3) but kept hearing the “Strawberry Fields Forever” song humming in my head! Whoever suggested the Beatles name idea, I’d love to give you cred when my MBS tutorial posts, so if you have a name and wherever you’re from, please let me know. 🙂


Tutorial can be found here: http://www.modabakeshop.com/2011/05/strawberry-fields-forever-quilt.html#more
As mentioned before, I decided to treat myself with this one and have it professionally quilted! (I was getting tired of quilting stipples on everything!). It turned out absolutely gorgeous 🙂 It was quilted by Darlene Girton at GirtonQuilting.com (unfortunately her website is currently down). She’s from Maple Valley, Washington and I’m looking forward to working with her again! Darlene quilted strawberries all over the quilt – you can see them if you zoom into one of the photos.
Betsy from Seattle suggested naming this quilt ‘Summer Picnic’ which couldn’t be more appropriate, especially looking at the photo above! It’s the perfect picnic quilt!
I really love this pattern (obviously, I’ve made two quilts using it already!). It’s a wonderful pattern because each block is unique to your own making…there are no precise measurements you need to cut for this quilt, simply stack, whack and sew! The tutorial for this quilt will be posting on Moda Bake Shop within the next few weeks. The same day it posts on MBS I’ll host a Layer Cake giveaway as this pattern only requires 1 Layer Cake to make the quilt top. So please stay tuned!
Thanks for stopping by! Happy Quilting!

Comments: 8 | Leave a comment


Happy Friday! Quilt name ideas anyone?

Hi All! Just a quick post to say thank you for your kind comments on my New Wave quilt! Your comments/questions keep me crankin’ out quilts! I also wanted to wish you a happy Friday! I have some pretty pictures I snapped on my iPhone I thought I’d share with you…

What better way to end a day at work than shopping for some new threads! I picked up the skull-themed fabrics by Michael Miller (photo above) on my way home from work today. 🙂 Not sure what to do with them yet… all I knew is that I needed them (you know how it goes). I’ll probably end up making a tote of some sort.

As mentioned in a recent post, my next Moda Bake Shop tutorial will be the same pattern as my Quilt for Japan, except I used the Strawberry Fields collection.

While I’m at it, I wanted to pick your creative brains…Any ideas on what I should name this quilt? I snapped a couple up-close photos (above and below) to give you an idea of how it looks… I appreciate any ideas, seriously, anything at all!! I feel brain dead after this work week…

And as a heads up, I will be having another fabric giveaway around the same time my next MBS tutorial posts, so stay tuned!

That’s it for now… have a great weekend!

Comments: 10 | Leave a comment


Site by Spunmonkey.