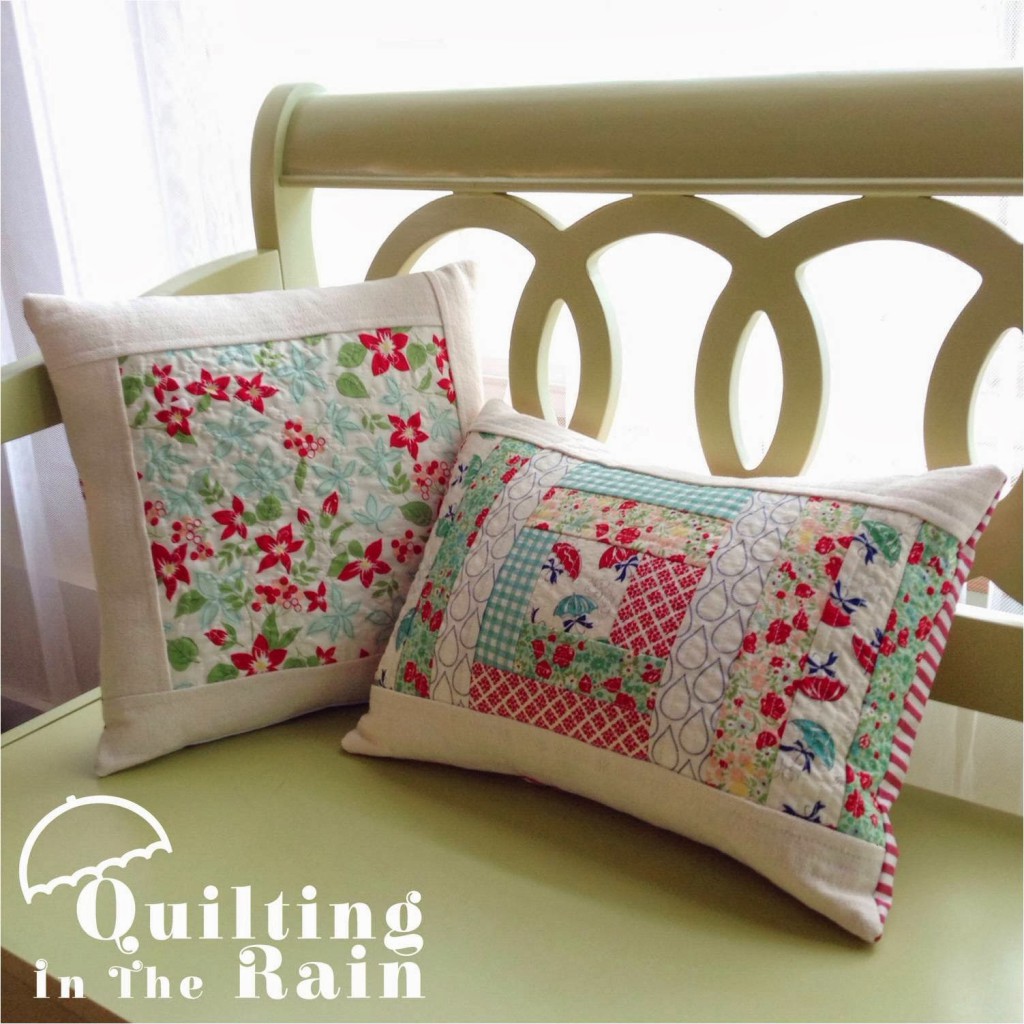

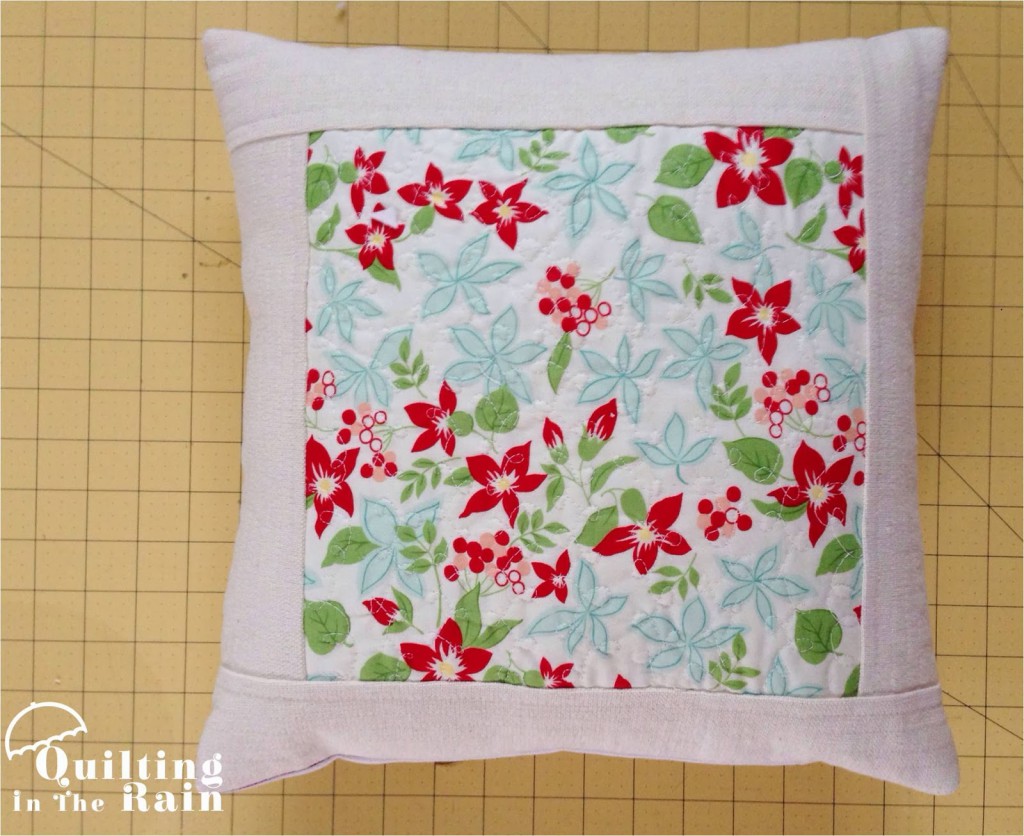
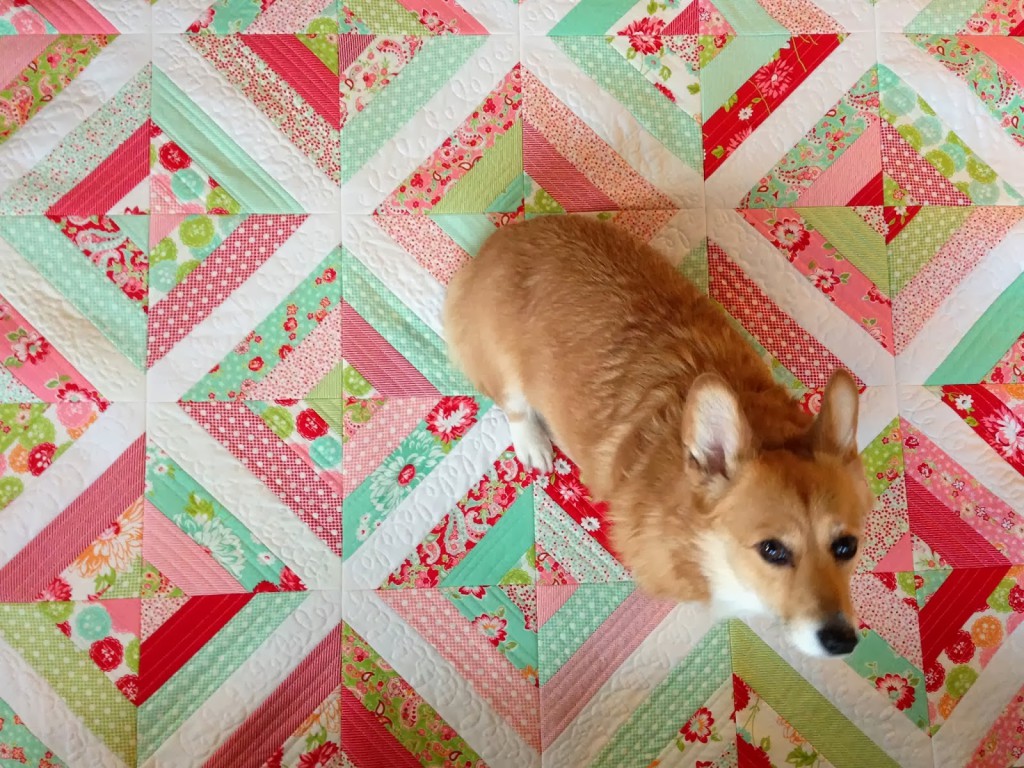
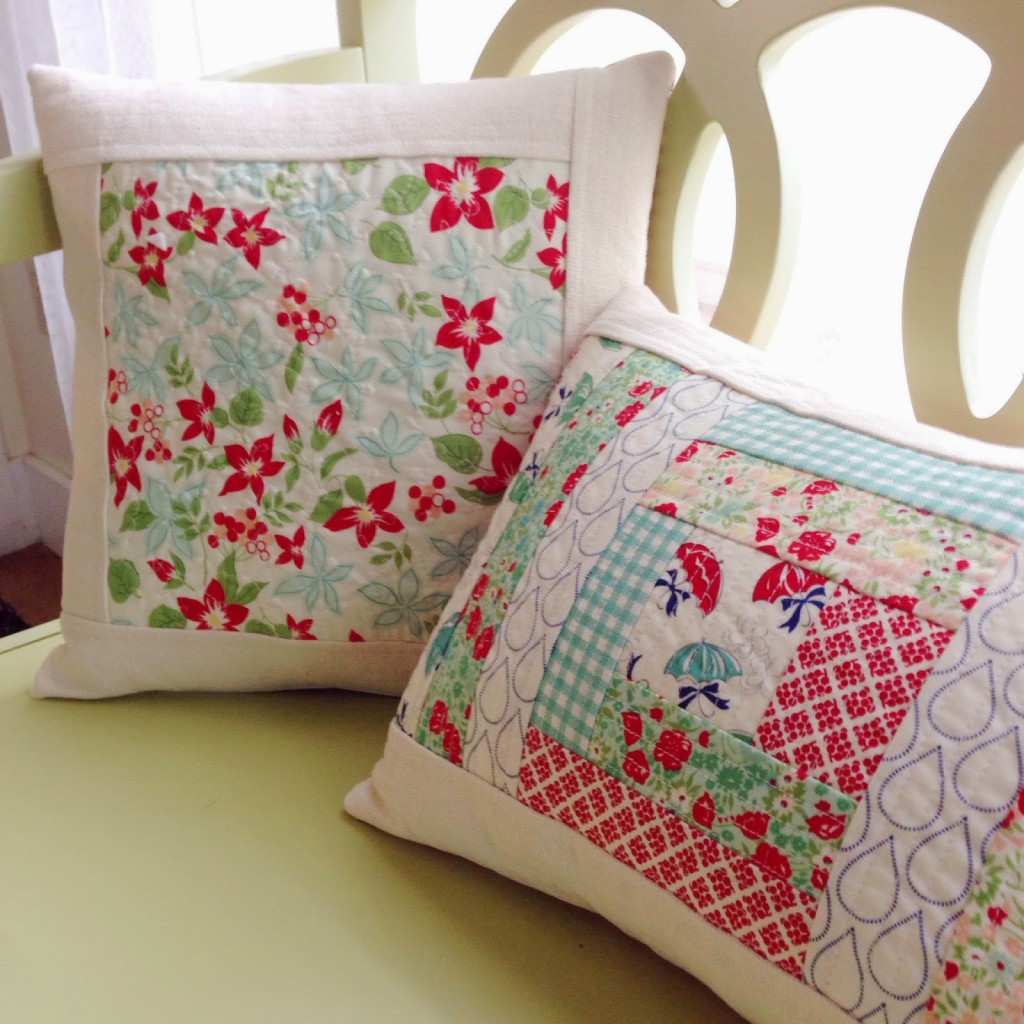
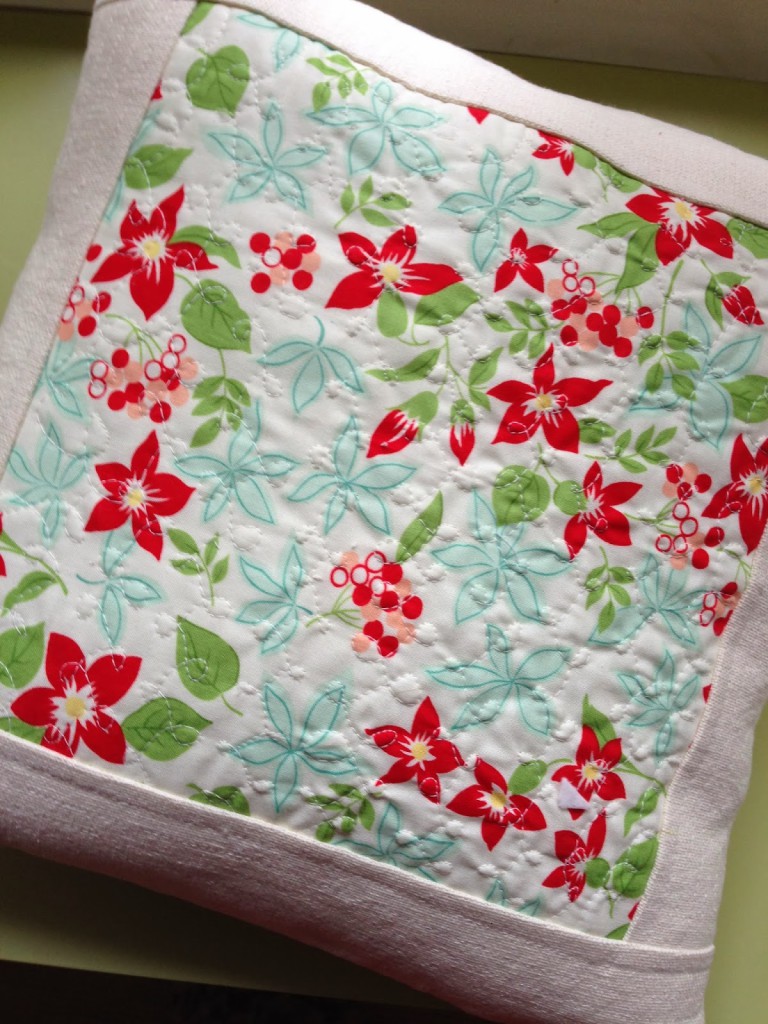
Hi All! This is Jera from www.QuiltingintheRain.com bringing you a creative weekend project. This pillow uses a modern Quilt as you Go technique which will be featured in my upcoming book, Quilt-As-You-Go Made Modern, to be released this Fall. I’m so excited to share this technique with you all!
The Quilt as you Go technique is very creative as it doesn’t follow a precise pattern. Rather, it takes on more of a improvisational style of piecing and quilting. For updates on my latest quilting endeavors, check out my Quilting in the Rain Facebook page and blog. You can also find me on Instagram. Thanks so much for stopping by!
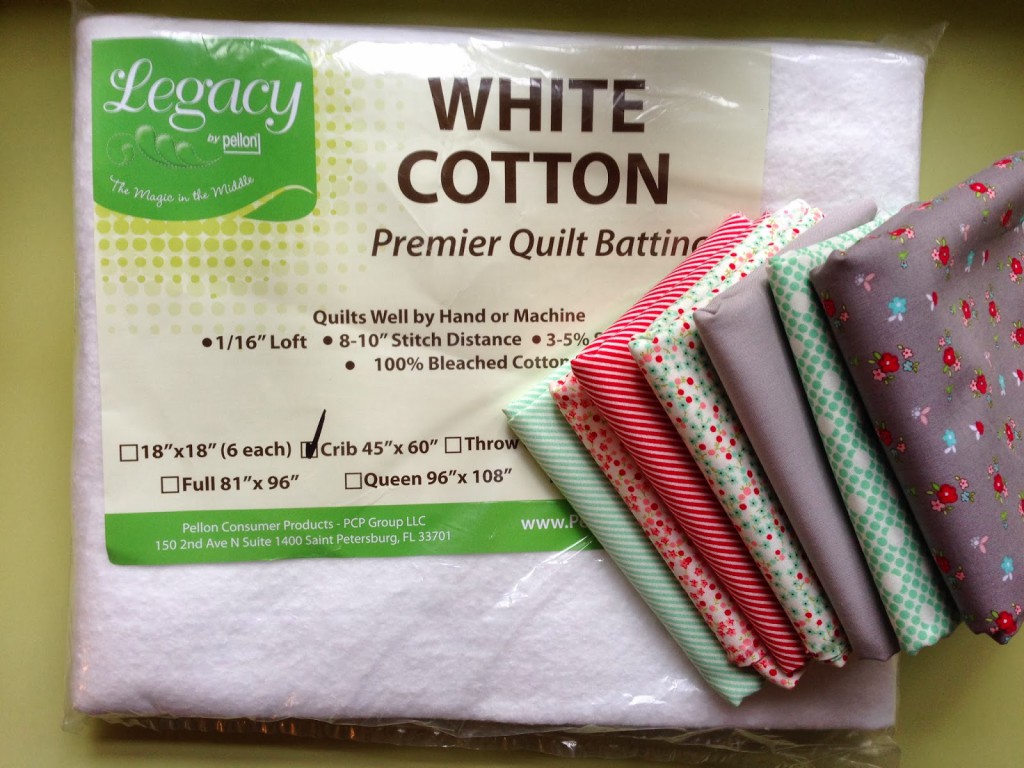
Materials:
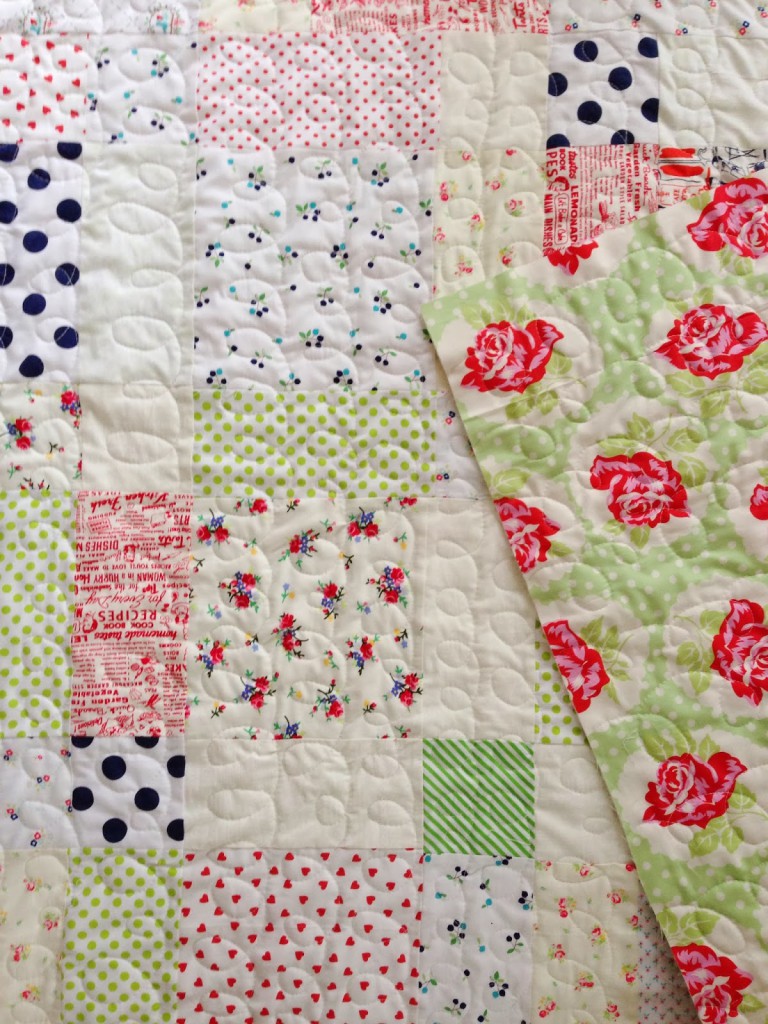
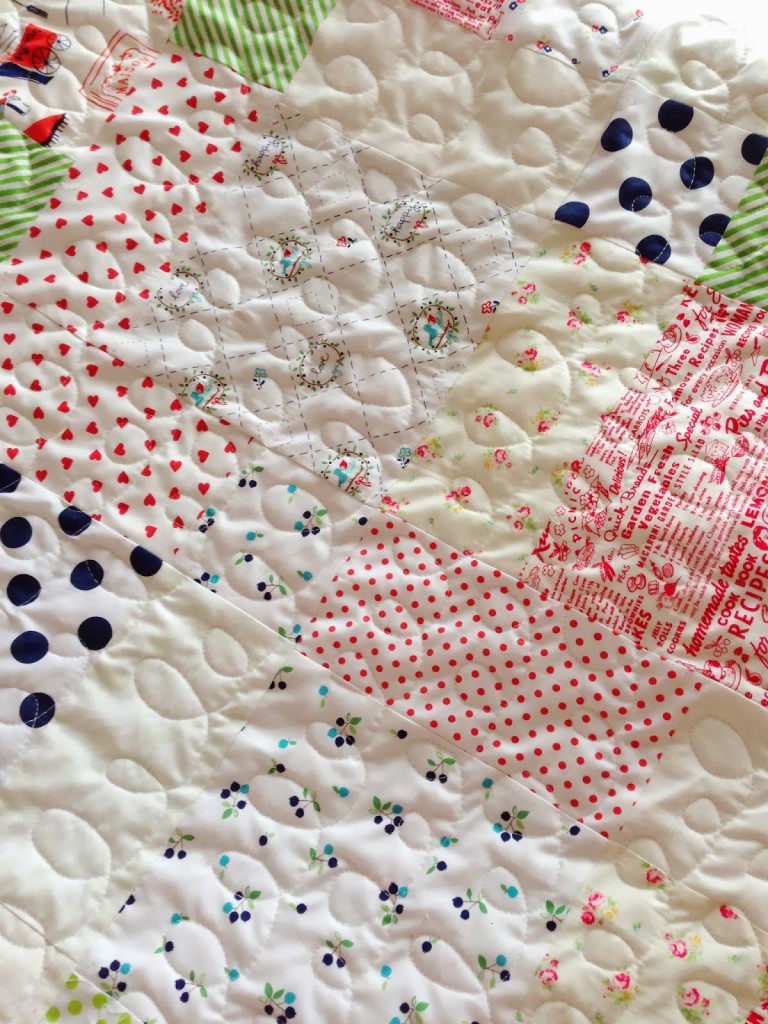
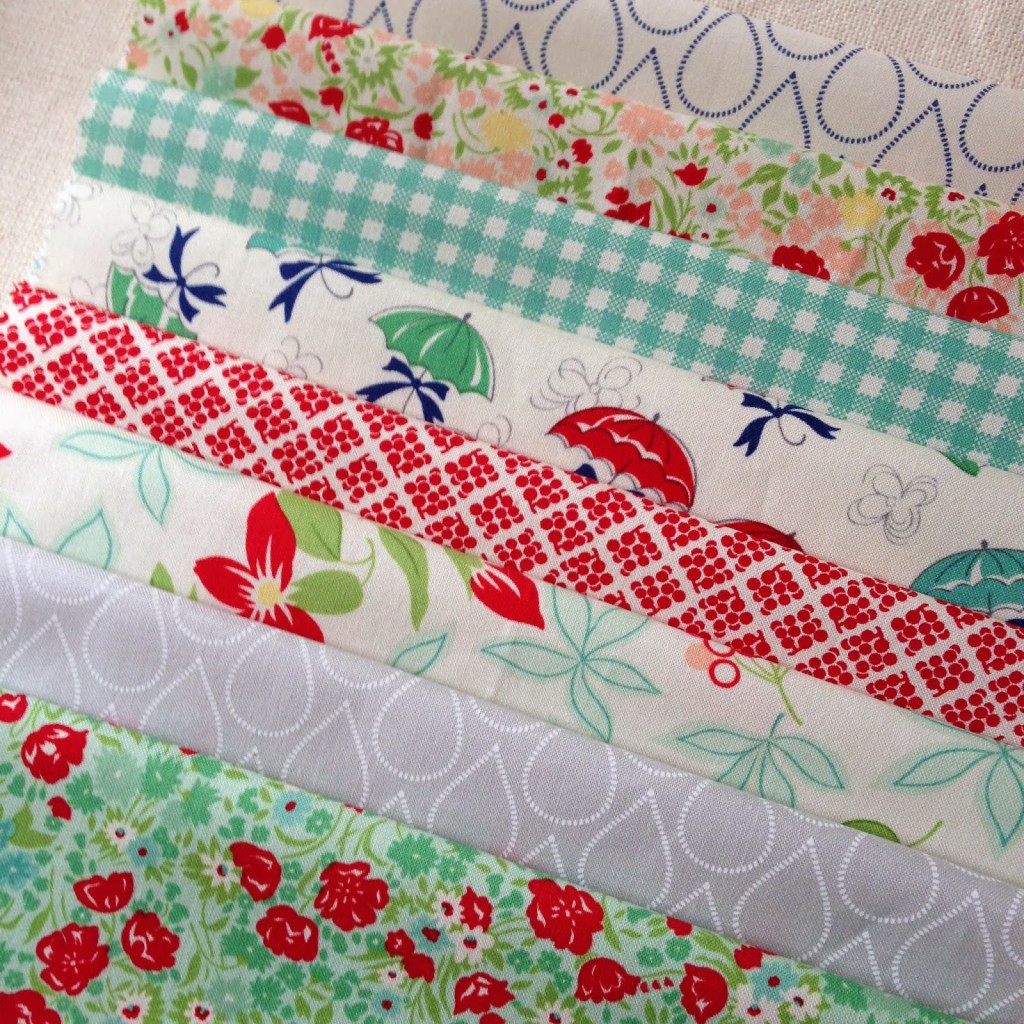
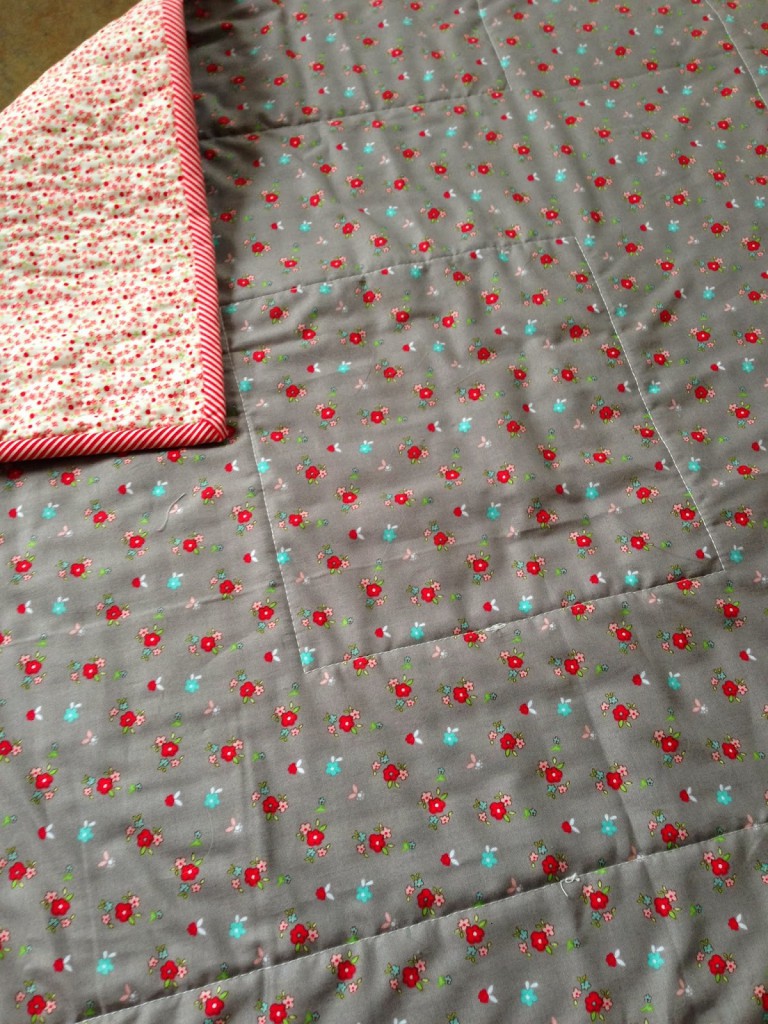
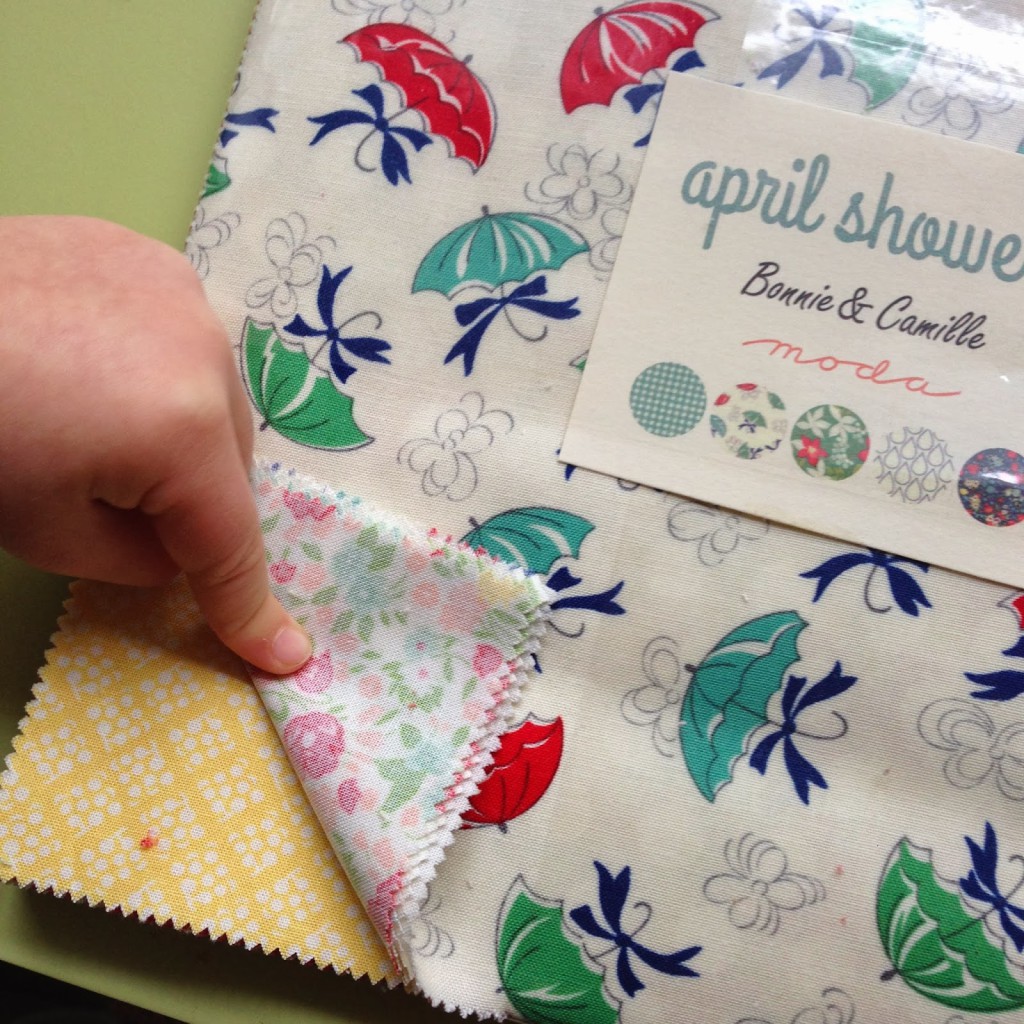
Please Note – For this pillow I used leftover Layer Cake squares from the April Showers Collection by Bonnie and Camille. Leftover fat quarter scraps will work too. For the solid borders, I used Moda Solids Prairie Cloth in Buff (this material is home decor weight but has a linen/canvas feel to it). For the back of the pillow, I used Moda’s Twill (home decor weight), Nautical Ticking Stripes in Red.
For Pillow No.1 (14″ x 14″ pillow cover):
- 1 layer cake square (or a 10″ square cut from a fat quarter)
- 1/4 yard border fabric
- 3/8 yard Backing
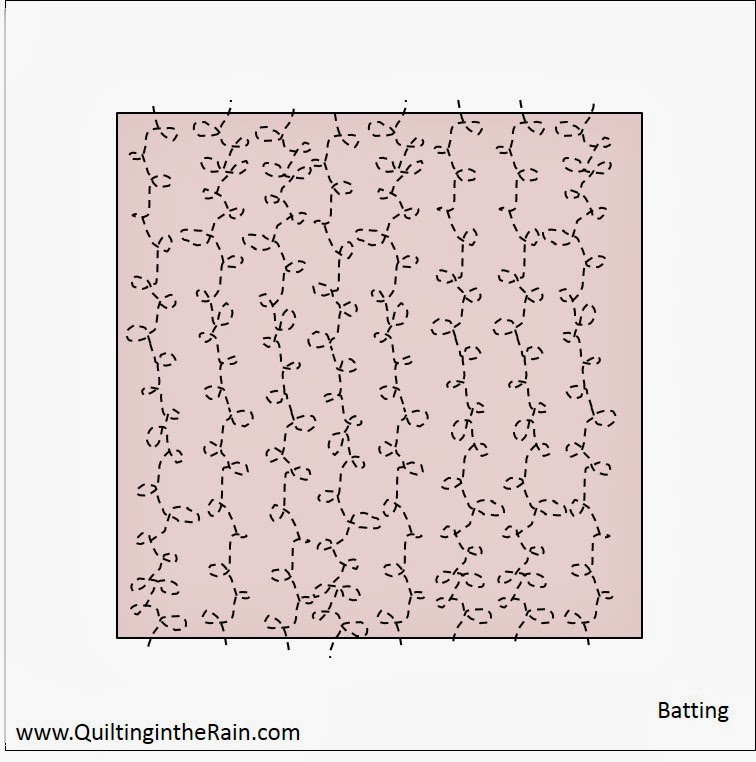
- 15.5″ x 15.5″ batting square (needle-punched batting)
- pillow insert
For Pillow No.2 (16″ x 12″ pillow cover):
- 6 layer cake squares for variety (or six different fat quarter prints)
- 1/4 yard border fabric
- 3/8 yard backing
- 17.5″ x 13.5″ batting square (needle-punched batting)
- pillow insert
Instructions for Pillow No. 1 (14″ x 14″ pillow cover):
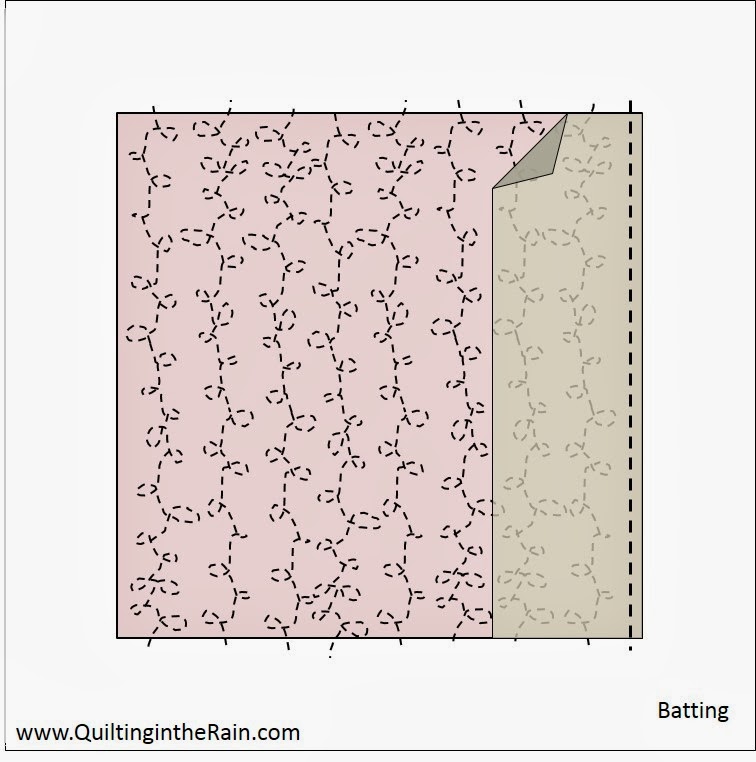
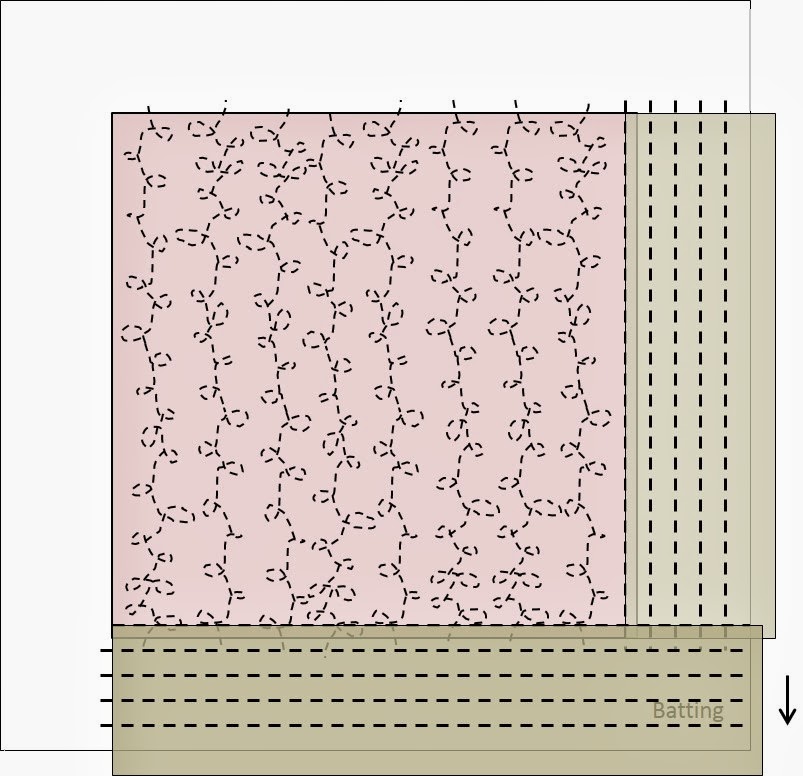
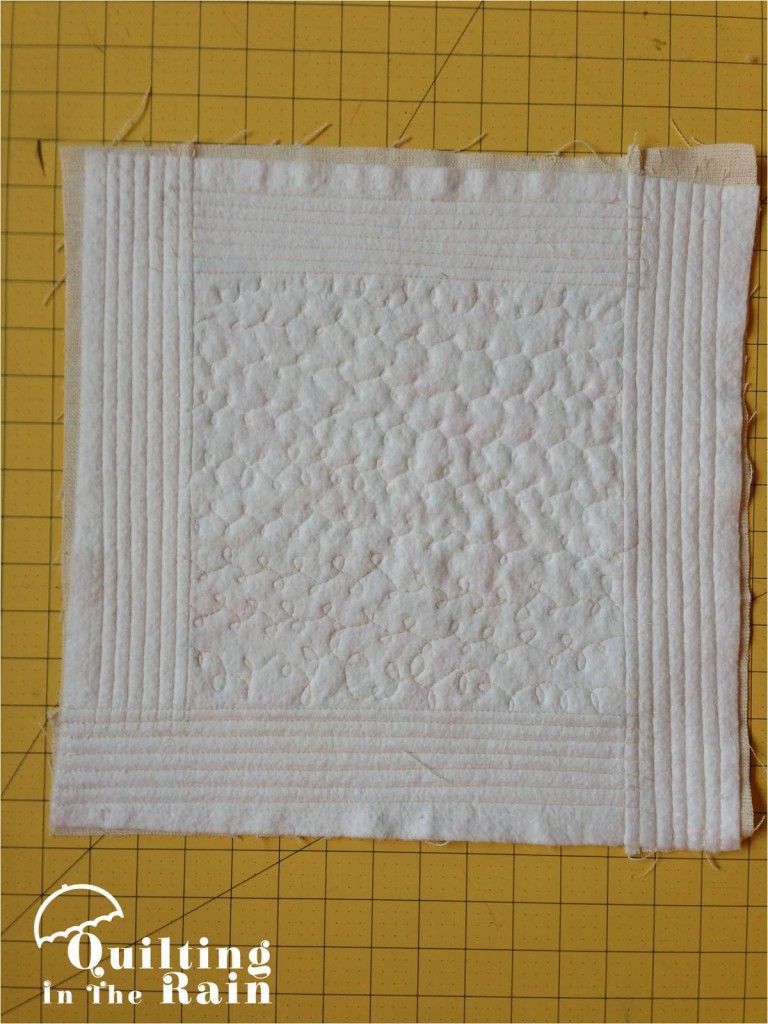
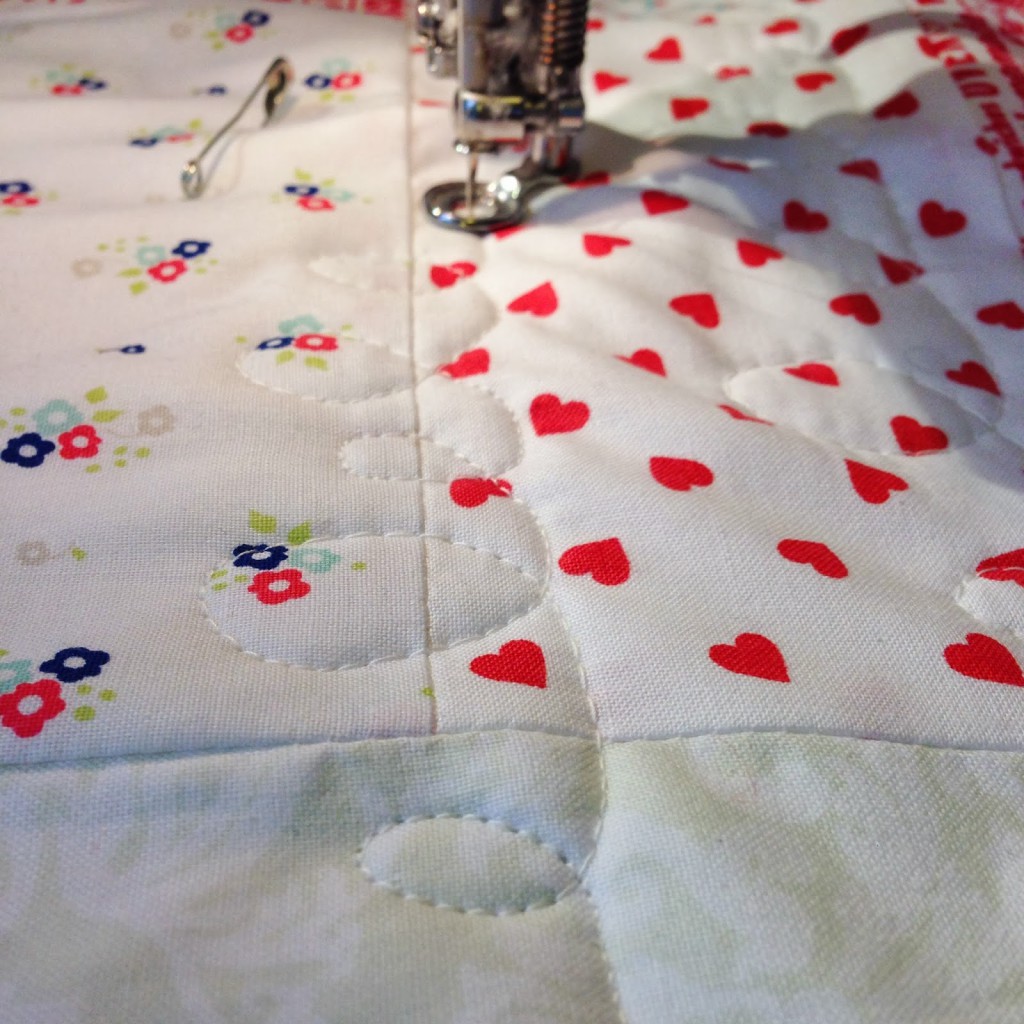
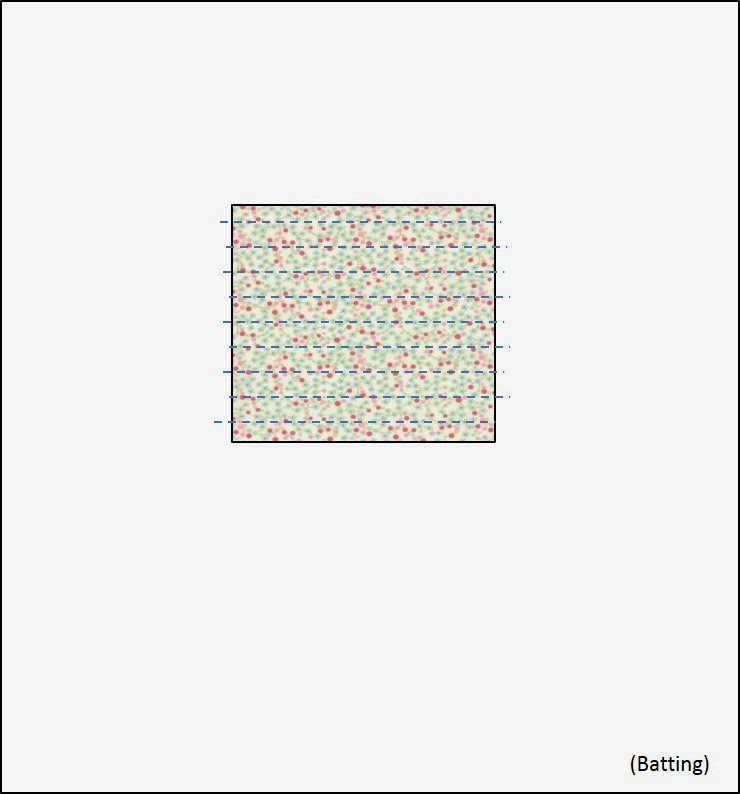
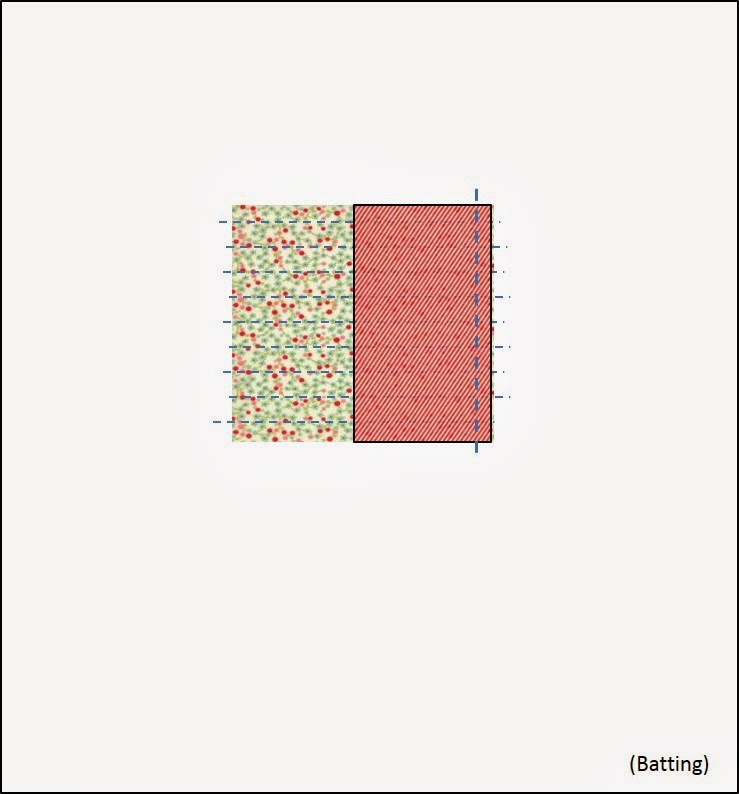
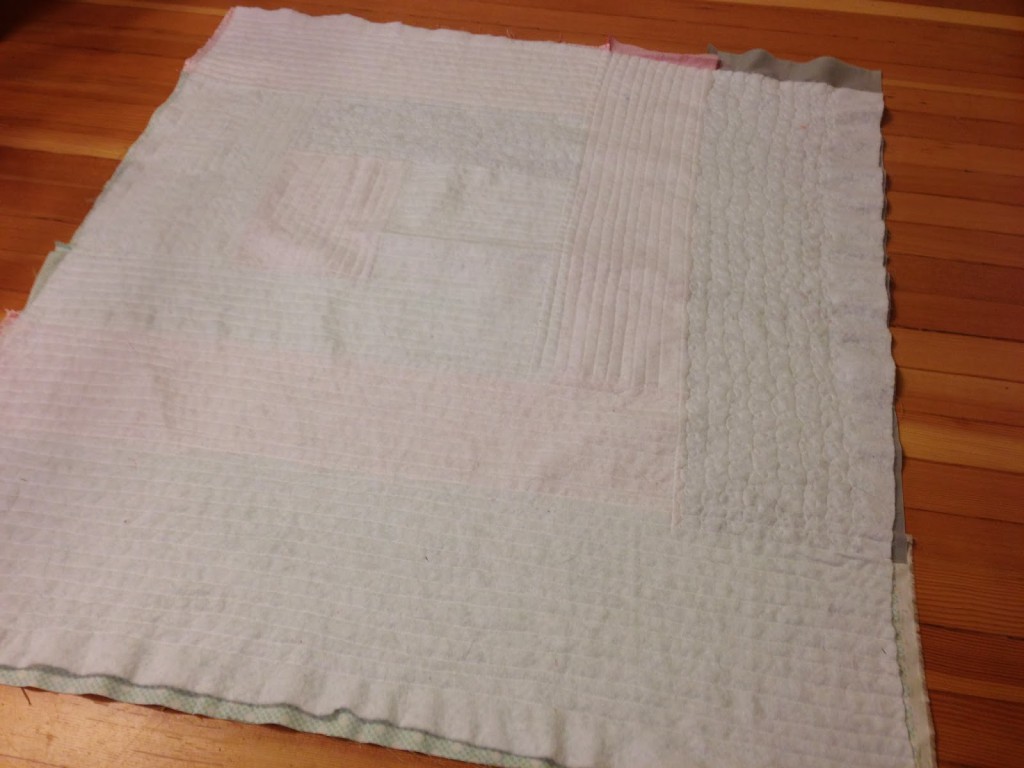
1. Take a 10″ square and place it in the center of the batting. Place a few pins to help keep it down. Then, quilt it directly to the batting. As shown below, make sure your stitch starts and ends on the batting.
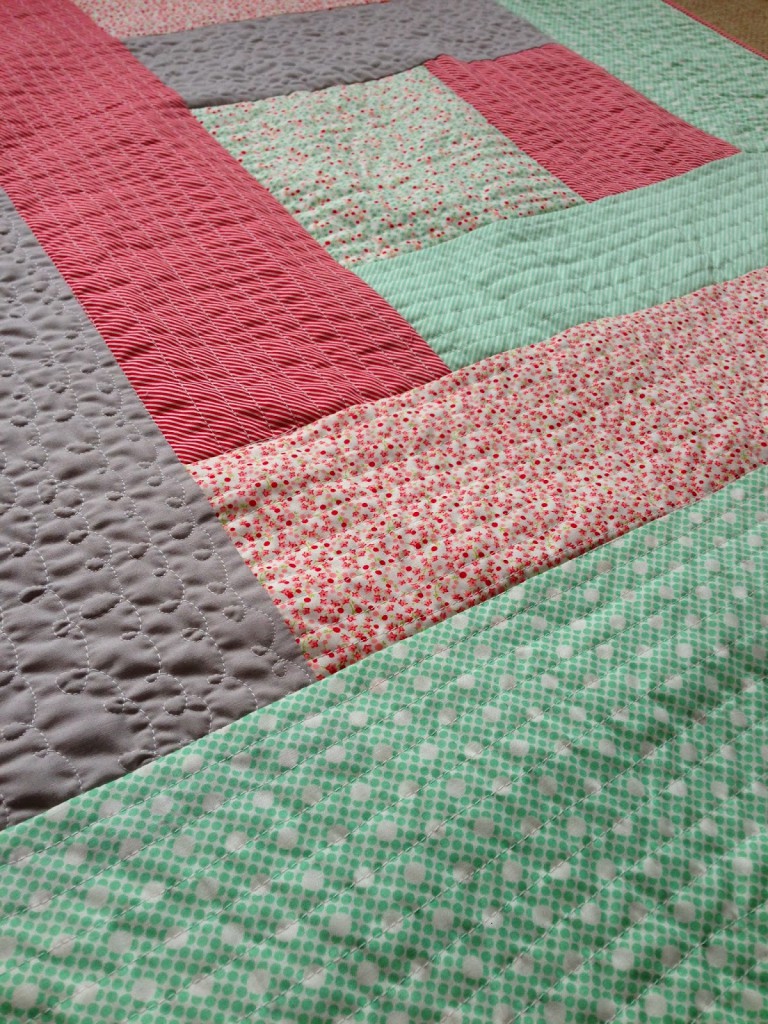
I did free-motion quilting with some simple loopy-loops. If you’ve never
free-motion quilted before, now is a good time to try it out as it’s
easier to do it on a smaller, more manageable block.
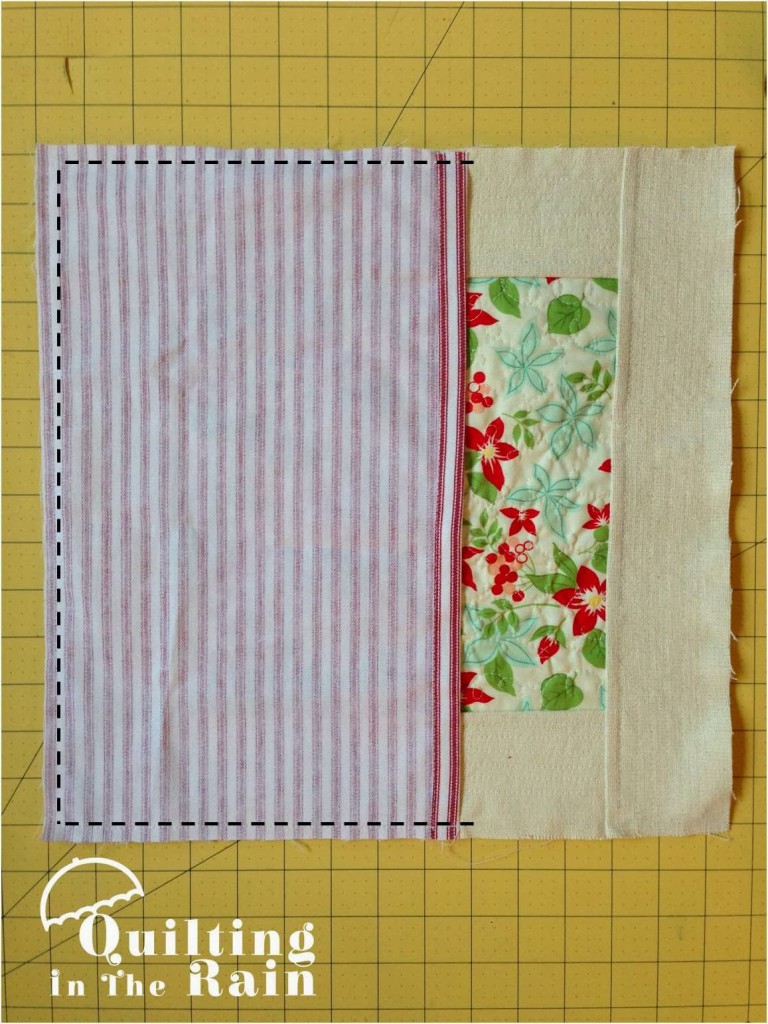
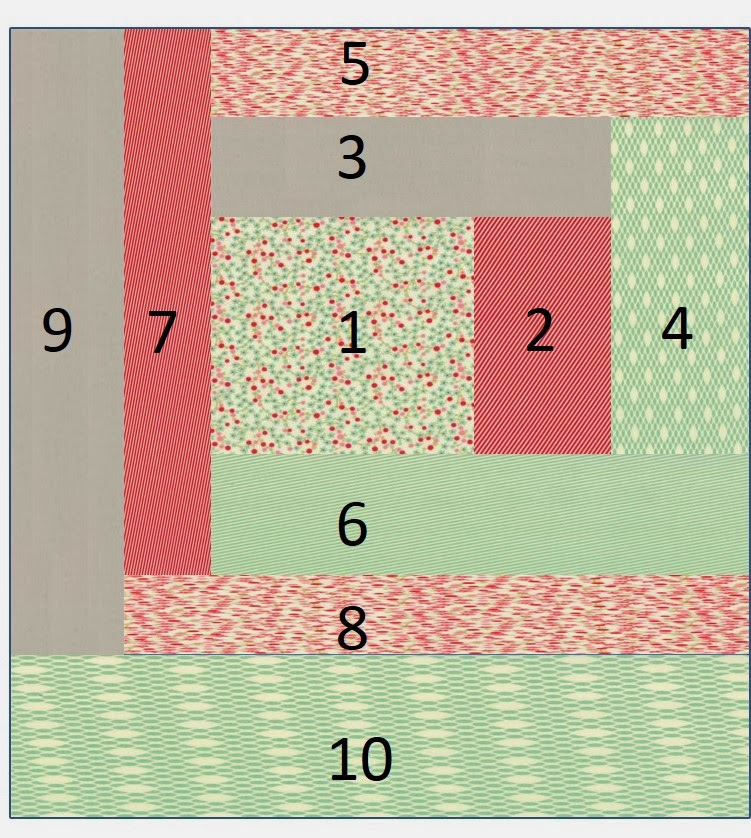
2. From your border fabric, cut two 3.5″ strips along the length. Take a strip and trim it with fabric scissors so it’s the same length as the side of the square. With right sides facing together, sew a 1/4″ seam allowance.
3. Press open, and then quilt lines that run parallel to the seam. There will be some extra fabric hanging over the batting. As shown below, make sure your stitch starts and ends on the batting.

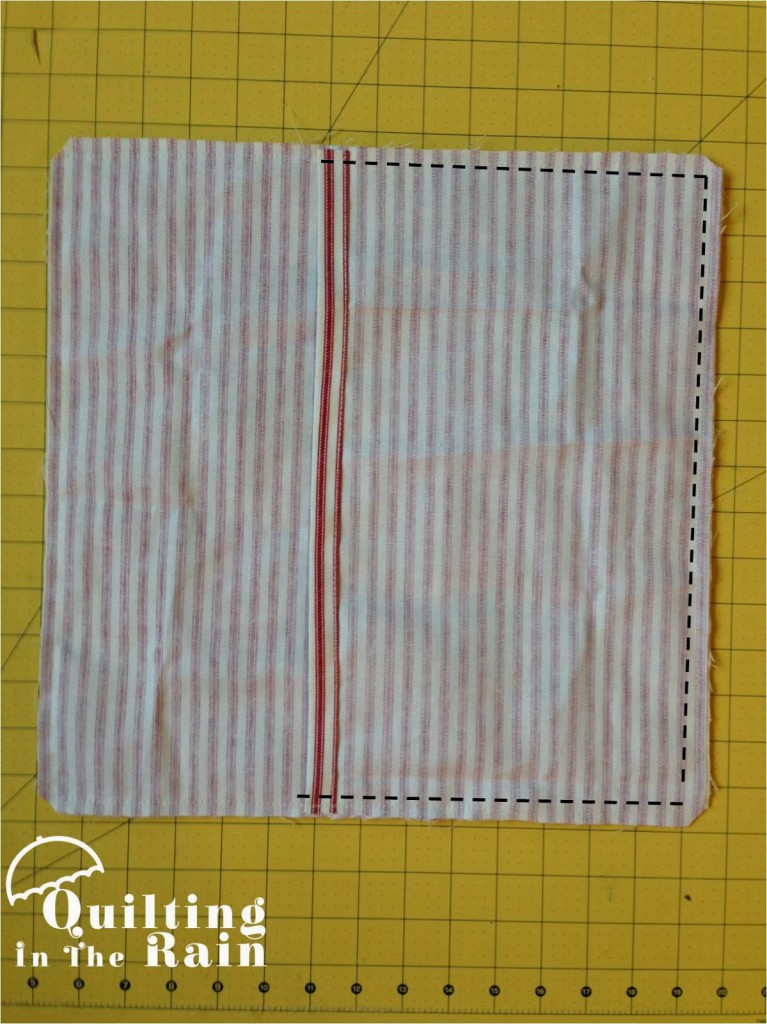
4. Take the strip and trim it with fabric scissors so that it measures the length of the square and strip that you just pieced together, as shown below. With right sides facing together, sew a 1/4″ seam allowance.
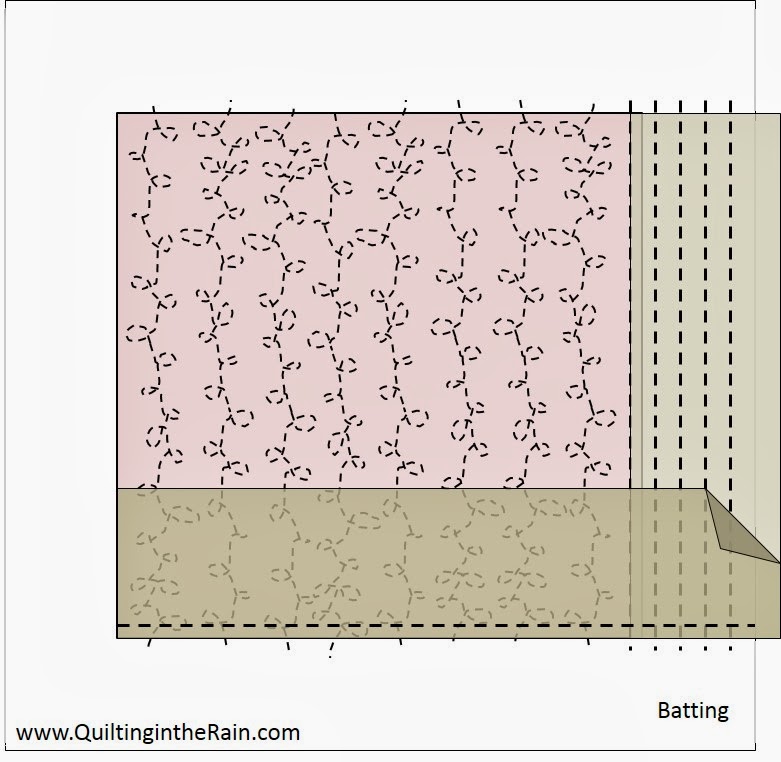
5. Press open, and then quilt lines that run parallel to the seam. There will be some extra fabric hanging over the batting.


press, then turn under 1″, then press again. Stitch along the fold to
keep in place to create a pretty seam. Repeat on the other rectangle as well.
along the left side of the pillow cover. The finished seam you
created from the previous step should be facing toward the right. Pin
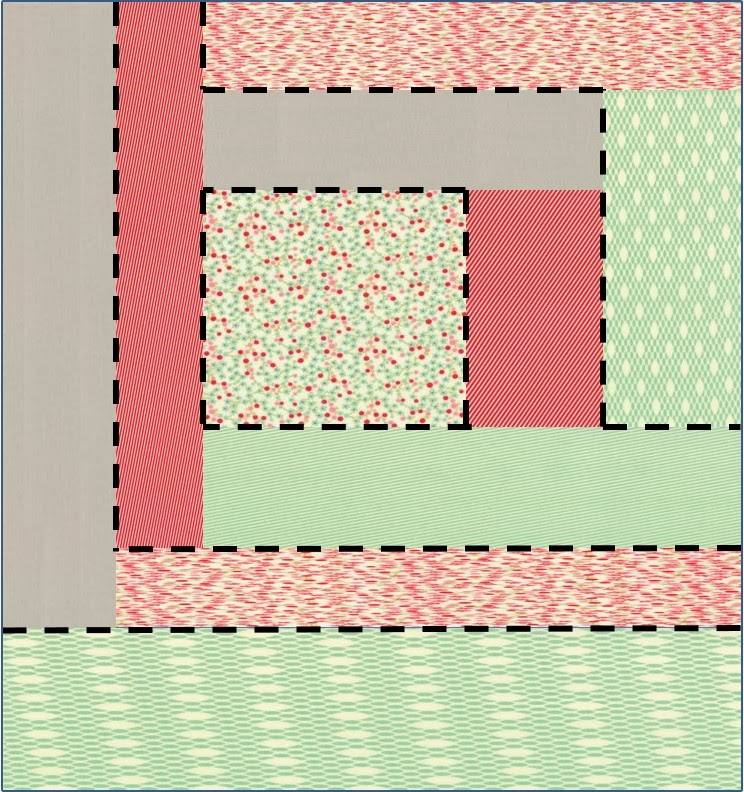
to keep in place, then sew a 1/4″ seam allowance along the perimeter as illustrated by the dashed
line below. Start and end your stitch with a
back-stitch.
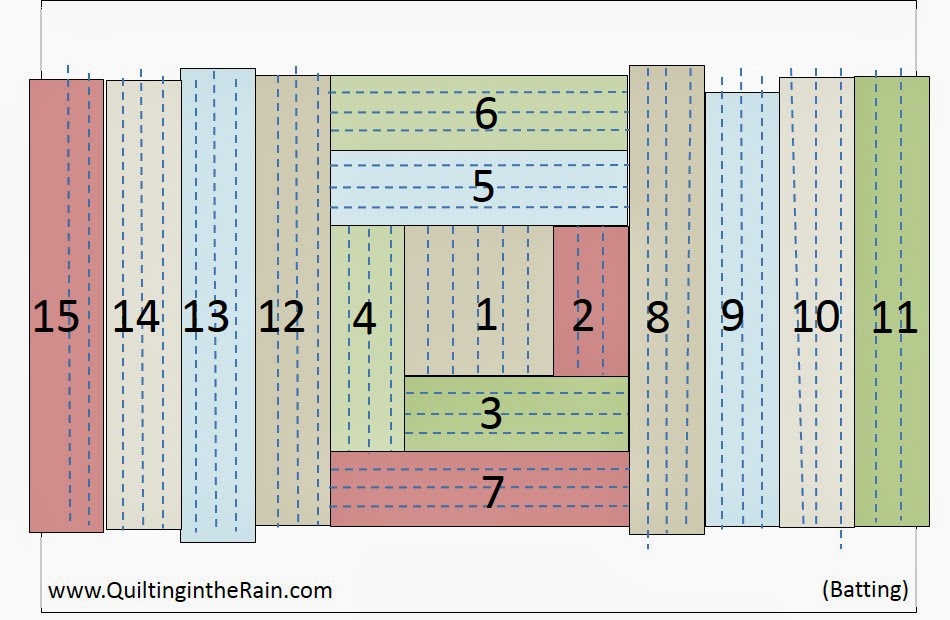
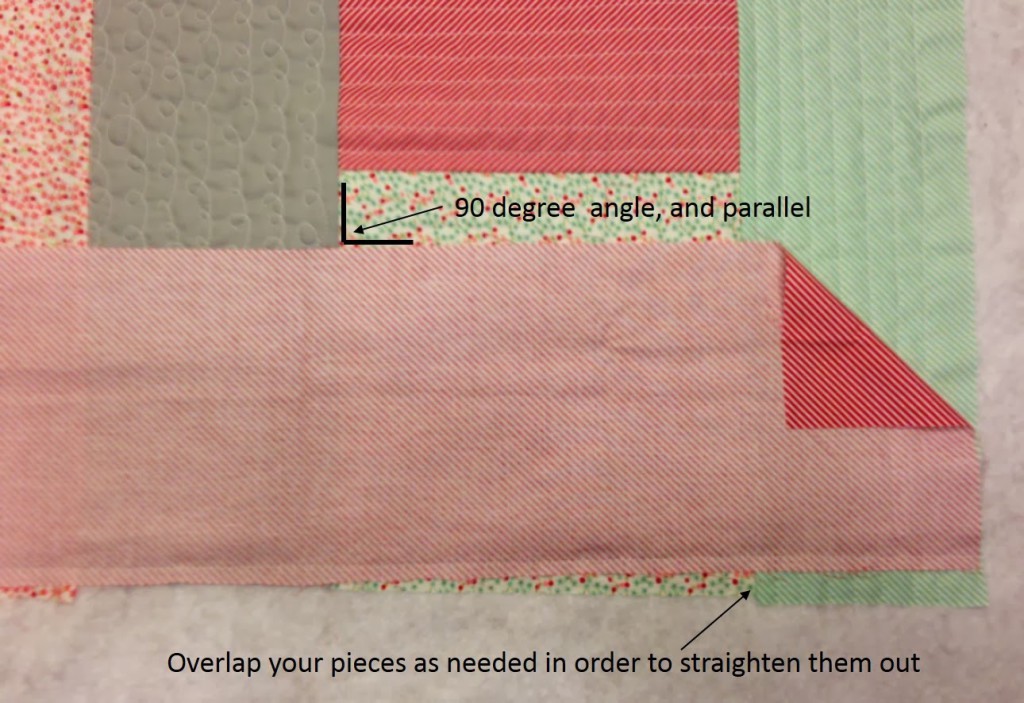
keeping the strips aligned and ‘square’ them as necessary. The seams of each successive piece should be at a 90° angle to the previous quilted piece.

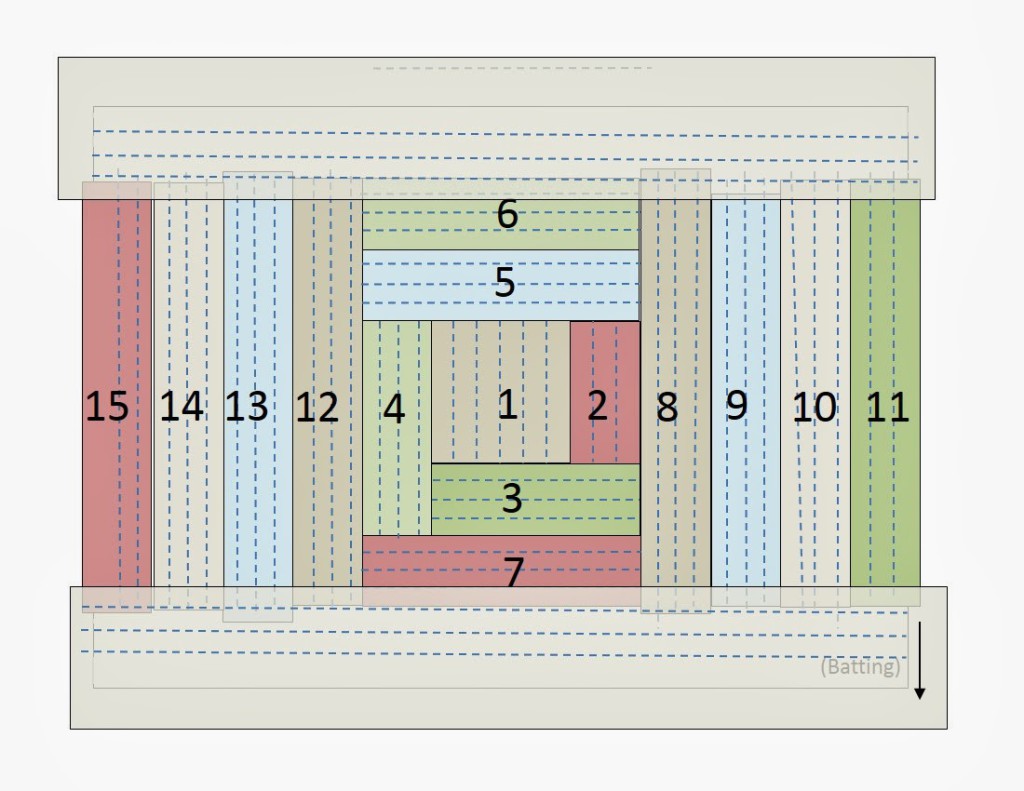
fabric sticking out side of the batting. Then, flip it over so the
patchwork is facing you and trim approximately 1/4″- 1/2″ from all four
sides so that your block measures 16.5″x12.5″.


Comments: 3 | Leave a comment