Goal for Week 1: Have 5 quilted blocks completed by this Sunday, October 19.
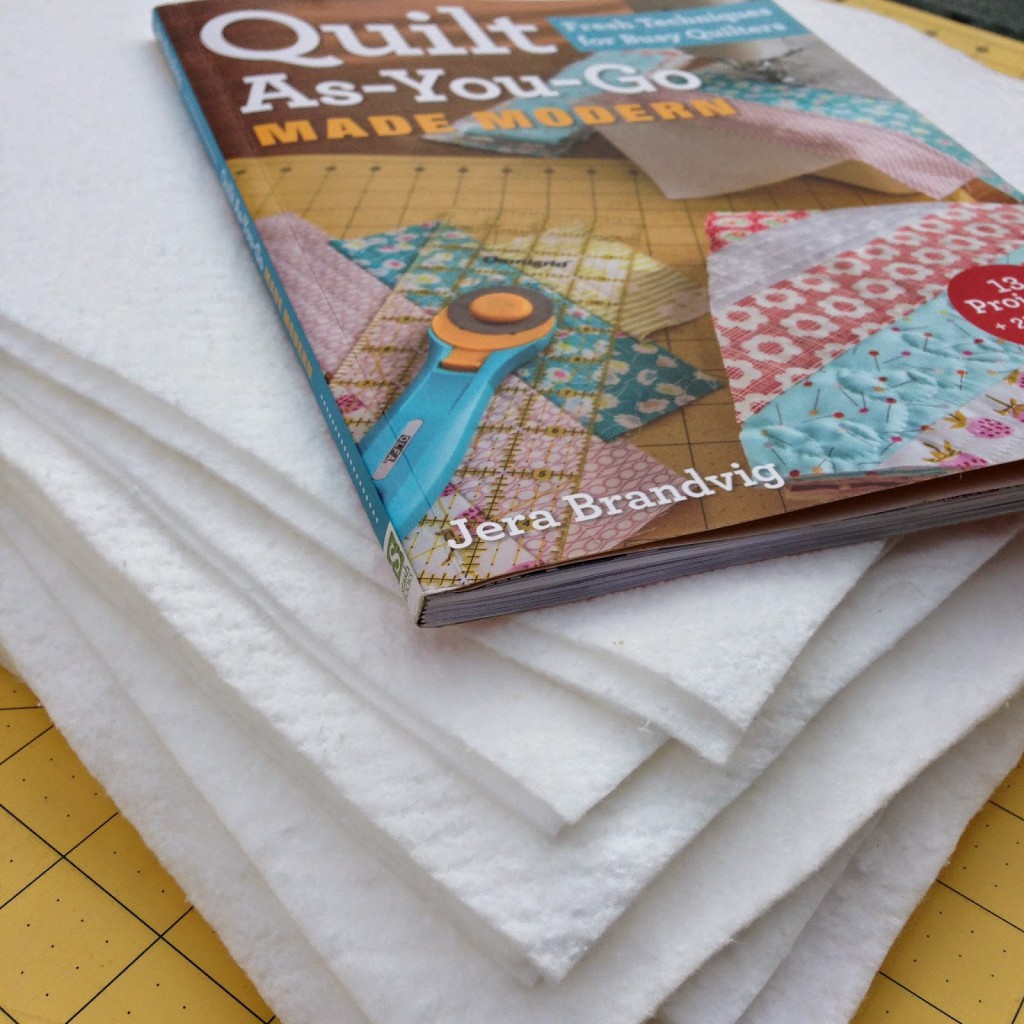
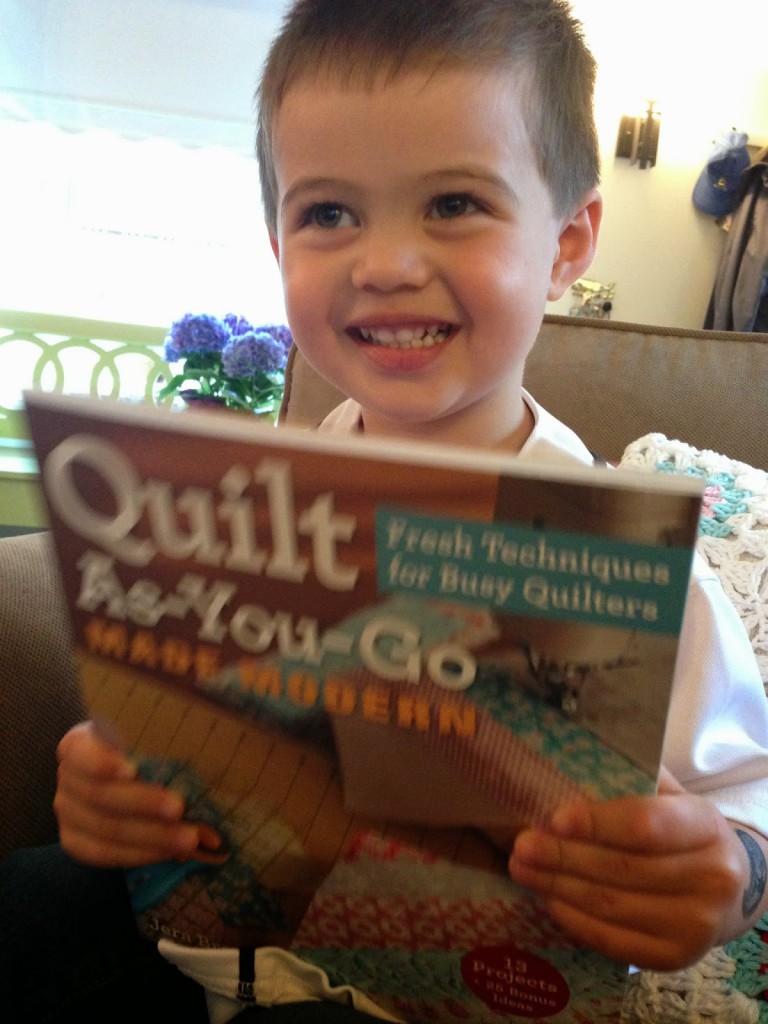
Today is the beginning of Week 1 for my first Quilt As-You-Go Quilt Along! Please refer to my Introduction post for details on supplies and how this works. Also, if you have any questions please feel free to leave a comment as I will be checking and answering as often as I can.
For those of you that are seeing this for the first time – Welcome! Feel free join or follow this quilt along at any time, on my blog, facebook and instagram. (Details in my intro post here).
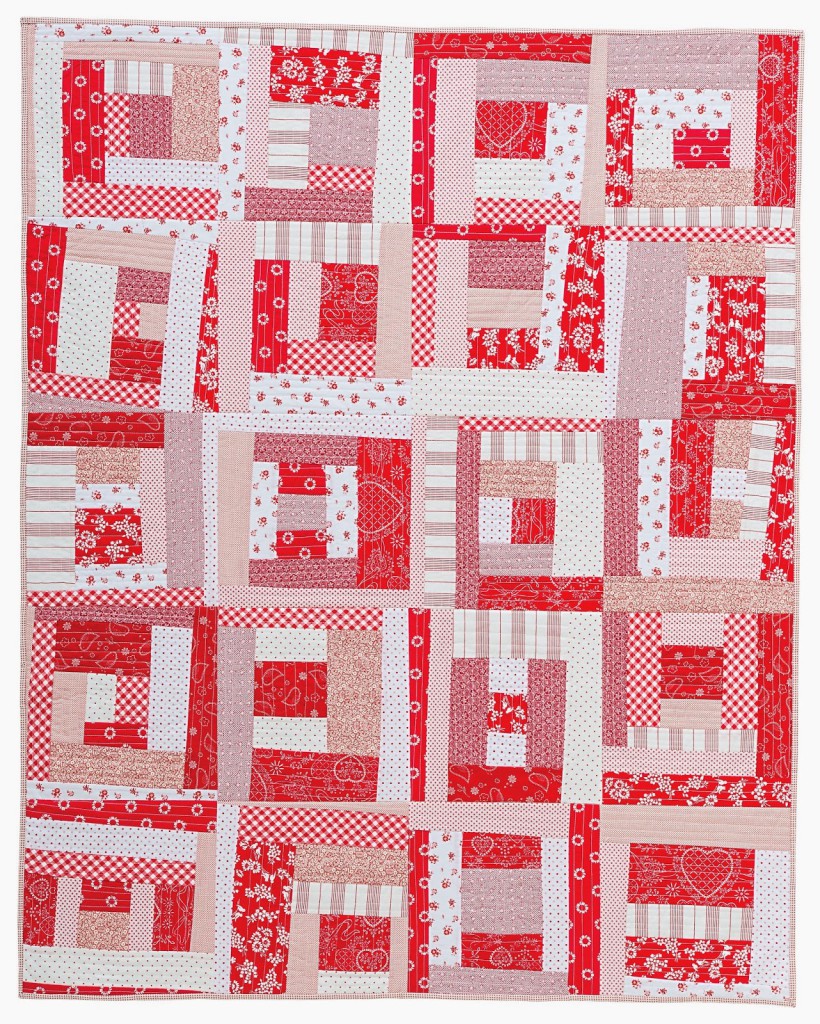
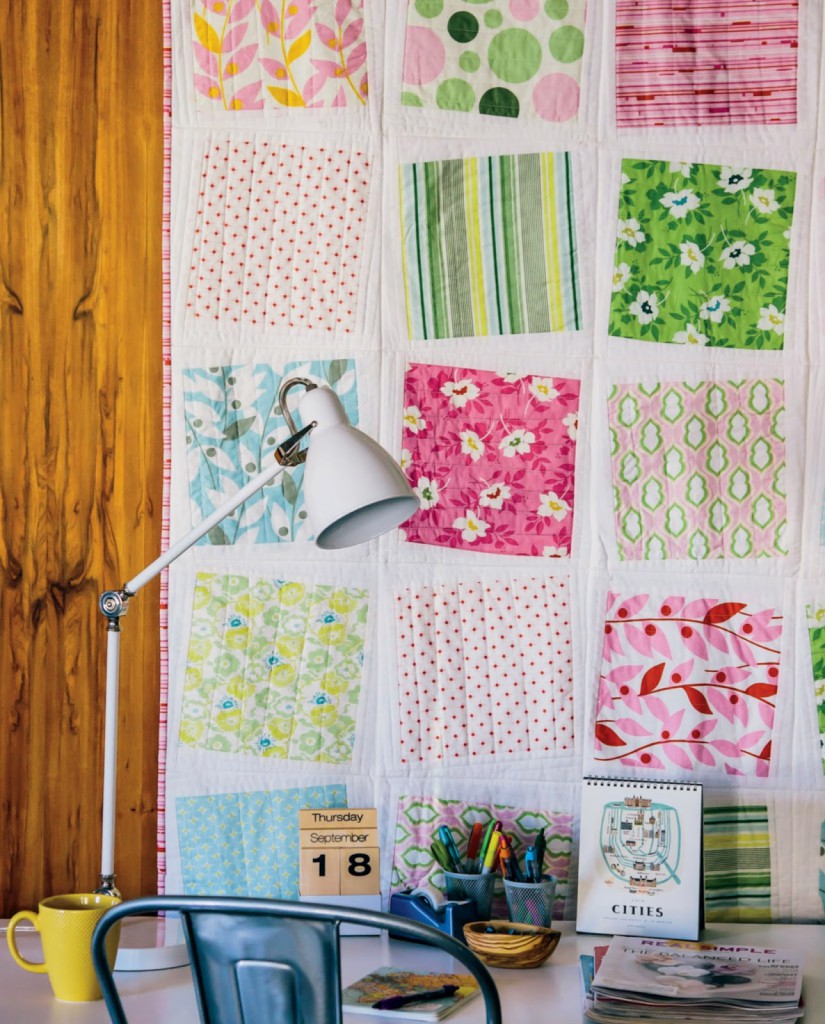
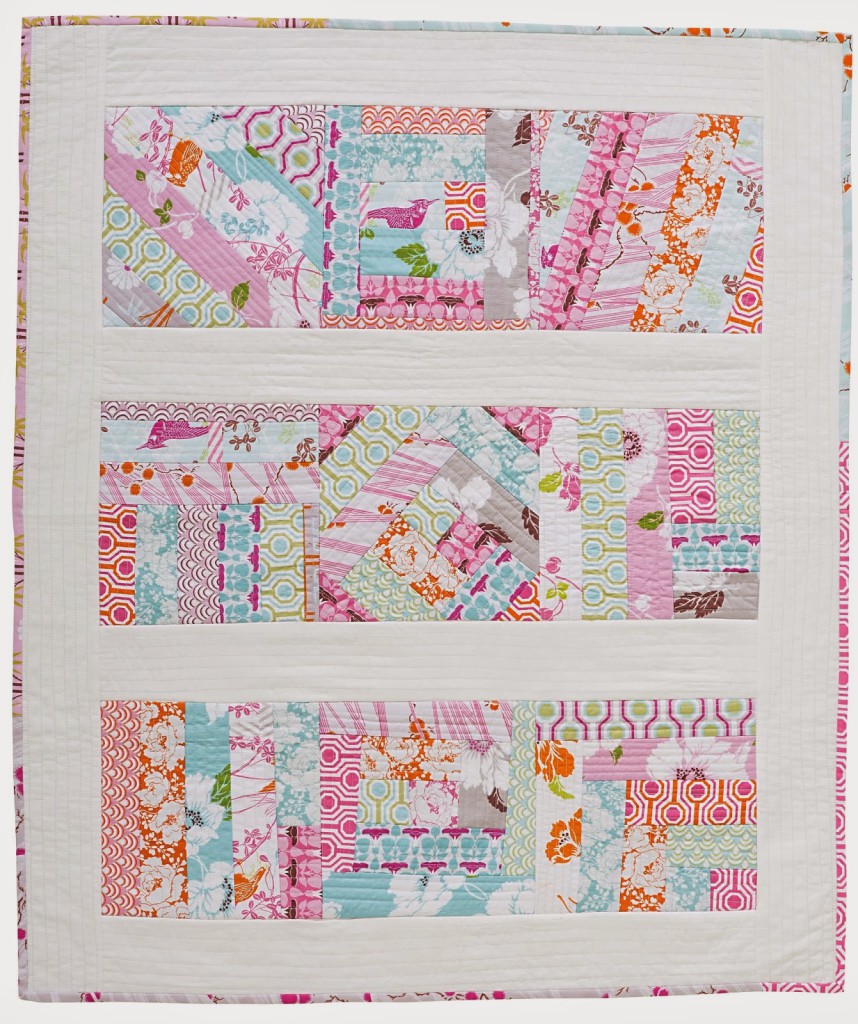
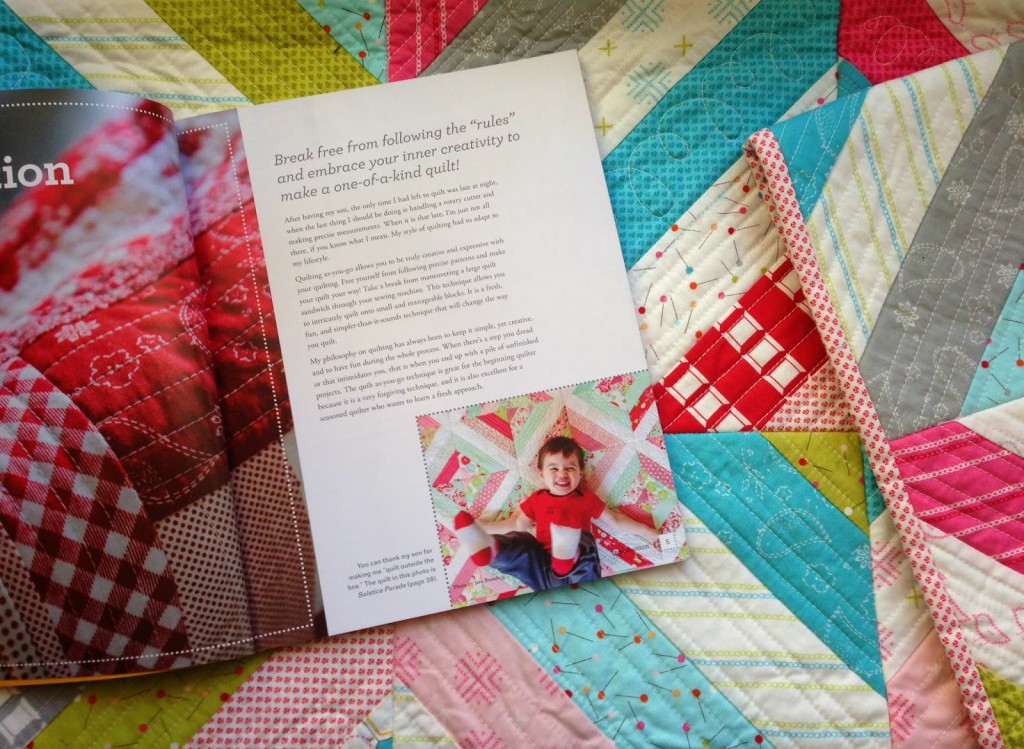
Please Read! What I hope all of you will get out of this quilt along (other than a finished quilt!), is to show you that by using this QAYG technique, you can make a quilt without following a precise pattern. In fact, your quilt doesn’t have to look exactly like my ‘Red Square’ pattern (unless you want it to). You can make your quilt as abstract or traditional looking as you want –
there’s so much room to improvise and be creative using this simple
technique. This quilt will be ALL YOU, and if you decide to follow the ‘Red Square’ pattern, you’ll soon find that no 2 blocks are the same. This is a really creative, fun and forgiving technique, so enjoy yourself!
Before you start, please read my post for some tips and what to expect as you get started on your QAYG project.
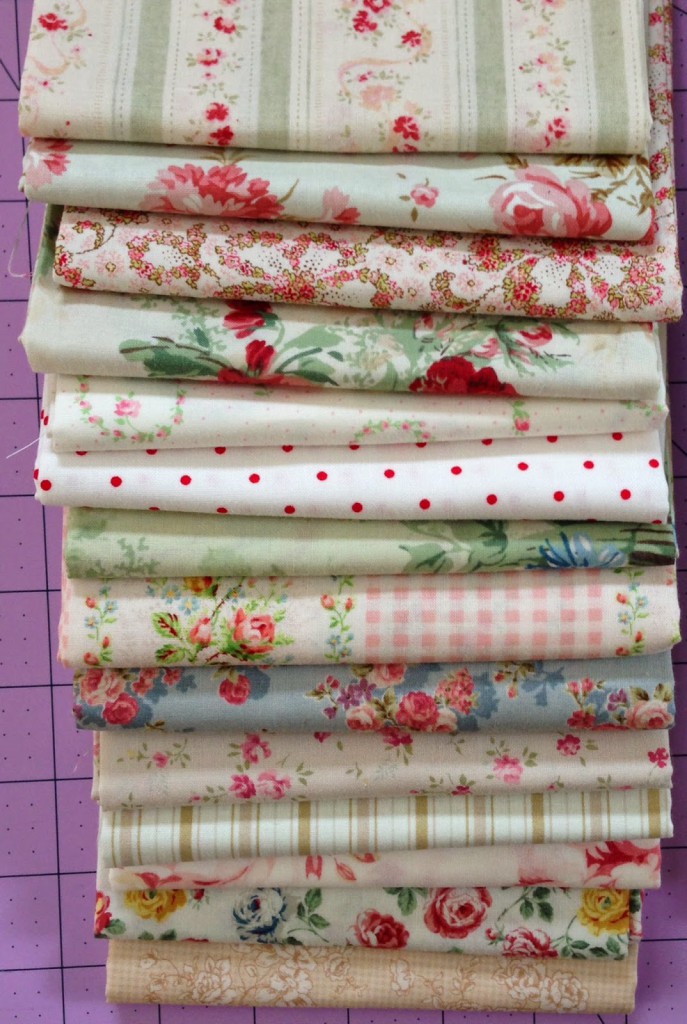 |
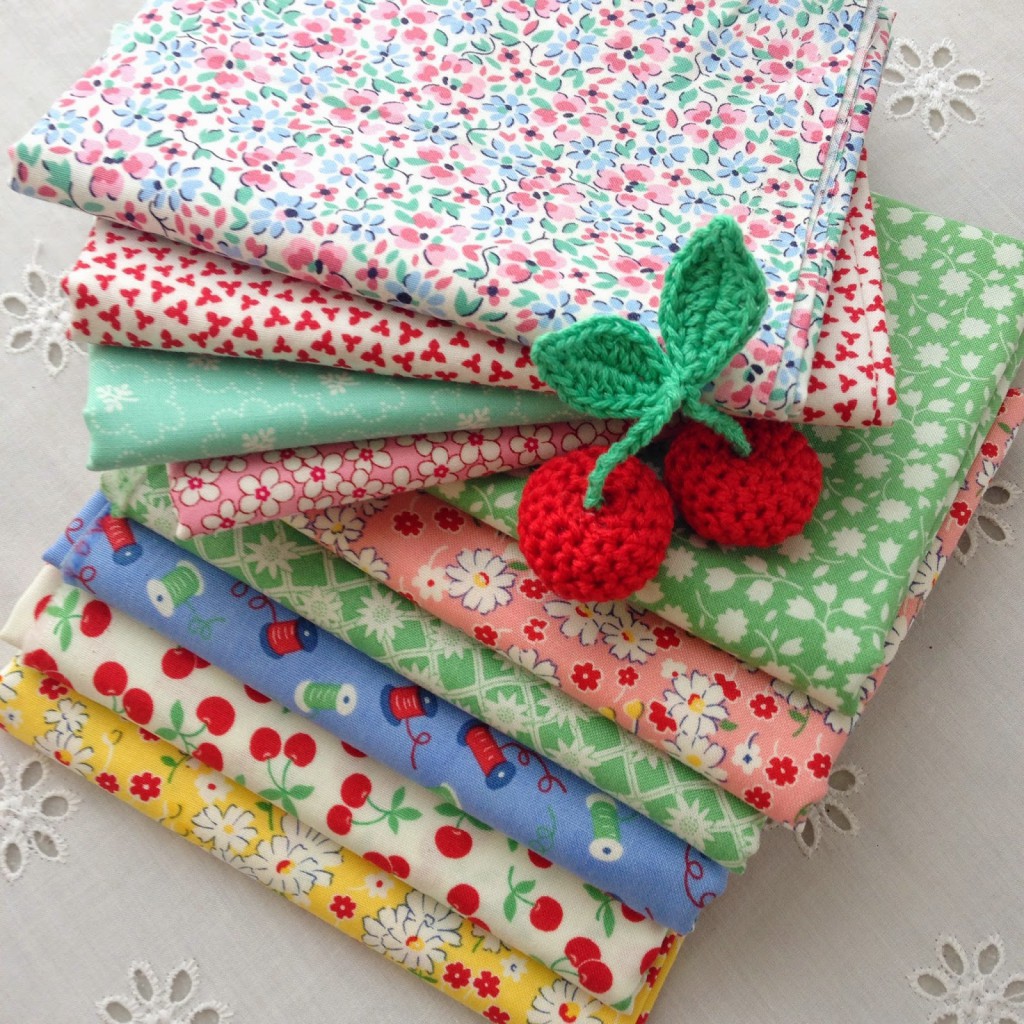
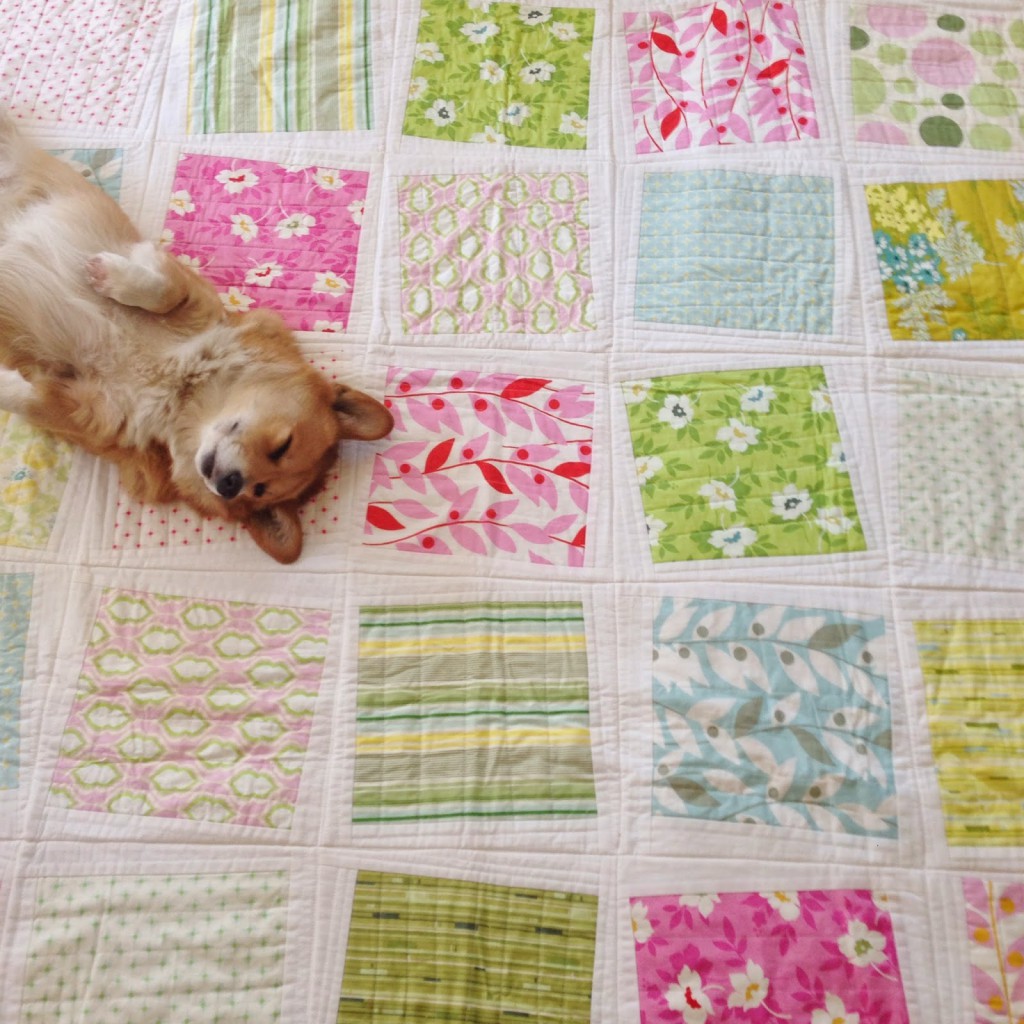
| Fabrics from www.WhimsyQuiltsandFabrics.com |
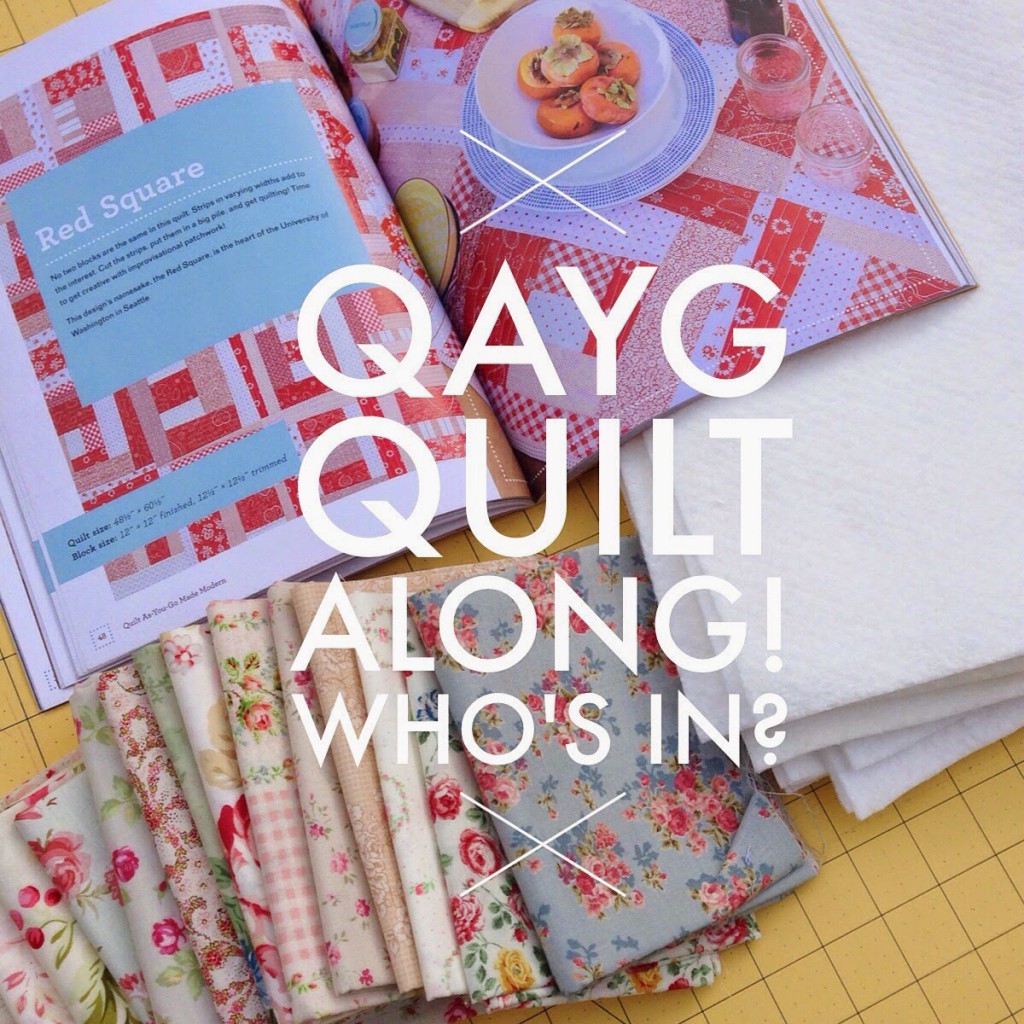
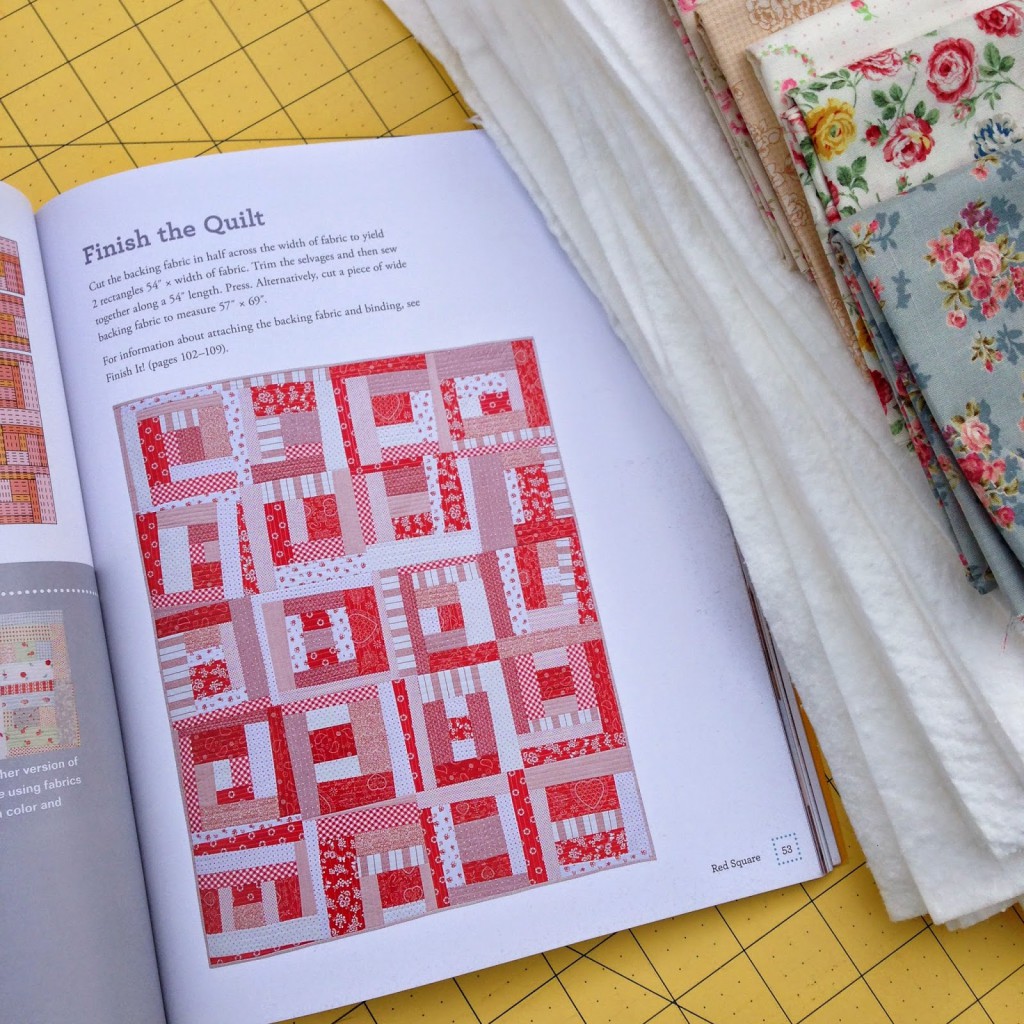
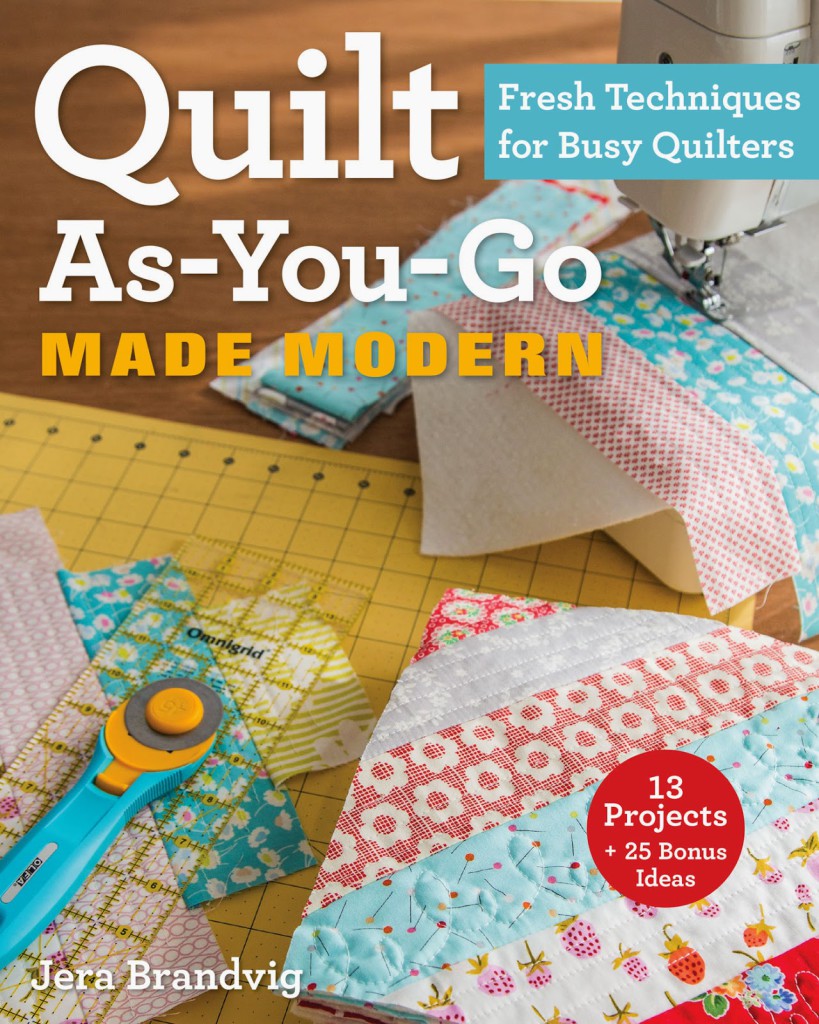
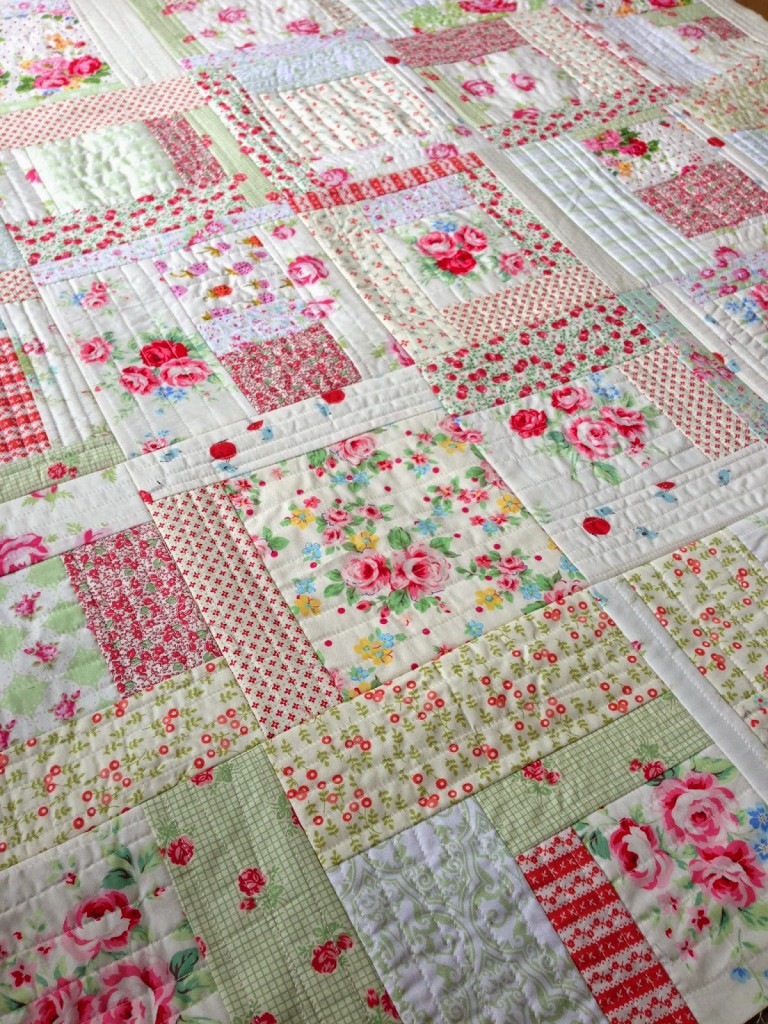
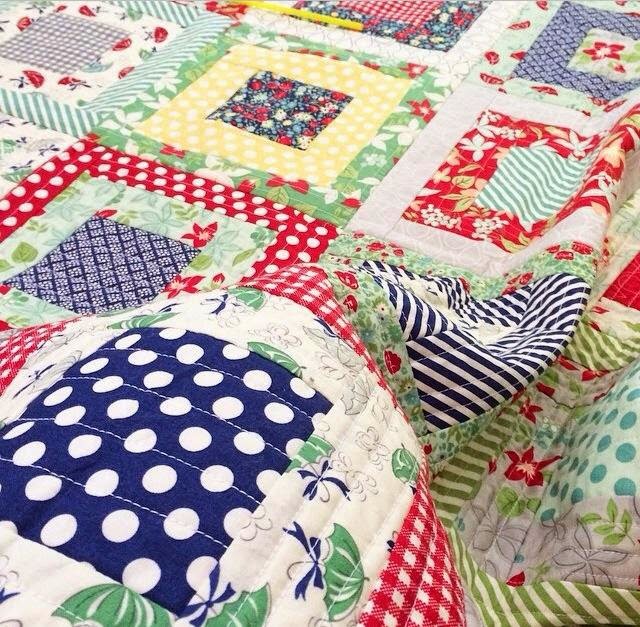
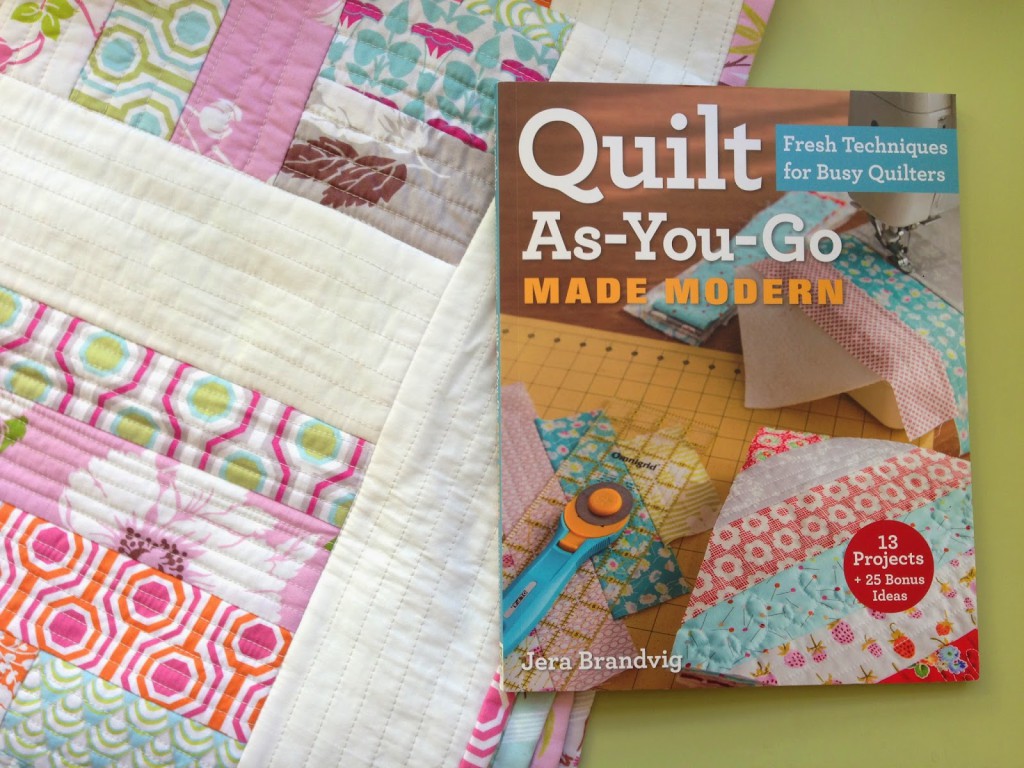
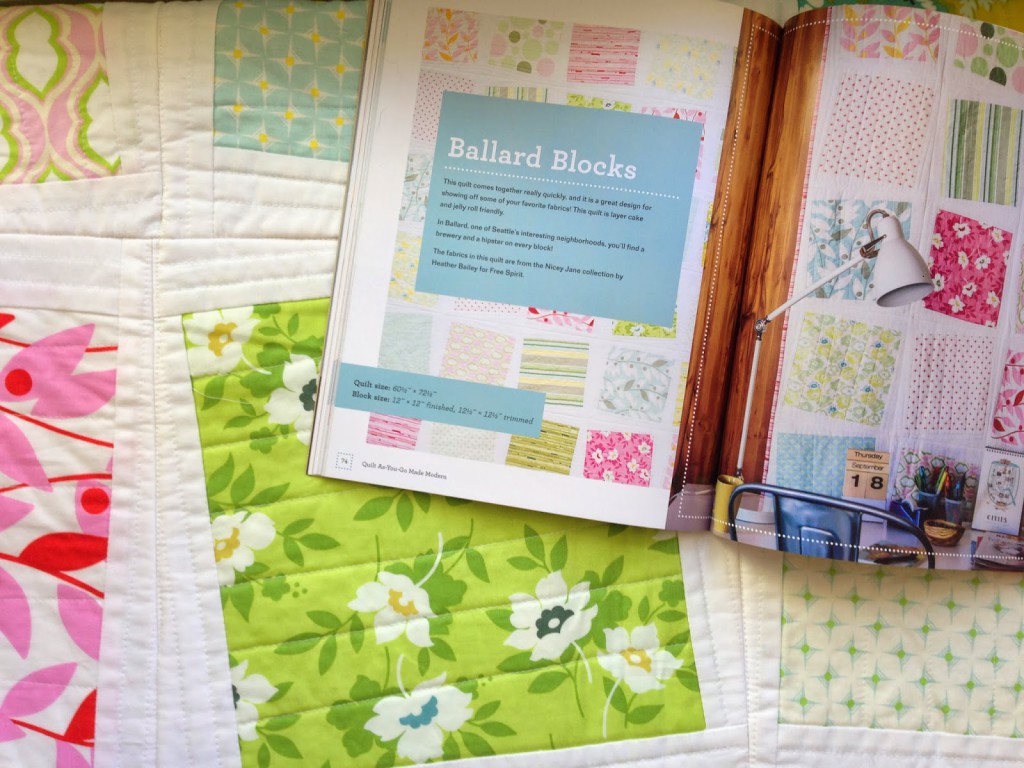
Now, down to business 🙂 As mentioned in my book Quilt As-You-Go Made Modern, the Red Square’ pattern is “…similar to making a Log Cabin Style block (page 18 [for Kindle readers see “QAYG Techniques” chapter]), except you can add strips to any side of the patchwork and in no particular order.”
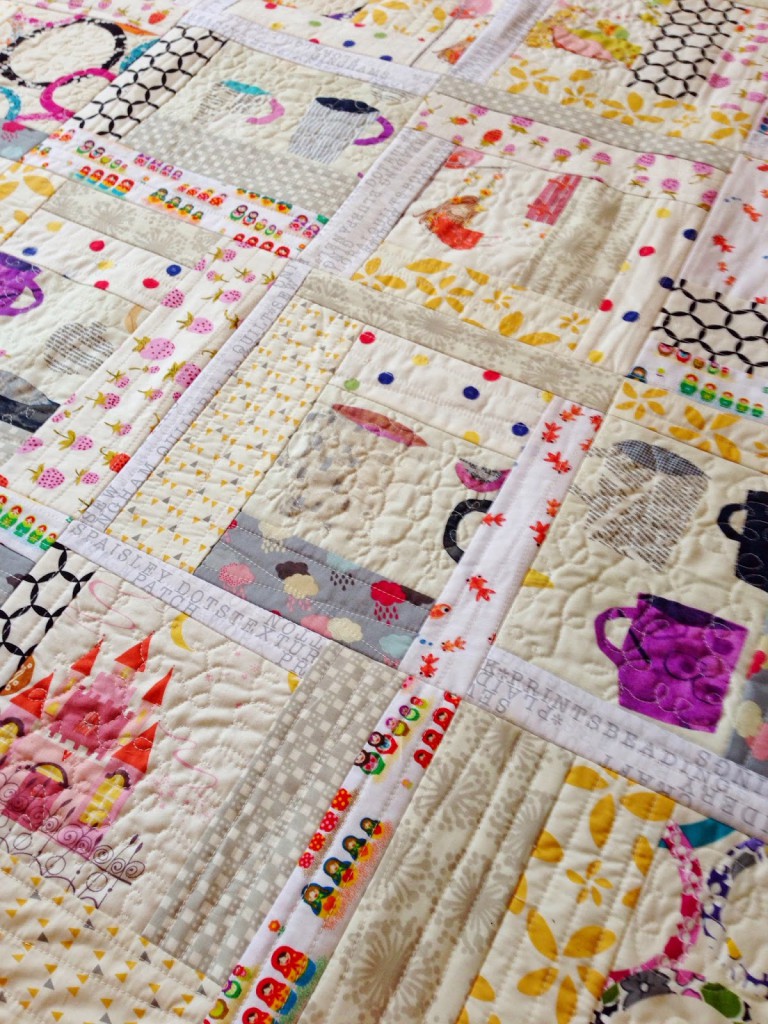
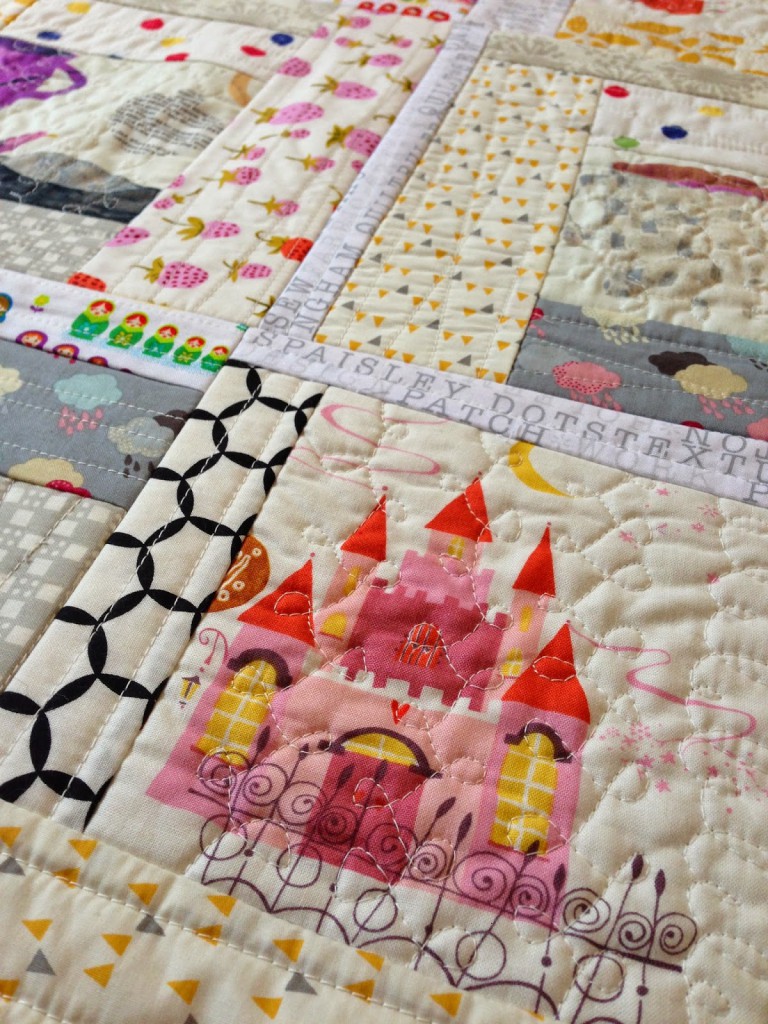
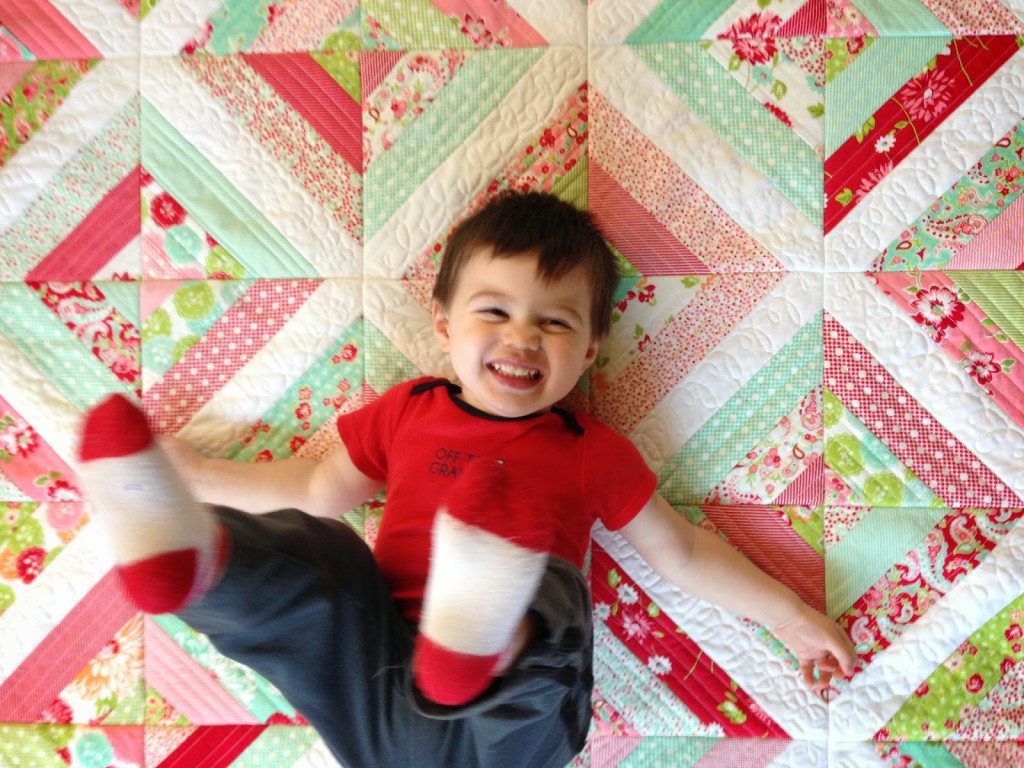
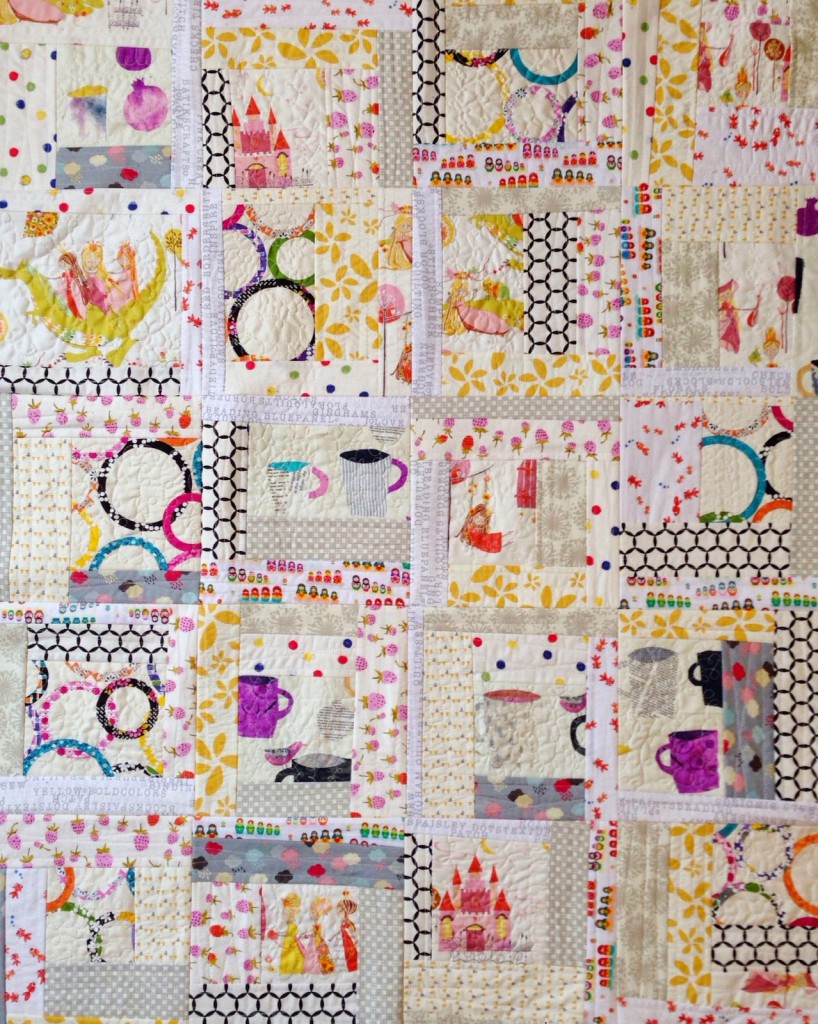
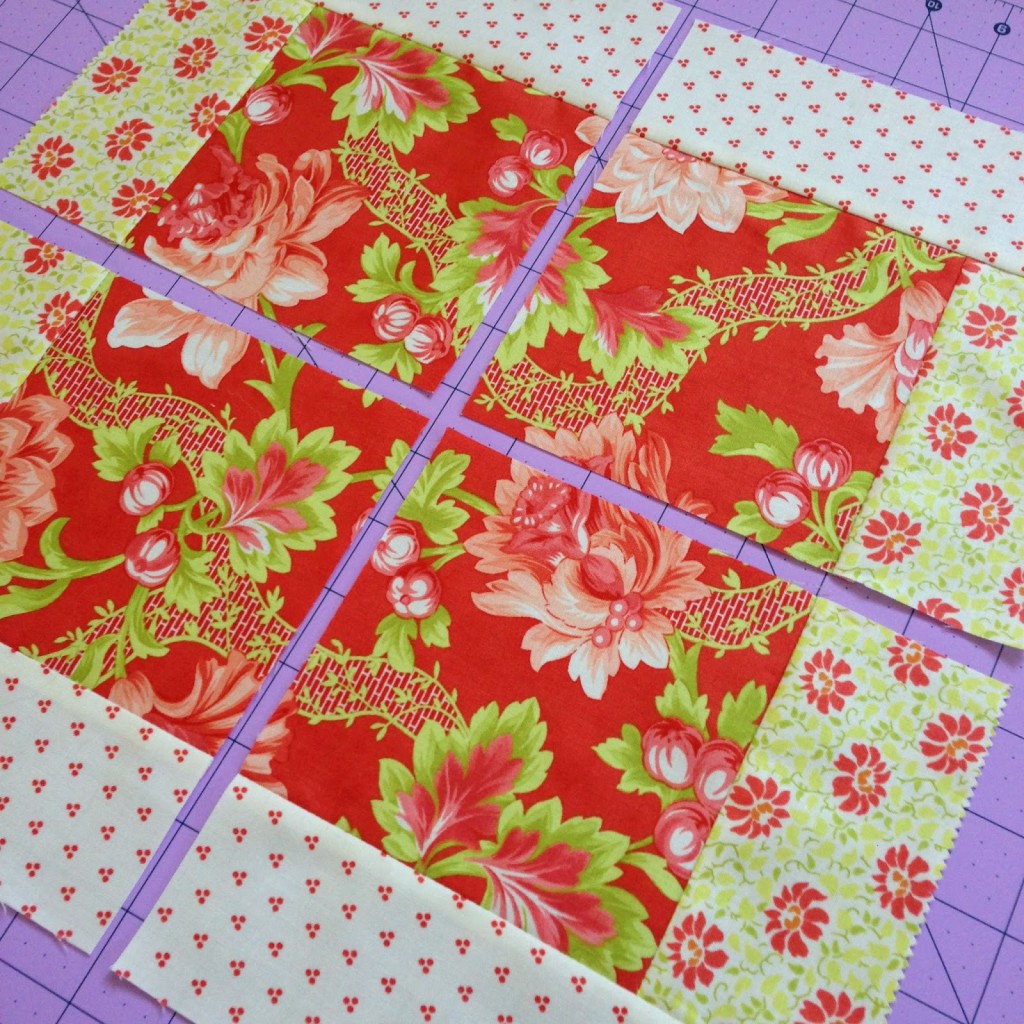
For this quilt along, I decided to make a more traditional style block as shown on page 18 of the paperback book (or in the techniques chapter). I will be starting with my first piece quilted in the center and adding additional pieces in a clockwise fashion. (Remember: you don’t have to make your quilt exactly like this. You can make yours closer to the ‘Red Square’ pattern, or another log cabin style block. Now that you’ve read the book and know the technique, you can implement it to make a log-cabin style block that you want, or that goes best with your fabrics. Isn’t it refreshing having a little bit of freedom with a pattern? 🙂
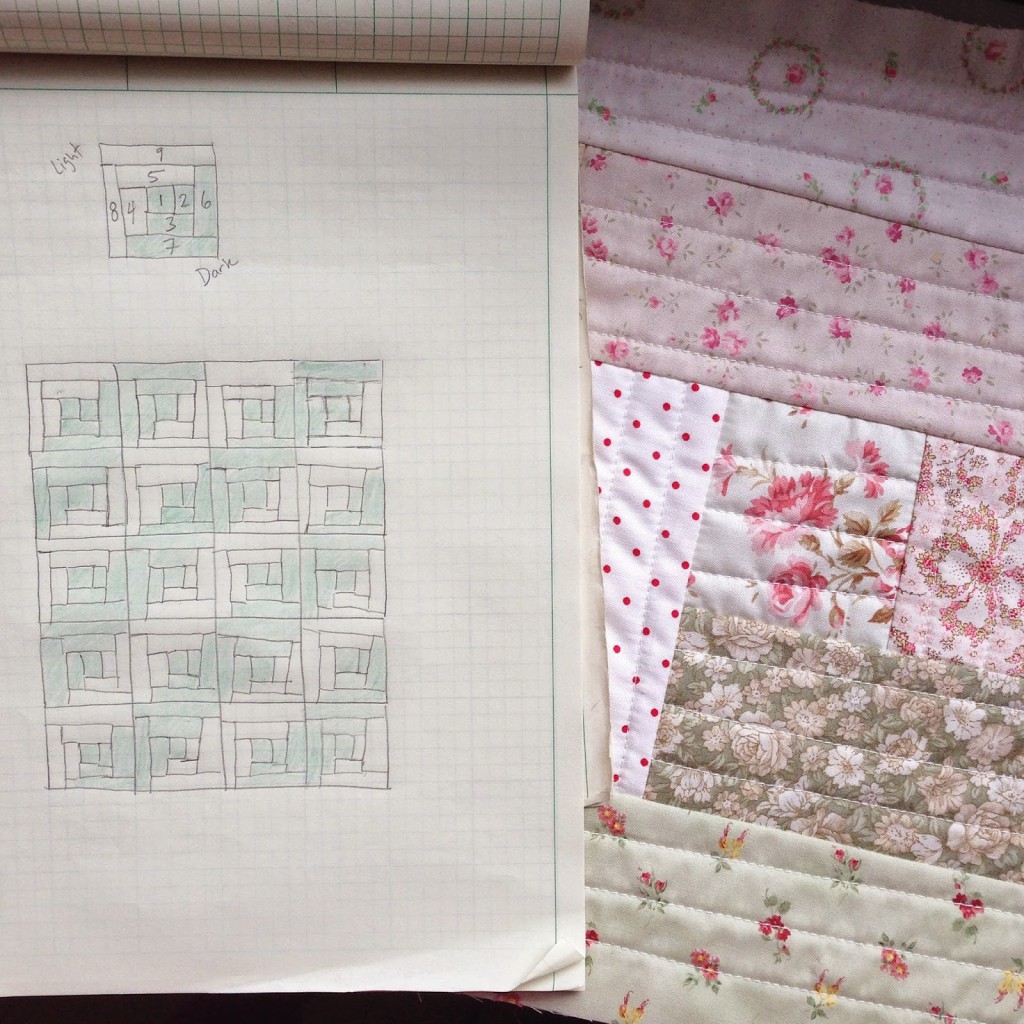
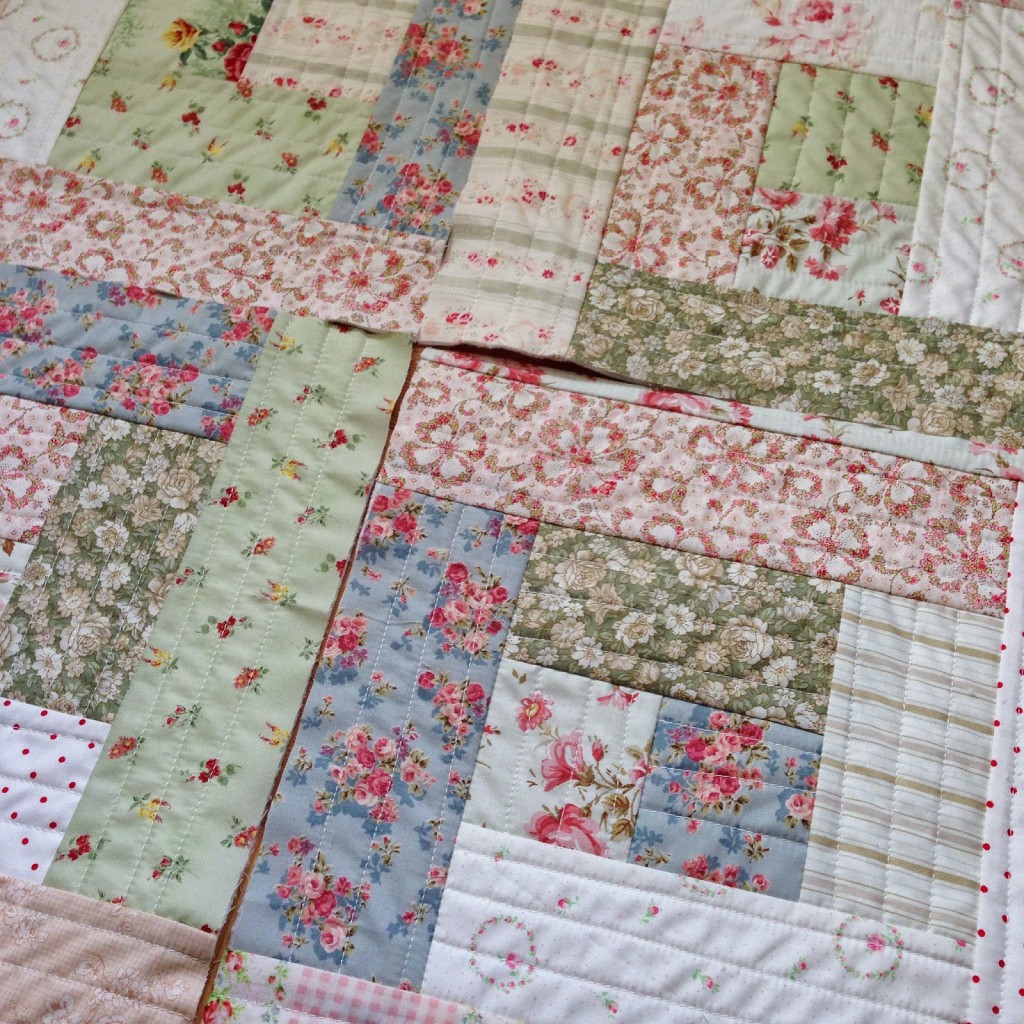
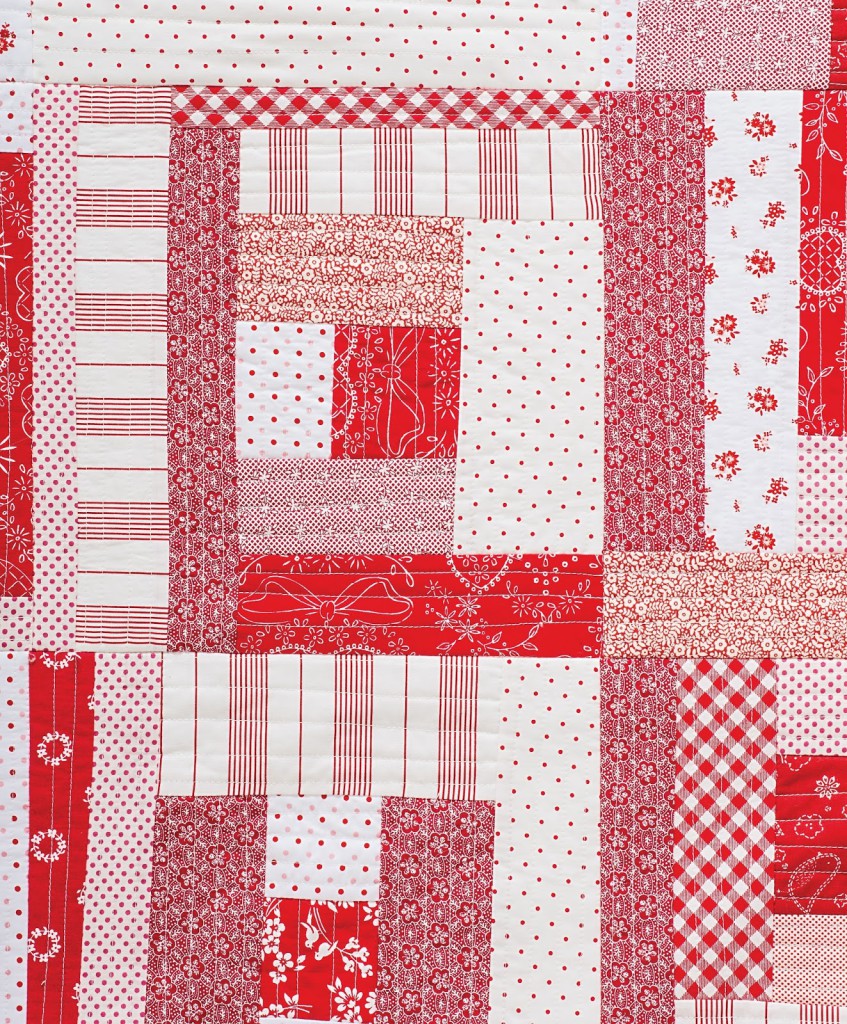
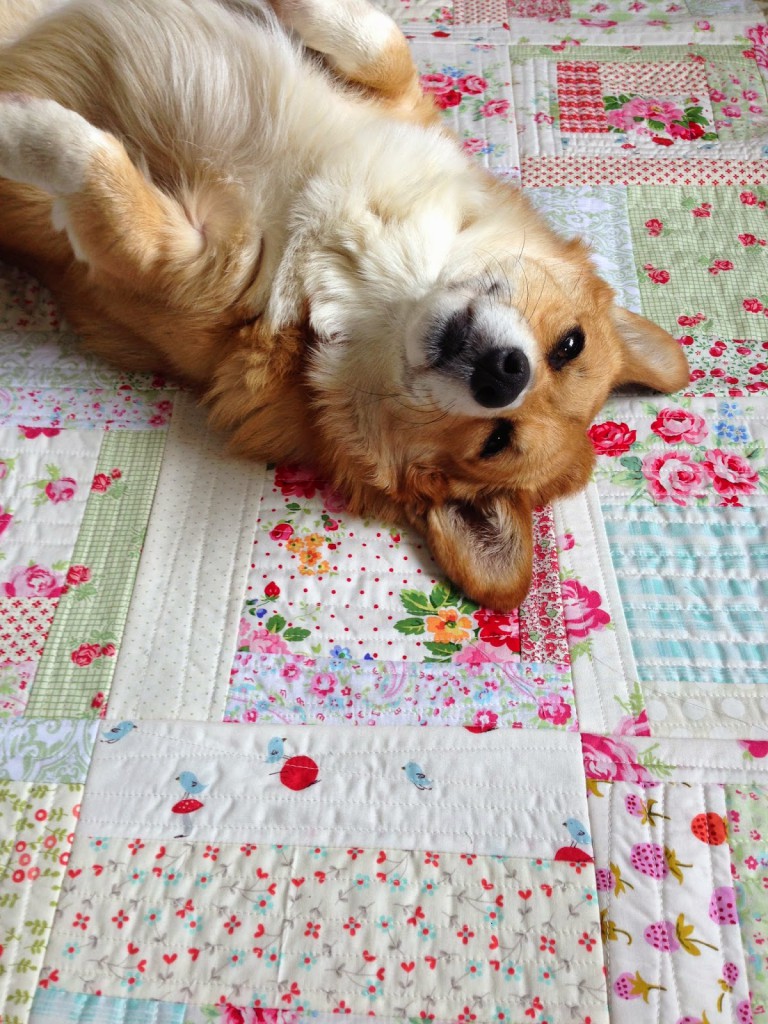
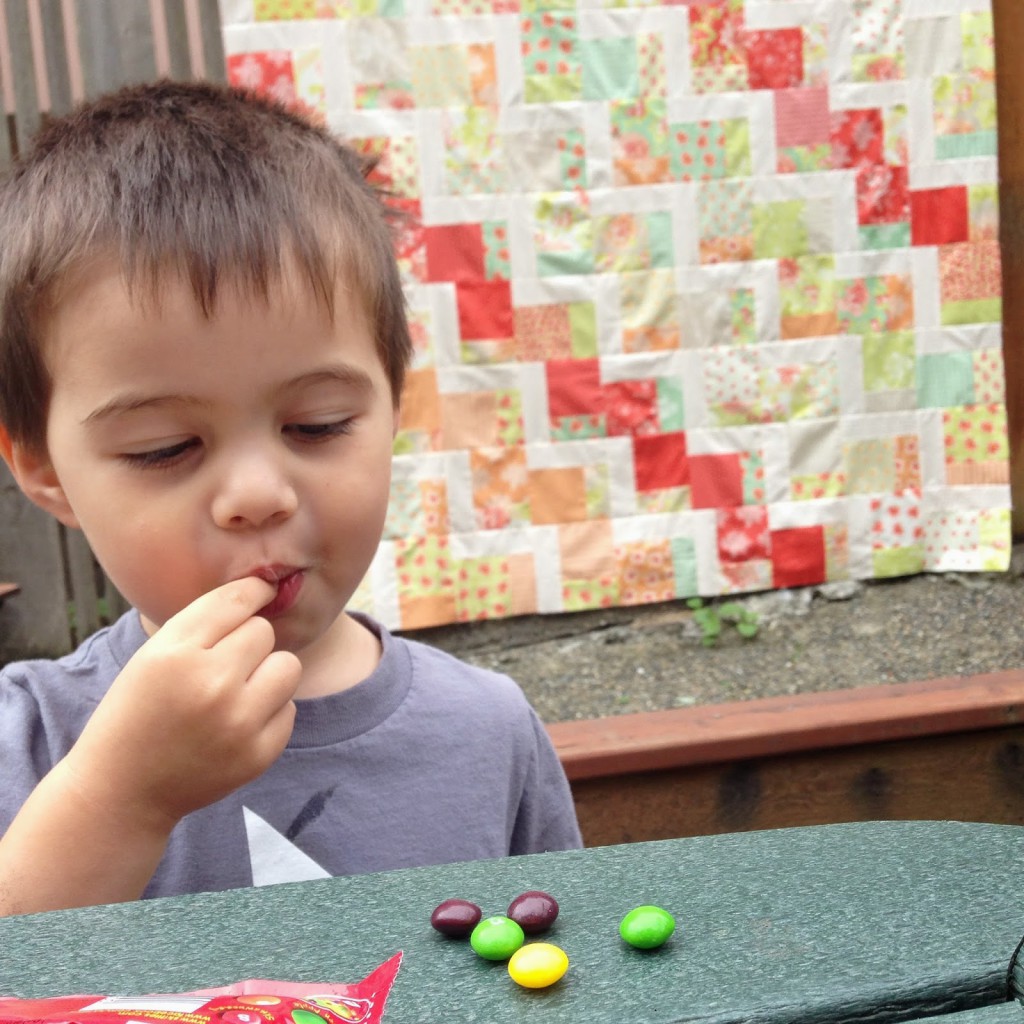
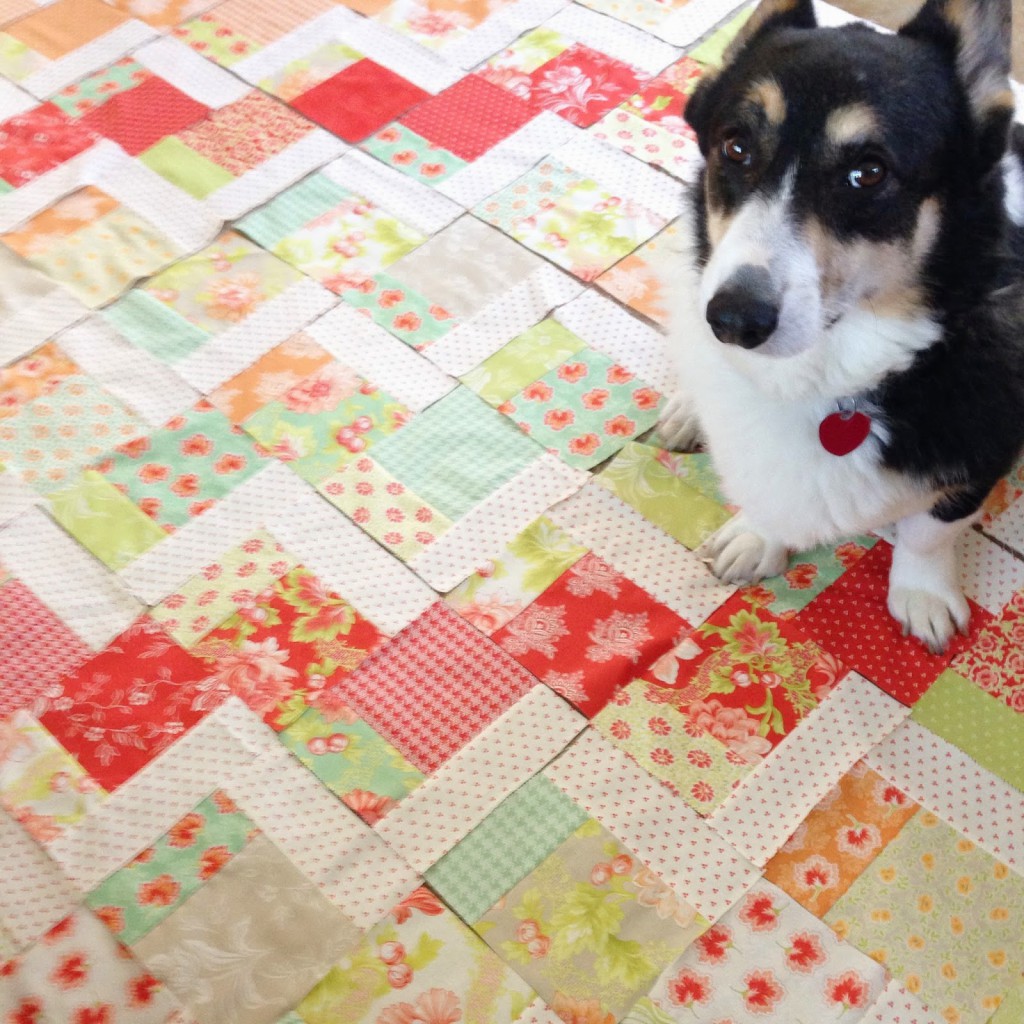
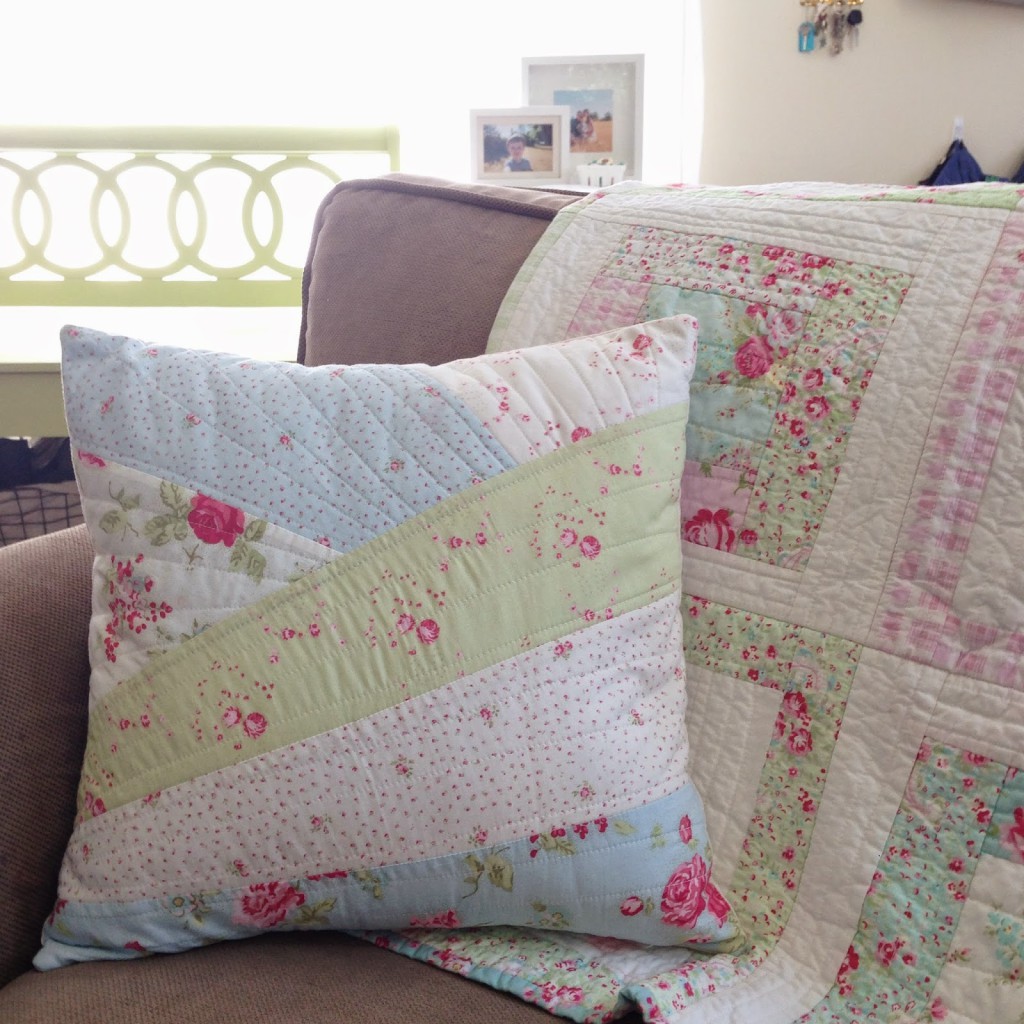
I also decided to divide my fabrics into lights and darks. Half of my block will be light and the other half dark. My fabric colors are so soft that the light/dark contrast is subtle. As I start making more blocks and eventually lay them out next to one another, I think you’ll start seeing the contrast, though subtle it may pop from afar.
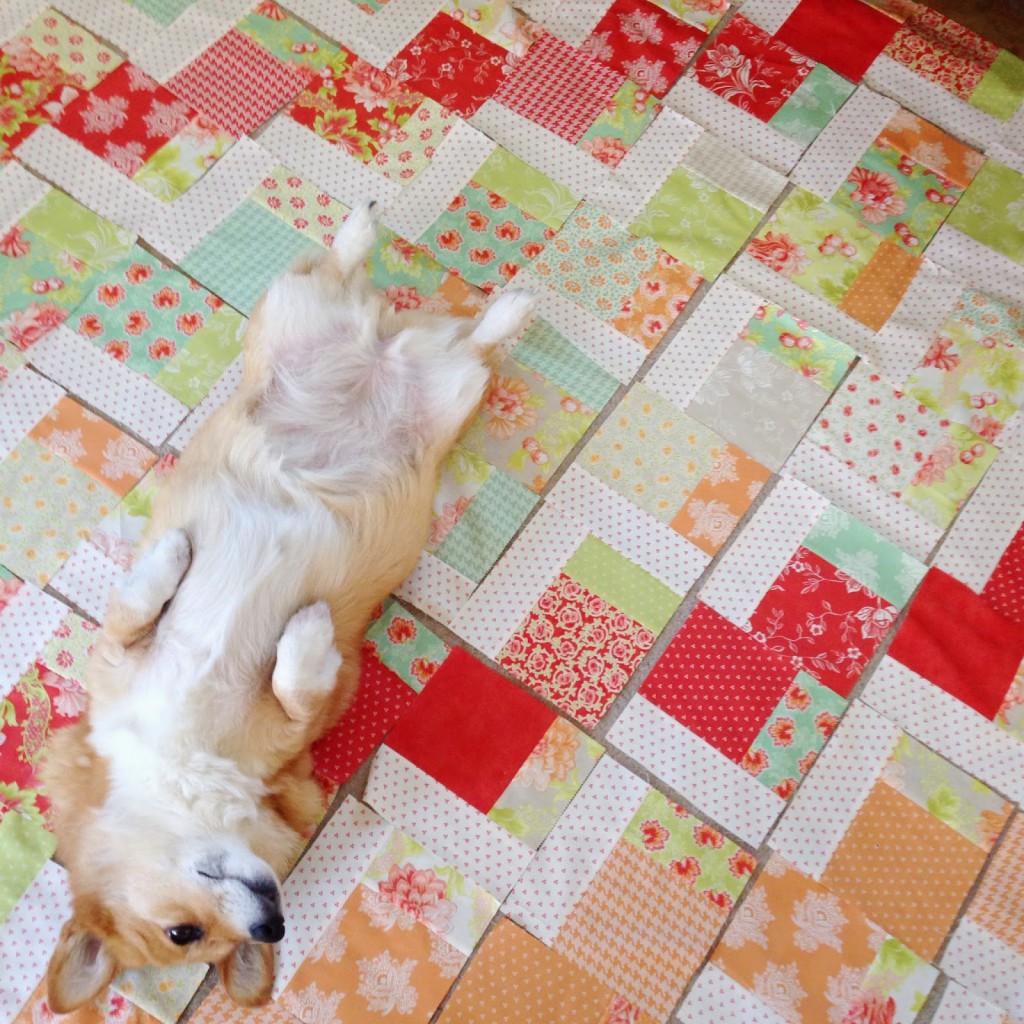
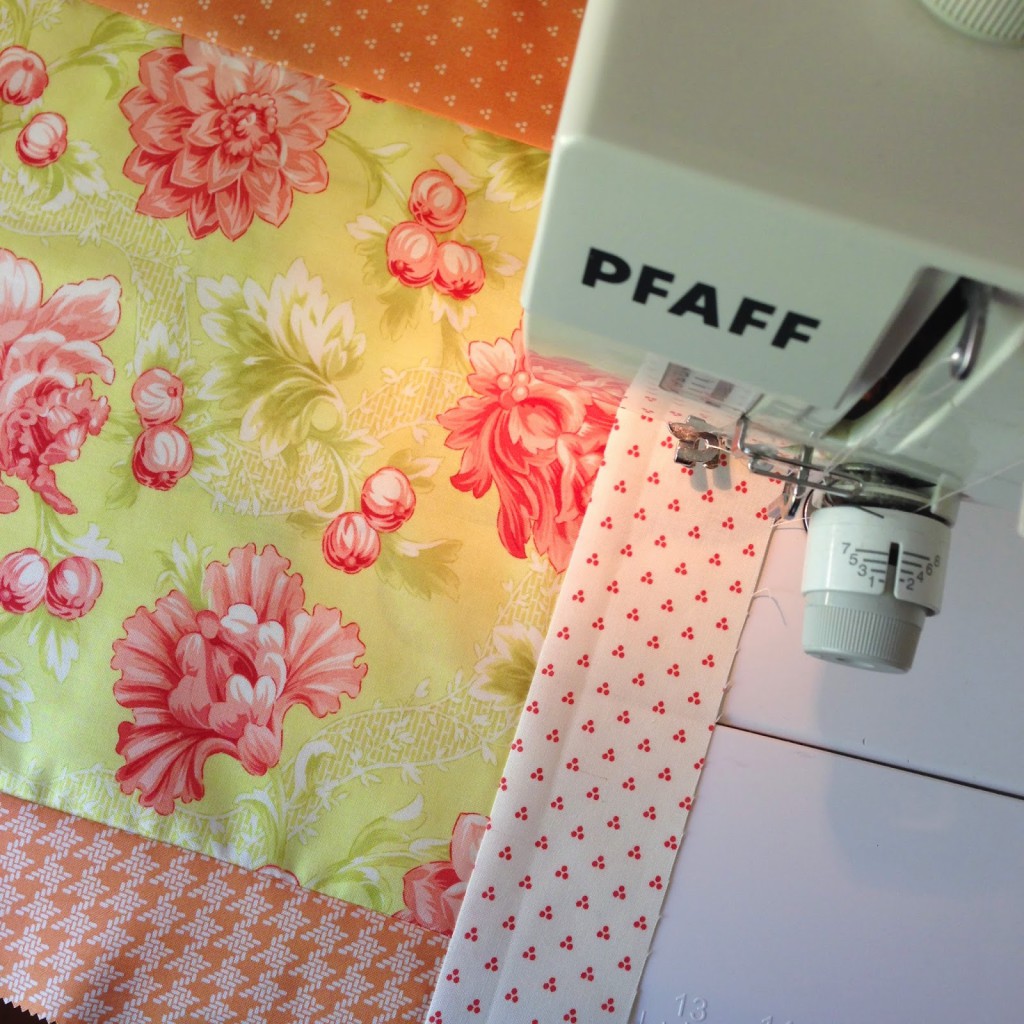
For these blocks I cut my fabrics into 3″-3.5″ x WOF (width of fabric) strips. I like having varying sizes to make sure I cover up the batting. Then, I put all my strips into a basket and started quilting!
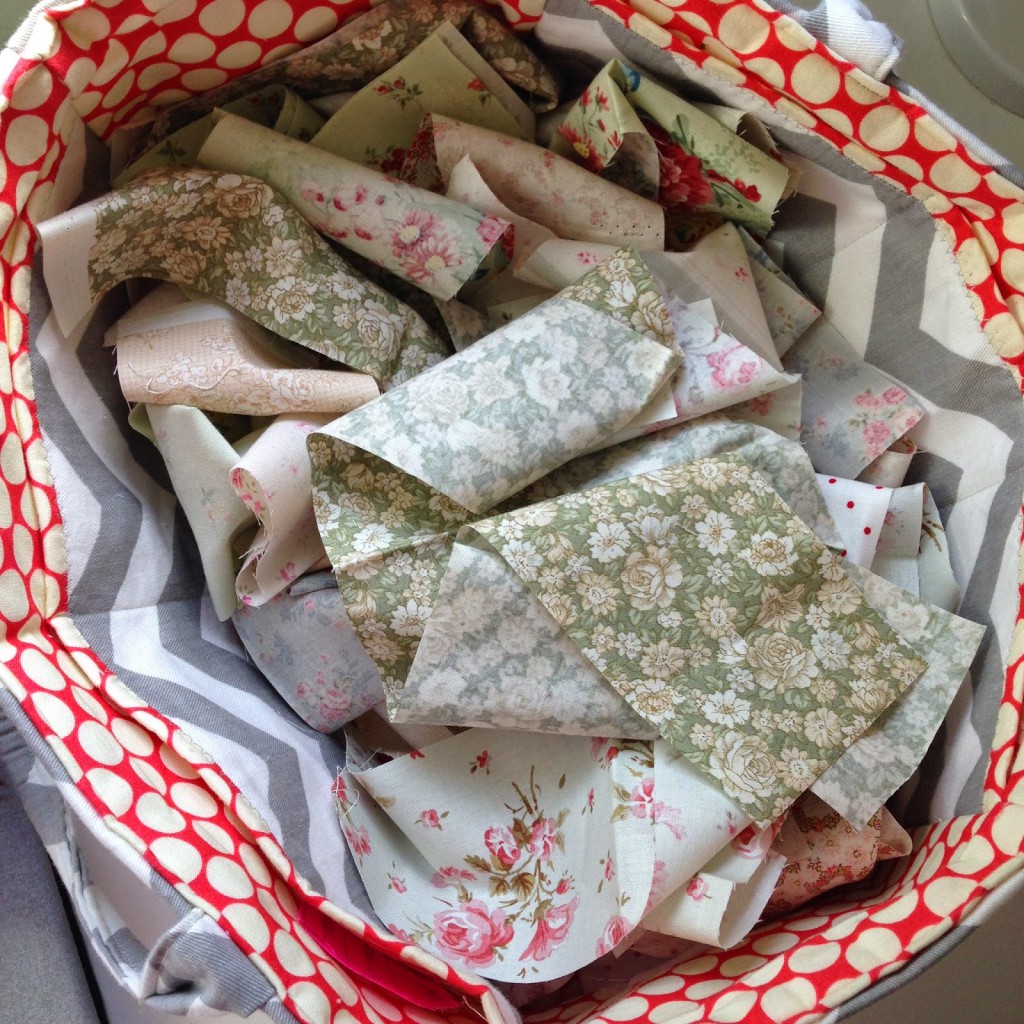
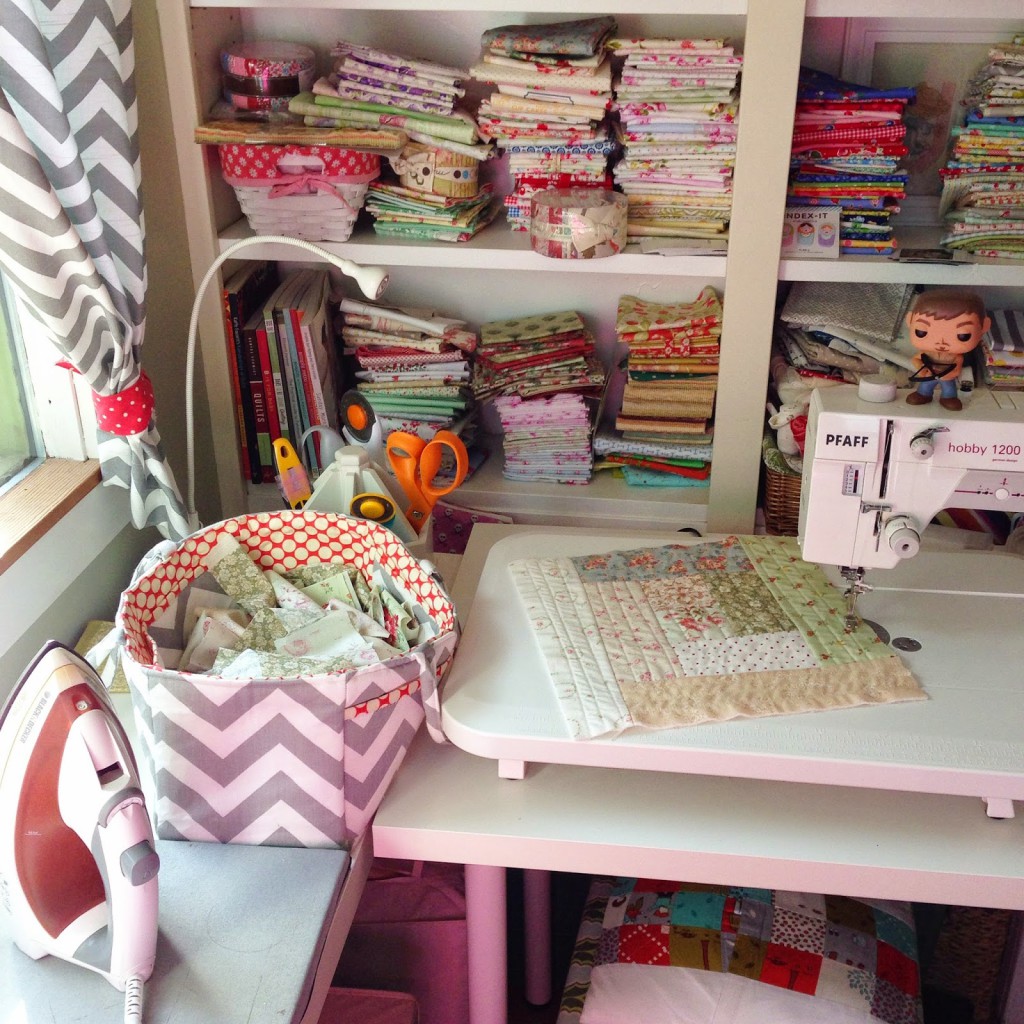
This is how my QAYG setup usually looks like: My basket full of strips, some fabric scissors at hand, and an iron nearby (I have a small table top ironing board). Depending on the size of your strips, you may find that you can just finger press the pieces instead if ironing them each time. You don’t need a lot of space to QAYG!
Always remember to use at least a 1/4″ seam allowance. You might be tempted to go less so that your fabric strip will cover the edge of a batting square (this will make more sense once you get started). Please refrain from doing that or else your patchwork will unravel after a wash.
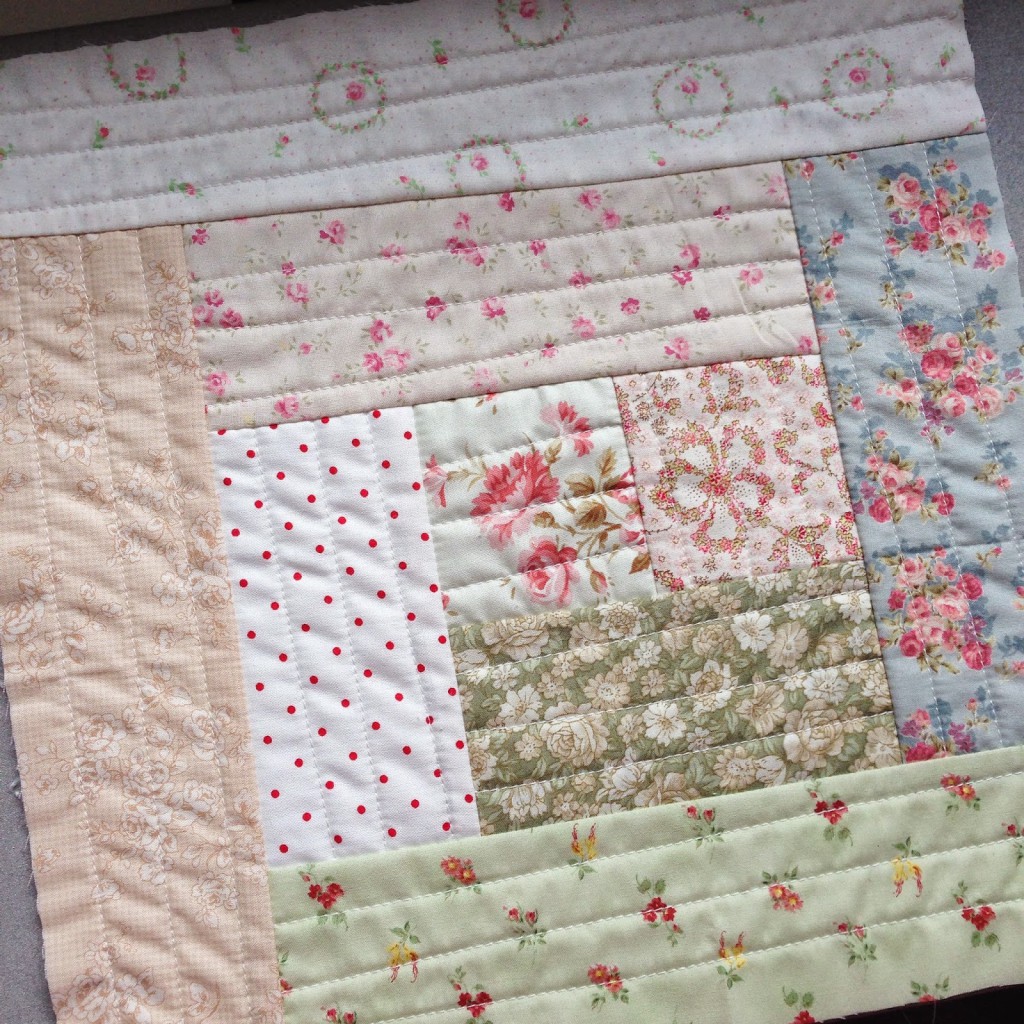
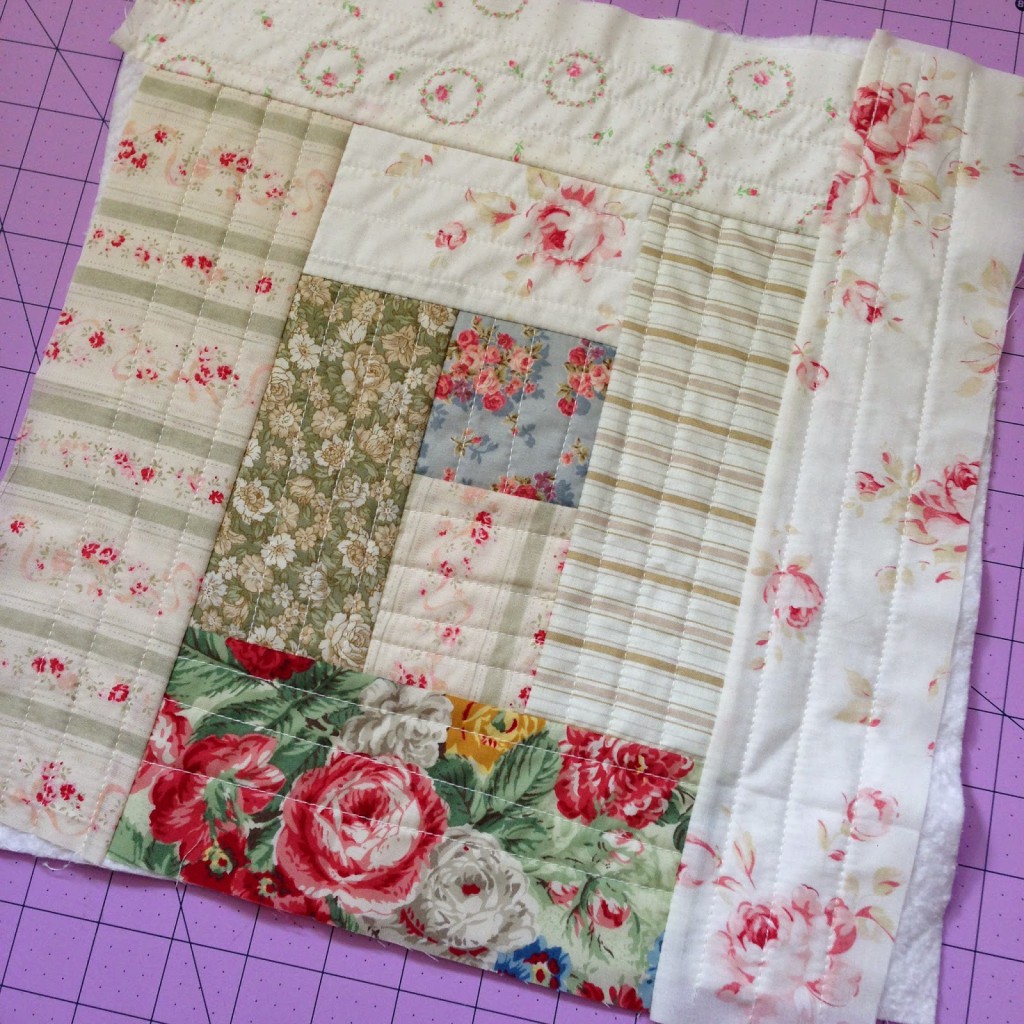
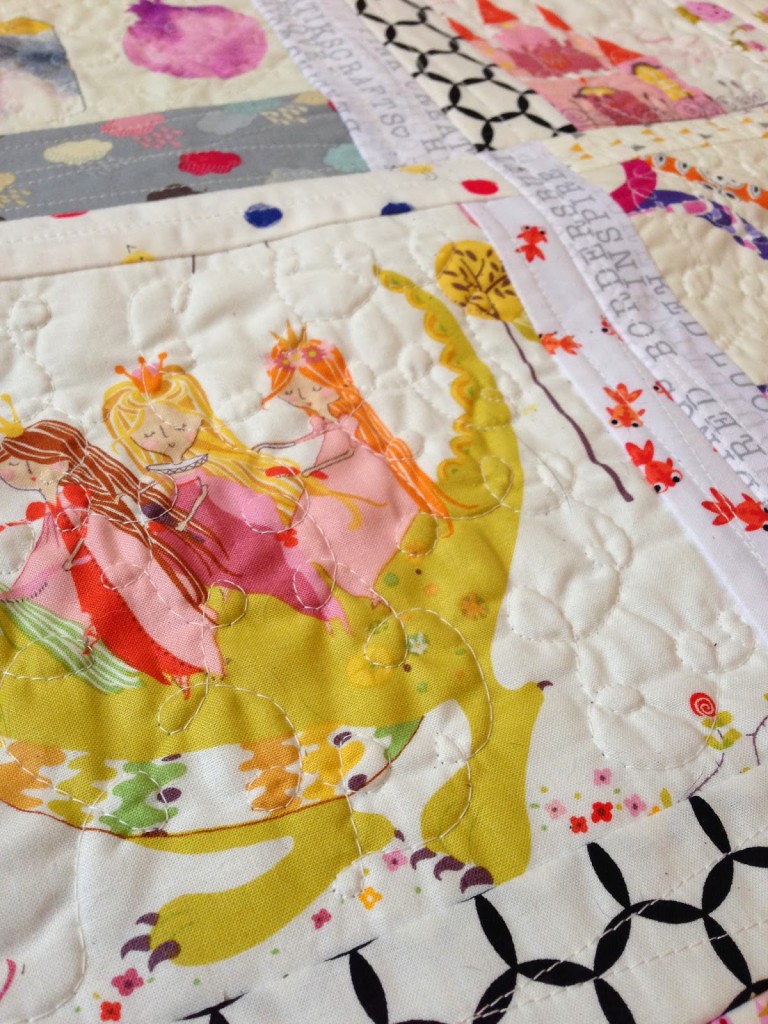
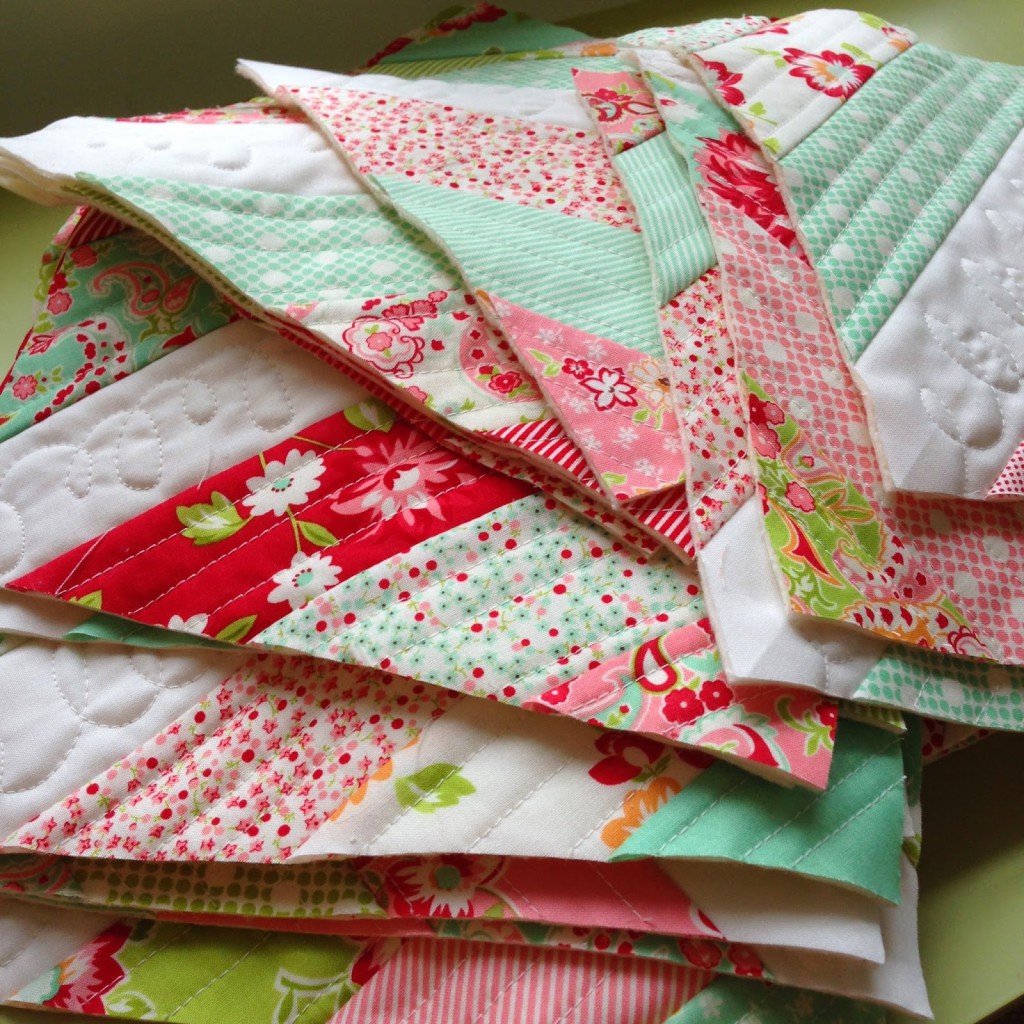
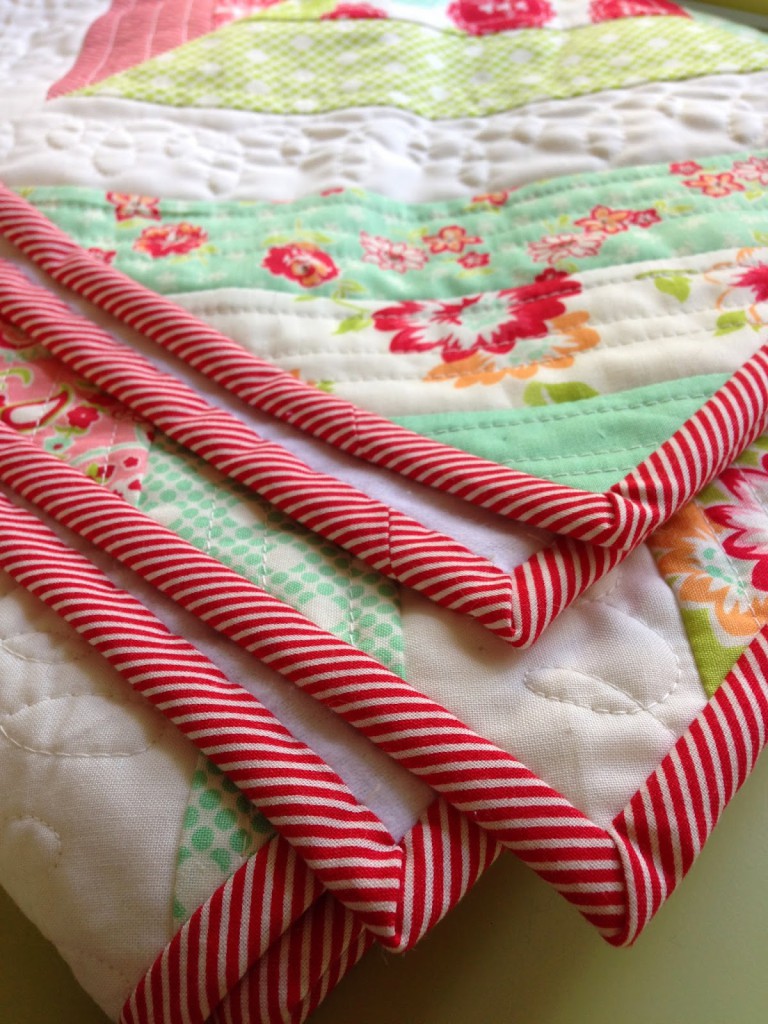
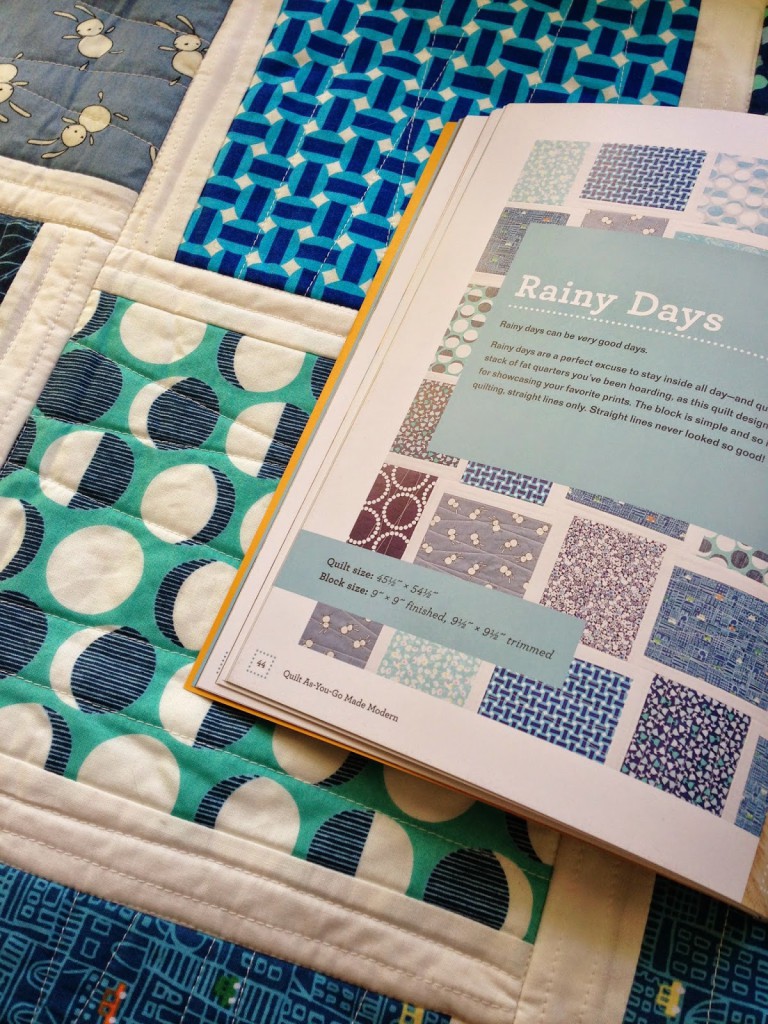
After you’ve quilted your pieces onto the batting square, it will look something similar to this.Yes, it looks a little frumpy. But just wait until we square them up! My next post this weekend will have some squaring-up tips.
One last thing: Please remember to read the Quilting Techniques section (page 24 of the paperback book). There are so many more options to quilt your QAYG blocks other than my “individual quilting” that you see here.
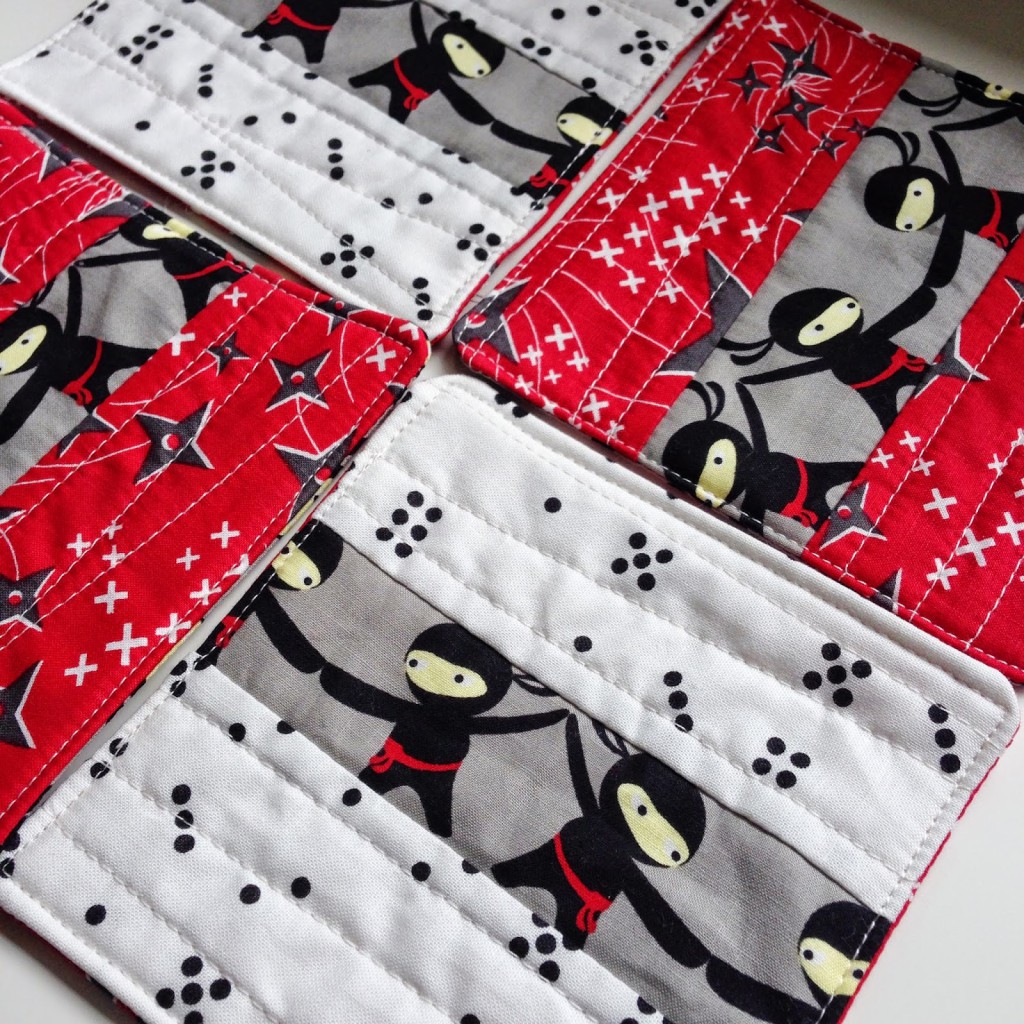
If you are doing individual quilting, I did want to mention that it is OK to zig-zag your stitches where the seam allowance will be (or on the batting) so that you don’t have to cut the thread after each stitch (see image below). This may be helpful if you don’t have an automatic thread cutter on your sewing machine.


I hope these tips will help get you started on your projects. If you have any questions along the way, please leave a comment and I will do my best to respond as quickly as I can. 🙂
Again, the goal is to have 5 blocks quilted by this Sunday, October 19. I will be back with another wrap-up blog post for week 1, with some tips on squaring up your blocks as well. Week 2 will start on Monday the 20th.
Happy quilting as-you-go!


Comments: 40 | Leave a comment