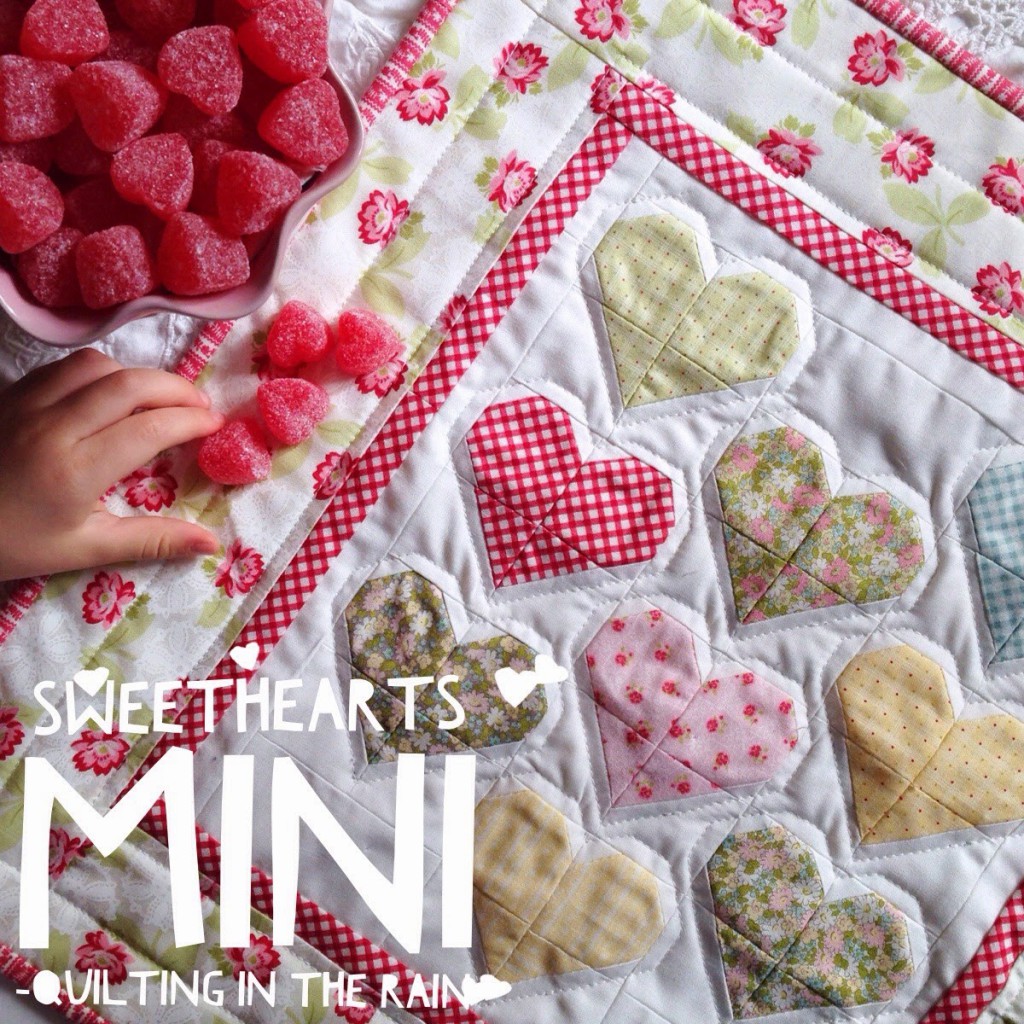
I’m sort of obsessed with hearts (see some of my other ‘heart-themed’ tutorials here, here and here), and what better excuse to share another heart-themed tutorial with Valentine’s day just a few weeks away! I really love this one because it’s adorable, but it’s also doable! It’s small enough that you can complete it within a couple of days, and warning…assembling the mini hearts are addicting!

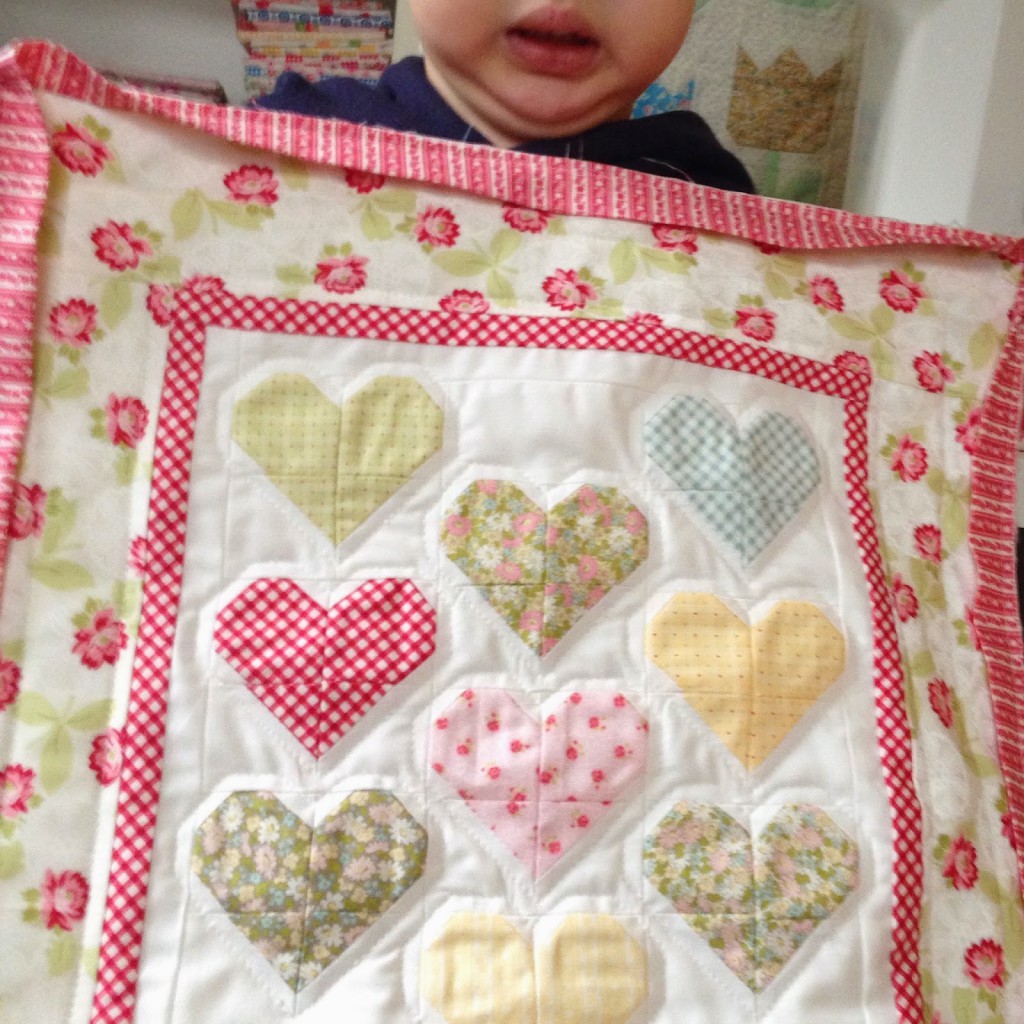
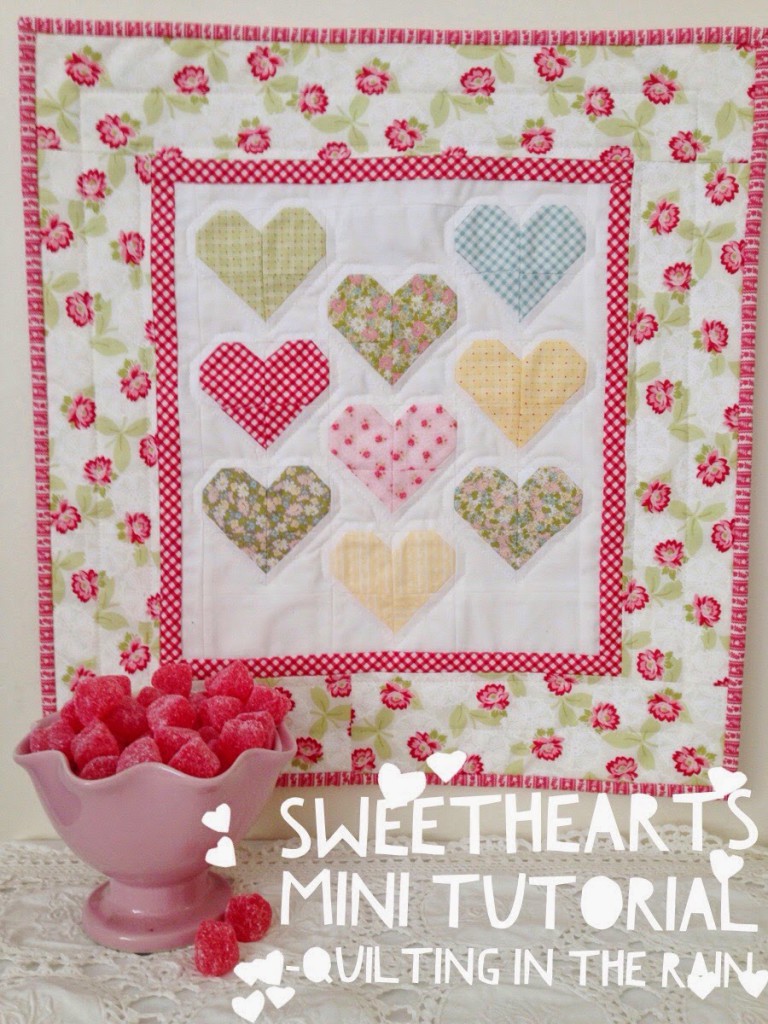
This Sweethearts Mini Quilt makes a cute wall hanging (mine is hanging next to my front door), or as the cutest table topper ever! Though it’s a mini, I’d love to see someone make a full size quilt out of these mini hearts some day.
Before I share the tutorial, here are some cute photos I snapped along the way… 🙂 Or you can skip and scroll down to get straight to business! 😉

My pattern is simple and you can use fabrics you have laying around in your stash or scraps. Thank you for being here, and I hope you enjoy this fun tutorial I’ve put together for you all!
Here’s a link to a printable PDF version for your convenience: Sweetheart Mini by Jera Brandvig
Materials for a 16.5″x17.5″ Sweethearts Mini Quilt:
- Mini hearts: scrap fabrics or a charm pack/mini charm pack would work.
- White fabric: 1/4 yard or a fat quarter
- Inner border: Fat eighth, or scraps at least 1″x11.5″ long
- Outer border: one fat quarter
- Binding: 1/8 yard
- Backing: one fat quarter
Note: When sewing, always use a 1/4″ seam allowance
Step 1: Assembling Mini Hearts
To make one mini heart, you will need: two 2″ squares and two 1.5″ squares from coordinating print fabrics, plus six 1″ squares and two 2″ squares from white fabric.
Take one 2″ square from your print fabric. Then take three 1″ squares and mark a diagonal line from corner to corner.
With right sides facing together, align one 1″ square along the corner of the 2″ print square. Sew exactly where you marked the diagonal line, and then trim 1/4″ away from where you sewed. Press the corner to open.

Repeat, but with the other two 1″ squares on two more corners. Make two of these.
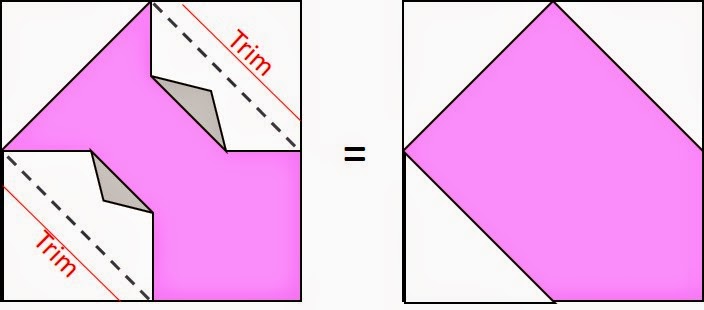
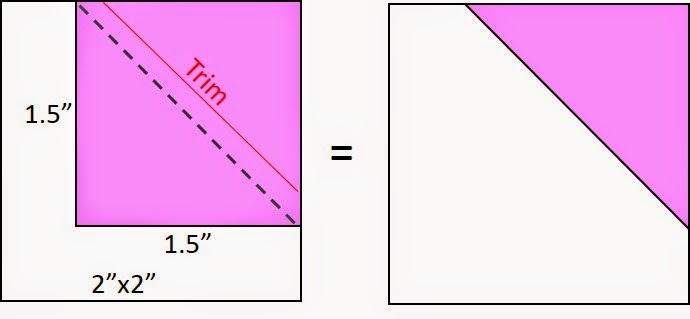
Next, take one 2″ square from your white fabric.Then, take two 1.5″ squares from your print fabric and mark a diagonal from corner to corner.
With right sides facing together, align one 1.5″ square along the corner of the white square. Sew exactly where you marked the diagonal line, and then trim 1/4″ away from where you sewed. Press the corner to open. Make two of these.
Arrange the four pieces you assembled as show below to form a heart, then sew together.
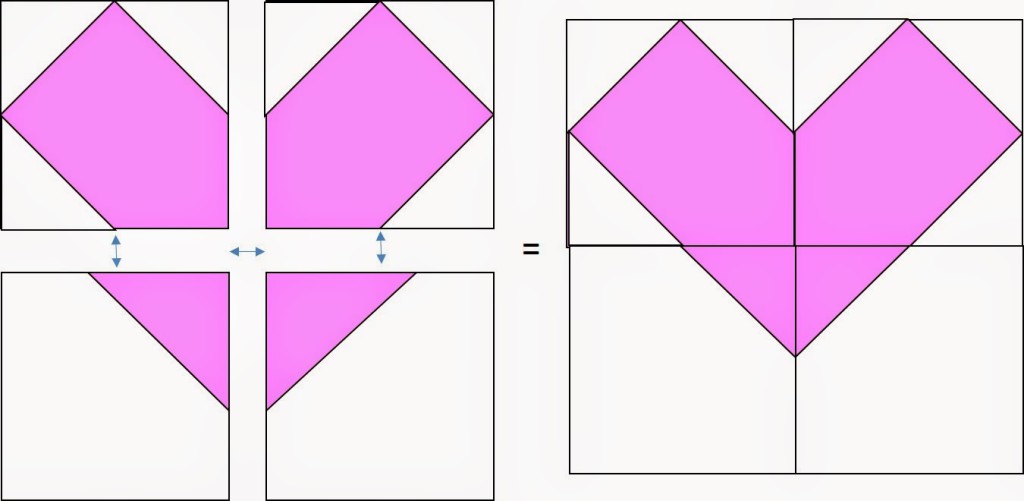
Repeat the above to make a total of 9 mini hearts.
Step 2: Add Background Fabric
From white fabric, cut three 2″x3.5″ rectangles (A), one 1″x9.5″ strip (B), and two 1″x11.5″ strips (C) for the sides. Assemble as shown below.

Note: Although it’s not illustrated in my images, as you start assembling your hearts into rows and adding background fabric, the 1/4″ seam allowances will naturally round out the points in the hearts, to make the cutest little mini hearts!
Step 3: Add Borders
From your inner border fabric, cut four 1″x11.5″ strips (D) and (E). Attach in that order.
From your outer border fabric, cut two 3″x12.5″ rectangles (F), and two 3″x16.5″ rectangles (G). Attach in that order.

Step 4: Finish it!
This mini quilt measures 16.5″x17.5″, so a fat quarter would work well for the backing fabric. Baste and then quilt. I did simple quilting and outlined the hearts with a 1/4″ seam allowance. To bind, cut two 2.5″ strip along the length of fabric. You can find an easy to follow binding tutorial here.
I gotta say, this quilt was an awesome excuse to buy Sweethearts and my favorite jelly sugar hearts…!! I’m such a sucker for seasonal candies.

Thank you for stopping by, and I hope you make something beautiful!
Love this sweet mini quilt! It's just the project I need right now. Thanks for the awesome tutorial.
I love this! Thank you so much for the tutorial!
I really love this quilt, especially how the hearts really look like hearts. So many quilts I've seen with hearts on them are blocky looking, if that makes sense. The tops just don't appear rounded like yours. Great tutorial. Thank you.
I love everything about this quilt; the colors, the pattern, and thank you so much for sharing the tutorial!
belíssimo
Love it!!!! Going to do one for my guild's Feb. 11th meeting as a door prize. So cute!!!
This is so cute! Very valentine-y
This is so sweet! I just love a good heart project! Thank you for the tutorial.
Very cute! and so do-able in a short time!
So cute, but where's Paige?!!
Very cute and scrappy!
What a cute quilt. Love all the pictures.
Lindo e fofo!!!!
Adorable! I love it!
This is such a sweet wall hanging! I just cut out the fabric to make the hearts and looking forward to starting tomorrow when I get off work. Thanks so much for the pattern!
Adorable!!!
Thank you for the sweethearts mini! Checked out your other heart patterns and will be making the pillow this week.
Thank you,
Hi, Really great effort. Everyone must read this article. Thanks for sharing.
So lovely, i currently attracted with quilting and patchworking,, find your blog such a luck for me, wish me to success creating those from your tutorial next..
Thank you.
So lovely, i currently attracted with quilting and patchworking,, find your blog such a luck for me, wish me to success creating those from your tutorial next..
Thank you.
So lovely, i currently attracted with quilting and patchworking,, find your blog such a luck for me, wish me to success creating those from your tutorial next..
Thank you.
What a lovely little quilt. Thank you so much for sharing. It will be very nice for my little Great Granddaughter's new dolly.
perfect for my new grandbaby who's on her way!! thank you for sharing it's lovely
I like heart quilts too. Thanks for sharing this cute tutorial, I think I will give it a try.
Absolutely lovely.
Thank you!
Lovely pattern! I’ll make it right now! Thanks for sharing!
Great – thank you and enjoy!
Love Love Love this. Sure wish you had a PDF, Pinterest save button, or print button. This mini quilt is darling. Hope to be able to make it one day.
Love it!!! I’ve been looking for a small heart project (love hearts) and this is perfect!
Thank you for sharing
Just the cutest timeless pattern, thank you!