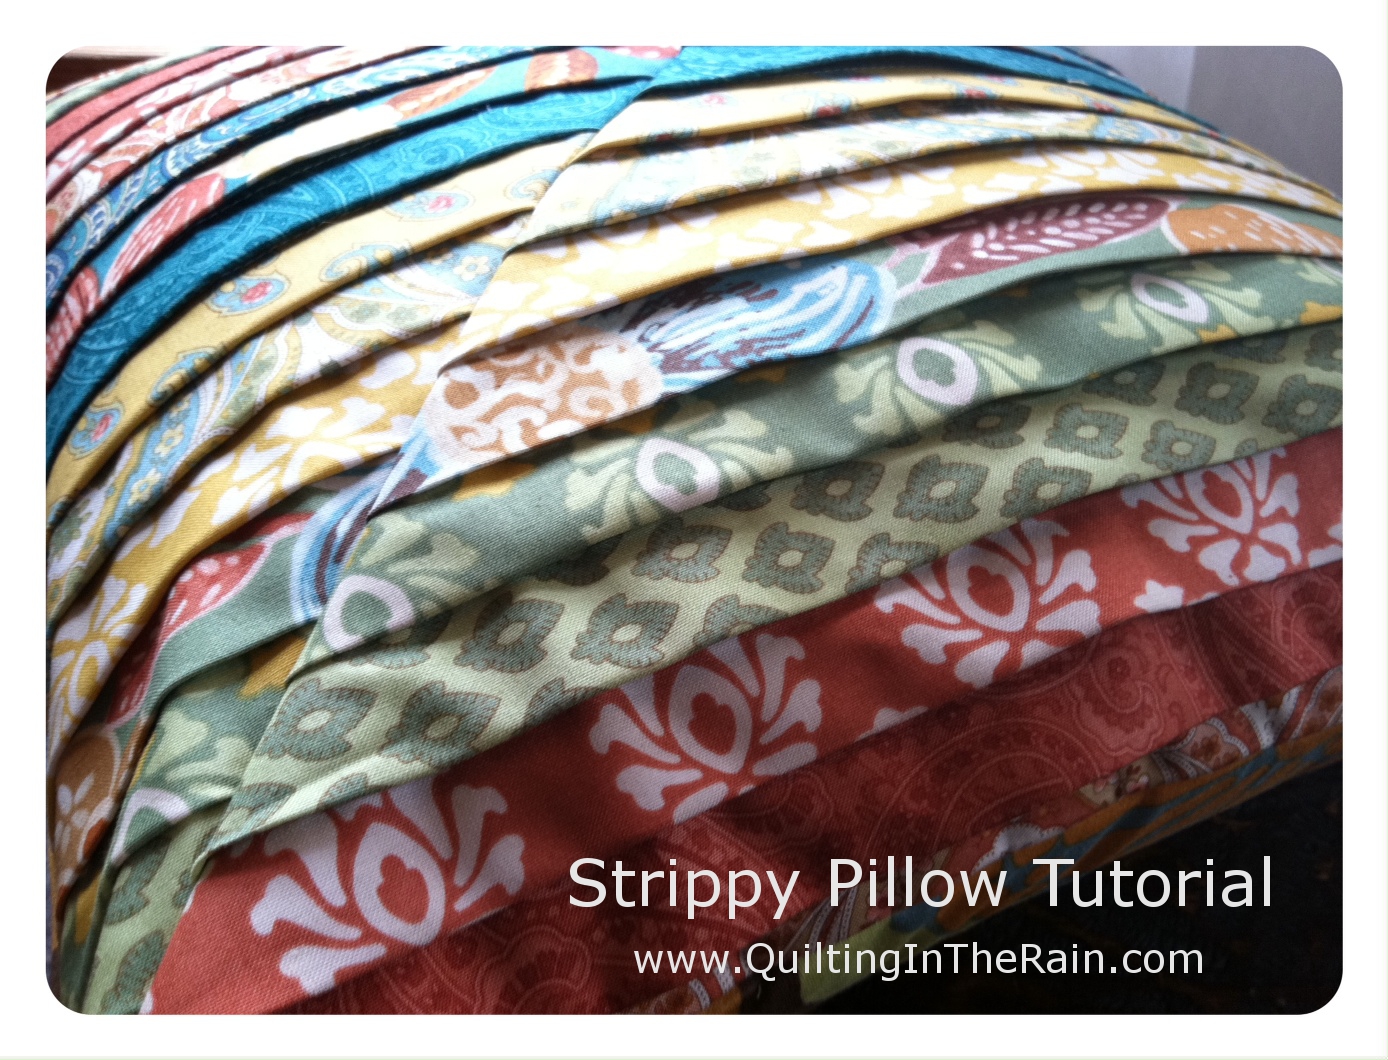
 You asked for the tutorial so here it is! For this project I used jelly roll strips. You can make a total of four 16×16 inch pillows using one jelly roll – my tutorial below shows you how to make one pillow. Have fun and let me know if you have any questions! 🙂
Materials for one pillow:
- 10 jelly roll strips (a single strip is ~2.5″ x 44″ long)
- Lining fabric, enough to cut one 17″ square (I used regular cotton fabric)
- Backing fabric, enough to cut two 12″ x 16.5″ rectangles (use a thicker fabric, like Home Decor fabric).
- one 16″x16″ pillow
Step 1 – Take ten strips and press each one lengthwise with an iron. Then cut each strip in half. This will give you twenty strips that are about 20″ long each and 1.25″ wide. From your lining fabric, cut a 17″ square.

Step 2 – As shown below, take one strip and line the pressed seam along the bottom of the 17″ square lining. Pin to keep in place. Using a 1/4″ seam allowance, sew along the non-pressed side to attach the strip to the lining (the pressed seam should be facing the edge of the 17″ square lining, as shown below).
After you’ve sewn the first strip on, mark 3/4″ starting from the top of the non-pressed side of the strip. Continue marking 3/4″ all the way up the lining. Click image below to enlarge.

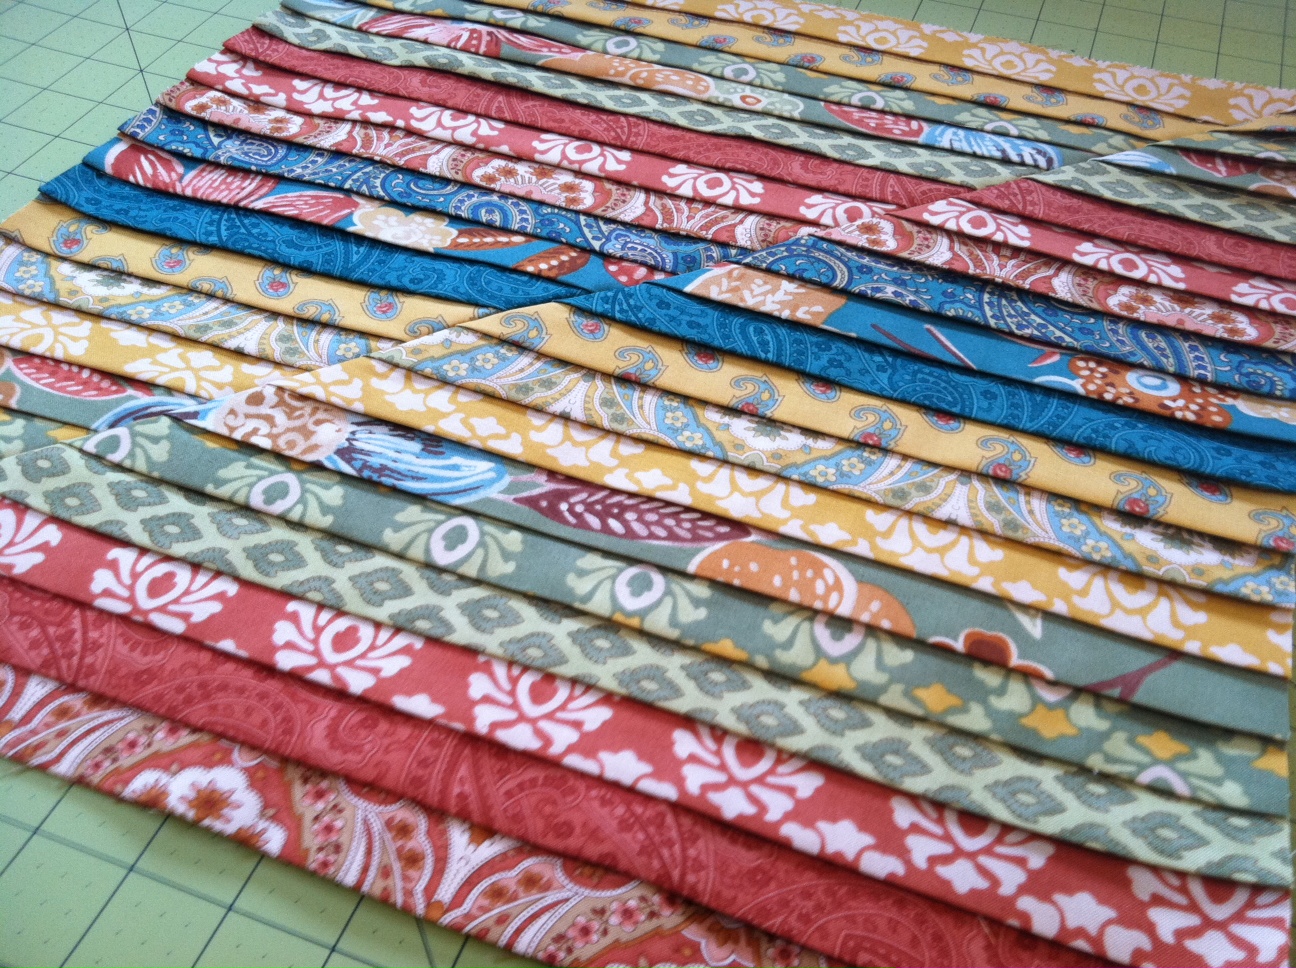
Step 3 – Sew the remaining nineteen strips (that you cut from step 1) onto the lining. Simply line the non-pressed side along the 3/4″ mark you made in the previous step, pin to keep in place, and then sew using a 1/4″ seam allowance.

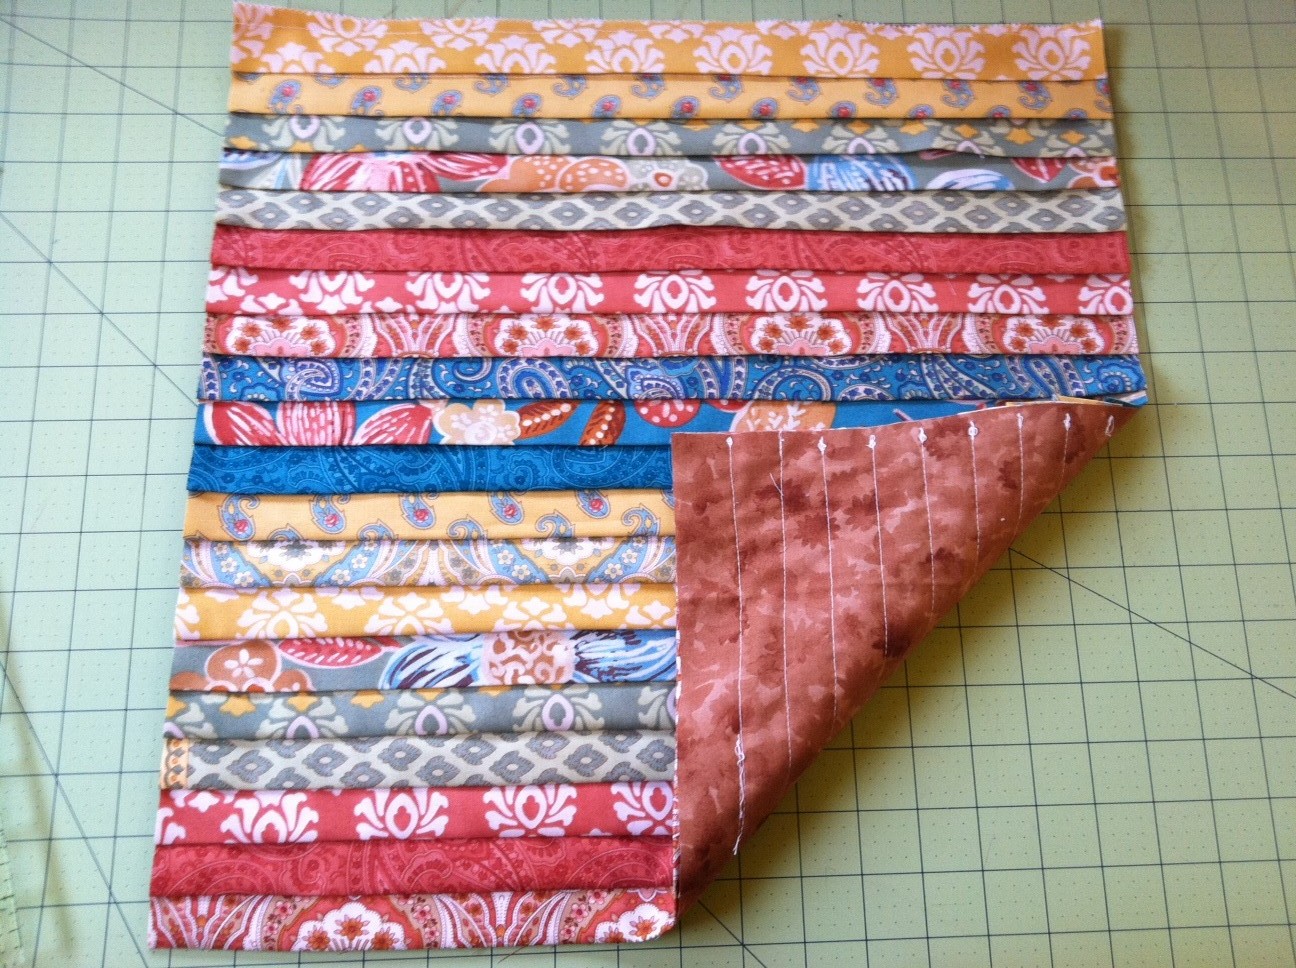
Step 4 – After you’ve sewn all twenty strips onto the lining, flip it over and trim the ends using a ruler and rotary cutter so the strips are flush with the lining. It should look like the picture below.
Step 5 – Using a rotary cutter and ruler, cut a diagonal line as shown below. This will give you two half square triangles.

Then, sew both half square triangles together again: with right sides facing together, pin to keep in place and sew along where you made the cut using a 1/4″ seam allowance. Press open.
Step 6 – Prepare the pillow backing: From your home decor fabric, cut two 12″ x 16.5″ rectangles. For each rectangle, do the following.
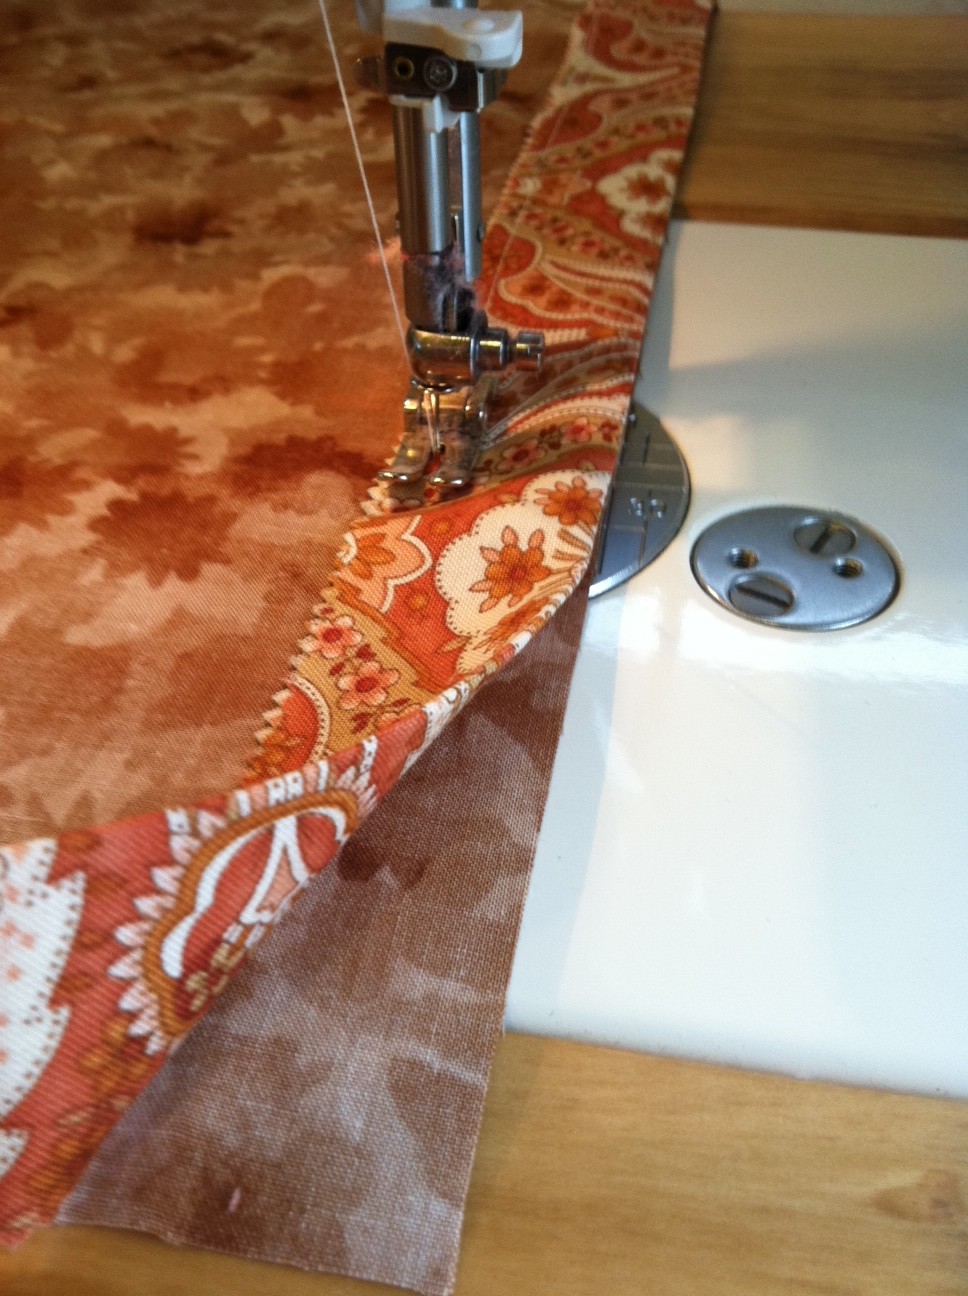
Along the length, turn the edge 1/4″ under, press, then turn under 1/2″, then press again. Stitch to keep in place as shown below.

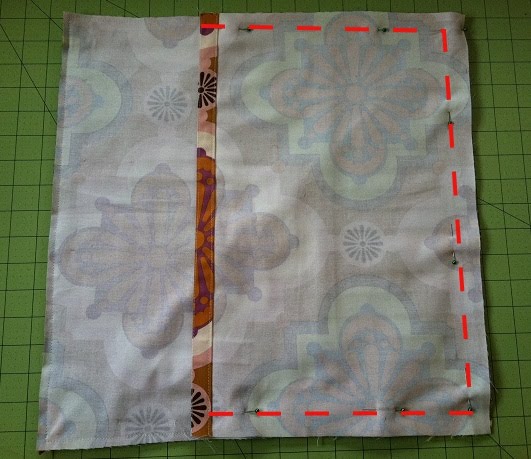
Step 7 – With right sides facing together, take one backing rectangle and line it along the left side of your pillow cover. The finished seam you created from the previous step should be facing toward the right. Pin to keep in place, then sew along the perimeter as shown in red below, except where the seam is. Start and end your stitch with a back stitch.

Repeat, but on the right side instead.
Lastly, turn right side out through the opening and that’s it!Let me know if you have any questions. 🙂
Happy Quilting!
I hadn't considered the backing like that. It is much simpler than adding a zipper. Very nice.
Jera, great job on the tutorial.
clear tutorial, and a great scrap buster! Thanks!
Thank you so much, can't wait to try it!
Thank you – everything is so clear and easy to follow. You are an inspiration … off to make a pillow!
Jera, thank you for providing such a clear and easy to follow tutorial for the strippy pillow. I don't often get "all that" over a pillow but on this one I am LOL Love your blog and all your tutes!
I love this pillow! I just finished two quilts and this would be a wonderful complement to them and the perfect way to use up all of the jelly roll strips I have left over. LOVE your blog–I'm hooked!
What if I want to make an 18 inch pillow?
do you find the raw edges wash well? Thanks!!