Archive | January, 2011

A Quilt in Four Nights

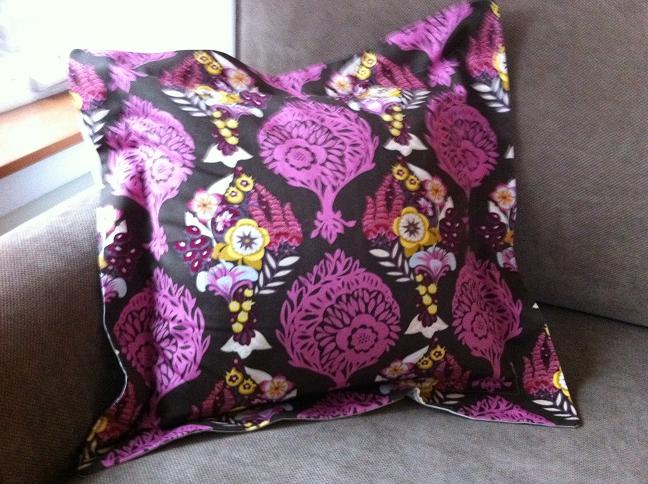
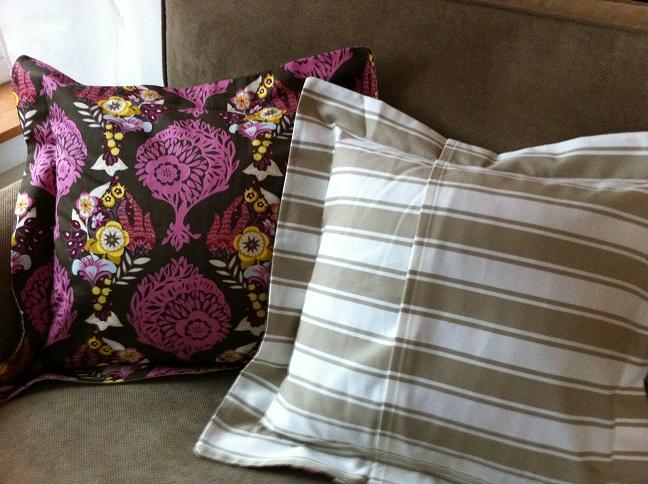
This quilt was so much fun. While my husband was away on a business trip last week, I made a goal to finish a quilt by the time he returned. The only time I had to quilt was after getting home from work, so for a couple nights I was up in the wee hours quilting away. My faithful fluff ball, Paige, kept me company each night until I was ready to go to bed. 🙂

The first night I made all of the blocks. The second night I pieced together the blocks to form the quilt top. The third night I made the backing, shown below.

After I made the backing I thought, might as well quilt it! So I set it up on my frame and quilted away.

I decided to quilt squiggles (aka stippling). It shows up really well against the white fabric.

And by the fourth day I binded the edges and finished it! Mission accomplished!

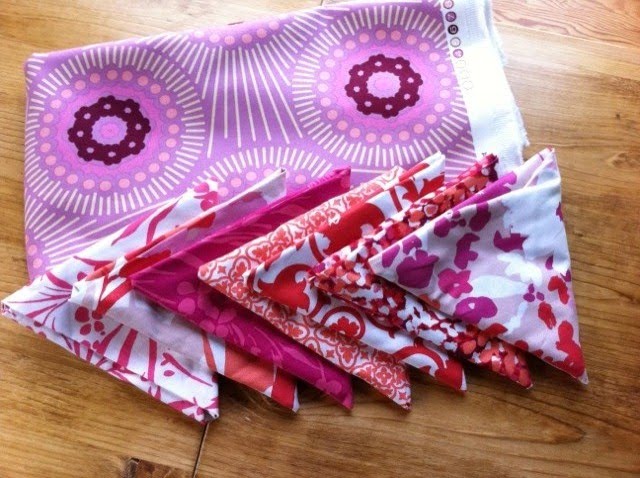
I got the pattern for this quilt from the book Simplify by Camille Roskelley; however, I improvised the border design. Roskelley has designed several fabric lines for Moda, including the beautiful line “Bliss” which I used to make this quilt.

It’s a great book that has simple quilt patterns, yet they look complicated. Each page has beautiful and fresh photos of quilts, fabrics, and you even get a glimpse of how her sewing room looks. If you want it you should buy it here from Amazon for $13 bucks, whereas it usually sells for $20-25 retail.

Happy Quilting!

Comments: 13 | Leave a comment


Willpower

The word is foreign to me when it comes to buying fabrics.

It’s impossible to not buy the entire line…the other fabrics would feel left out.

The fabric line is called Sugar Flowers. A yummy name for a yummy print!

And that’s not all.

I bought these guys online from Hawthorne Threads. I should receive them tomorrow, but thought it rude to keep them from you…


Every now and then you need a hit of fabric (words from a true fabricholic).

It never hurts to show your fabric stash some love! So go on, go all out and get inspired to start a new project! I have several lined up. So much fabric but oh so little time!

Comments: 4 | Leave a comment


Patchwork Pillows

I finally finished my pillow project! I’m really happy with how these turned out. It’s a fresh look for the new year. Here’s the other pillow:

And here’s how the back looks:
I’ve realized I love sewing pillow covers. They’re simple projects that you can finish in a few hours, and I love the satisfaction of finishing a project.

Unlike the “ravioli” pillows I made last week, I quilted these ones. You can kind of see the quilting in this photo. I did simple straight stitching. I think stippling would have been really cute too, but honestly, I was too lazy to switch my presser foot.
Ta-dah! Here’s the final look! Here they are all nice and fluffed out, picture perfect. *sigh* What a beauty.
…and here they are after a few minutes with my husband. :-} I need to let go and embrace the main purpose of pillows.
I guess you can say the pillows are well loved. 🙂 Luckily they puff back into shape after a couple fluffs.

If you’re thinking of doing a pillow cover project yourself, I recommend buying the pillows from Ikea. Both of the pillows above are 21″ square down pillows (hence the fluffiness) from Ikea and only cost ~$6 each.

Happy Sewing!

-Jera

Comments: 7 | Leave a comment


Ravioli Pillow

So the proper name for this type of pillow cover is “flanged pillow”, but I think Ravioli fits the look better. 🙂 As mentioned in an earlier blog post, we got a new couch and therefore my new mission was to populate it with pillows. Well, here are the first two. These are the first ravioli pillows I’ve made and they’re quite easy! I got the idea from my local quilt shop in Ballard, The Quilting Loft. They had a sample pillow but made with a different colored fabric. I used the same backing fabric that was used with the pillow at the store.

The pillows above are 16″ square pillows. I have two more 21″ square pillows that I still need to make covers for. I want to make some kind of patchwork design for the next two pillows using the fabrics below, though I’m still thinking of the design.

Stay tuned for my next pillow creation. Also, I will be having a fabric giveaway in early February when my new Moda Bakeshop tutorial is posted, so stay tuned for that as well.

Happy Sewing!

Comments: 1 | Leave a comment


Custom Made Sewing Table

What better way to start the new year than your very own, custom made sewing table?! I’m sure there’s plenty of other answers for that, but all you fellow sew-aholics out there can throw me a bone ;o)

Towards the end of last year I mentioned to my husband how cool it would be to have a sewing table that fit my machine so that the presser foot was leveled with the table top. The very first week of the new year my husband returned from the hardware store with supplies and one weekend later, low and behold, I had a brand new oh so beautiful, custom made sewing table! I am a lucky girl.

An extension table was added to give me more crafting space as needed.

Here are some pictures of when the table was being built. In this photo you can see the shelf that was installed to hold my sewing machine. The sewing machine sits on this shelf instead of the table top.

In this next photo, the table top is on the floor. You can see the custom cut-out of the base of my sewing machine.
We stained the table with a warm oak finish. I am loving my new table. Having the presser foot leveled with the table top allows me to relax my shoulders as I sew.

Here’s how my new sewing area looks (believe me it’s rarely this tidy). What a great way to start off the new year sewing!

Comments: 19 | Leave a comment


Site by Spunmonkey.