I started this blog 4 months ago not only for my love of fabric and creating beautiful things from it, but also to make daunting projects -such as piecing together an entire quilt top- not seem so daunting. Anyway, I feel a step closer to accomplishing that as of last week. =) I received this beautiful picture of a quilt that Melissa from Kings County, New Brunswick in Canada made. This was Melissa’s very first quilt, and she used the Cuttin’ Corners Quilt tutorial as a guide. I absolutely adore the color choices she used. The wavy-lines quilting compliments the shapes on the quilt top, and the best part is you can use a straight-stitch on your sewing machine; simply move the quilt top in long S’s under the presser foot. Melissa also used the Quick Quilt Binding tutorial to help finish the project. It turned out beautiful! And it looks so soft.
 Thanks again, Melissa, for sending me these photos and for encouraging me to continue my posts. 🙂
Archive | August, 2010
Visor CD Holder
I made this handy CD holder for my husband last night. The elastic band allows it to attach to to the back of a visor. I’m really happy with how it turned out! My husband even picked out the fabric himself. 🙂 It’s a really quick project; the longest part was figuring out the measurements but since I did that, you won’t have to 😉 Check out my 8-step tutorial below.
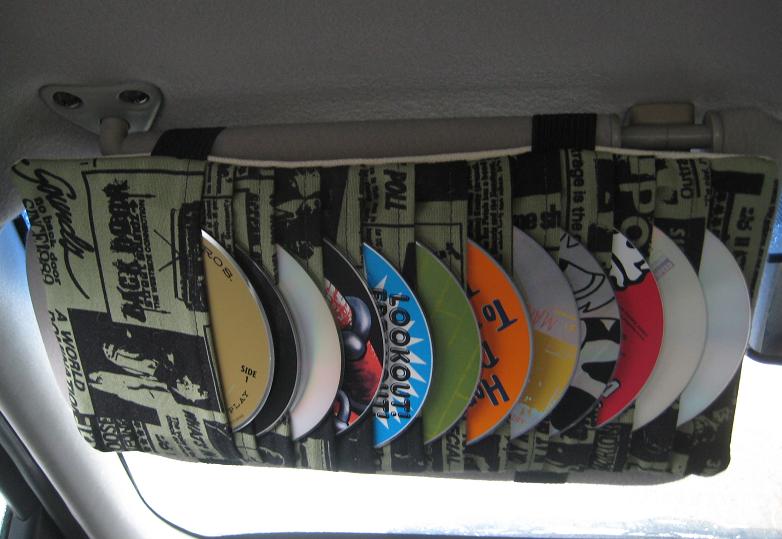 Here’s another angle. It can hold 12 CD’s.
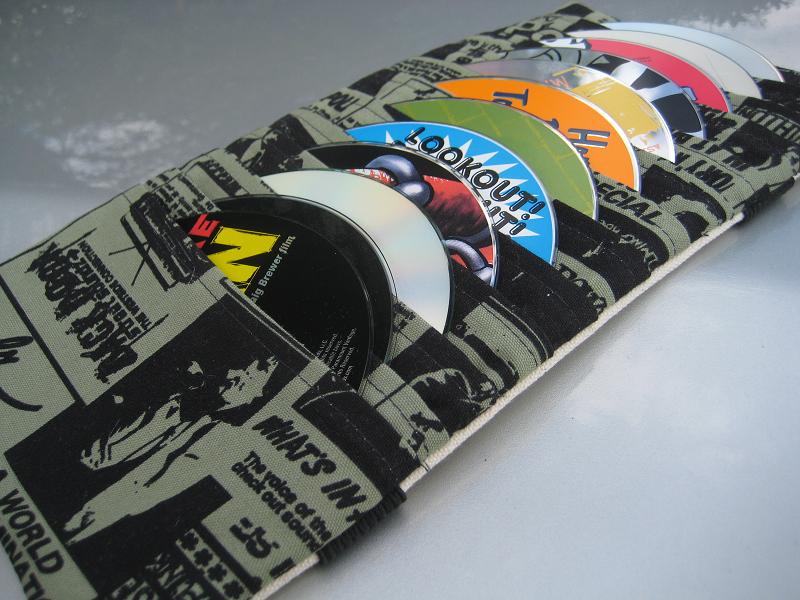
Materials:
- ½ yard fabric
- ¼ yard heavy weight fabric for the back of the CD case
- ½ yard elastic, 1.5” wide
Step 1 – Create the main front and back panels.
From your cotton and heavy weight fabric, cut a 13.5” x 6.75” rectangle from each.
Step 2 – Create the CD pockets.
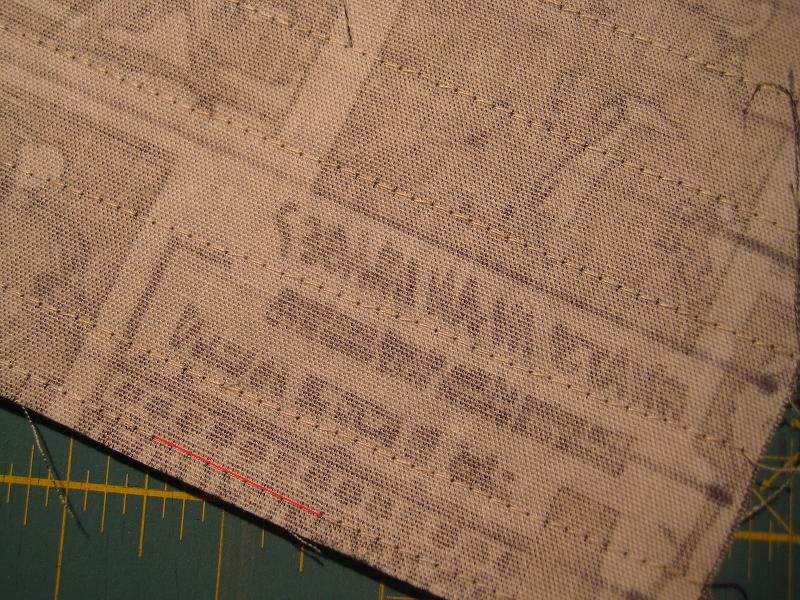
From your cotton fabric, cut 12 4.75” x 6.75” rectangles. For all 12 of the rectangles, do the following: On the side that measures 6.75”, fold the fabric inward ¼” lengthwise; press with an iron. Repeat once more, and press again.
Step 3 – Sew a ~ 1/8” seam to secure the folds you pressed from the previous step.
Step 4 – Using a ruler and marker, mark the following lines on your cotton panel: Starting from the top of the panel, measure 5.5” down. Mark a line, as shown in the picture below (I marked my lines in red to help illustrate where the lines should be). From that line, mark 11 more lines that are each 3/4” apart, as shown below. Step 5 – Attach the pockets to the panel. Follow steps A-D: Start with the first line you marked, and work your way down.
A. Align the seamless side of the pocket along the FIRST line you marked, as shown below. The side that has a seam should be facing the top of your panel.
B. Pin in place, then sew a ¼” seam along the edge of the pocket.
C. Repeat the above, working your way down all the lines you marked. Once you reach the 11th line, it should look like this (I put CD’s in to help you visualize):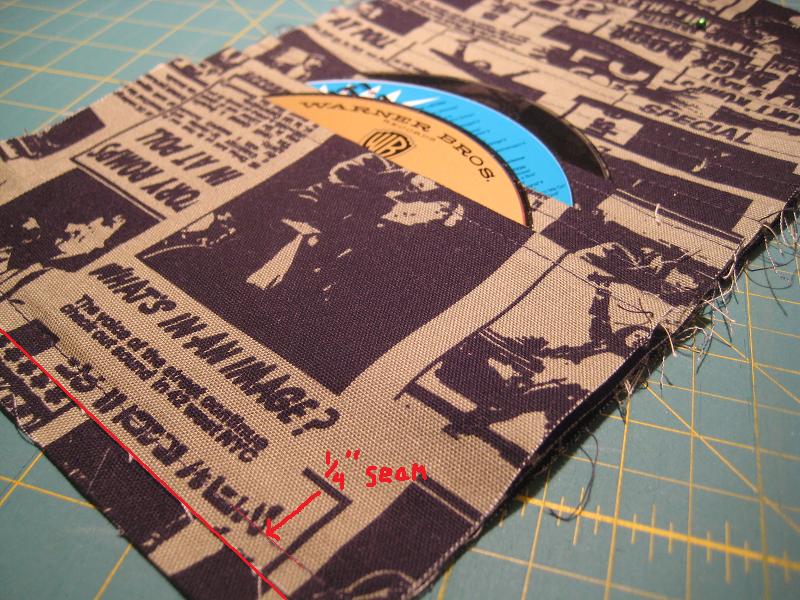
D. Attach the 12th pocket by simply aligning the seamless side to the bottom of the panel, and secure it with a 1/8” stitch along the edge. Below is how the FRONT and BACK should look. [Click to enlarge pictures].
 |
 |
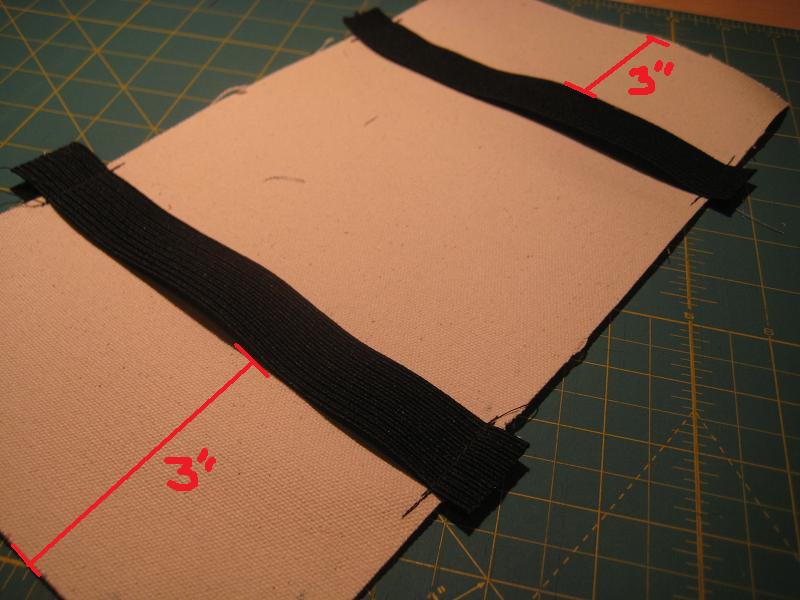
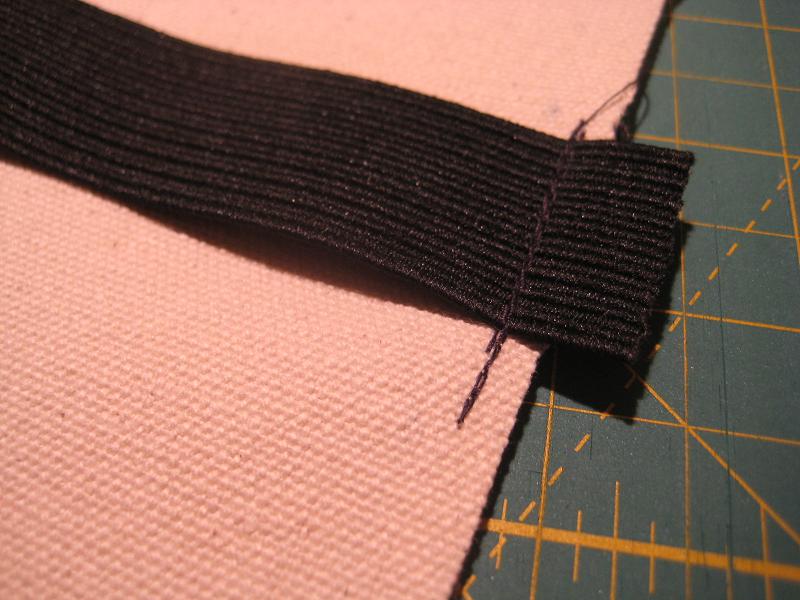
Step 6 – Attach the elastic to the heavy weight fabric panel:
Cut 2 ~7” strips of elastic. Place each strip about 3” inward from each end of the panel, as shown in the first pic. below. Secure the elastic by sewing at least 2-3 back-stitches. Trim excess elastic so it’s flush with the panel.
 |
 |
Step 7 – With right sides facing together (as shown below), align both panels.
Pin panels in place, and then sew a ¼” seam around the entire perimeter except for a 4″ opening at the top, as designated below in red. Start and end your stitch with a back-stitch.Trim excess fabric on the corners so it doesn’t bunch.
Step 8 – Finish it!
Remove the pins, and then turn inside-out through the 4” opening. Press with an iron to flatten.
Press the 4” opening closed with an iron (fold the fabric ¼” inward and press). Stitch closed, or use steam-a-seam to press/glue it closed. Yay you’re done!!
Comments: 7 | Leave a comment
Hideaway…!
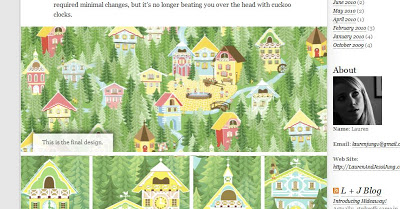
I’ve mentioned several times that i’m a fabric junky, so I was totally stoked when i stumbled across the L&J blog! This is a blog by Lauren and Jessi Jung, fabric designers who are coming out with a new line called “Hideaway” for Moda. I can’t wait to make something out of this fabric, but I’ll have to sit tight for now as the line doesn’t come out until December I believe. Their blog (screen shot below) talks a little about the making of the fabric designs/re-designs, it’s pretty interesting.
On a different note, I received my next batch of Moda fabrics for my next tutorial! 🙂 This line is called “Breakfast at Tiffany’s” by Fig Tree Quilts and should be available in stores Sept. 10.
 This will be a quick and simple tutorial which uses layer cakes and charm squares, shown in the pic. above. Stay tuned for tutorial updates. 🙂
Comments: 0 | Leave a comment
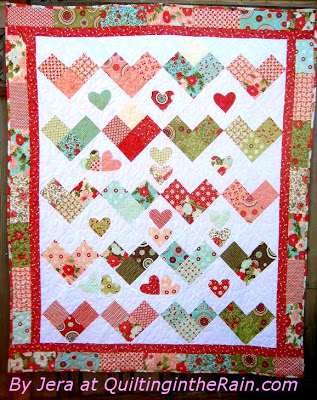
Charming Hearts Quilt
 As promised, you can find the tutorial for this quilt HERE, or by clicking the photo above.
This quilt was easier than it looks. The main quilt top is a repeat of 2 blocks, shown below.
 |
 |
The first photo above is a 9.5″ square with a heart appliqued in the center. For this quilt, I varied the way I appliqued these blocks to mix it up a little. The second photo are four 5″ squares sewn together. After assembling a certain amount of the above blocks as well as cutting some half square triangles, the main quilt top is assembled as shown below, and sewn together in diagonal rows (designated by the red lines).
 I used pre-cut layer cakes (aka 10″ squares) and charm packs (aka 5″ squares) by fabric designer Moda. For easy to follow instructions, please check out my tutorial here, featured on Moda’s blog : )
Comments: 3 | Leave a comment
Fabric Hoarder, that’s me!
I’m a sick puppy. I went to two local quilting shops last weekend and added to my fabric stash… I took about 10 different shots of this photo from varying angles… what can i say, i’m a fabric junky!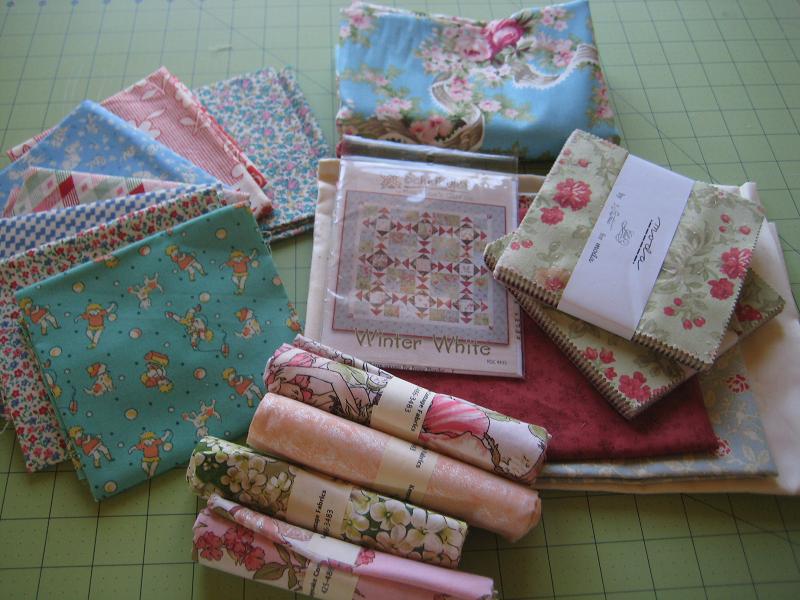
On a different note, I finally finished quilting my Moda quilt… the tutorial will be posted on Monday. For the quilting design, I went with loopy-loops. Not sure if you can see the quilting too well below, but you can click the pictures to enlarge.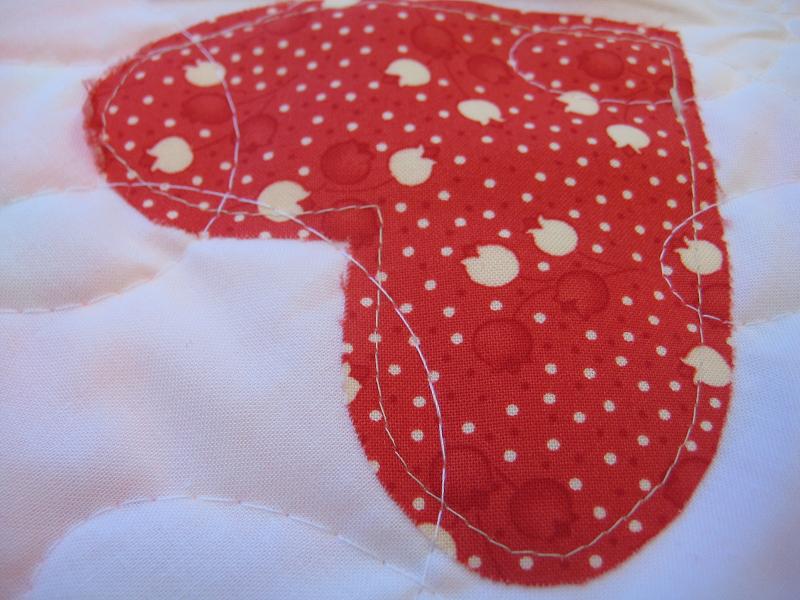

Comments: 9 | Leave a comment