I no longer have to keep this quilt a secret now that I’ve gifted it! 🙂 I made this sweet little baby quilt for my best friend Jackie who is due with a baby boy in a few weeks. Jackie and I have been friends since the 4th grade! I’m so blessed for all these wonderful memories and life events we have shared and continue to share with each other. I cannot wait to meet their baby boy!!!
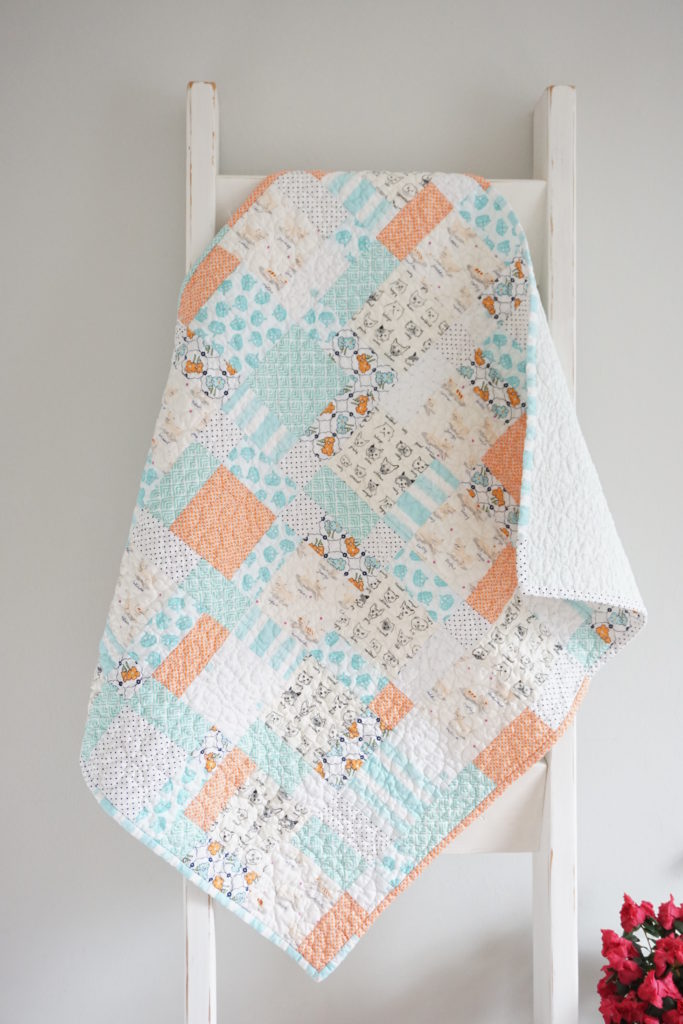
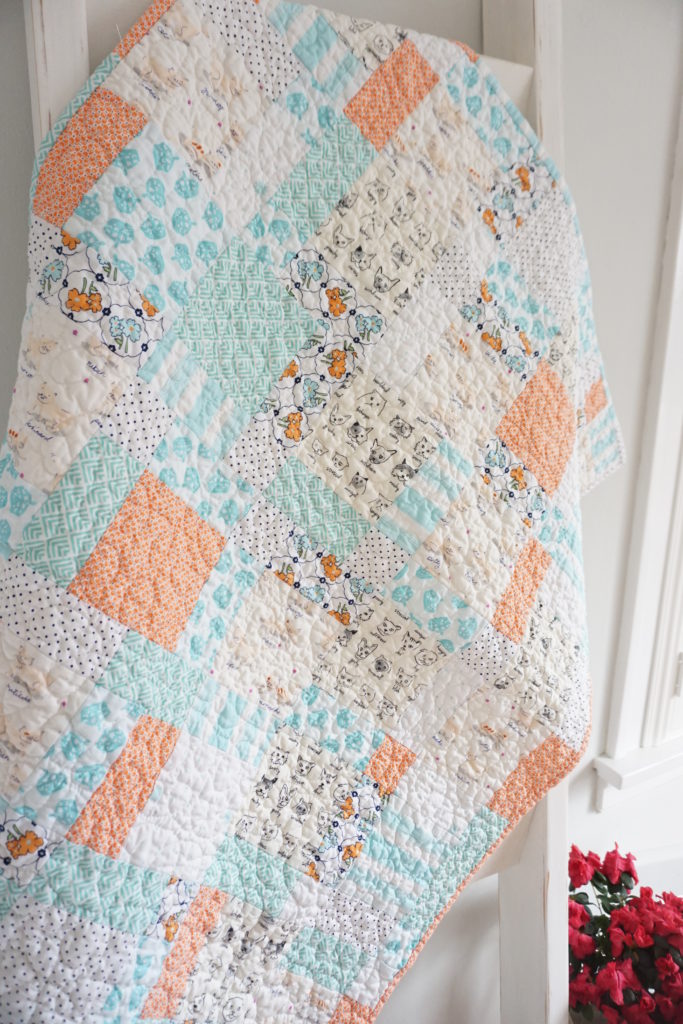
I chose low volume prints for this quilt as I wasn’t sure what color the nursery would be. Low volume prints are fabric that primarily have lots of white background and softer tones. So if you’re unsure what the nursery colors are, or if you’re making a quilt as a gift or for a friend who might be picky with colors, low volume quilts are a great option because they come out looking more neutral. 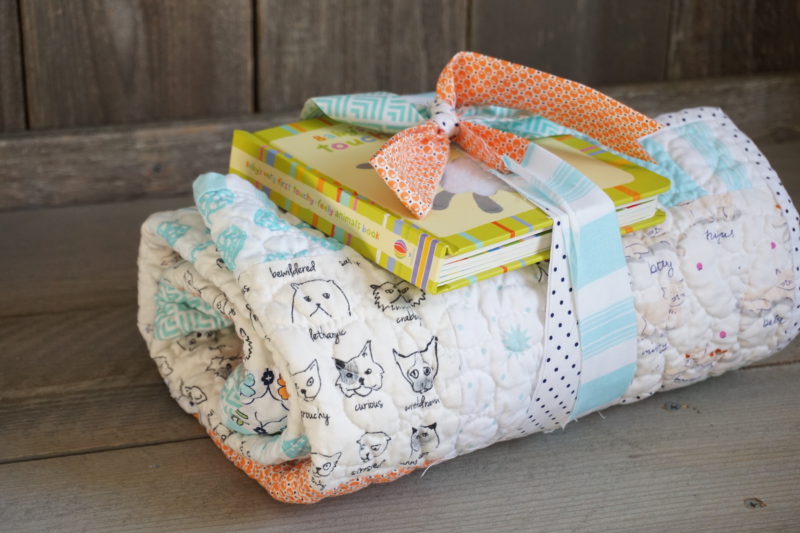
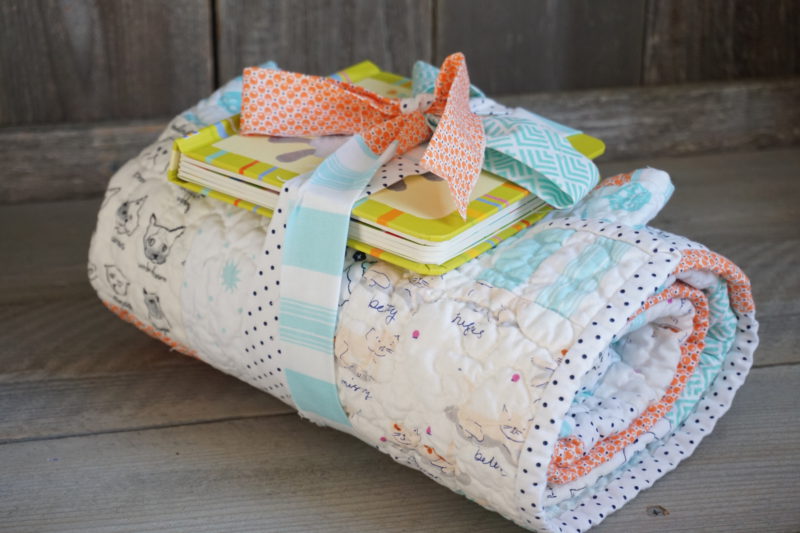
To wrap the quilt I simply rolled it up like an egg roll and then tied a pretty bow with leftover scrappy binding.
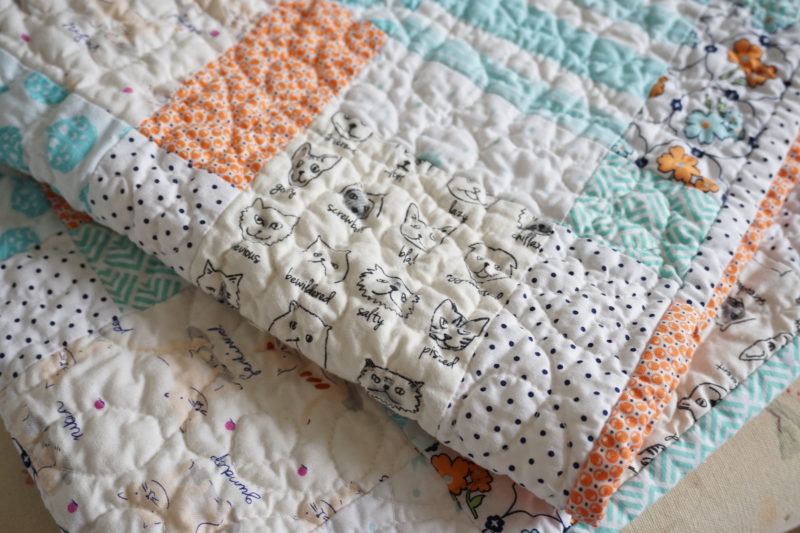
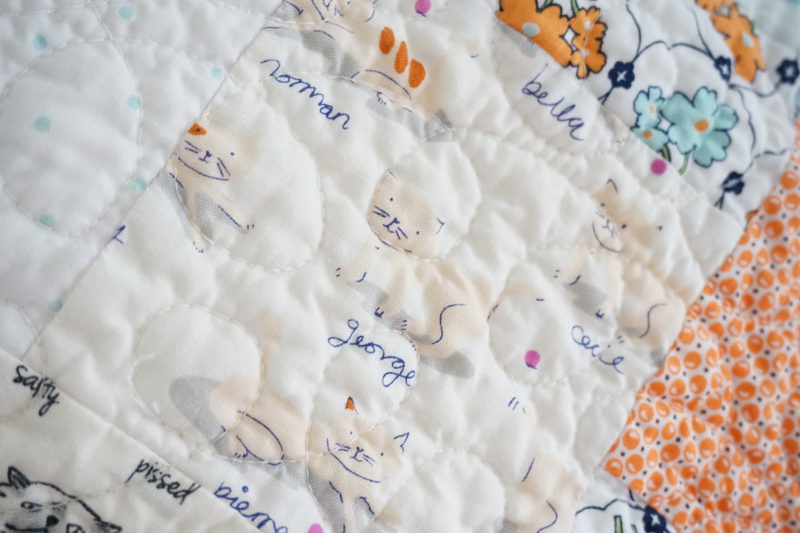
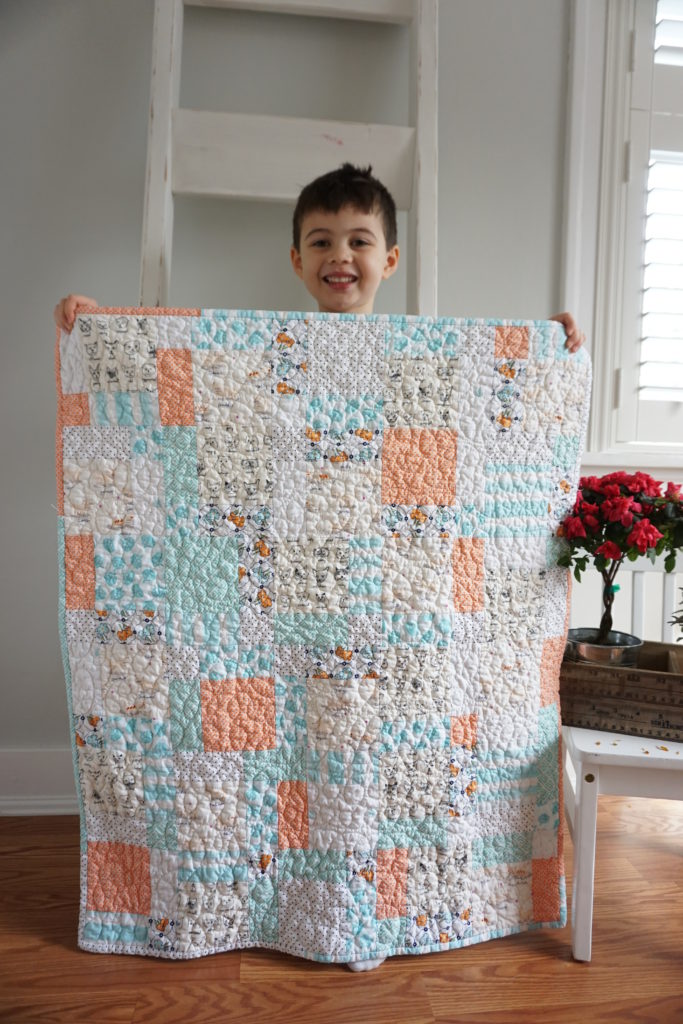
My friend Jackie adores cats, hence all the cat fabric. Paige would not approve 😉 But I was sold when I saw the “hangry” cat. The fabric above is called Meow or Never – Catatude for Moda Fabrics. I purchased it HERE. The other fabrics were prints I’ve collected from my stash.
Also, Jackie’s cat’s name is George. And look! There’s George!
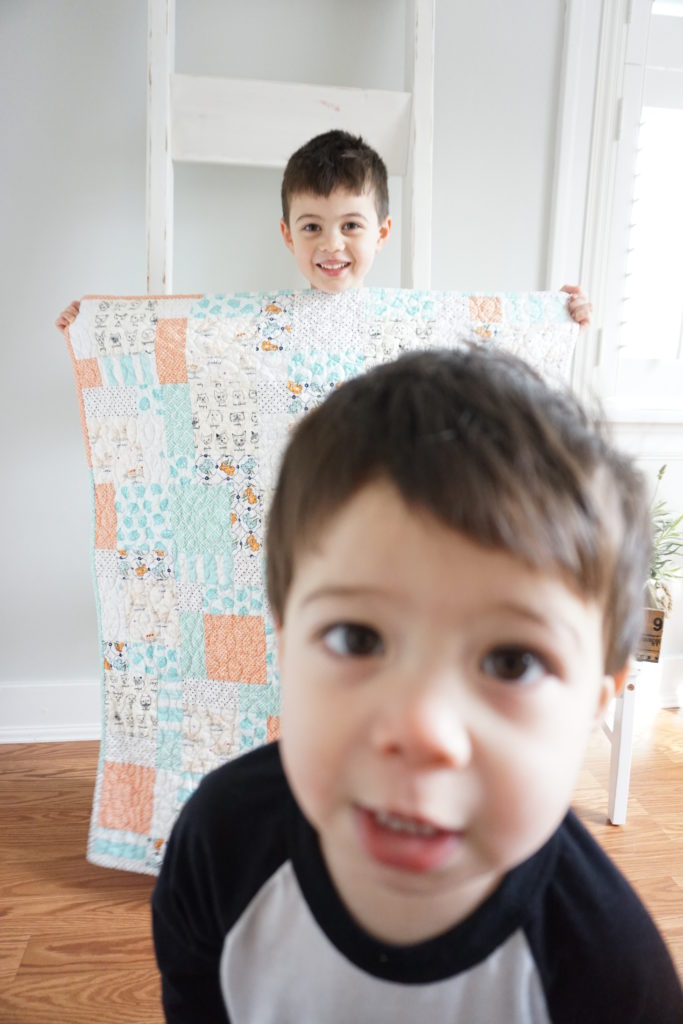
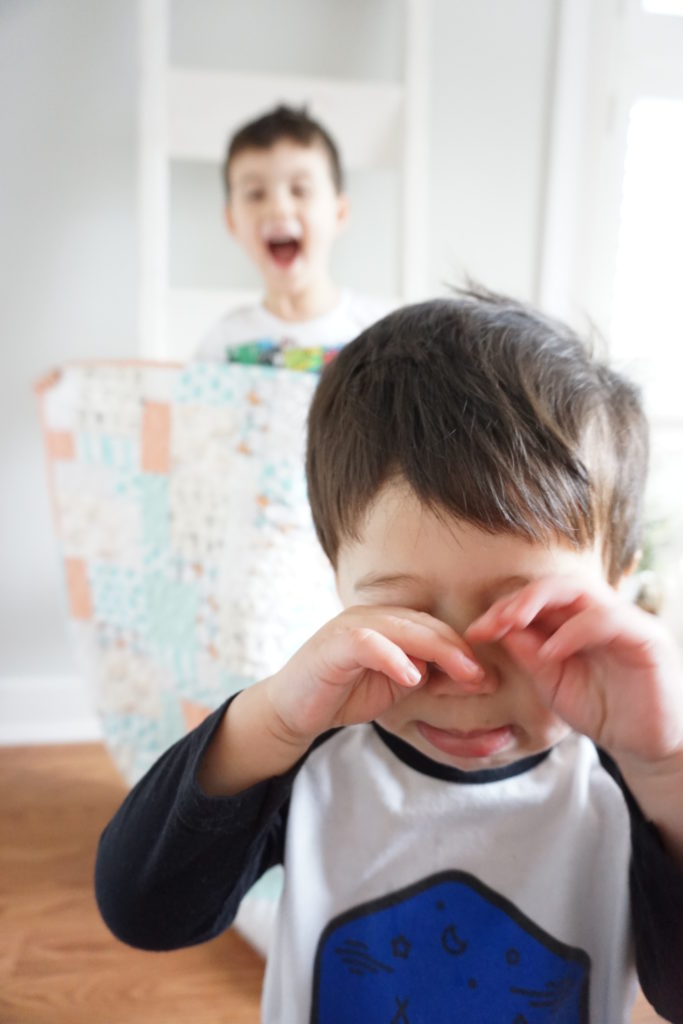
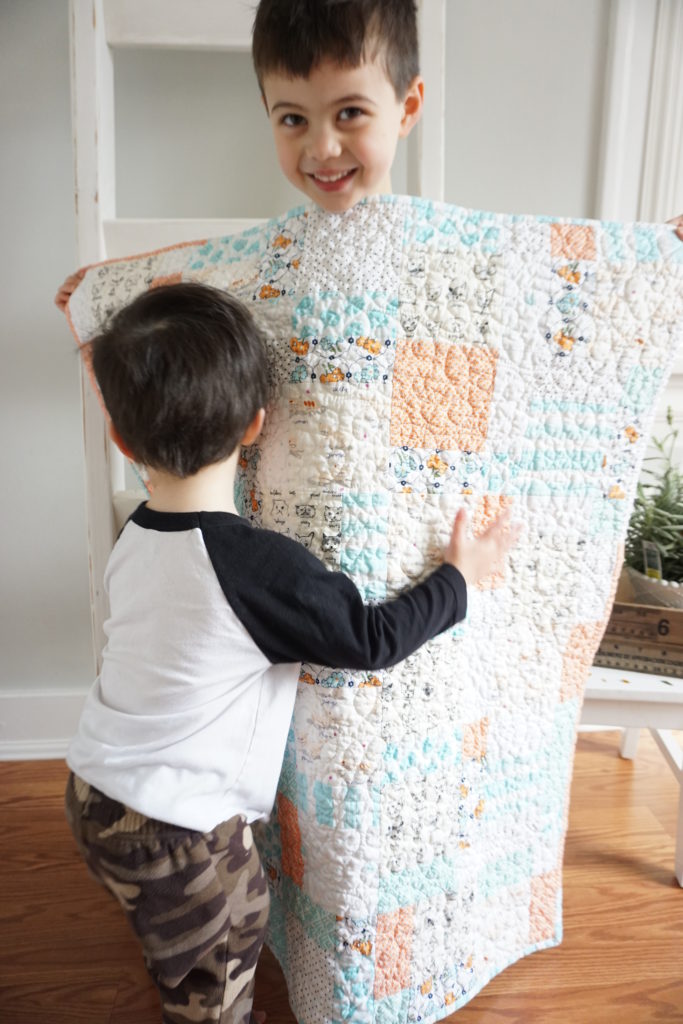
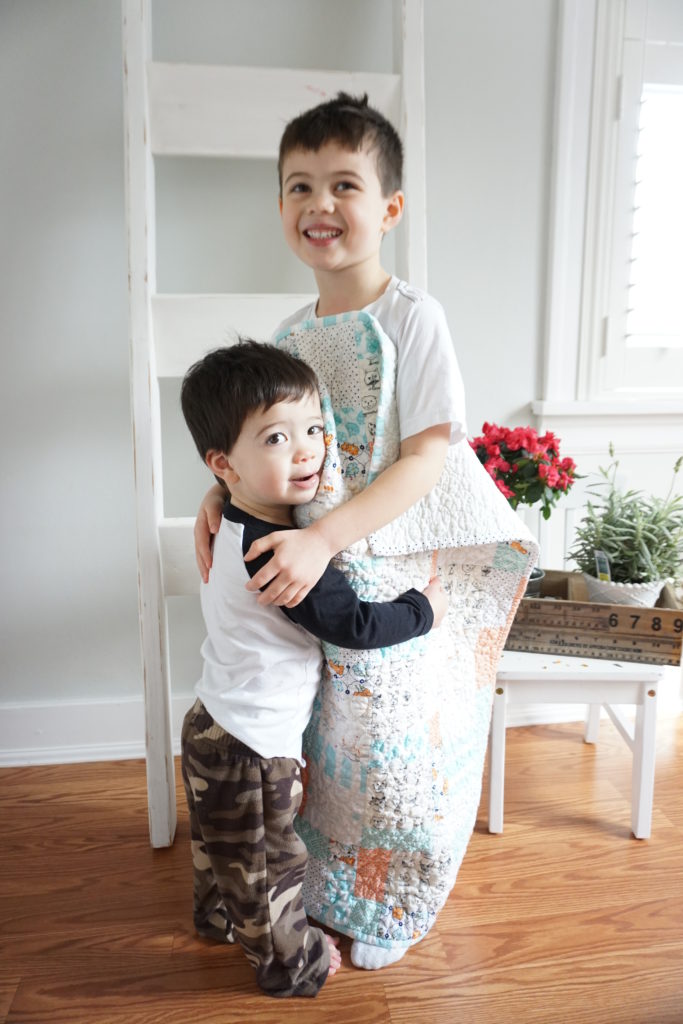
My son and I did a quick photo shoot this morning before I gifted the baby quilt. Simon of course kept photo-bombing all the photos, haha that ‘lil stinker.
I think he aspires to be an amazing quilt model like Ethan someday ;-p
Or perhaps he just really loves his big brother.
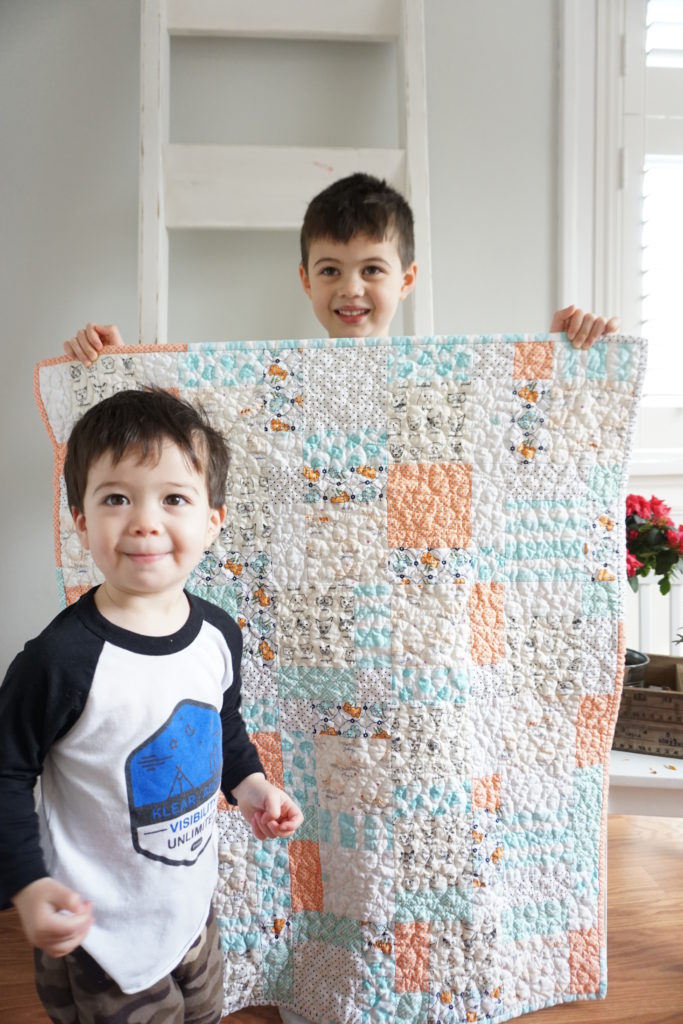
Ha! Mama has proof that they really do love each other. Years down the road when they’re fighting, I can whip out this photo.
I’m the luckiest to have such handsome quilt models don’t you think? 😉
Tutorial
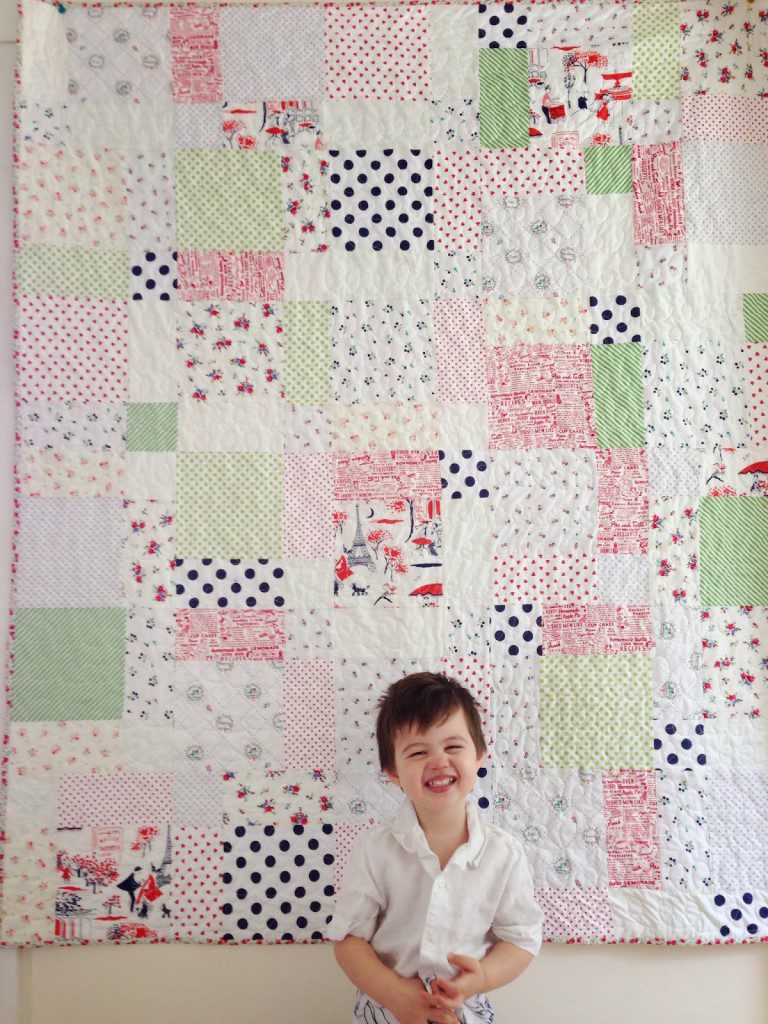
The tutorial I used for this quilt is my Whimsy Quilt Tutorial from several years ago. However, I used 5″ squares instead of 8″.
That’s my eldest (below) modeling the Whimsy Quilt for his mama THREE years ago! I’ve had him trained since he could stand, haha!
This is a super duper fun tutorial. It’s quick and it’s very forgiving.
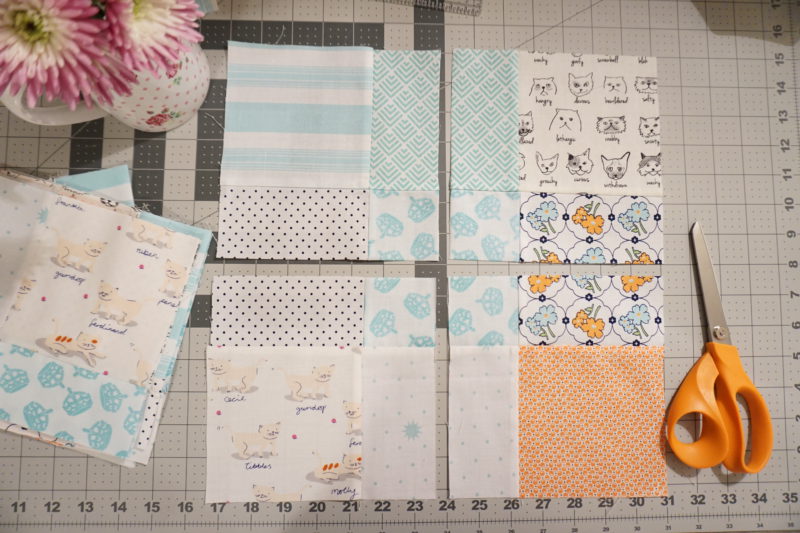
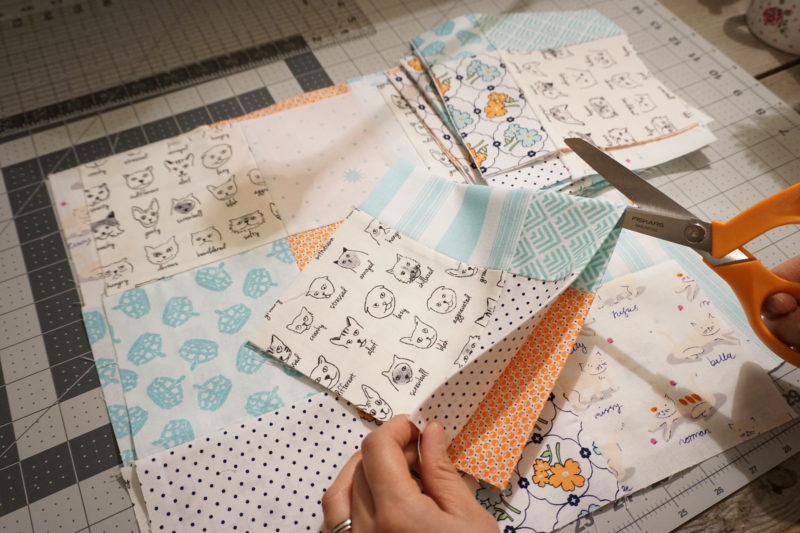
All you do is sew a 9-patch (3 x 3 squares), fold the block in half and then in half again (into quadrants), press with an iron to help define the folded lines, and then cut the folded lines to give you 4 blocks.
I just cut them as shown below, with no measuring or using a rotary cutter. I simply cut on the folded line.
As mentioned above, my Whimsy Quilt tutorial says to use 8″ squares, but for this baby quilt I decided to use 5″ squares. After sewing nine 5″ squares into a 9-patch (3×3), this will give a 14″ block finished. And then after you cut it into quadrants, you will get four 7″ blocks.
For this quilt I made eight 9-patch blocks. After cutting each block into quadrants, that gave me 32 blocks. This quilt was assembled using 30 of the 32 blocks, in a 5 x 6 formation (5 blocks per row, 6 rows). It measured about 33″ x 39.5″ finished which is a good baby quilt size. It’s a great size for throwing in the stroller or for on-the-go as it’s not too big.
Materials:
For your reference, you can cut twelve 5″ squares from one fat quarter. So if you want to make this same size quilt, you will need at least 6 fat quarters for the quilt top.
For the backing you will need 1 yard.
For the binding you will need 1/4 yard. Though I made a scrappy binding using extra fabric that I had leftover.
I hope you enjoyed this post! Thanks for stopping by 🙂 Look at me blogging twice within a week.

Comments: 29 | Leave a comment