Fabric Giveaway Update! Plus a Cautionary (finger)Tip…

Hello fabric fiends! I have been so entertained with the responses to the fabric giveaway! It has been interesting to find out where everyone is located and I *LOVE* hearing about your fabric devotion… I’m glad I’m not alone out there and that I have support from fellow-fabric junkies! In fact, I love it so much that I have decided to throw one more prize into the mix for the giveaway: a Fabric Sicko prize to my favorite tale of fabric addiction! I’ve seen some great ones already, and if you haven’t posted because you think it’s too late, you still have a couple chances to win something! (click here for the fabric giveaway and fabric addiction affirmations).

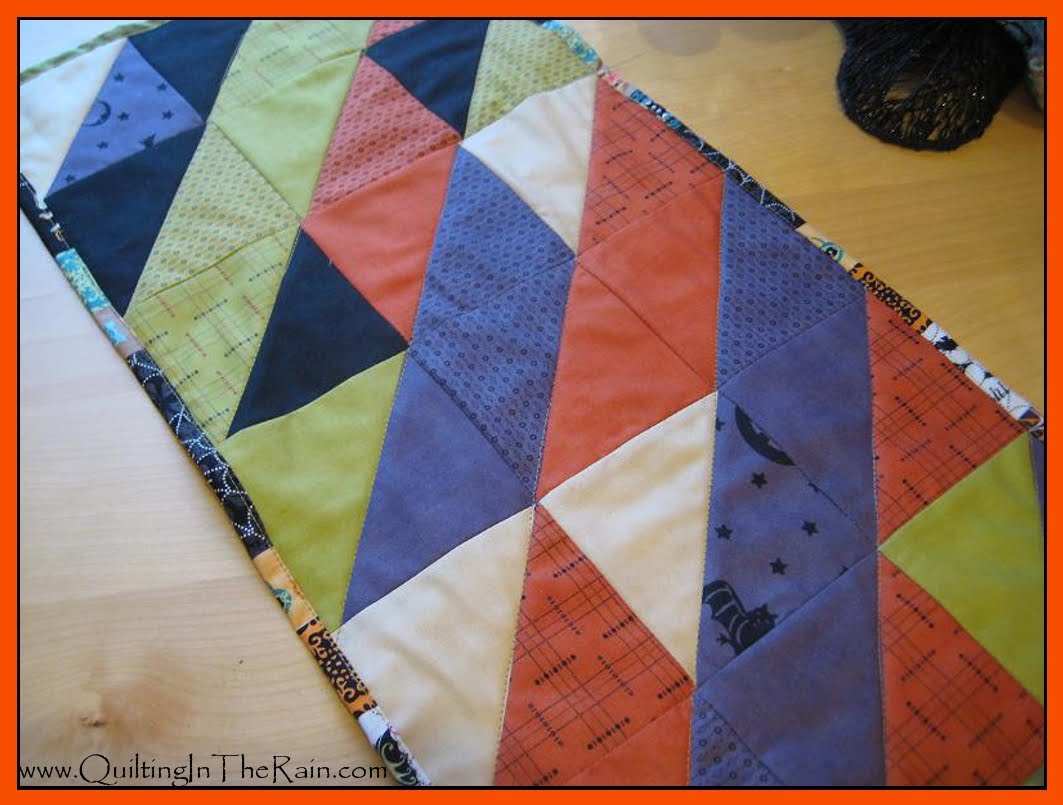
The Fabric Sicko prize will be four fat quarters, as seen below:
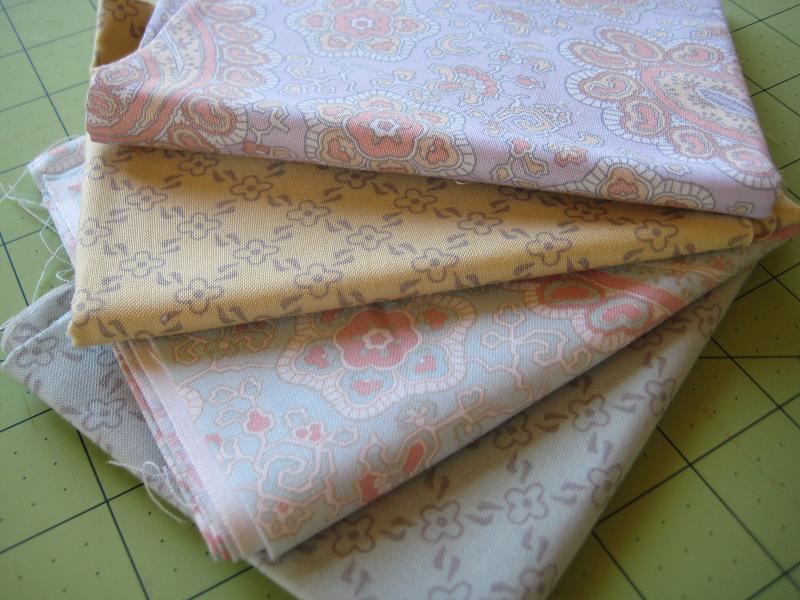
I am ending the giveaway contest at 12:00am PST on October 23rd (the end of next Friday/beginning of next Saturday). So post if you haven’t already!

Finally, I wanted to give a quick shout out to Maggie over at Maggiesquiltnthreads and a word of WARNING to my fellow quilters out there to be very careful when using a rotary cutter! I screamed when I saw an unexpected picture of Maggie’s severed finger on her blog. Maggie sacrificed a piece of herself (literally!) to the craft when she accidentally nipped off a bit of her finger with a rotary cutter. Not fun. Yet she continues to quilt away, now that’s true dedication. You can check out her blog for a description and all the gory details…but I just want to propose that October (and all other months, for that matter) should be recognized as Finger Safety and Awareness month. A couple (finger)Tips on how to observe FSA month follow:

A chainmail glove or gauntlet:
These are great because they make you look like a medieval knight and also protect you from rotary cutters.

Honest Abe:
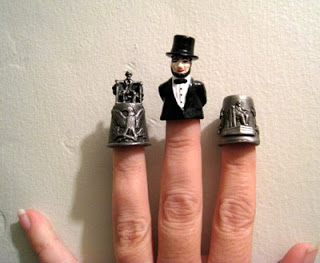
You can trust Abe to protect your digits, although any thimble will do the trick.

An old-fashioned finger guard (not as hard core as the chainmail glove, but it will do):

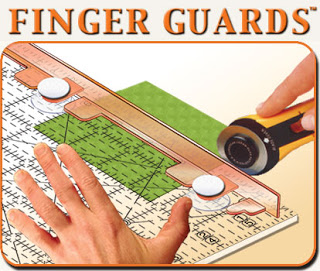
And if all else fails, a good First Aid kit πŸ˜‰

Happy crafting!

Comments: 3 | Leave a comment


Free Fabric Fix! Giveaway From a Fellow Fabric Junky

I am a fabric junky who likes to give back to my fellow fabri-holics. To win this giveaway, all you have to do is answer my challenge correctly. This challenge will have TWO winners. Prizes are as follows, and instructions are below.
Not too shabby for a freebie. The beauties in the first photo above are called Honey Buns by Moda. They contain an assortment of 1.5″ x 44″ strips, usually about 44 strips per bun.The second photo is a charm pack by Moda which is a fabric collection of 5″ squares, typically with about 44 squares per pack (I promise I wont sneak any squares to keep for myself πŸ™‚ I will ship the prize to each winner, and I’m willing to ship internationally as well.

  • 1st place winner: One honey bun of your choice, plus the charm pack.
  • 2nd place winner: One honey bun.

Challenge: Below are three up-close photos of items that are used for crafting. Can you guess what they are? πŸ™‚ The first person to respond with the correct answer for all three photos will be the 1st place winner. The 2nd place winner will be drawn randomly from the names of all other responders who answer correctly, or have the most correct answers if nobody else can get all three.

How to Respond: Email me your 3 answers to QuiltingInTheRain@gmail.com AND respond to this post with the following: your first name, where you are from, how long you’ve been sewing/quilting, and include an affirmation of your sick fabric addiction. I will determine the 1st place winner based on the timing of your email response.

# 1:

#2:

#3:
Good luck! If you have any questions, please reply to this post as I’m sure others will have similar questions. I will respond to your comments as soon as I can.

Comments: 21 | Leave a comment


Patchwork Coasters


This tutorial will make you four coasters and one coaster cozy. I made these for a friend that just moved into a new house – it makes a great housewarming gift πŸ™‚

Materials:

  • Scrap fabrics
  • Scrap batting
  • Steam-a-seam

Step 1 – From your scrap fabrics, cut 12 2”x5” rectangles. As shown below, put them in four coordinating piles with three rectangles each. These will be your coaster patchwork tops.

Step 2 – From your scrap fabrics, cut four 5” squares for the coaster backing. From your scrap batting, cut four 5” squares.

Step 3 – Take a pile of three rectangles (from step 1) and piece them together: With right sides facing together, sew a ¼” seam along the length. The back will look like the first picture below. Press flat with an iron.

Step 4 – Take the patchwork top, backing and batting and layer them in that order. The right sides of the patchwork top and backing should be facing each other. Make sure everything is aligned, and then pin to keep in place.

Step 5 – Sew a ¼” seam along the perimeter of the coaster but leave a 2” opening for turning inside out. Start and end your stitch with a back-stitch. Using scissors, trim the excess fabric from the corners.

Step 6 – Through the 2” opening, turn inside out so that the batting is sandwiched in between the patchwork top and backing fabric. To seal the opening, fold the opening inward ¼”, press with an iron, and then apply a thin strip of steam-a-seam to glue it closed.

Step 7 – To make the coaster cozy, sew enough fabric scraps together so that you can cut two 6.5” squares. From your scrap batting, cut one 6.5” square. Follow Steps 4 through 6 (above), but using these 6.5” squares.

Step 8 – As shown below, pinch each corner so that a 1” wall forms on each side. Pin the corners to keep them pinched. (Tip: put a coaster in the center before pinching the corners of the coaster cozy to help give you even walls)

Step 9 – Use embroidery floss and a needle to tie all 4 corners closed.

You’re done!

Comments: 16 | Leave a comment


Autumn Table Runner


The tutorial below is for a 25.5” x 13” table runner (good for a coffee table) which requires 18 5” fabric squares. Simply double the number of materials depending on how long you want the runner to be (e.g. for a 51”x13” runner you will need 36 5” squares). I made this Halloween theme table runner using leftover fabric from the fabric ornament tutorial – i just love using every last bit!

Materials:

  • Charm pack (a charm pack is a bundle of pre-cut 5″ squares)
  • Backing fabric (for a 25.5″x13″ runner, get 29″x16″ of backing)
  • Batting
  • Coordinating thread

Step 1 – Pair your 5” squares into 9 groups of 2 squares each. When choosing pairs, pick colors/patterns that complement each other. Pair the squares so that the right sides are facing each other.

Step 2 – As shown below, cut a diagonal line to form 2 half square triangles.

Step 3 – For both half square triangles, sew a ¼” seam along the diagonal line that you cut in the previous step.

Step 4 – After sewing the ¼” seam, press open with an iron. This will create 2 squares. As shown in the 2nd picture below, trim the excess fabric tags.

Step 5 – Repeat the above for all the squares you paired in step 1. Then arrange the squares in 6 rows of 3 squares each. I arranged mine as follows.

Step 6 – Sew the 3 squares in each row together: with right sides facing together, sew a ¼” seam. Press open with an iron.

Step 7 – Then, sew all 6 rows together: with right sides facing together (pin to keep in place), sew a ¼” seam. And then press open with an iron. Continue until you have all rows sewn together.

Step 8 – Now layer your quilt top, batting and backing (in that order) to create a quilt sandwich. Layer it so you can see the right sides of the quilt top and backing fabric (i.e. wrong sides should be facing the batting). Pin to keep the quilt sandwich in place. Then using your sewing machine, quilt the runner however you like. I simply stitched diagonal lines, using the stitch-in-the-ditch method.

Finish the quilt via the Quick Quilt Binding Tutorial, which uses the extra backing fabric. : )

Comments: 3 | Leave a comment


Fabric Ornaments

I know it’s only mid-Sept., but it REALLY feels like Fall in Seattle! So, I went to my local arts and crafts store the other weekend to buy 2 simple items. I ended up leaving with a bag full of foam balls, candy pumpkins, fake leaves, a sack of buttons, Mod Podge, the list goes on… And of course the 2 items that I was originally there for were forgotten, ancient history. :-}

Anyway, after getting all my supplies I thought up the idea of fabric ball ornaments. This is a fun weekend project; only 5-steps below. If anyone else tries it out, I’d love to see how it turns out!

Materials:

  • Scrap fabrics – I used a charm pack (pre-cut 5” squares)
  • Foam balls
  • Wire
  • Mod Podge
  • Clear brush-on glaze finish (optional)
  • Ribbon (optional)
  • paint brush

All of the above can be found at your local arts and crafts store. For the wire, I used fabric-coated stem wire which can be found in the floral section.

Step 1 – Cut fabric scraps into 5” long strips no wider than 1”. If you’re using smaller foam balls, I wouldn’t cut them any wider than Β½ ”.

Step 2 – Get your hands messy! (Tip: I covered my table with parchment paper). With a paint brush, apply a single coat of Mod Podge where you plan to place a fabric strip:
Place the fabric strip over the Mod Podge and smooth down with your fingers. Then, secure the strip by brushing it down with more Mod Podge. Don’t brush it on too thick:
Repeat the above steps but with another strip. Simply layer the fabric strips as needed until the entire foam ball is covered:
Let the fabric/Mod-Podged ball(s) dry on parchment paper overnight.

Step 3 – After the fabric balls have dried, apply a thin coat of clear brush-on glaze coating and then let it dry again overnight.

Step 4 – Create the ornament hanger. As shown below, cut approx. 4” of stem wire. Bend approx. 2” of one end over to create a ½”-1” loop, and using the remaining wire secure the loop by wrapping the wire around the main stem to create a little knot.

Step 5 – Using a thin blade (e.g. the tip of an old pair of appliquΓ© scissors), make a small incision on the fabric ball so that the blade cuts through the fabric. Insert the end of the wire hanger (the end that doesn’t have the loop) into the incision until it stops at the knot. The foam secures the wire better than I thought, but you can also apply clear glue around the base of the knot to reinforce it. If desired, add a bow using ribbon at the base of the loop.
That’s it! I’d love to see someone use Christmas-themed fabric. In case anyone is wondering where I got the black tree in the first photo, it’s from JoAnne’s (an arts and crafts store in WA).

Also, I plan on posting a tutorial for the Halloween table runner (also shown in the first picture). Should have that up shortly!

Comments: 11 | Leave a comment


Site by Spunmonkey.