Archive | January, 2013

Crafting Space Version 2.0

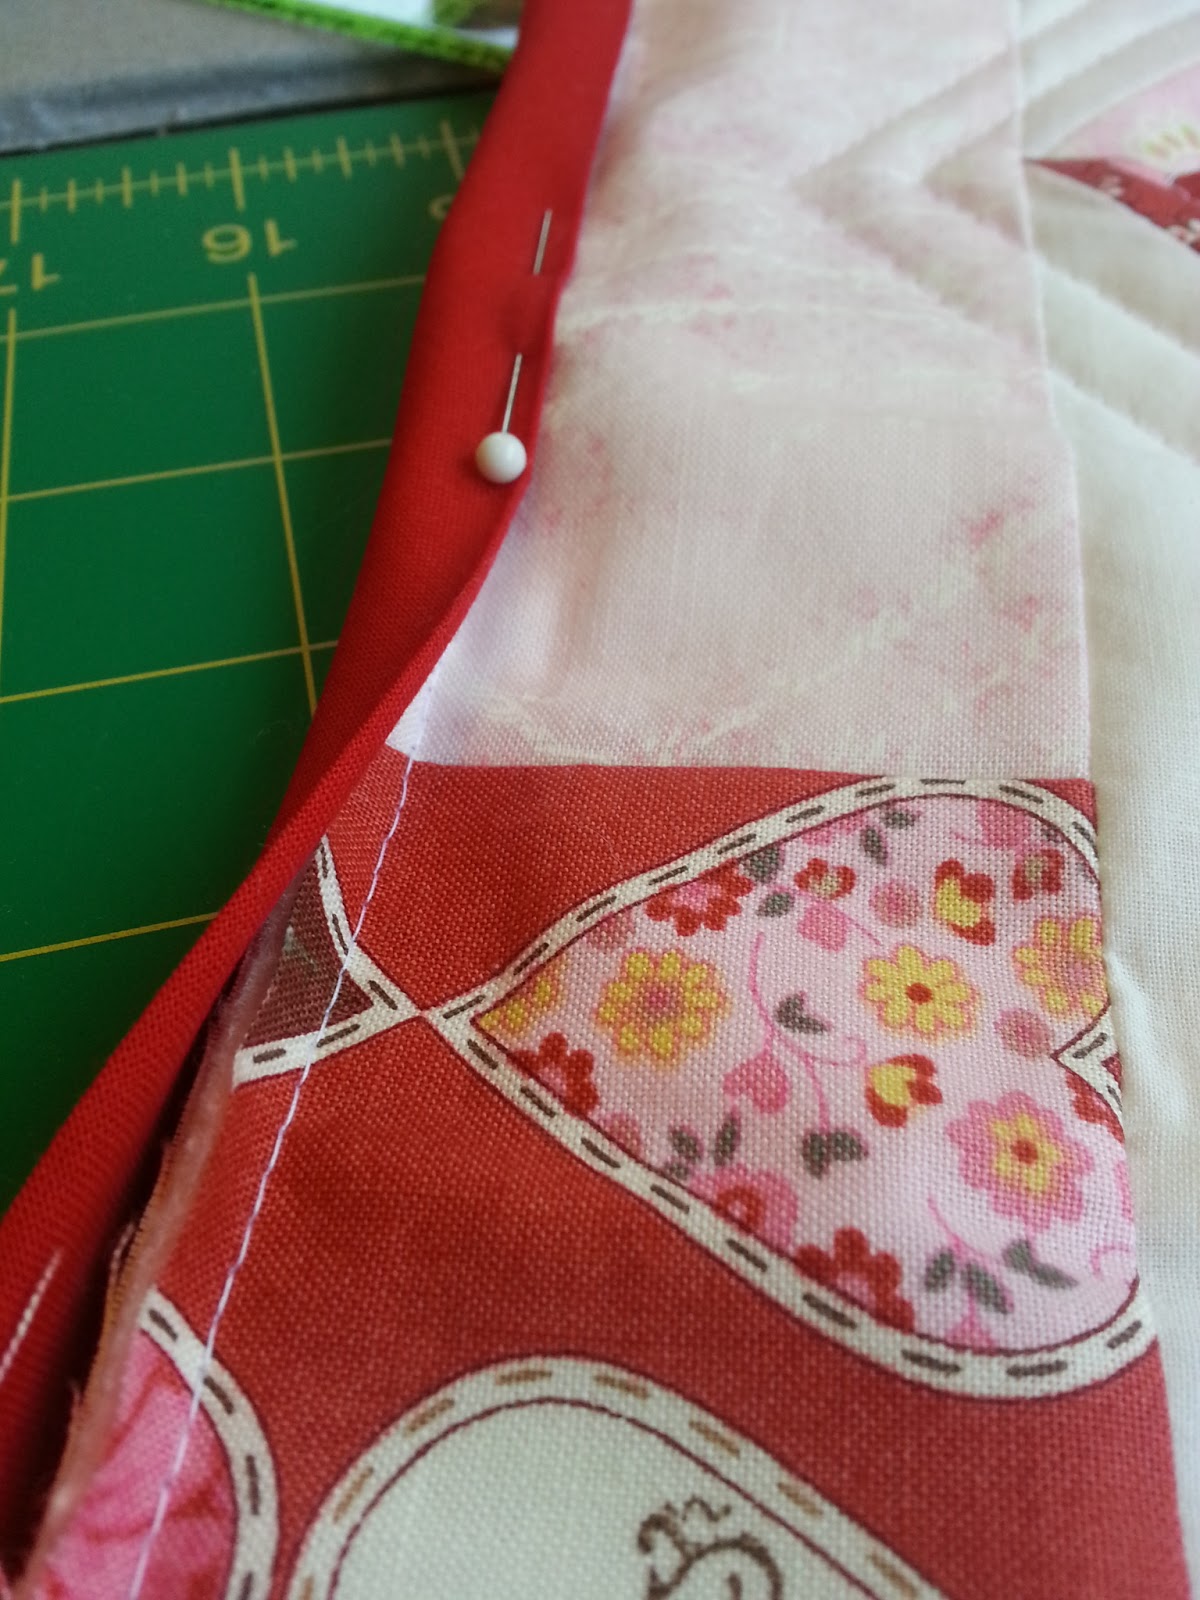
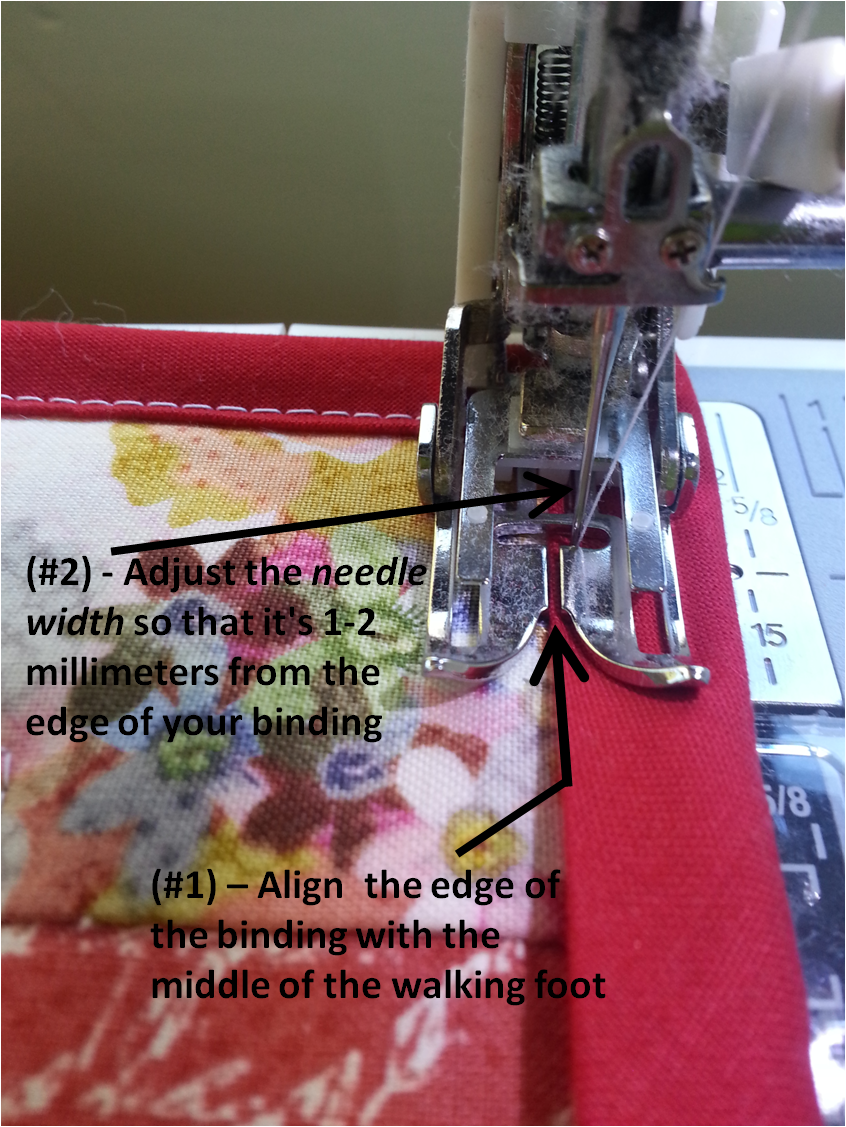
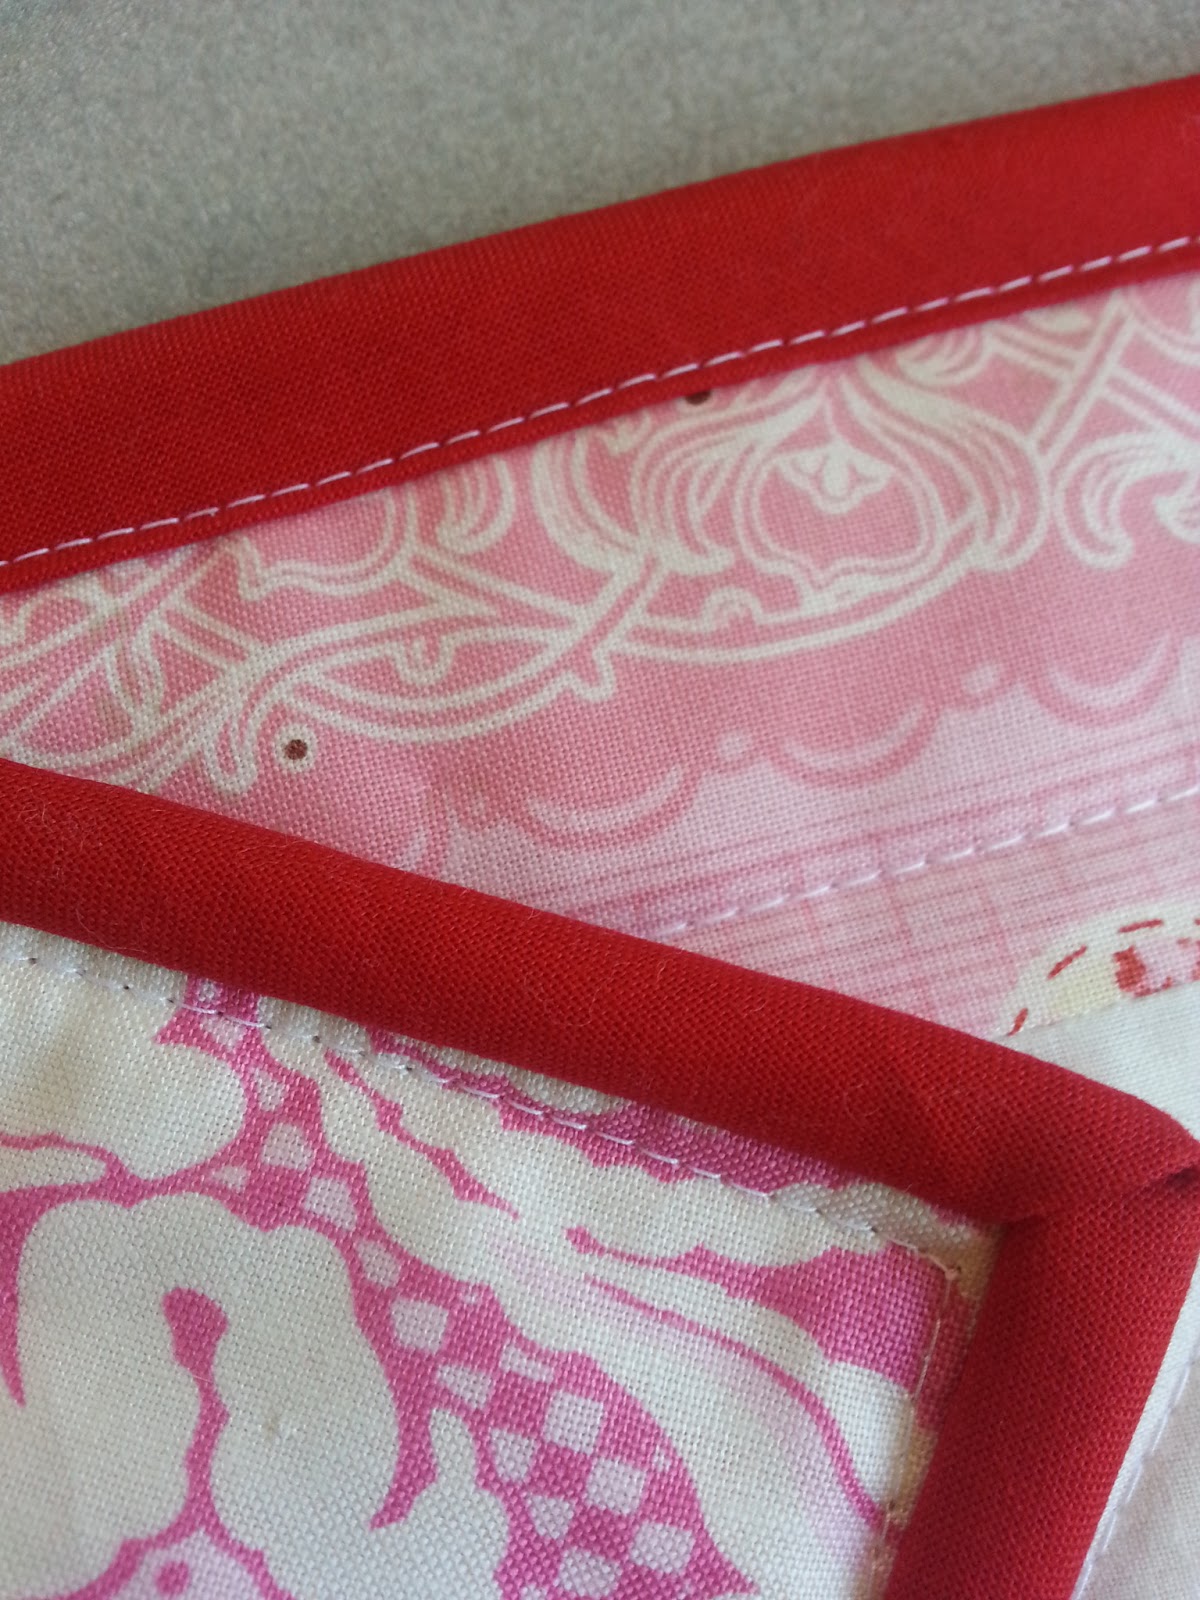
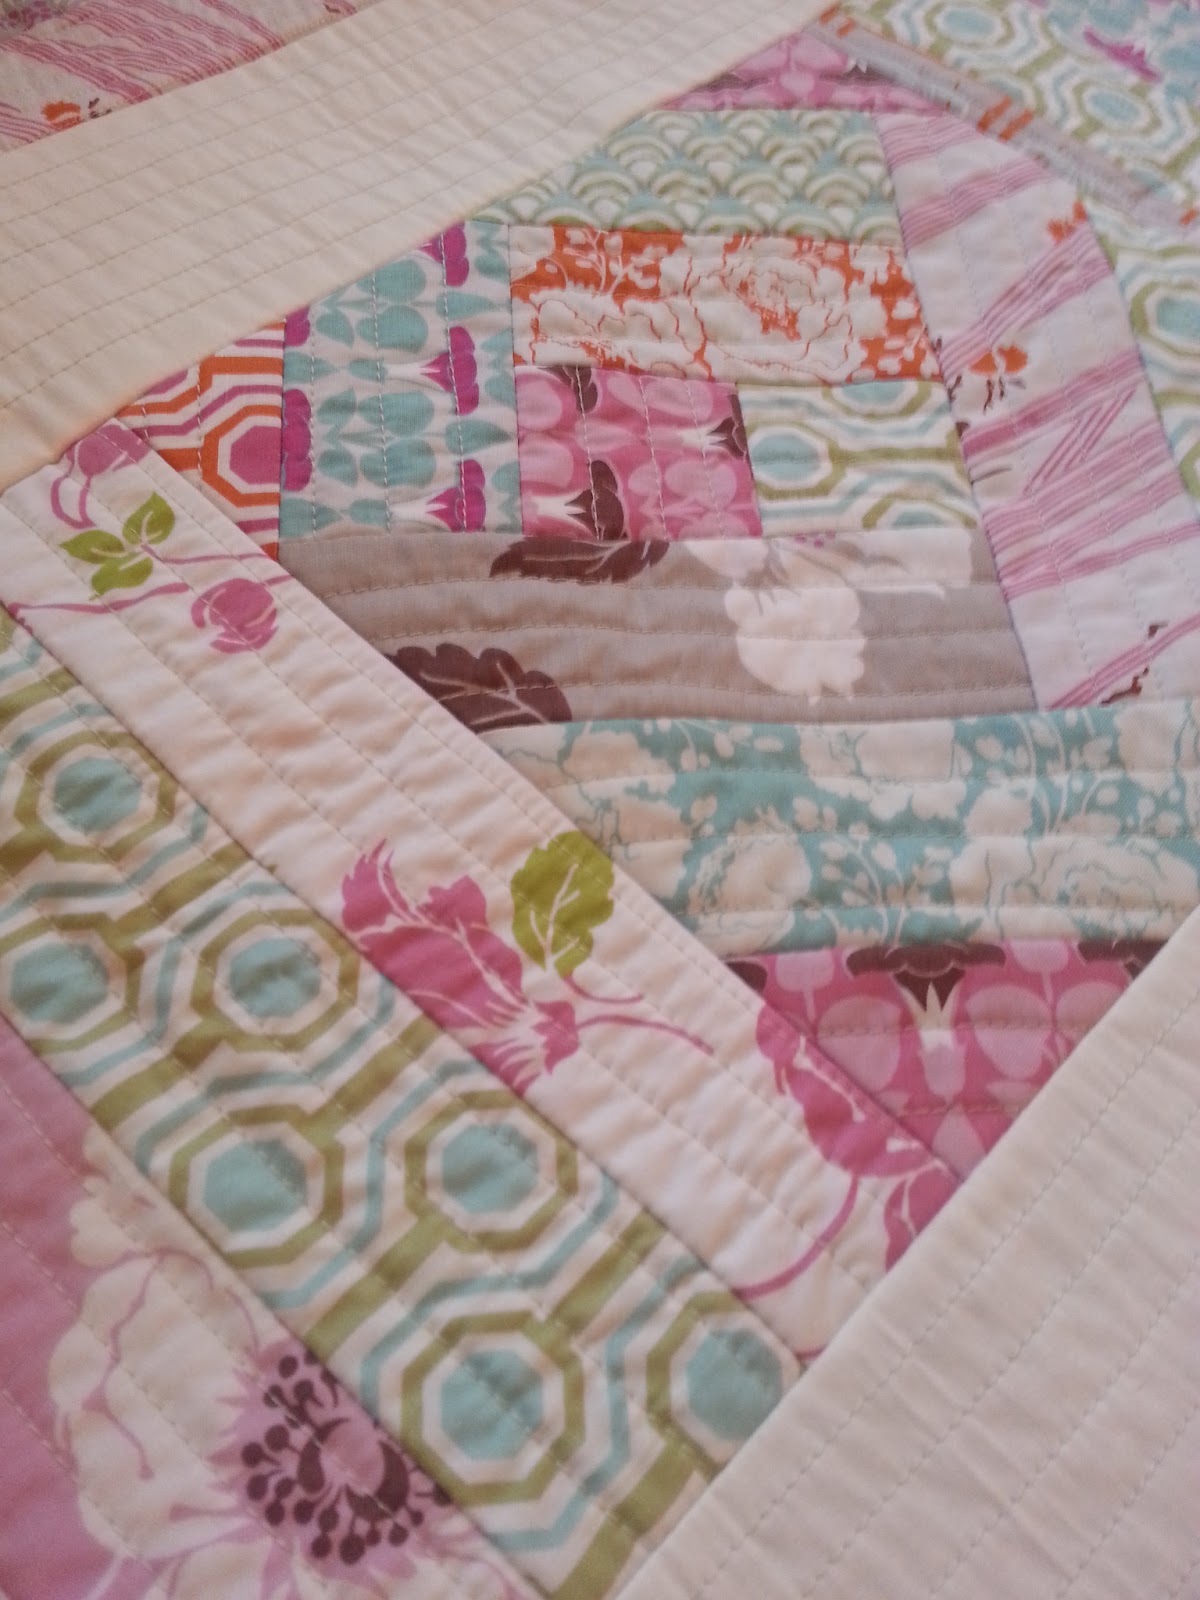
Just a quick post to share my always evolving craft space. It was time to take out my Pfaff Grand Quilter again, which meant going to Ikea to buy a table that’s sturdy enough for all 30+ pounds of it. Totally worth it, and all because of that automatic thread cutter. It makes quilting so much faster! Since my crafting space is out in the open, I put up a sheer curtain to help hide all my stuff.

I have my little ironing board and cutting mat behind my chair. When i’m really cutting though, I take out the big mat and cut on the dining table. So far the space is working out. I’m definitely getting more crafting done, and much faster.

On a different note…my son is turning ONE this Friday! I’ve
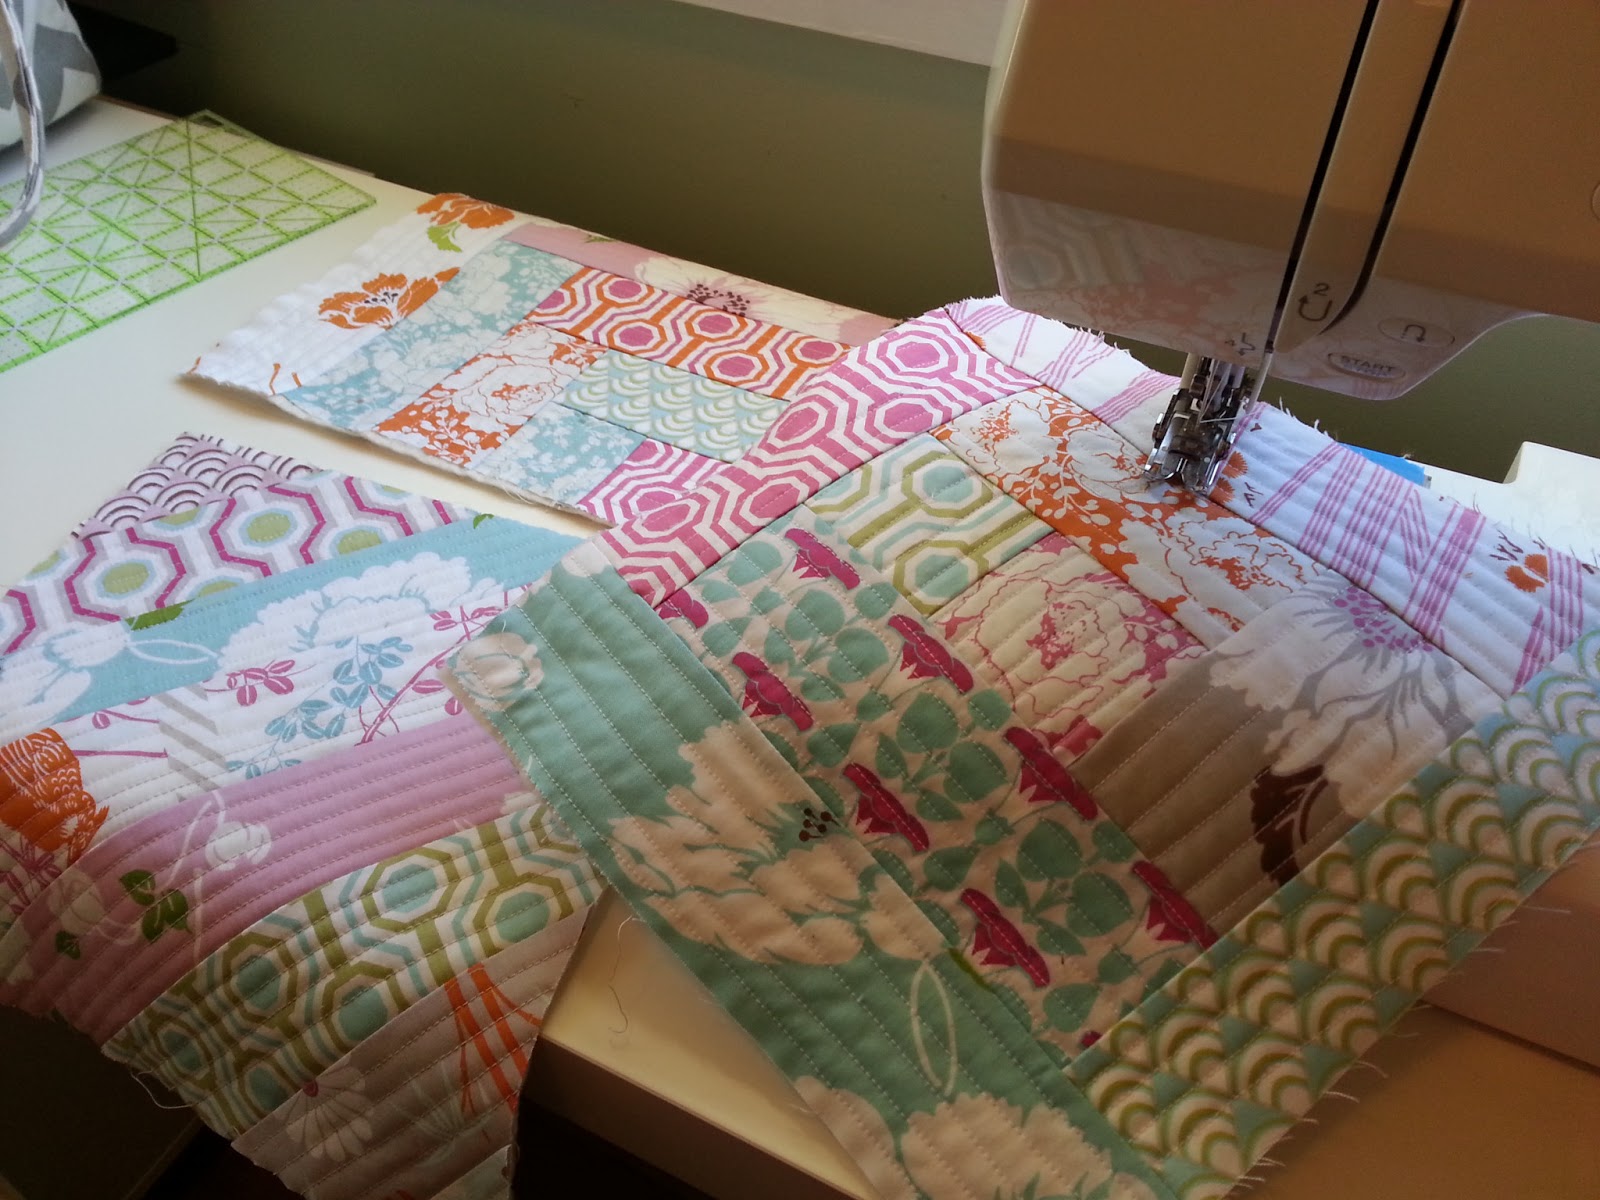
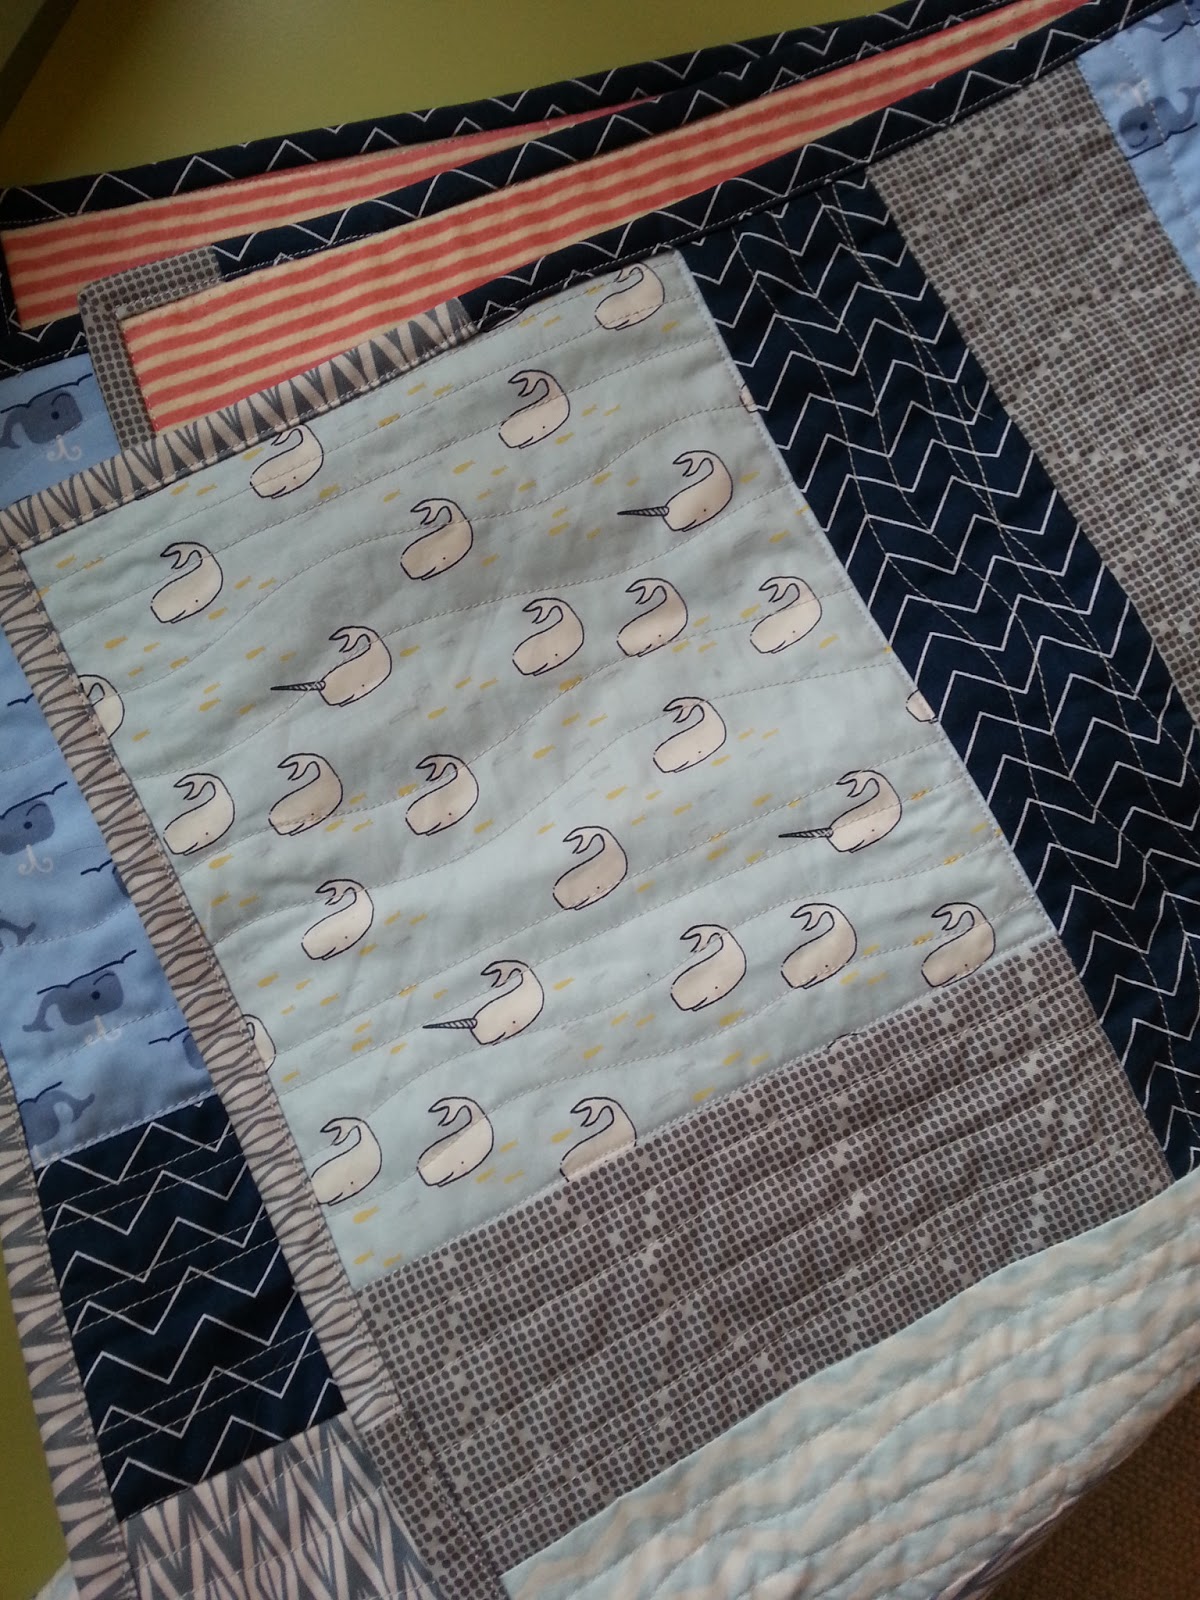
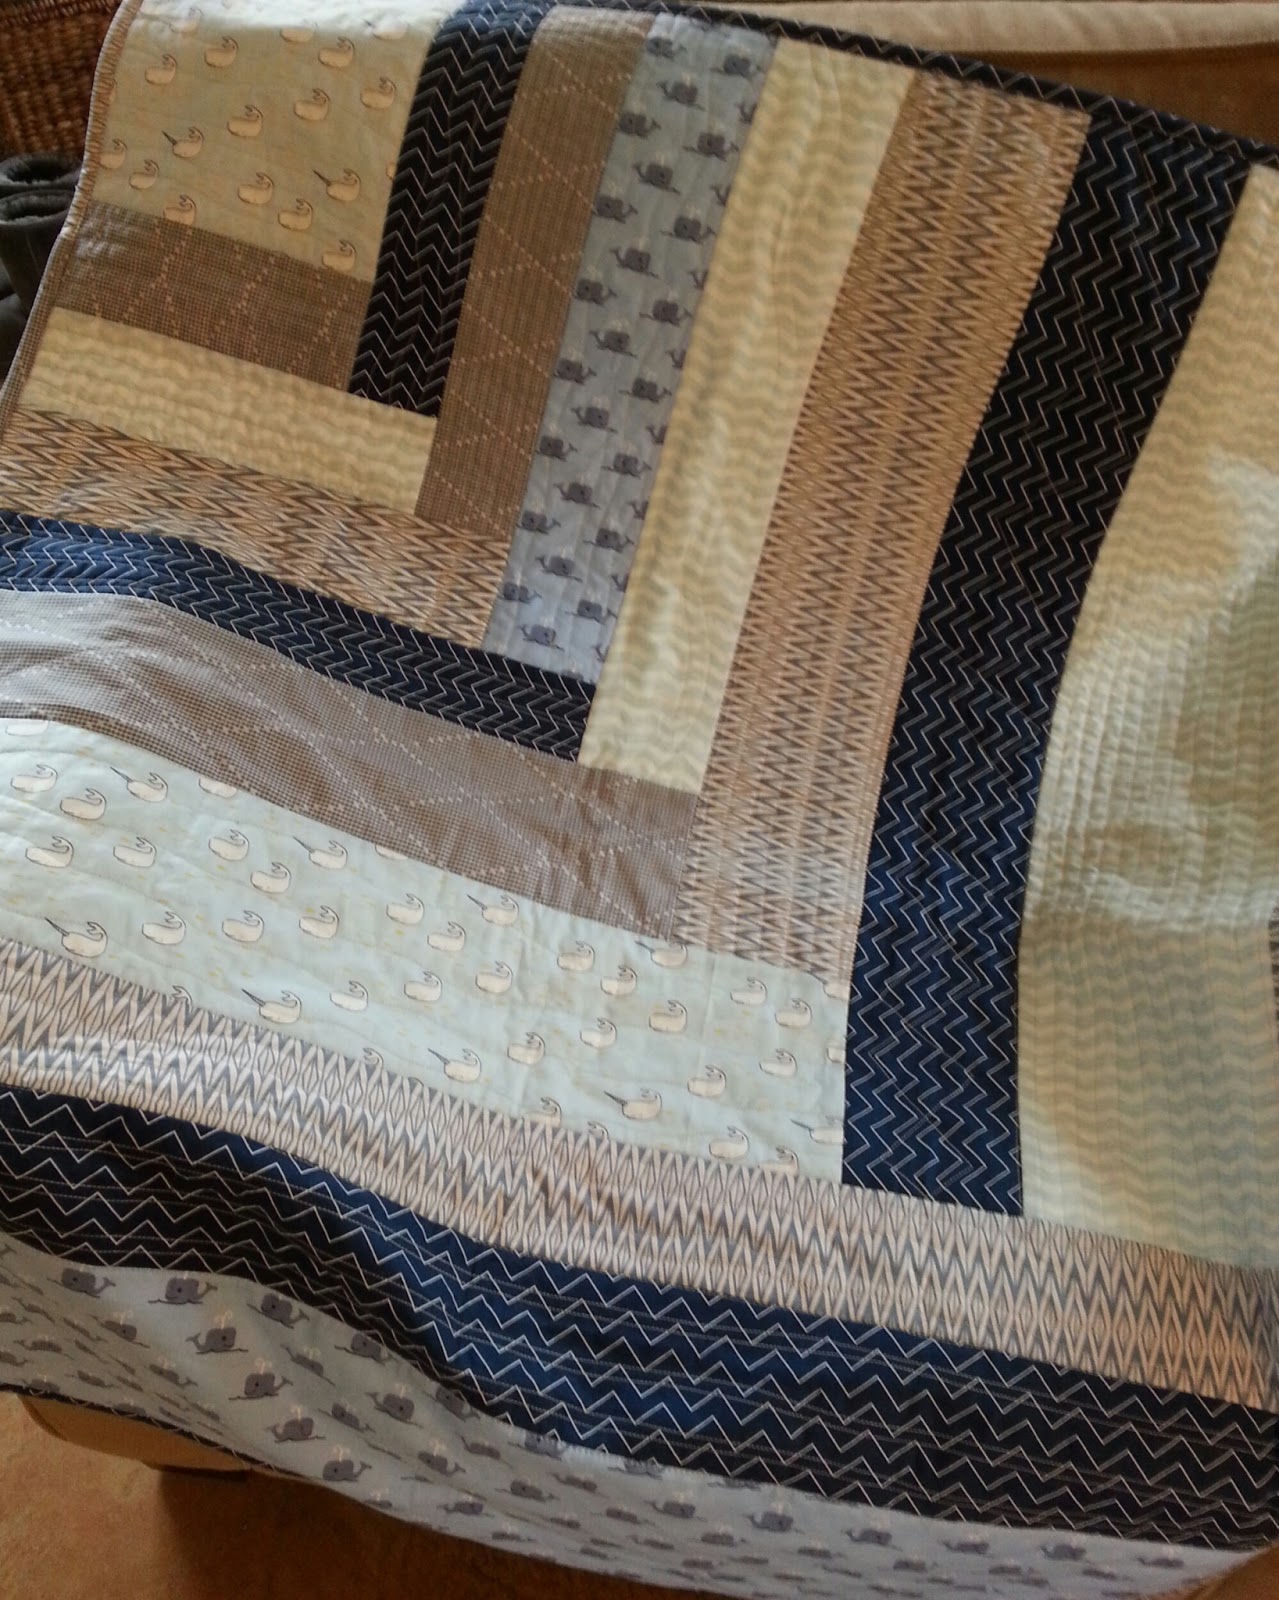
been busy preparing for his monster-themed party. Below is a monster rag quilt I made for him the other night. Literally, I put it together in
one night! They’re so quick and easy! I used a combination of the
following two collections to make the quilt if you’re interested: Don’t be Afraid and Down Under. For the backing I used a minky cuddle fabric which was so fluffy I didn’t even need to put batting in between. So cute and best of all, it’s super soft!

Happy quilting! 🙂

Comments: 20 | Leave a comment


Machine Binding Tutorial

Let’s face it, binding can be very time consuming especially when you blind stitch the back. Although blind stitching may look better, machine binding is more practical especially for those baby quilts that will be thrown in the wash time and time again. Here’s a tutorial on how to do it. 🙂

First, you need to prepare your binding strips and then sew them onto the back of your quilt using a 1/4″ seam allowance. You can learn to do this by referring to Part I of my Binding tutorial, except as aforementioned, be sure to sew the binding strips onto the back of the quilt instead of the front.  I suggest using an even feed walking foot when attaching binding. After you’re finished with Part I, return to this post to learn how to machine bind instead of blind stitching.

After you’ve finished Part I, fold your binding over onto the top of
your quilt. When you fold it over, make sure you pull it over the 1/4″
seam allowance as shown below. Iron the binding so that it lays flat and then pin to keep in place.

When you get to the corners, simply fold the bottom edge of the binding straight up, press flat with an iron and then pin the corners down to keep everything in place.

Be sure to place a pin on the corner (as shown with the green pin below) to lock down the corner folds.

Lastly, sew a top stitch near the edge of your binding strip. To achieve this, (#1) align the edge of the binding with the middle of your walking foot and then (#2) adjust the needle width so that it’s 1-2 millimeters from the edge of your binding (refer to the image below). Once you’ve adjusted the needle width, all you have to do is concentrate on guiding the edge of the binding strip along the middle of the walking foot.

To stitch around the corners, slow down and remove the corner pin (the green pin) and replace it with the sewing machine’s needle to lock it down with a stitch. With the needle down in that corner, lift the walking foot and pivot your quilt 90 degrees, put the walking foot down, and then continue sewing your binding.

Click image to enlarge.

After you’re done machine binding, here’s how the front and back of your quilt binding will look.The top stitch will be on the front of your quilt, and on your quilt backing there will be a stitch that runs along the binding as shown below.

Comments: 29 | Leave a comment


Inspiration for the New Year

Happy New Year everyone! Have you found any new crafting inspiration this new year? All of my new year quilting so far is using the modern quilt-as-you-go method.  I saw a table runner tutorial using this technique and instantly got inspired to do an entire quilt using the same method.  I’m absolutely LOVING the result. If only I had more time to move forward with this overflow of ideas! It’s the best thing when you find inspiration in something.

Here’s my cramped little sewing nook that’s been getting a lot of love lately. The Ikea table that my machine is set up on isn’t sturdy enough to hold my 30 lb Pfaff Grand Quilter, so I’ve been using my 10 lb Janome instead. Both are awesome machines, but  I might need to bust out the ‘ol Pfaff again because of its’  automatic thread cutter which would make this modern  quilt-as-you-go technique loads more convenient.

If you’re in the Seattle/Washington area, I’m teaching a class on this Modern Quilt-as-you-go technique. You can find details by clicking HERE. 🙂 I’ve also added a little link on the right nav with a link to all of my classes at the studio.

In addition, I am teaching this modern log cabin quilt (below) in March. 🙂 And yup! It uses the quilt-as-you-go method! Details for the class can be found HERE.

I hope you’re all finding some crafting inspiration this new year 🙂 Happy sewing!

Comments: 3 | Leave a comment


Site by Spunmonkey.