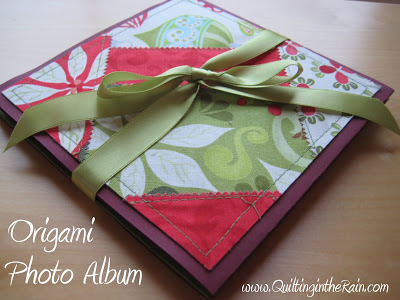
Here’s a unique and quick little project for the fellow scrapbooker, or for anyone that wants to try something new. You know me – I LOVE quick and simple projects and this is one of them! Make this photo album in just 5 easy steps below. I made this one as a Christmas gift, but it makes a wonderful gift anytime of the year!
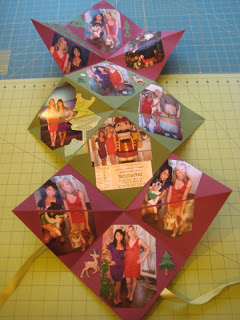
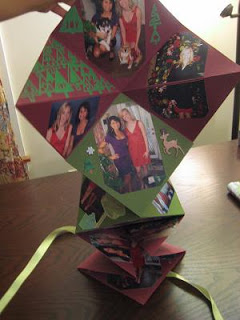
The album unfolds beautifully like this (click photo to enlarge):
 |
 |
Materials (for one photo album):
- Three – card stock sheet (size: 12” square).
- Two – card stock (size: 5.5” square)
- Scrap fabrics
- 1 yard of ribbon
- Glue
You can find the card stock materials in the scrapbook aisle of your local craft store.
Step 1. Fold one 12” square to create an ‘origami sandwich’ as demonstrated in the video below. Repeat with two remaining 12″ squares.
(Forgive my hobo-looking hair that appears every now and then at the side of the video. 😐 I had a bad hair day.)
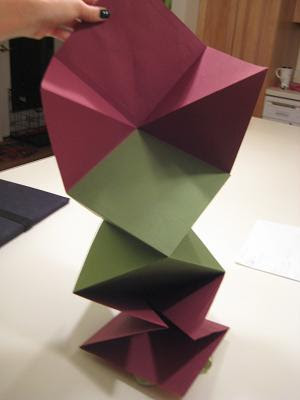
Step 3. After you’ve completed steps 1 and 2, you should have something that looks like this.
Step 4. Next, take your two 5.5″ card stocks. Decorate both however you like (this will be the front and back of your photo album). For this one, I sewed fabric to it. To get an idea of how I did this, click the following link: Patchwork Fabric Greeting Cards.

Step 5. Choose which side you want the front of your album to be, and then glue one of the decorated 5.5” card stocks to the center of the album front, as shown in the picture above.
Lastly, flip the photo album over. As shown below, place the ribbon underneath the 5.5” card stock, then secure both the ribbon and 5.5″ card stock with glue.

Now, put your scrap-booking skills to work and decorate the inside, or give as a gift as is.


I like it!! thanks for the idea and directions
I so love your blog! I could while away a whole afternoon just ooohing and aaaahing over the pretty pictures! Also, wanted to let you know I linked to your blog in one of my blog posts – really hope that's okay with you…eek? Thanks so much!
I had to watch the video again to see the hobo-looking hair :))
Thanks! :-} I felt like i was on 'the delicious dish' when recording the video tutorials. :-p
@SewHappyGeek – thanks for your kind words and for linking me to your blog. I'm loving your Etsy page!
I have looked at your post for the video of origami photo album and can’t find it?