Happy New Year!

Congrats we’re almost through the hustle and bustle of the holiday season! I thought i’d take this time to cram some beautiful things I’ve been meaning to share into this post on New Year’s Eve, Eve. Just before the new year!

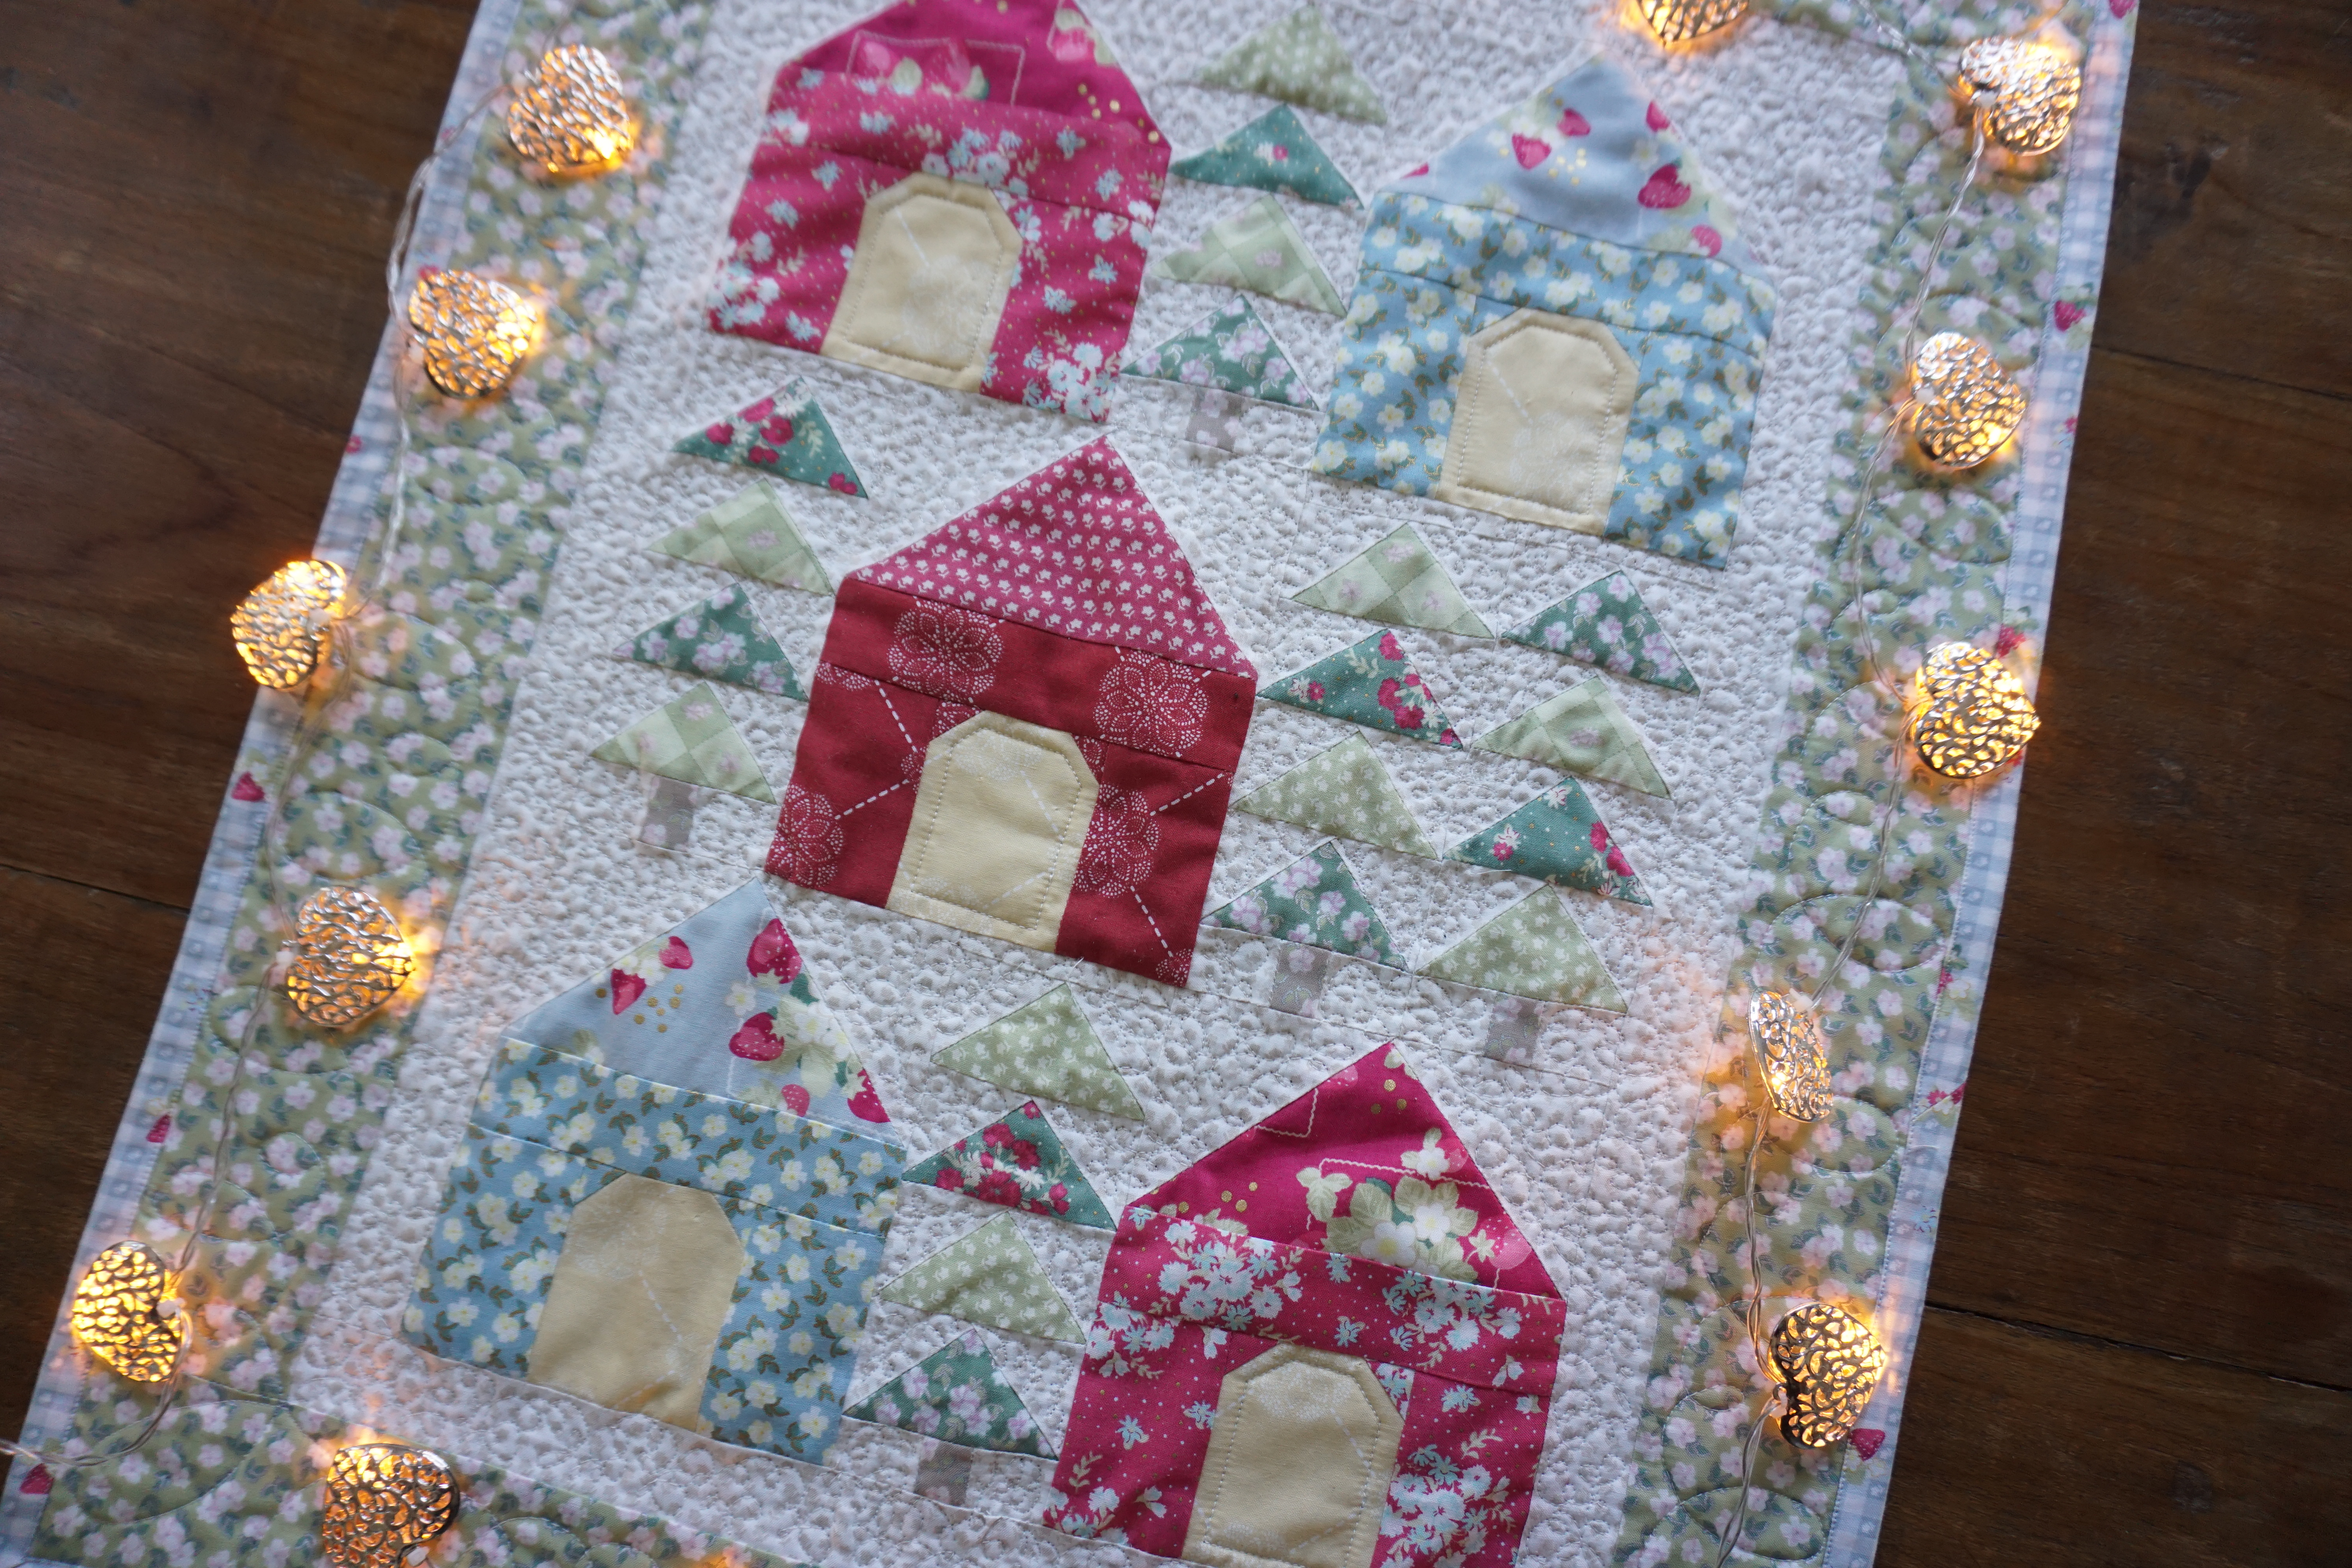
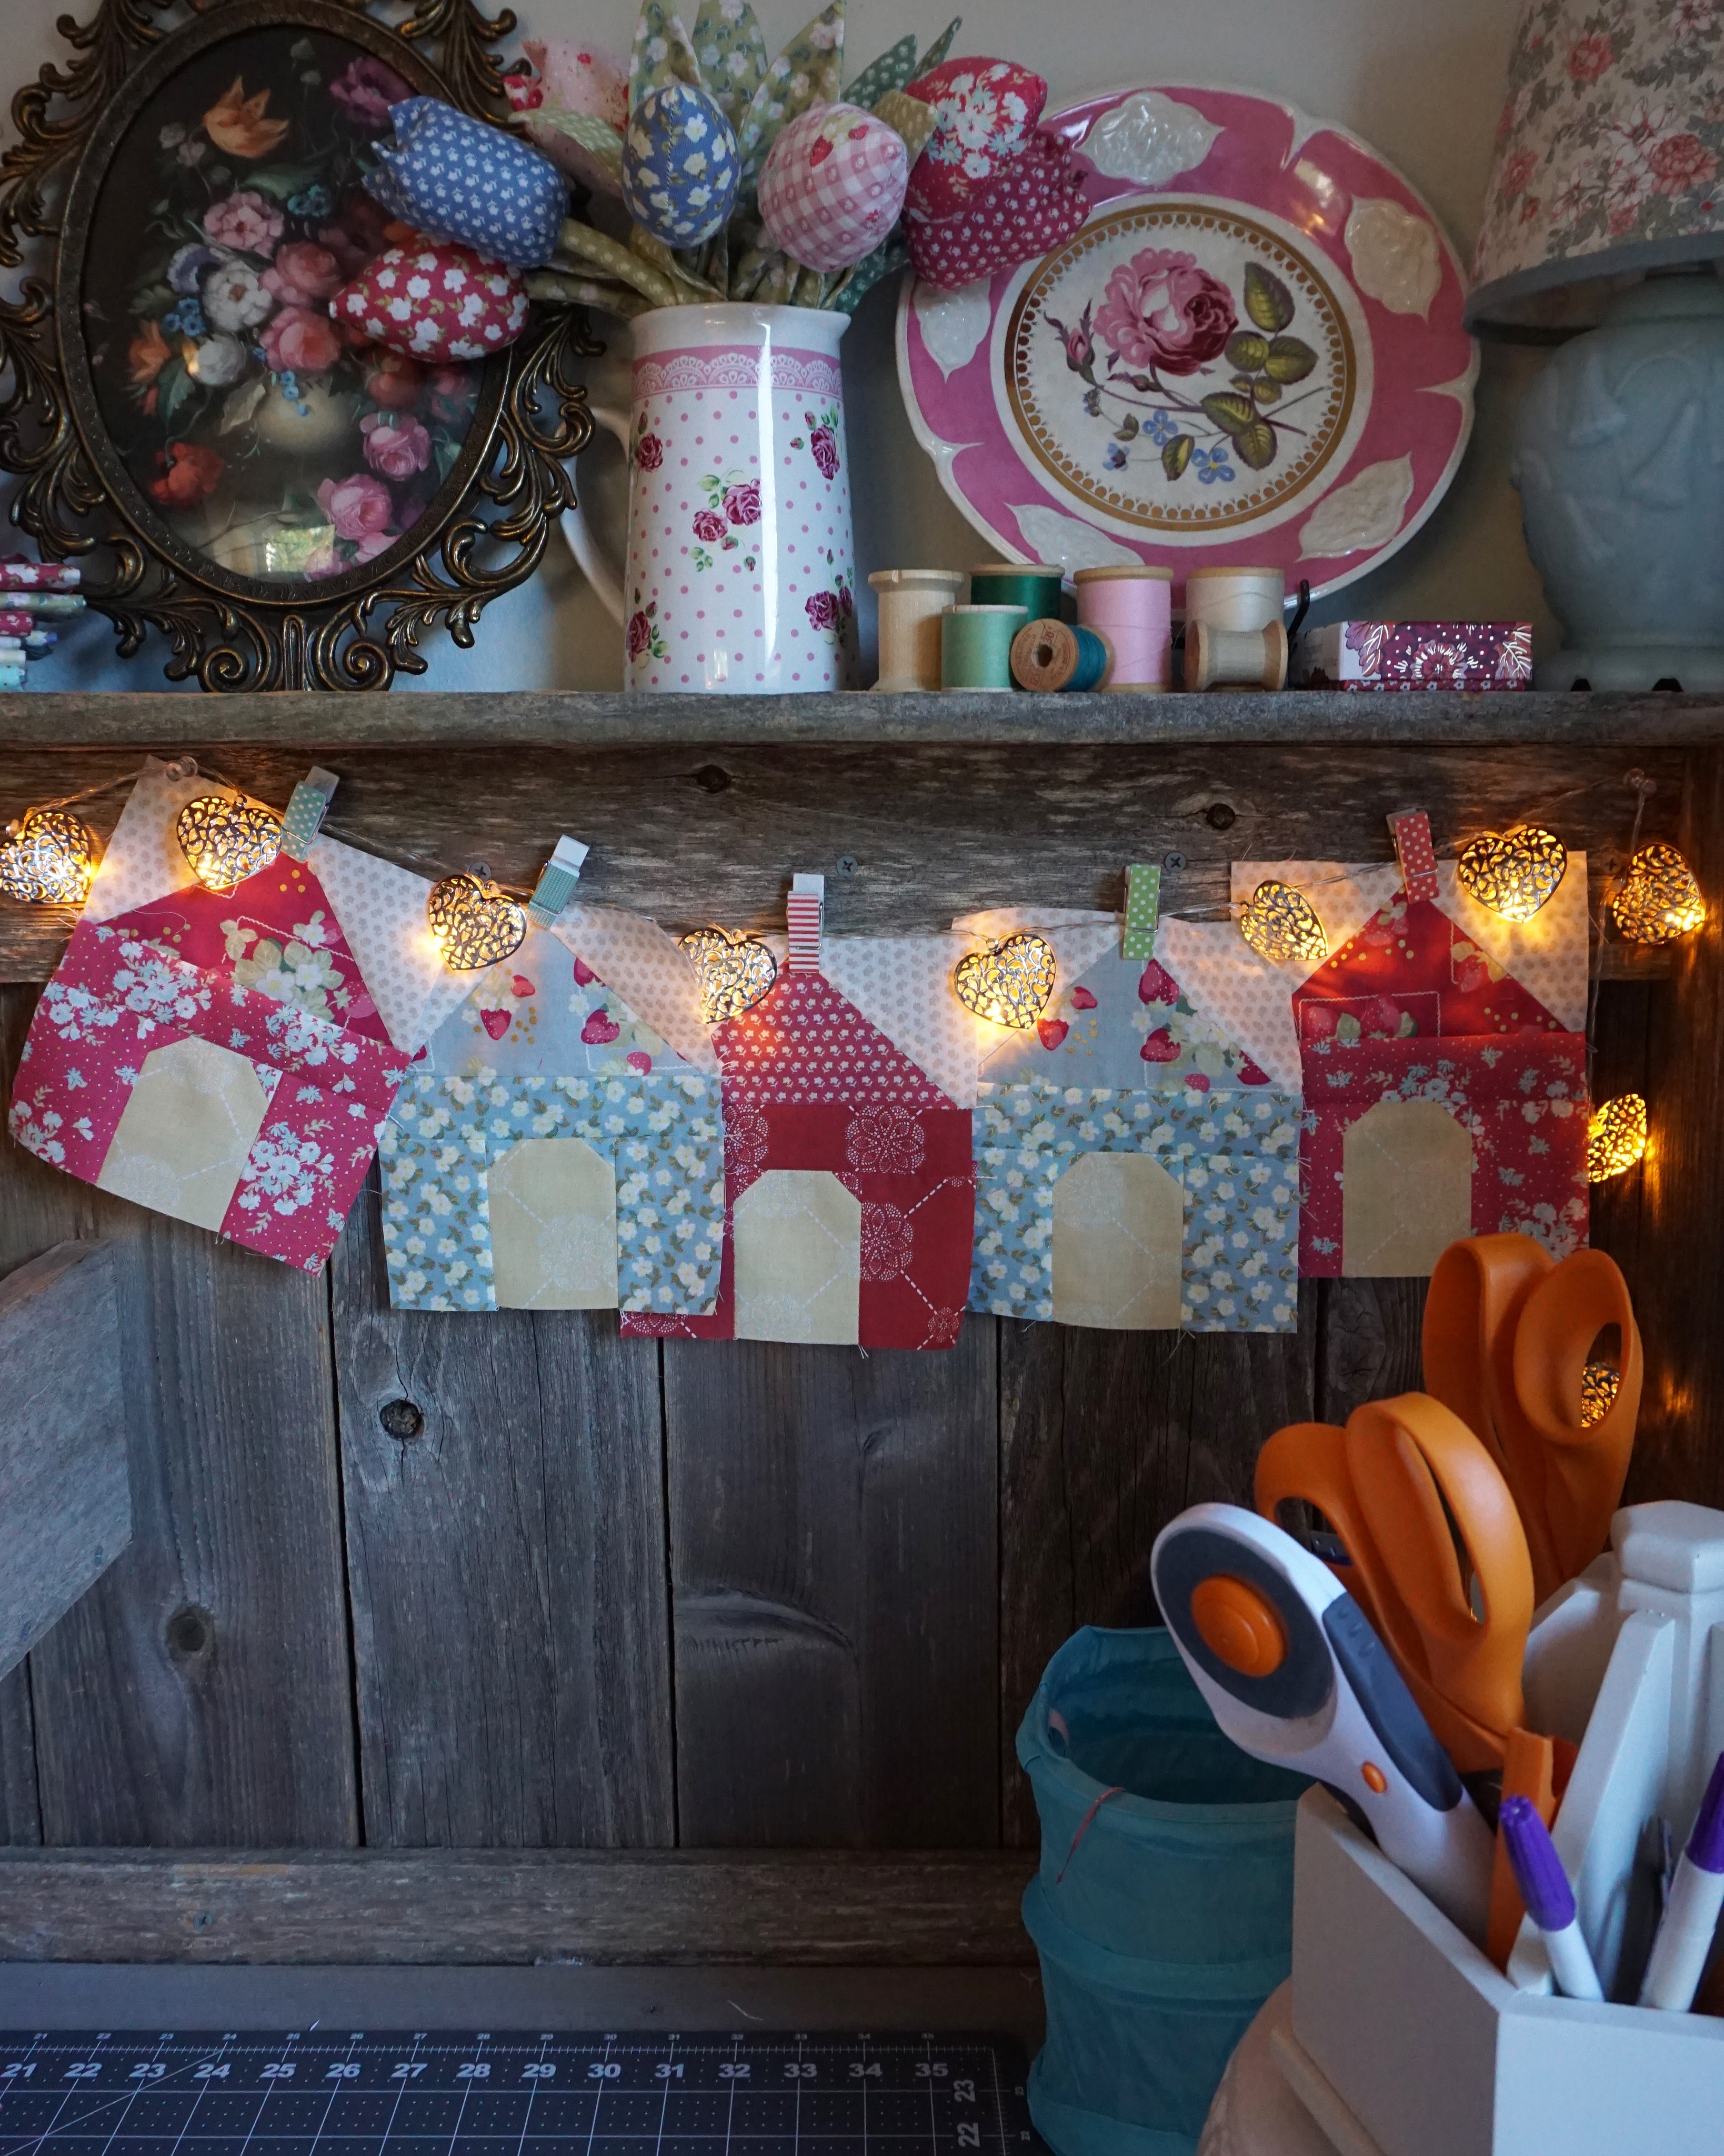
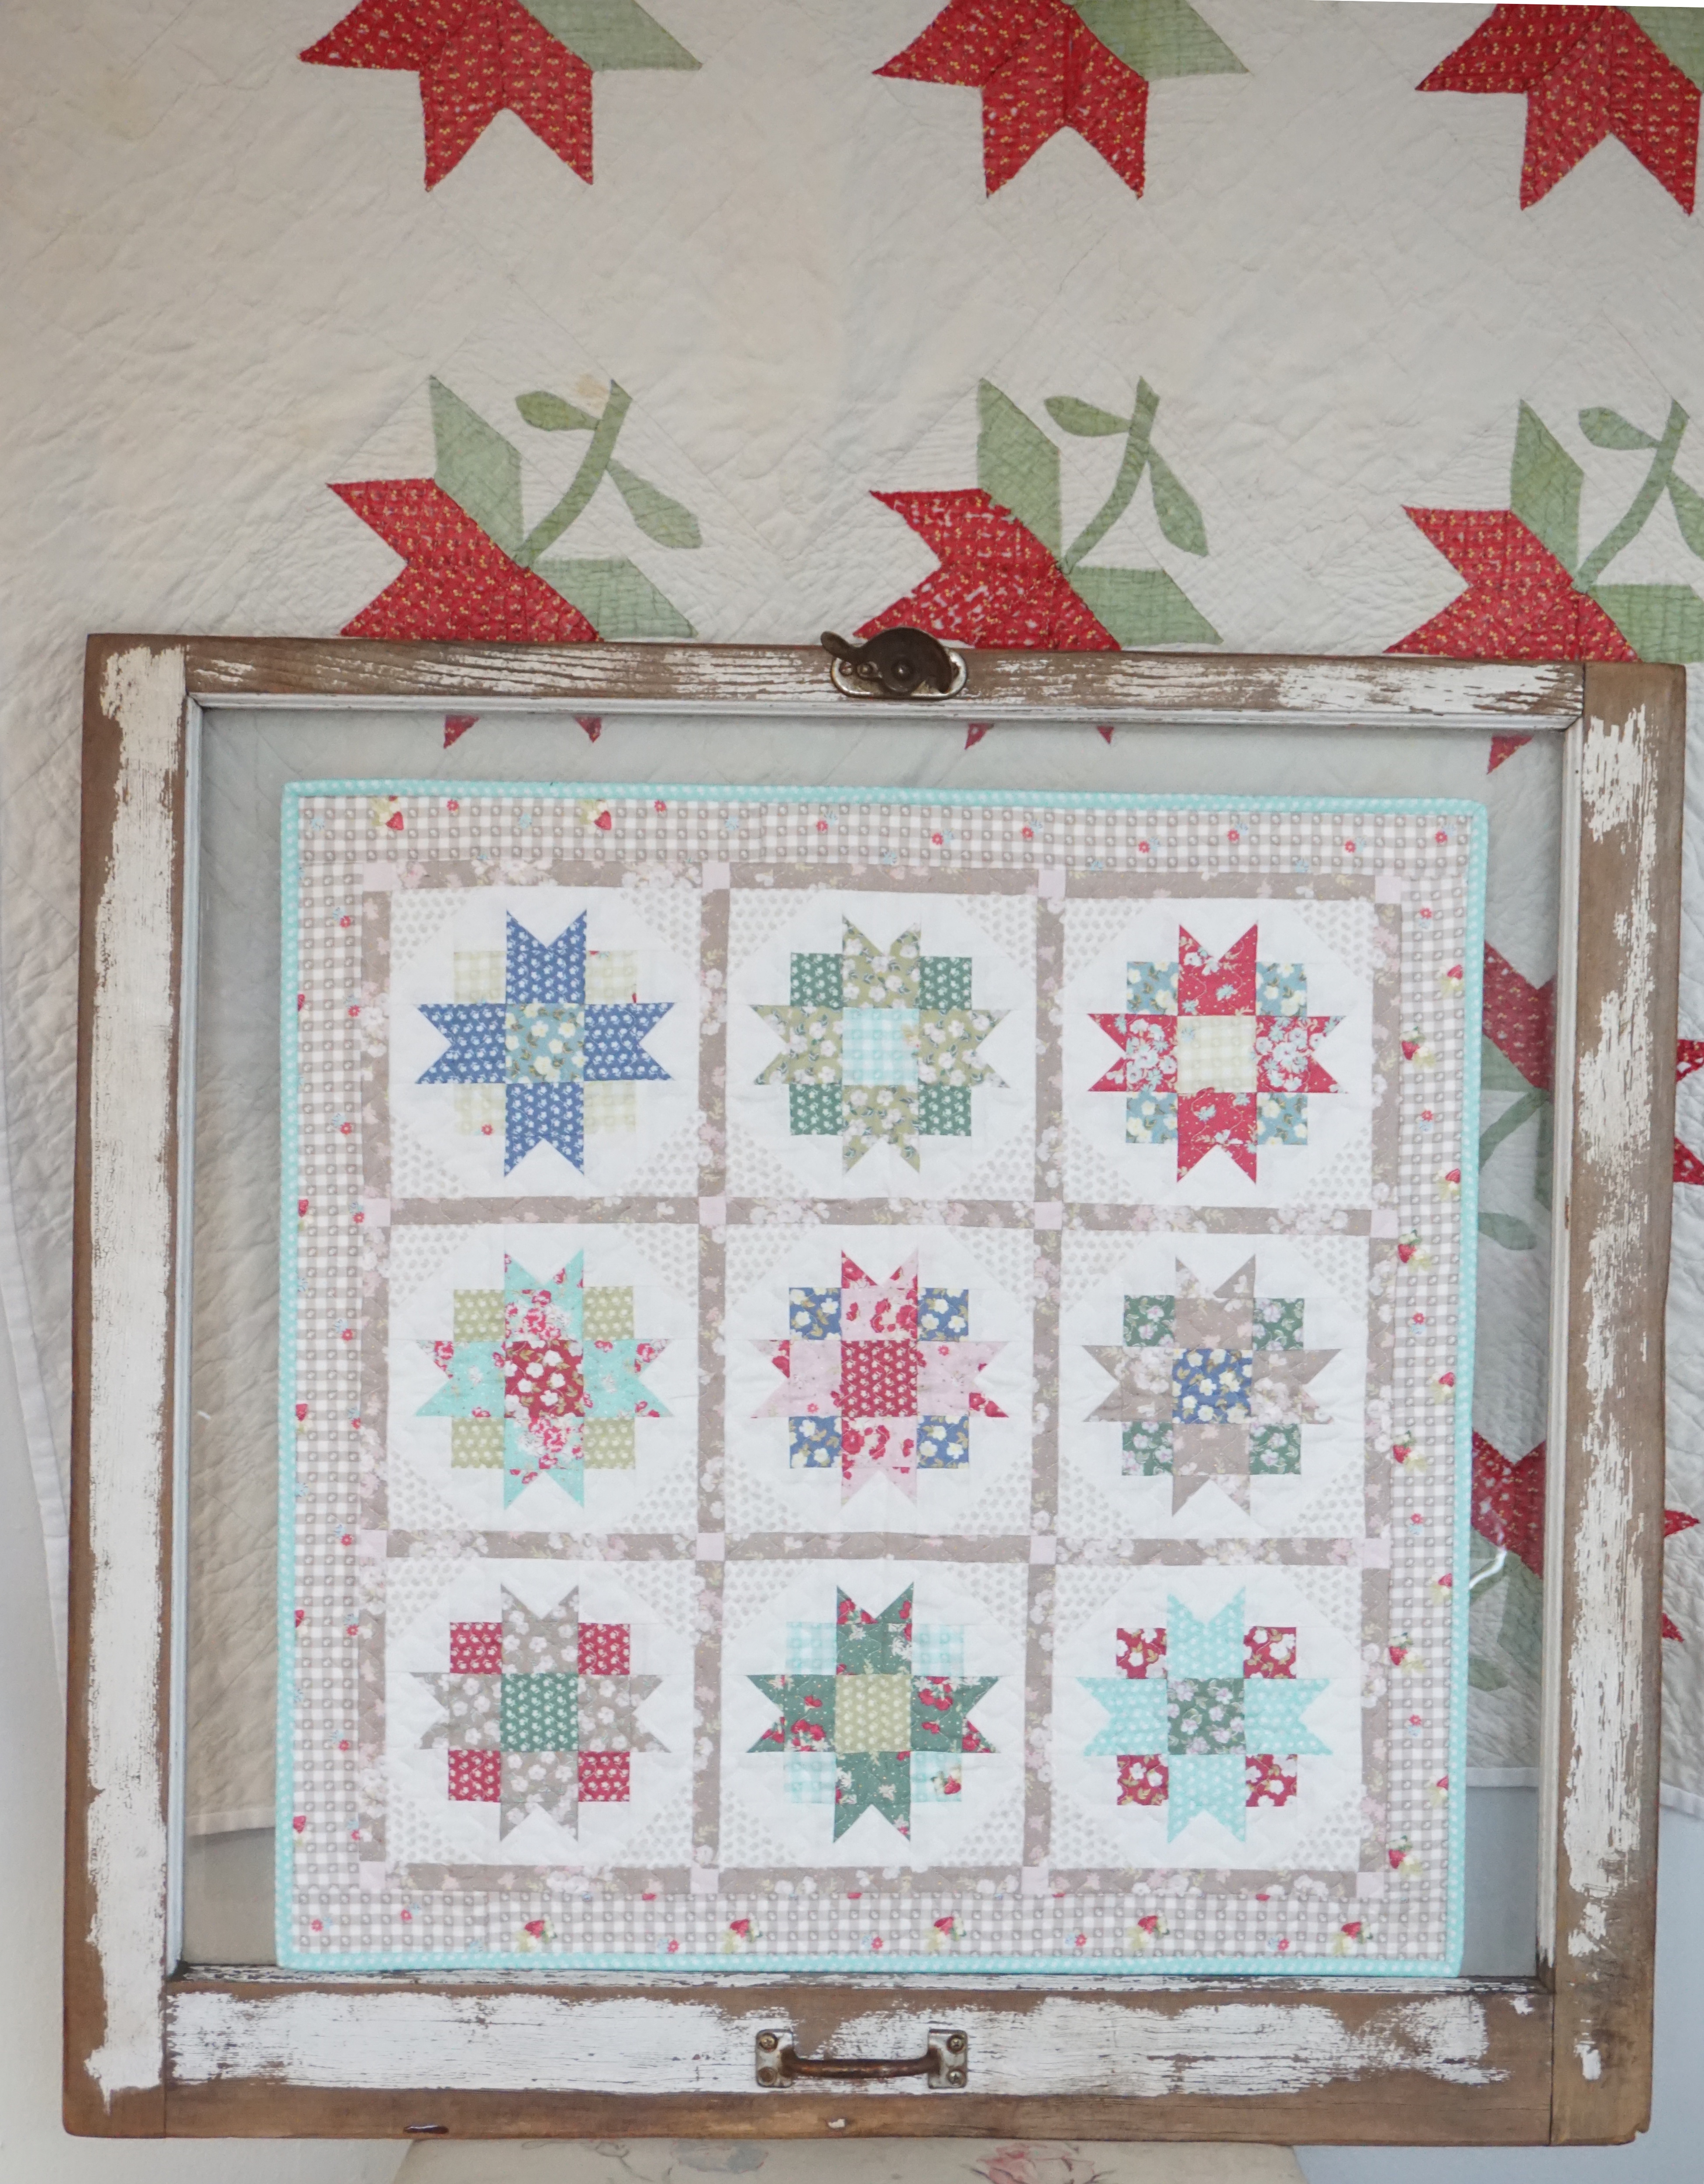
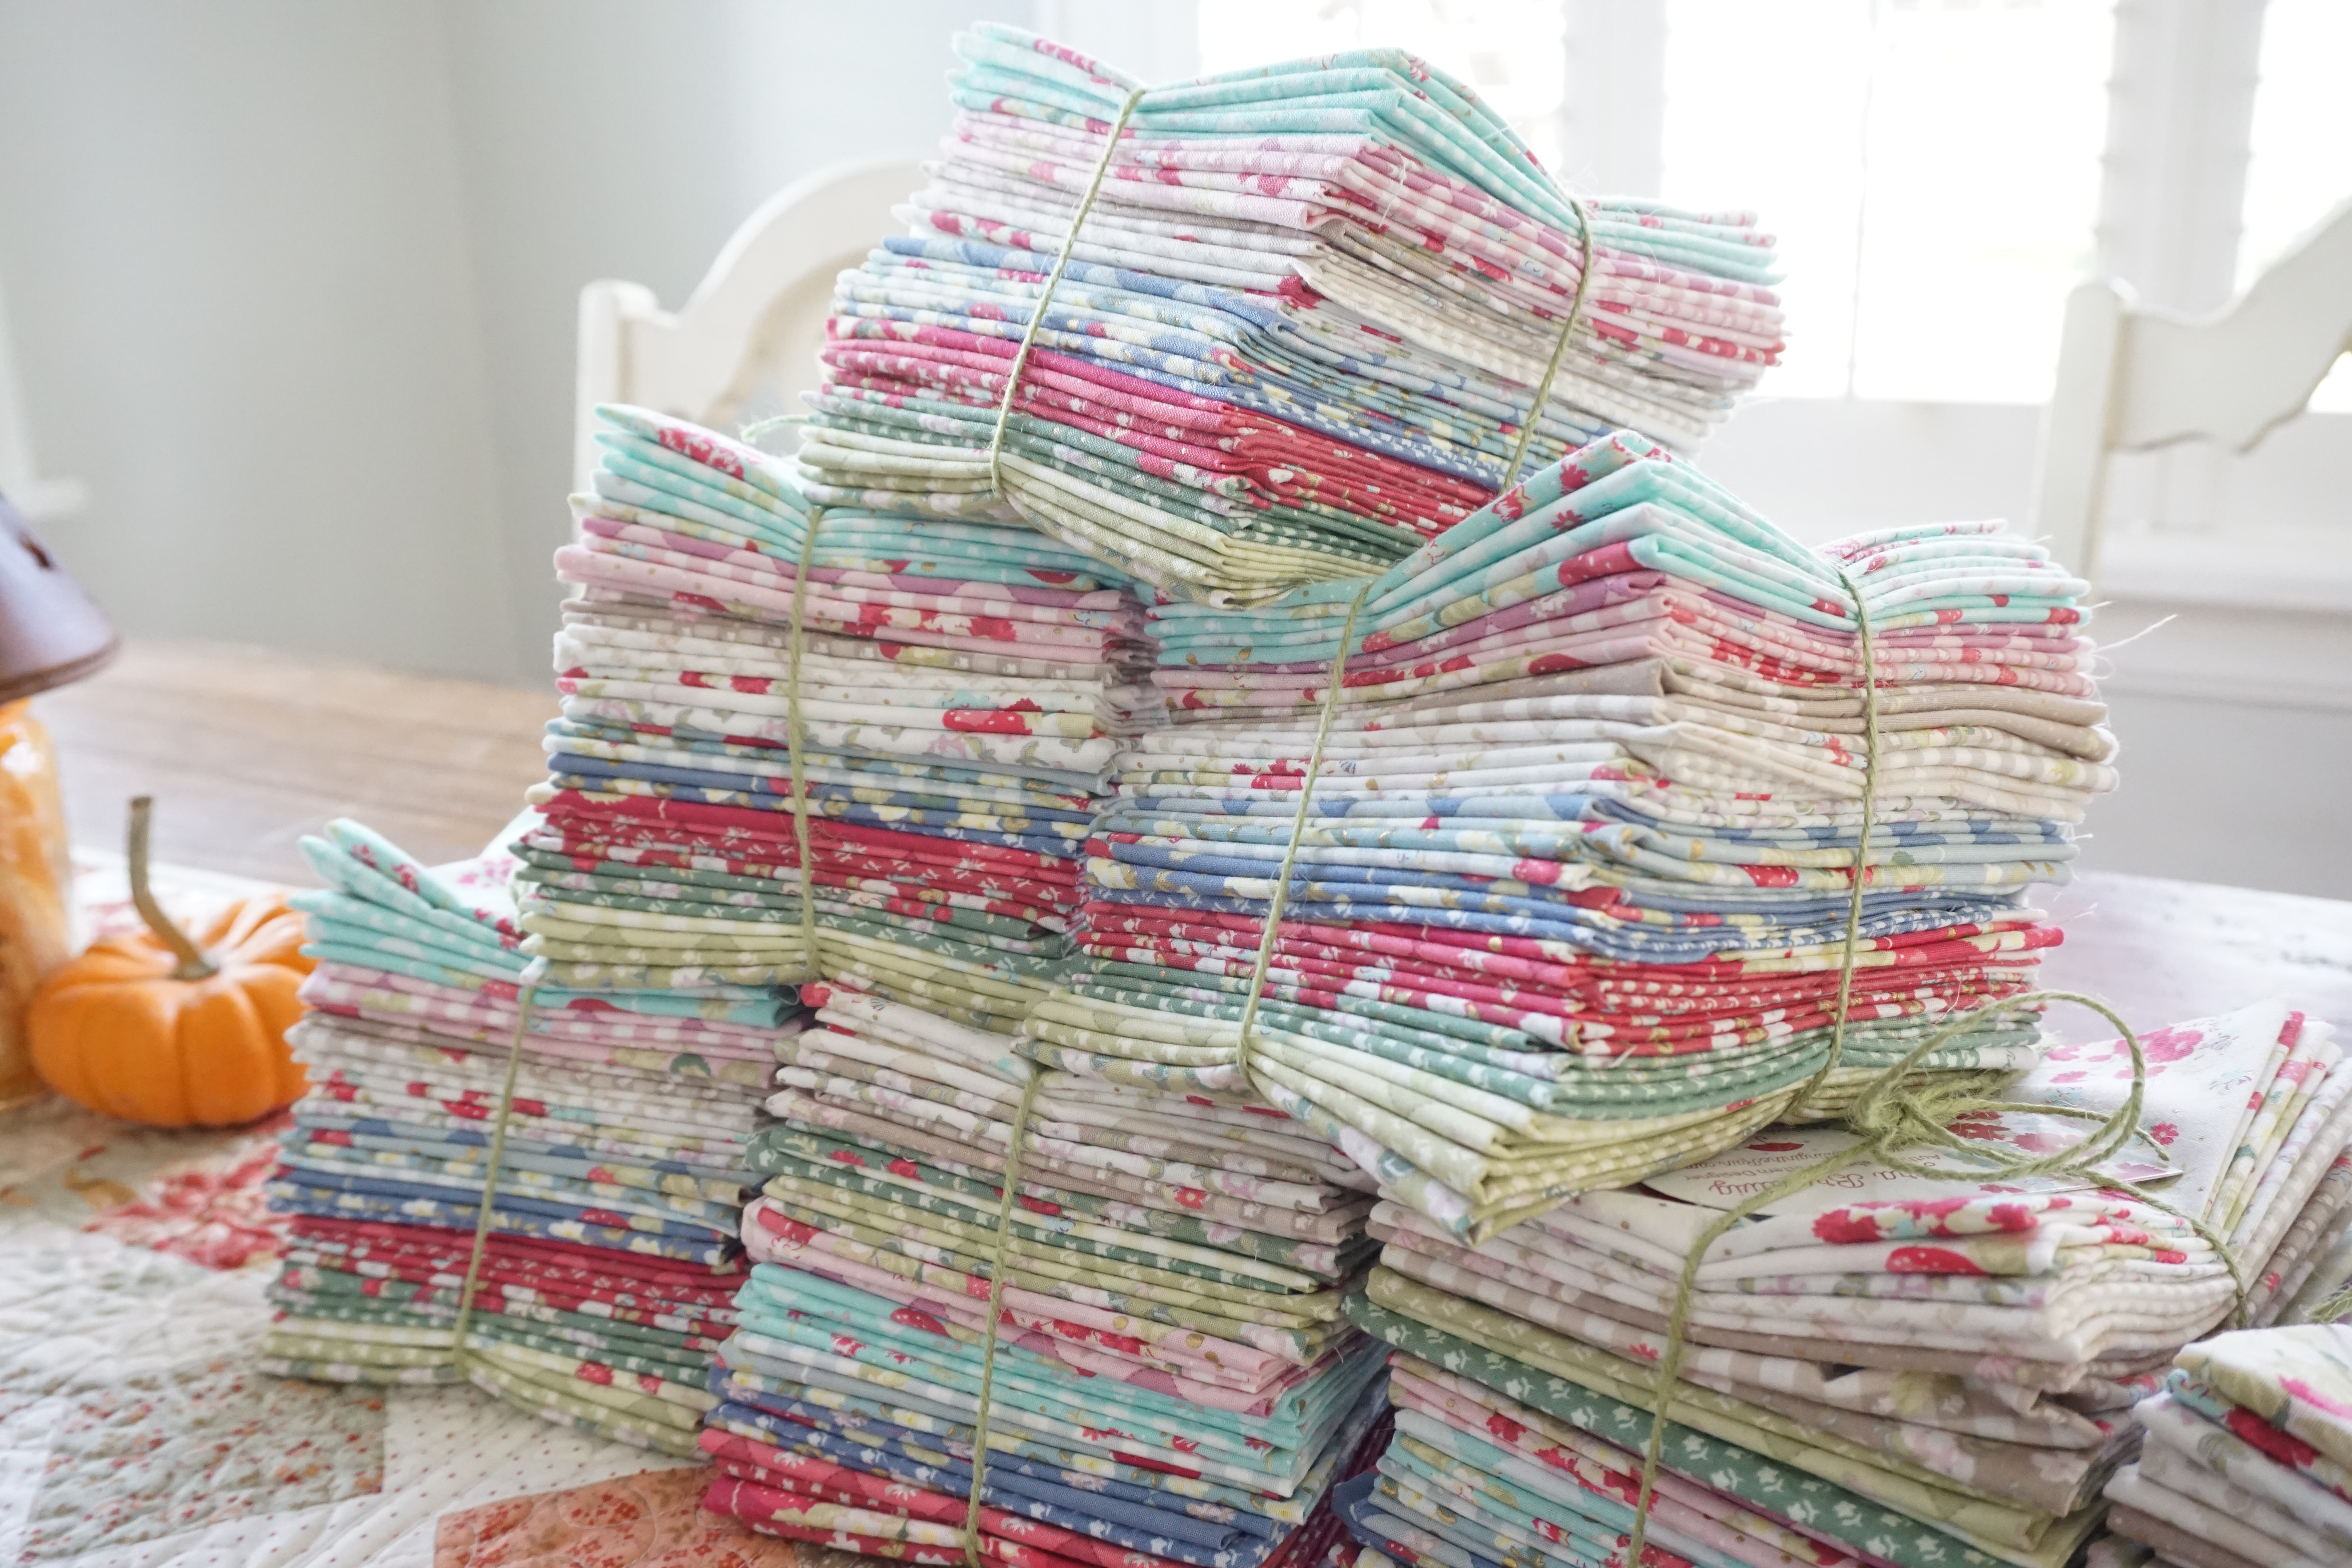
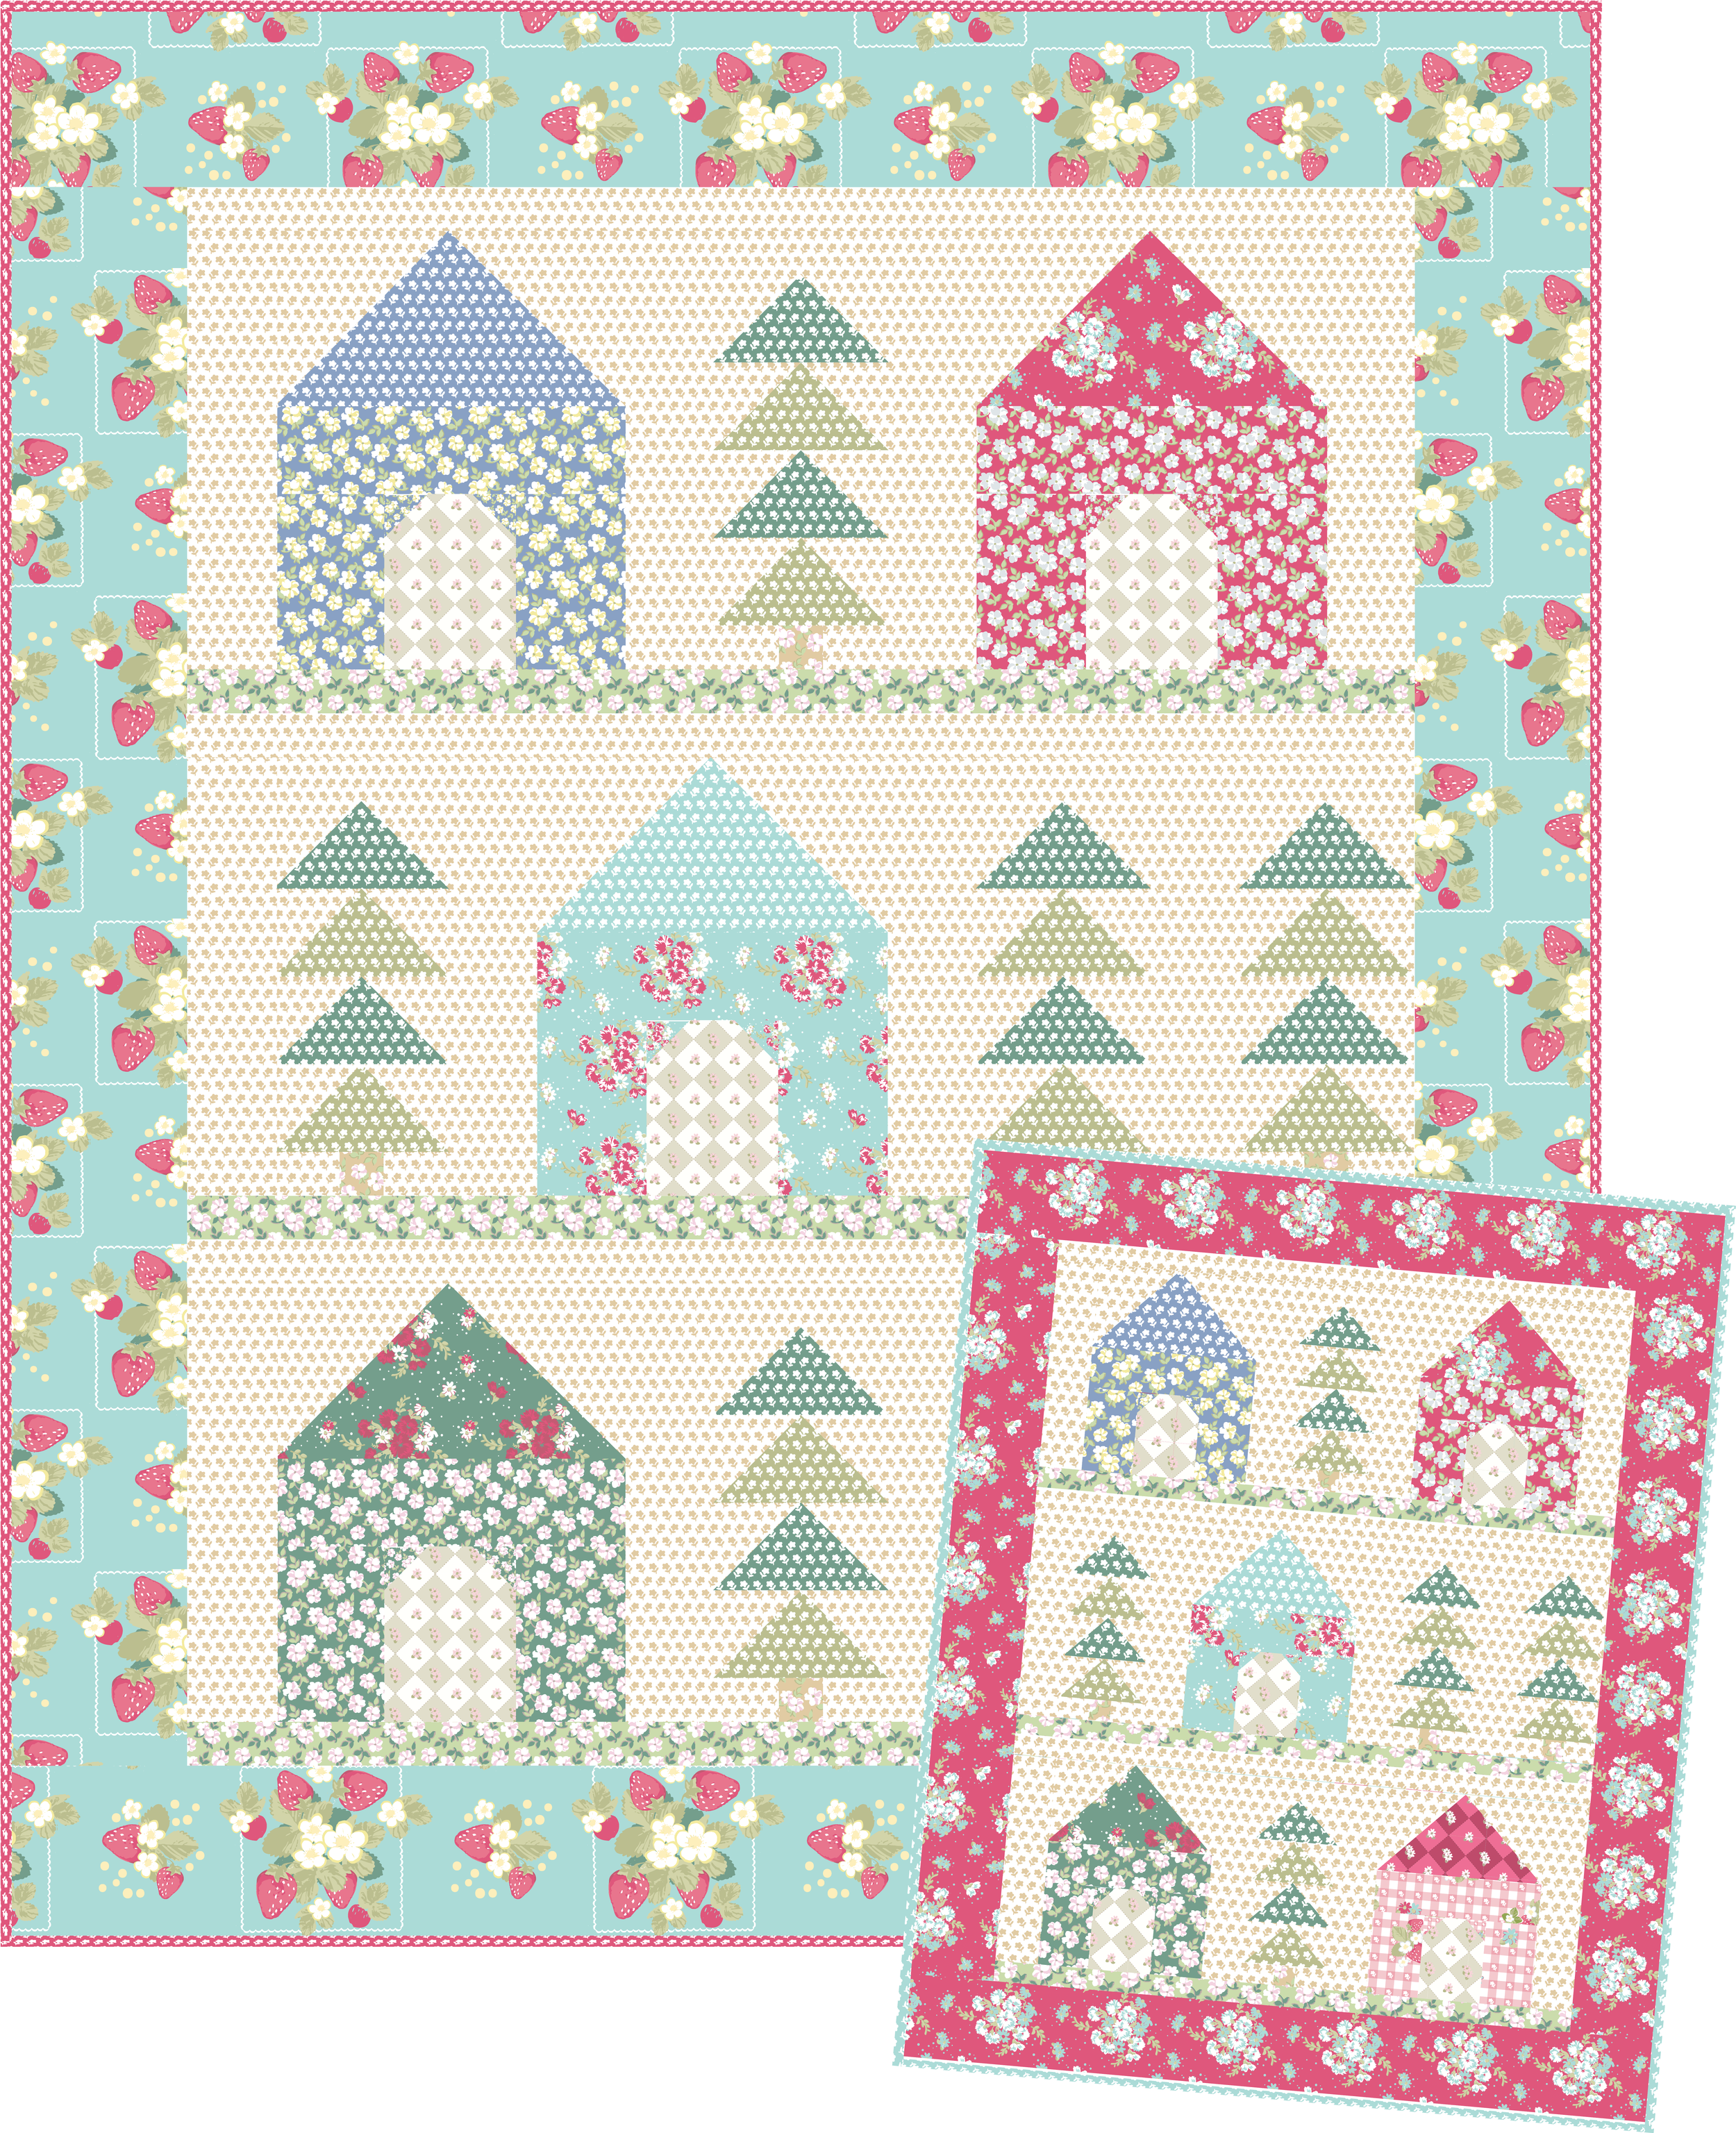
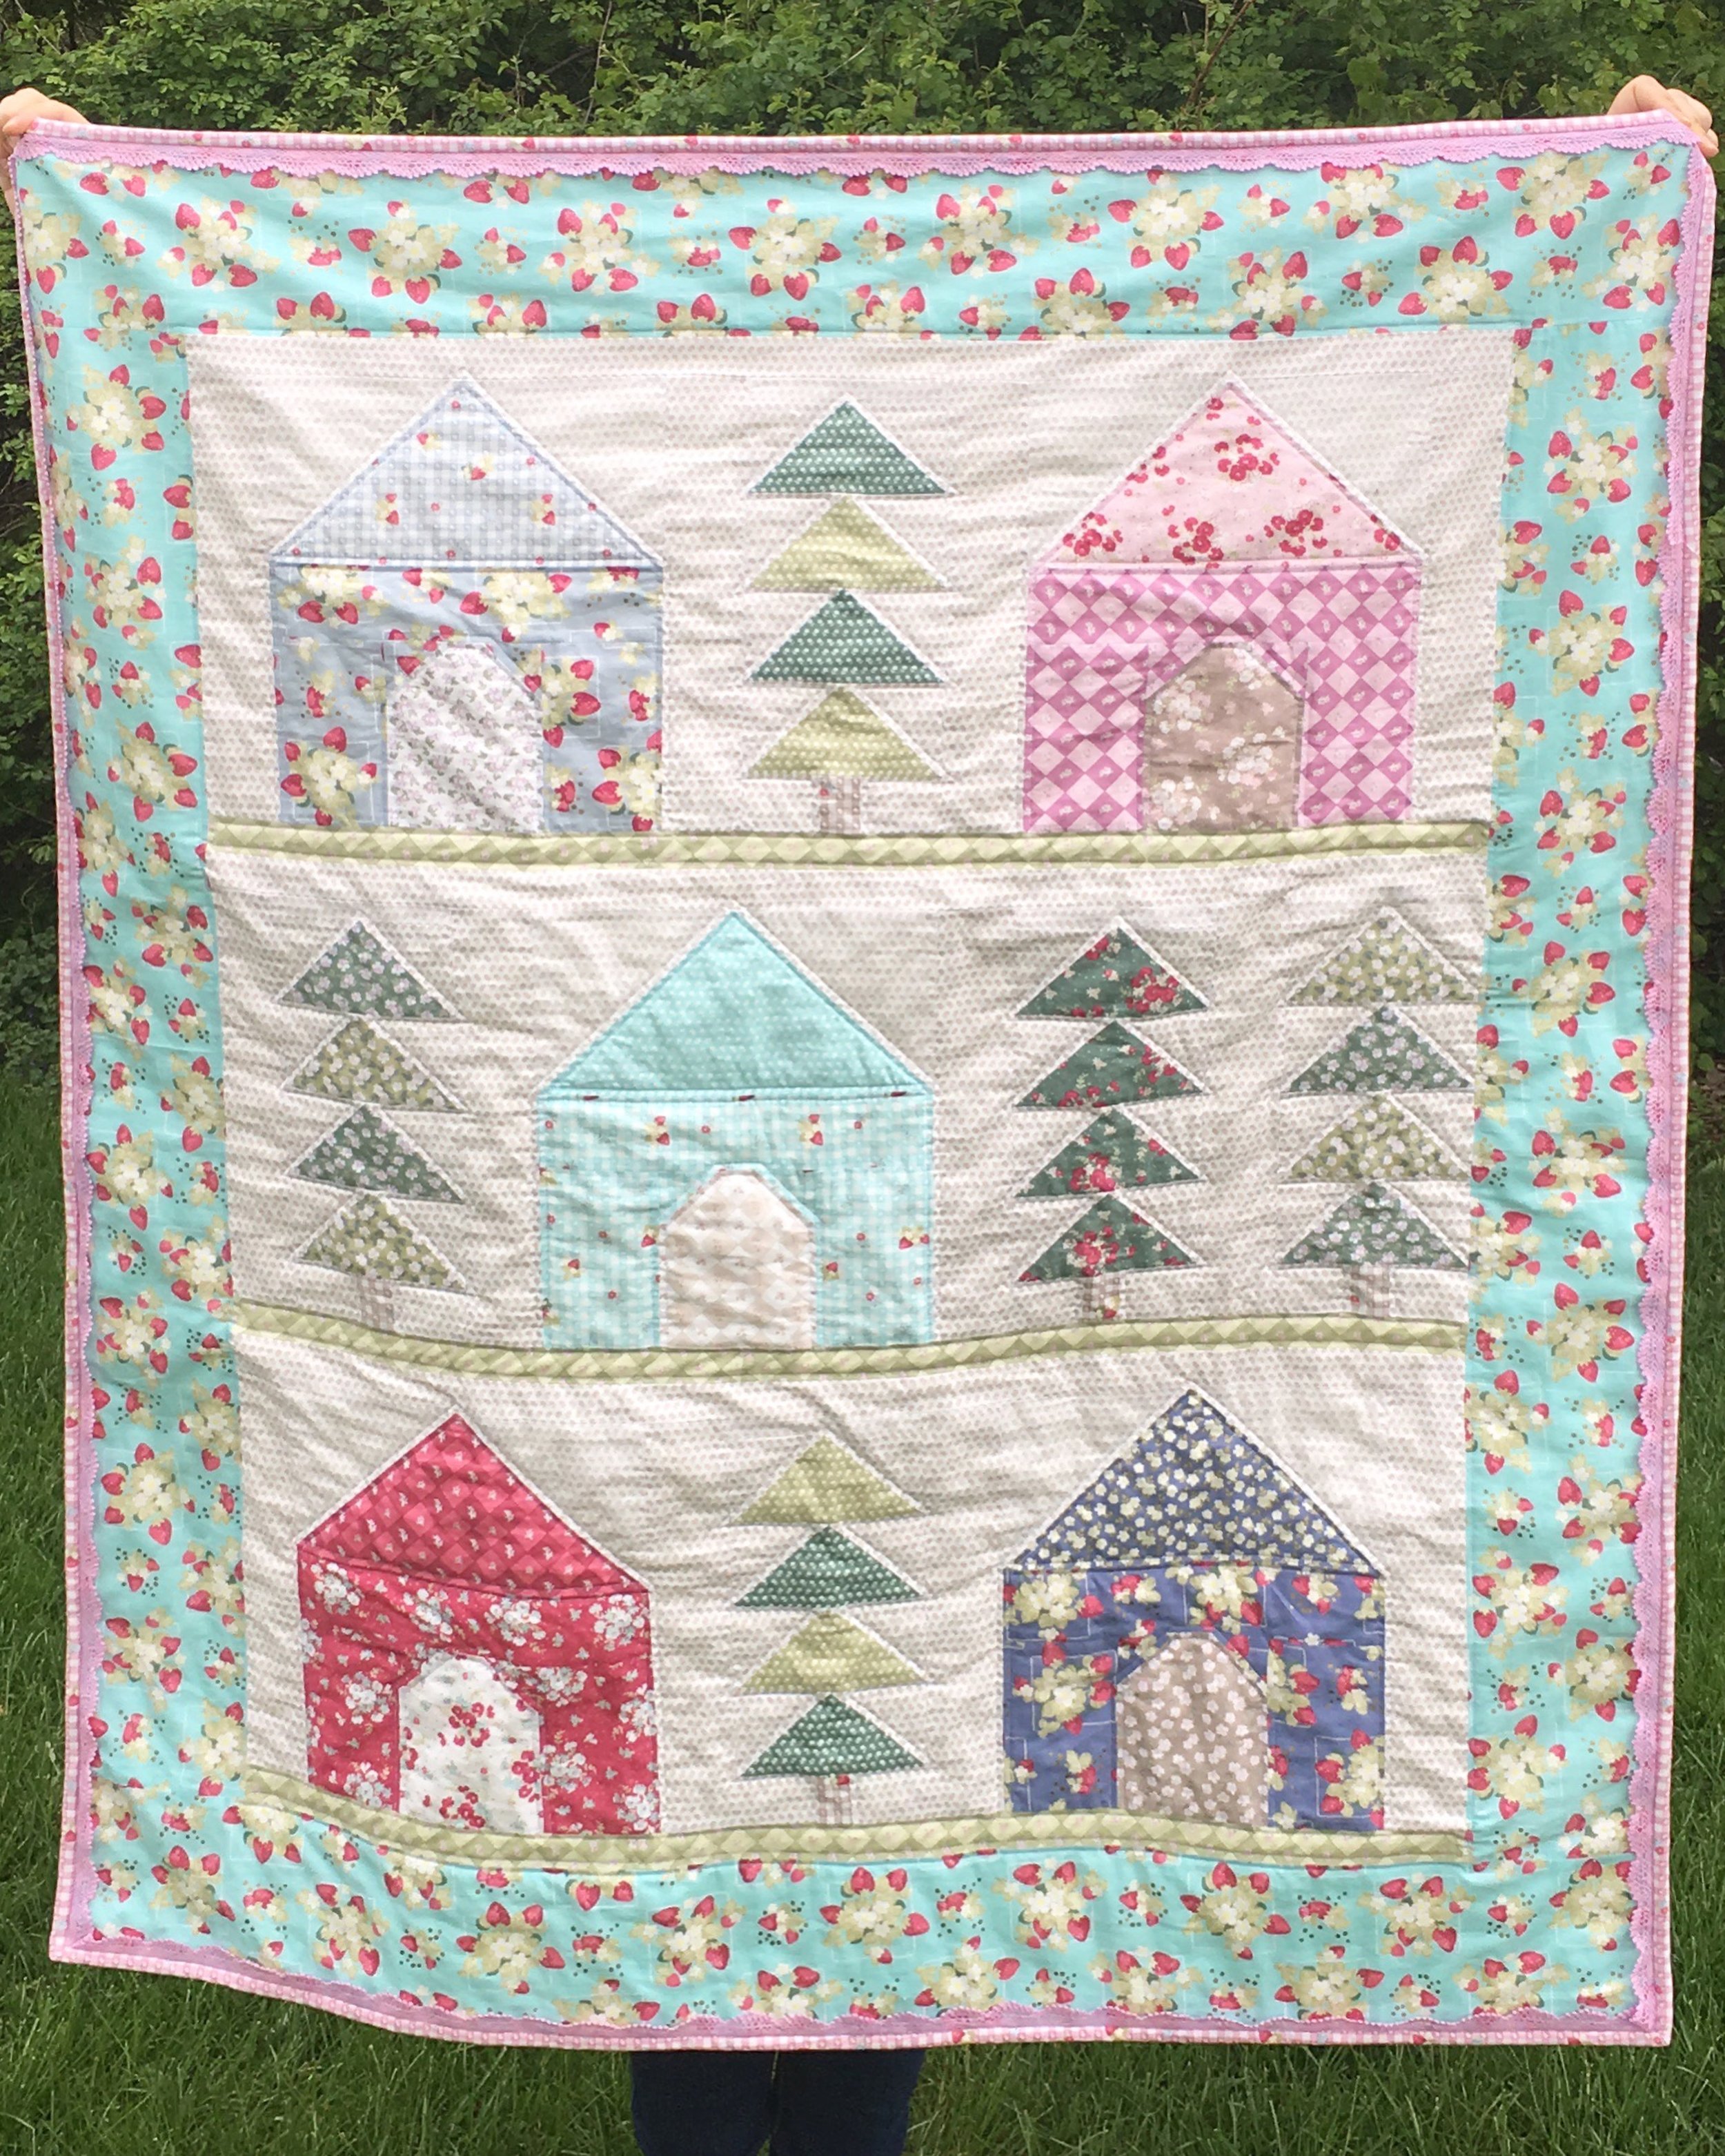
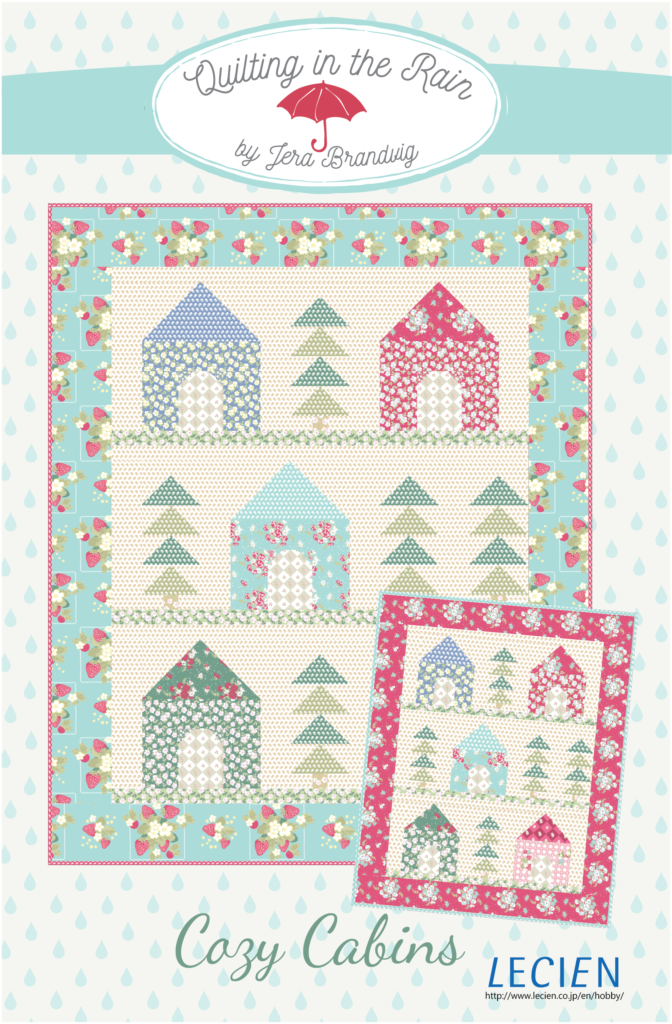
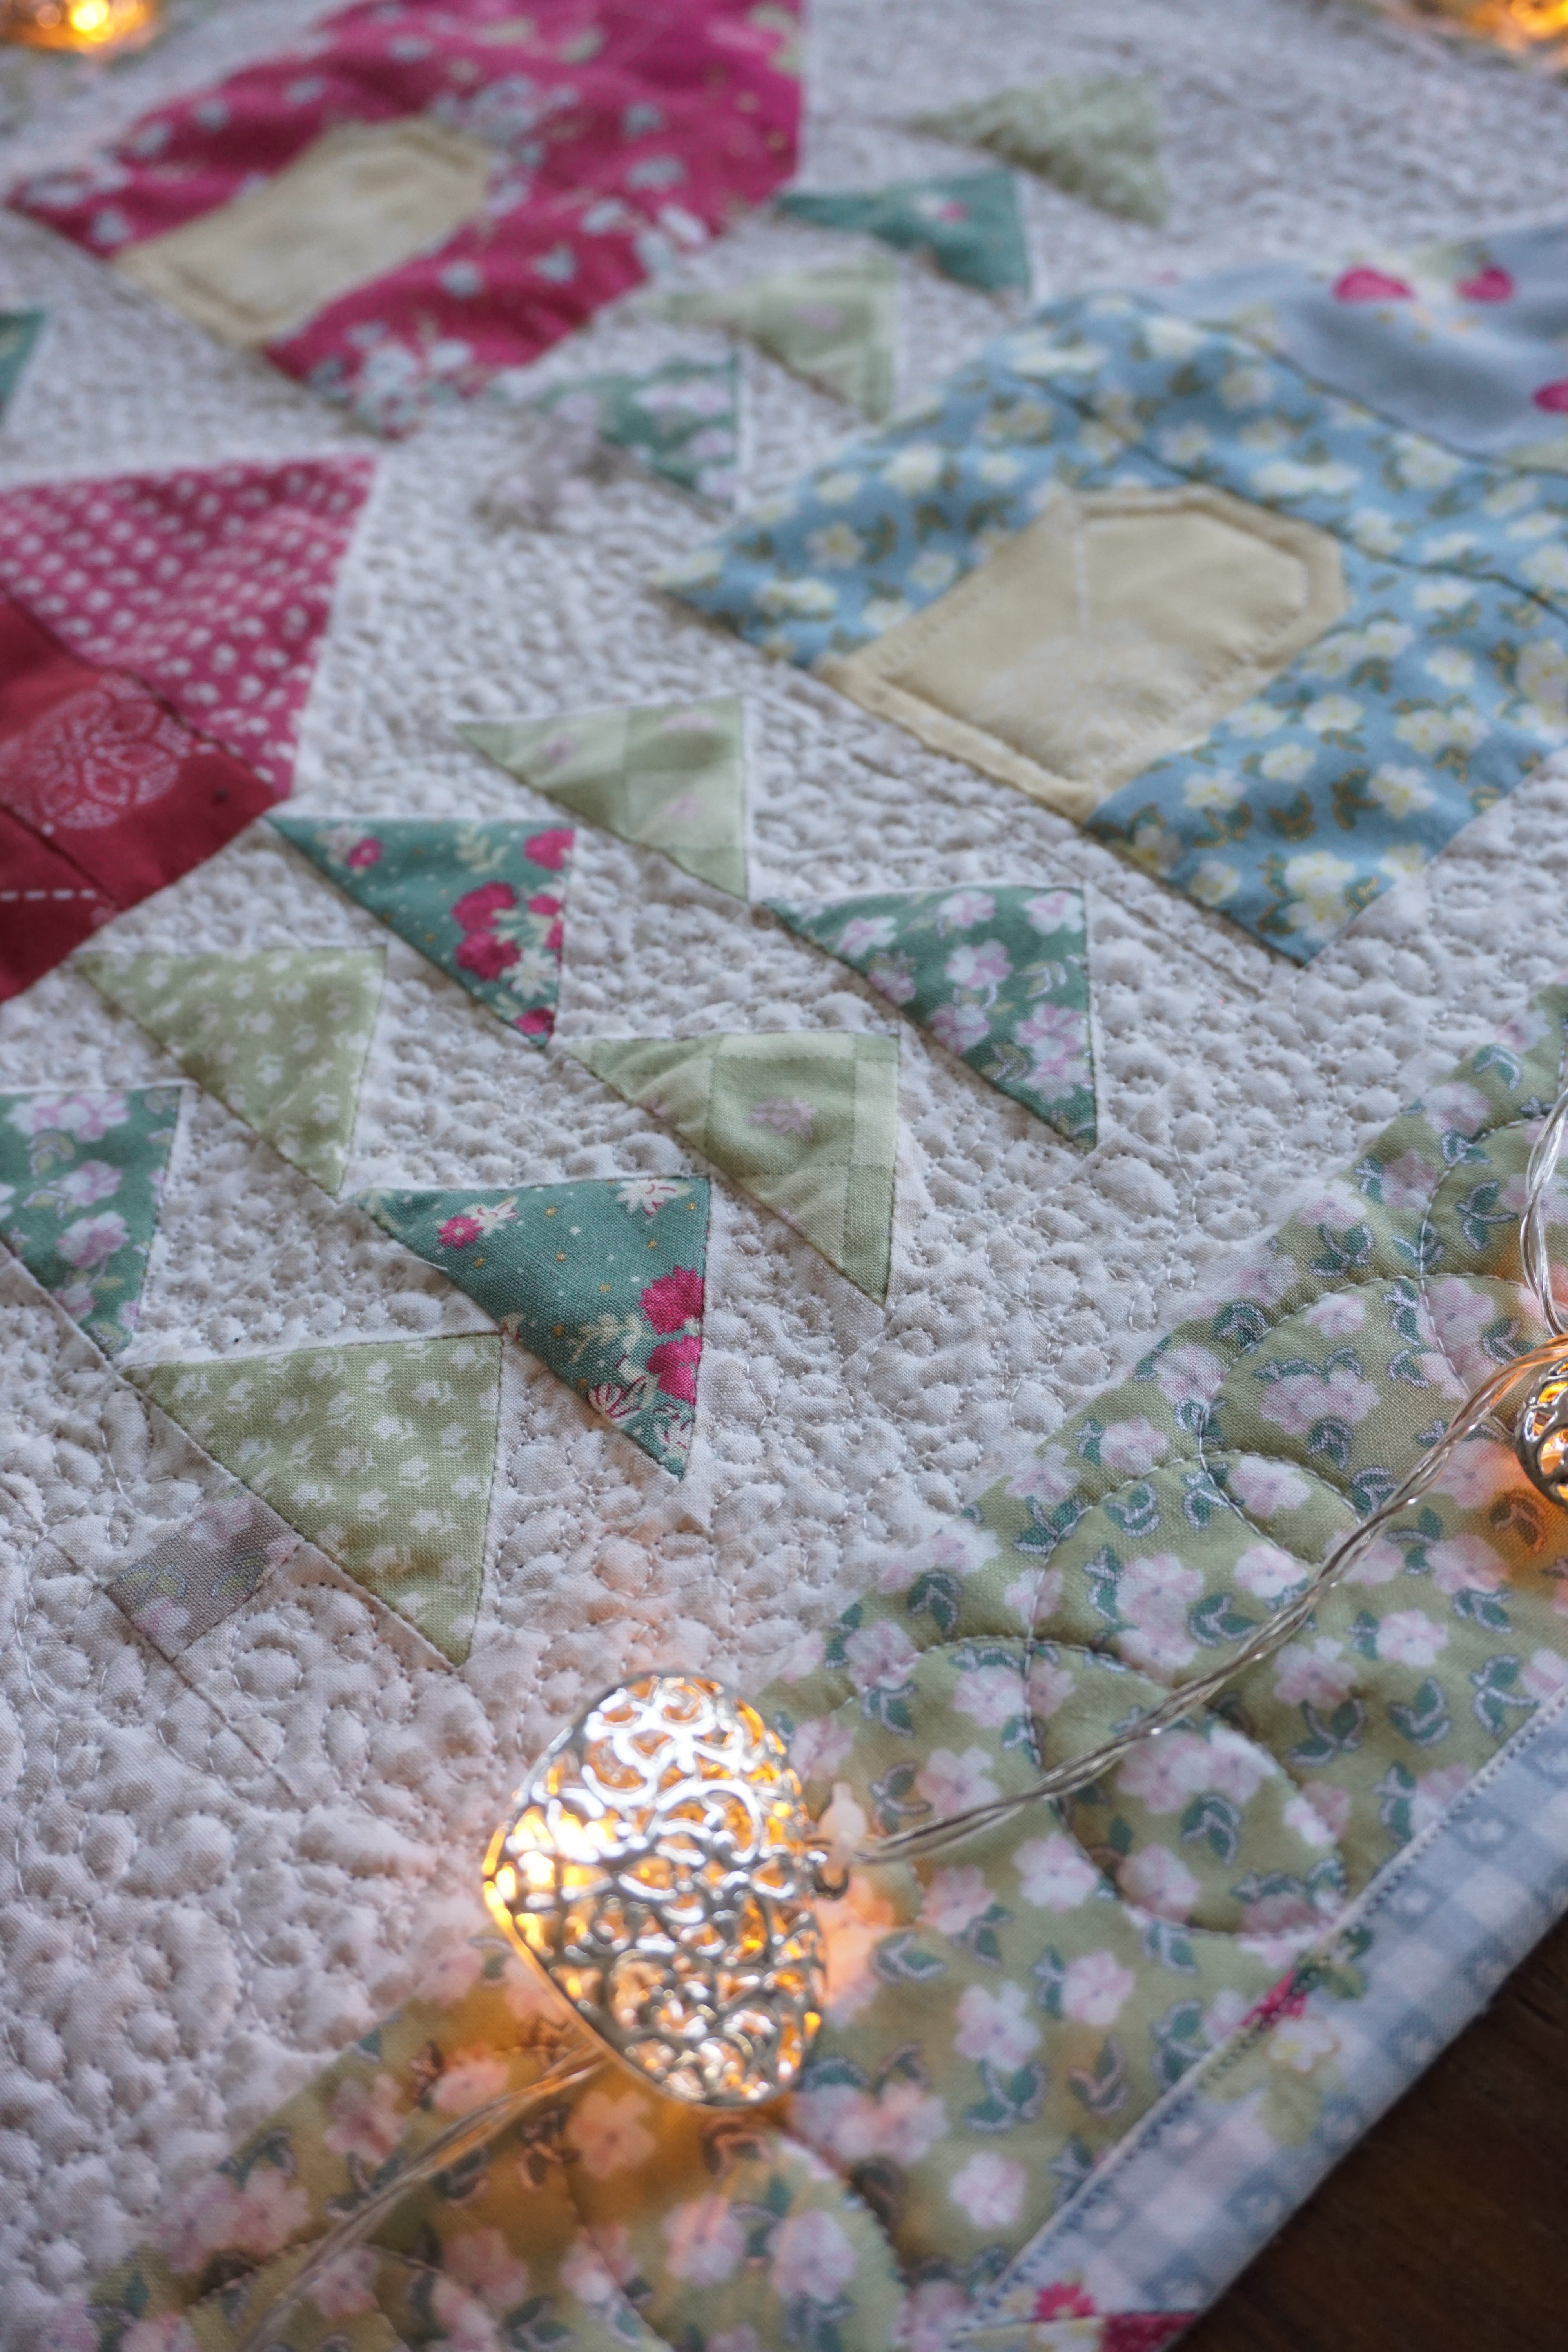
I made this Cozy Cabins Mini quilt for my mom and stepdad for Christmas. You can find the free pattern HERE, and it comes in two sizes (lap and a mini). I made it using fabric from my latest collection, La Conner.

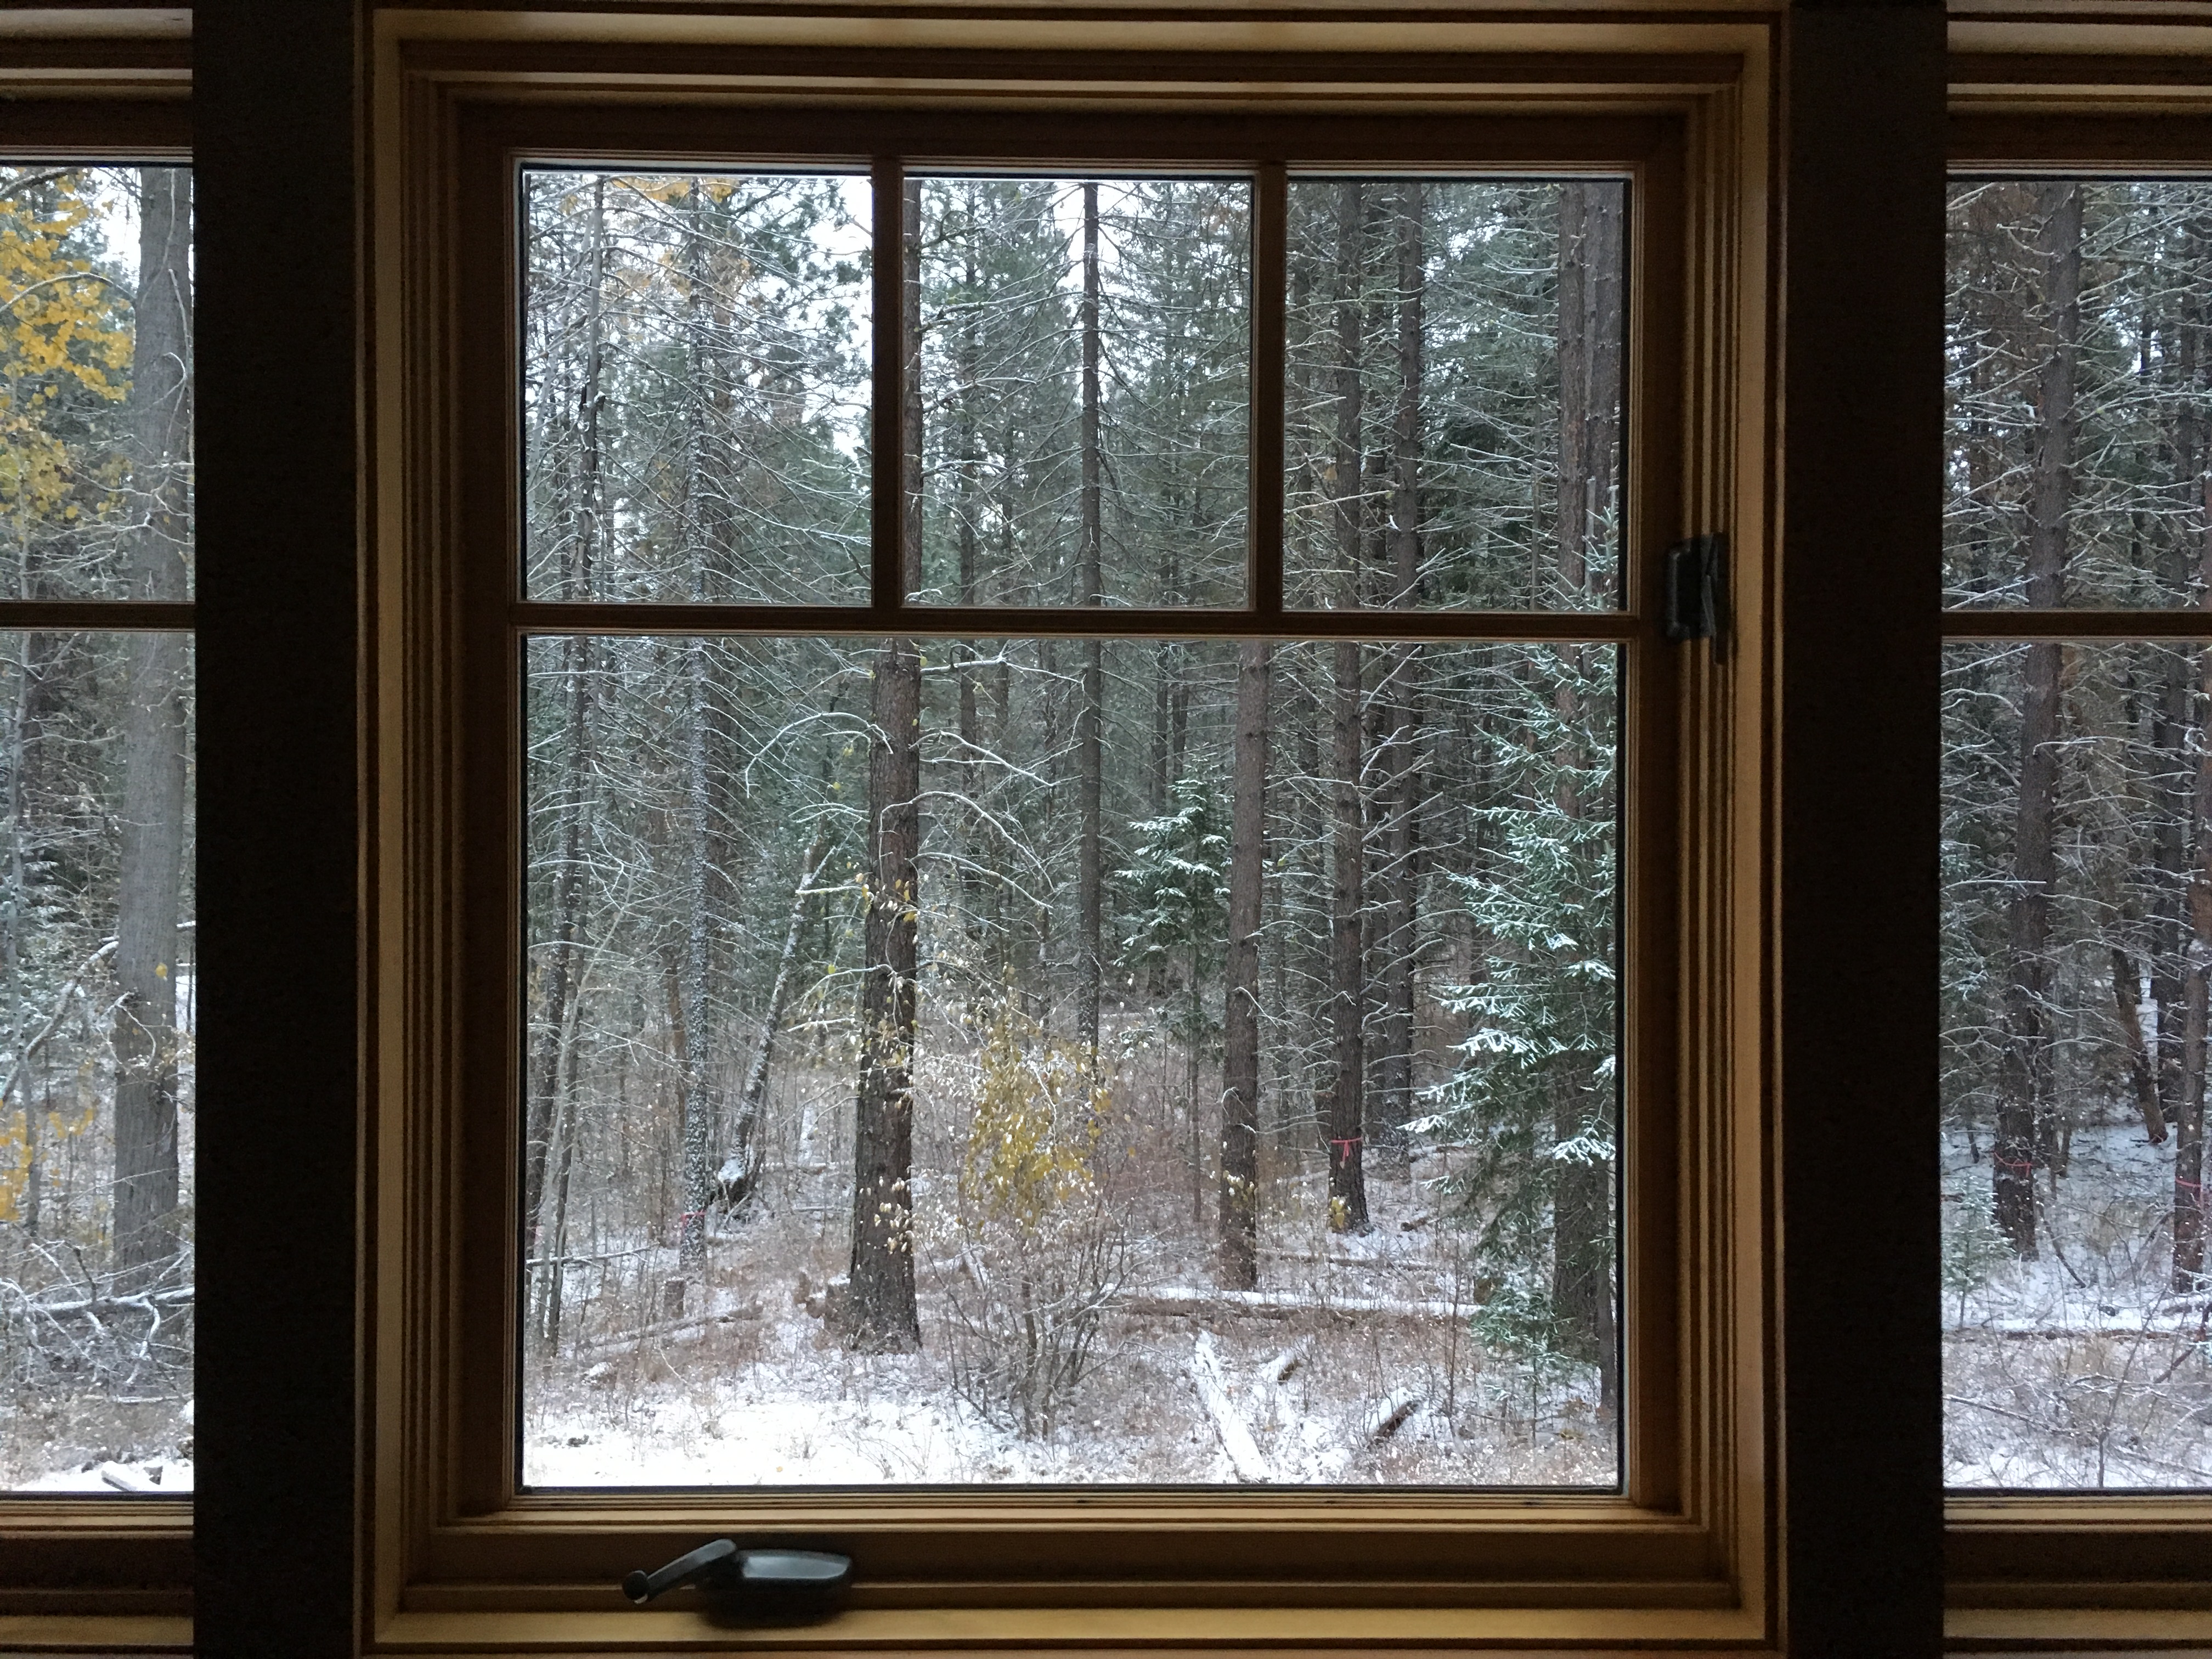
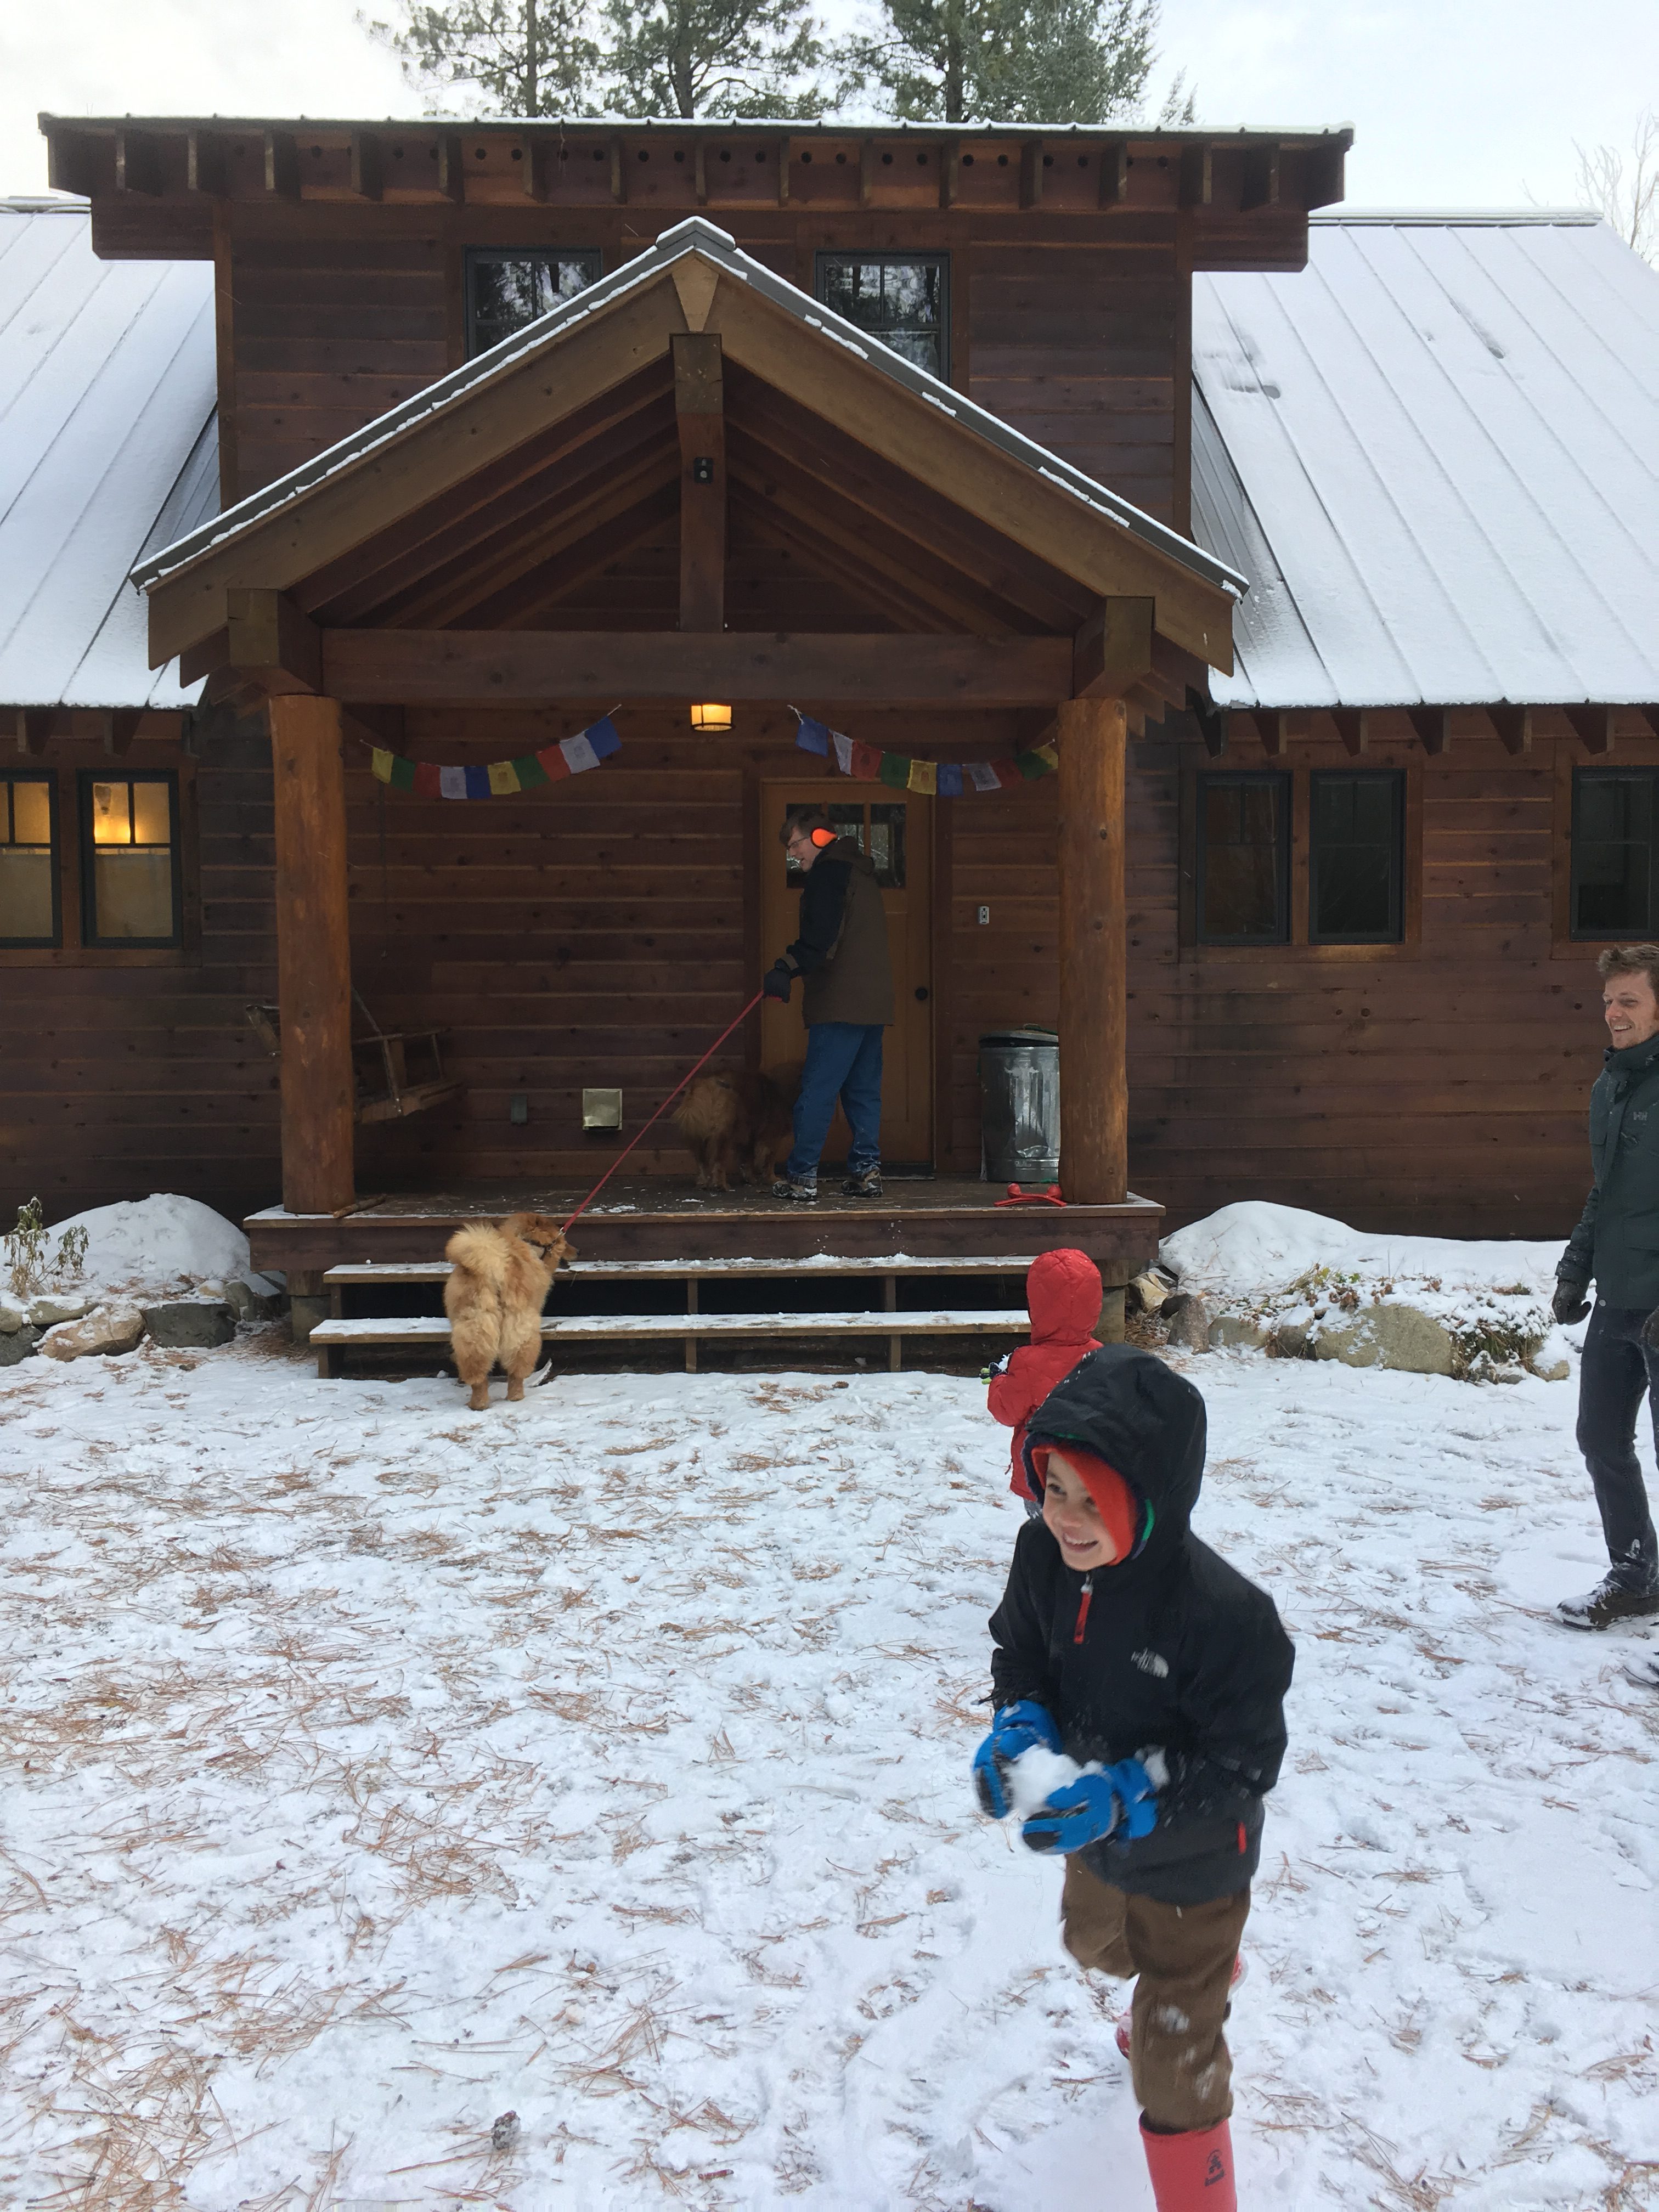
I drew inspiration for this pattern from our annual family trips to Mazama, Washington in Okanogan County. We stay in a cabin during Autumn for a couple nights and make wonderful memories each year. πŸ™‚ We’ve been going since before kiddos and as our family grows bigger (most recently my brother got married!) the memories get better. πŸ™‚ Below is a view from the cabin when we stayed a few months ago in November. We woke up to a winter wonderland.

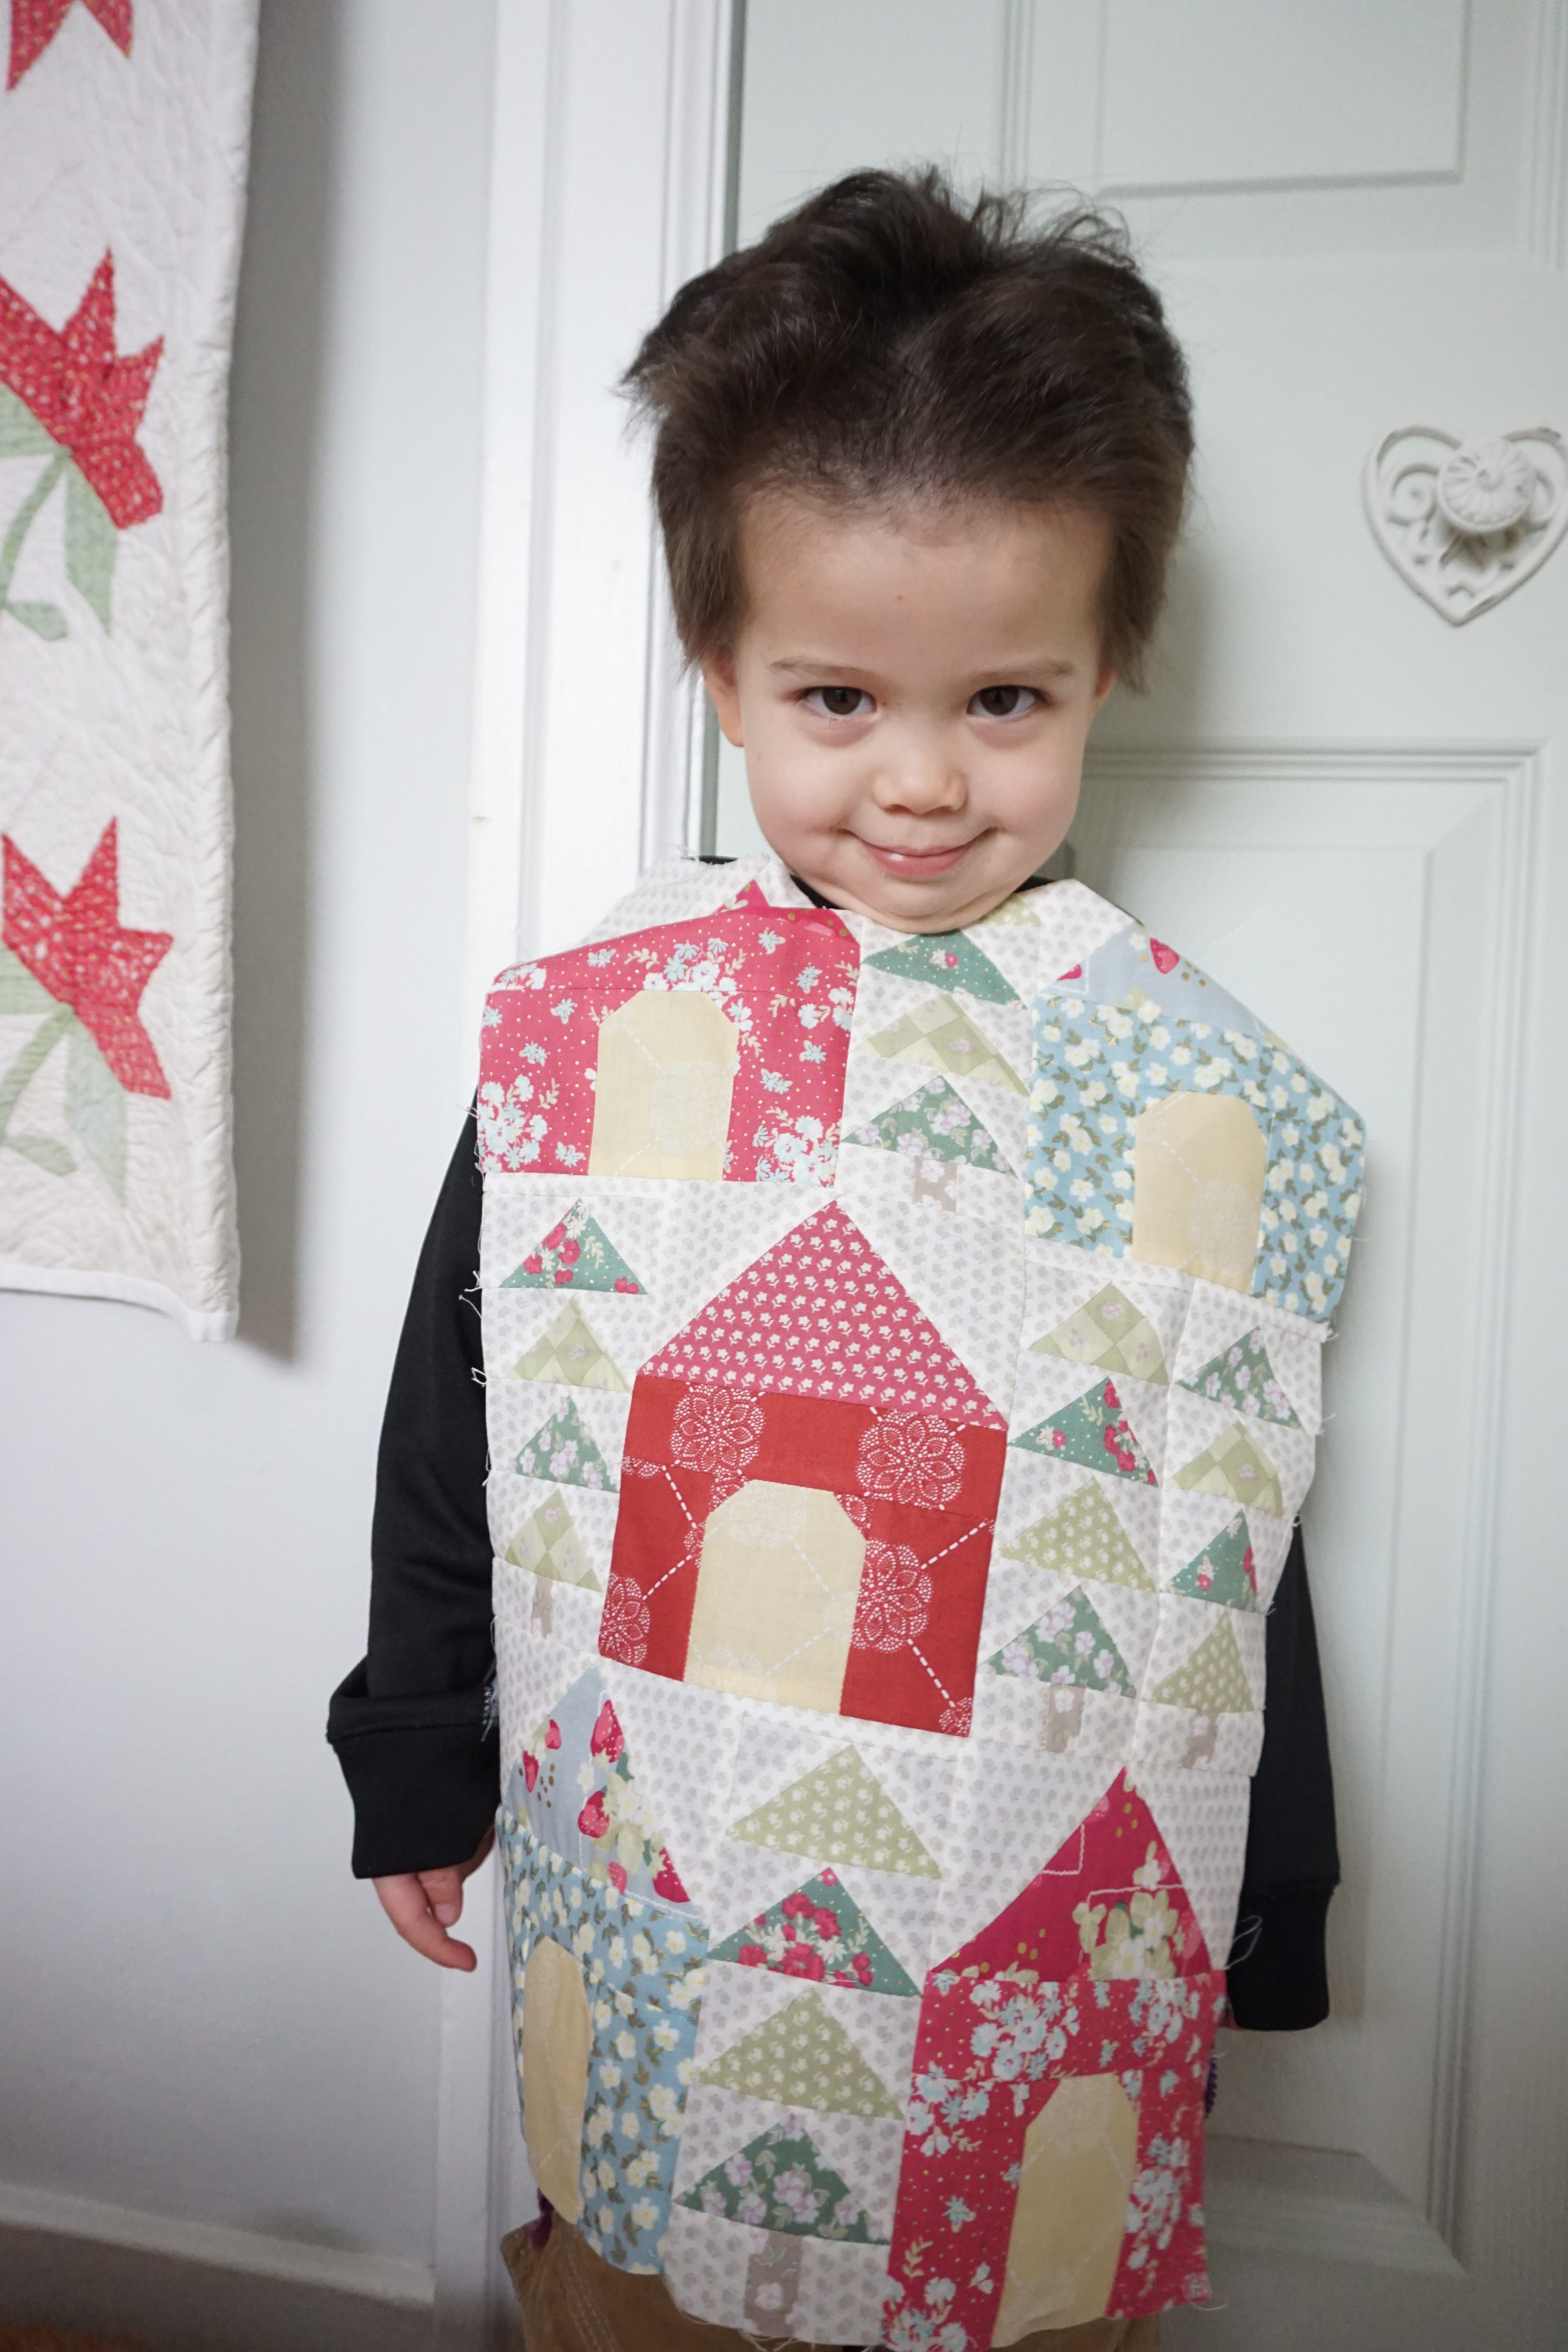
Here’s Simon modeling the mini quilt top before I added borders. ;-p His double chin works as an excellent quilt clamp.

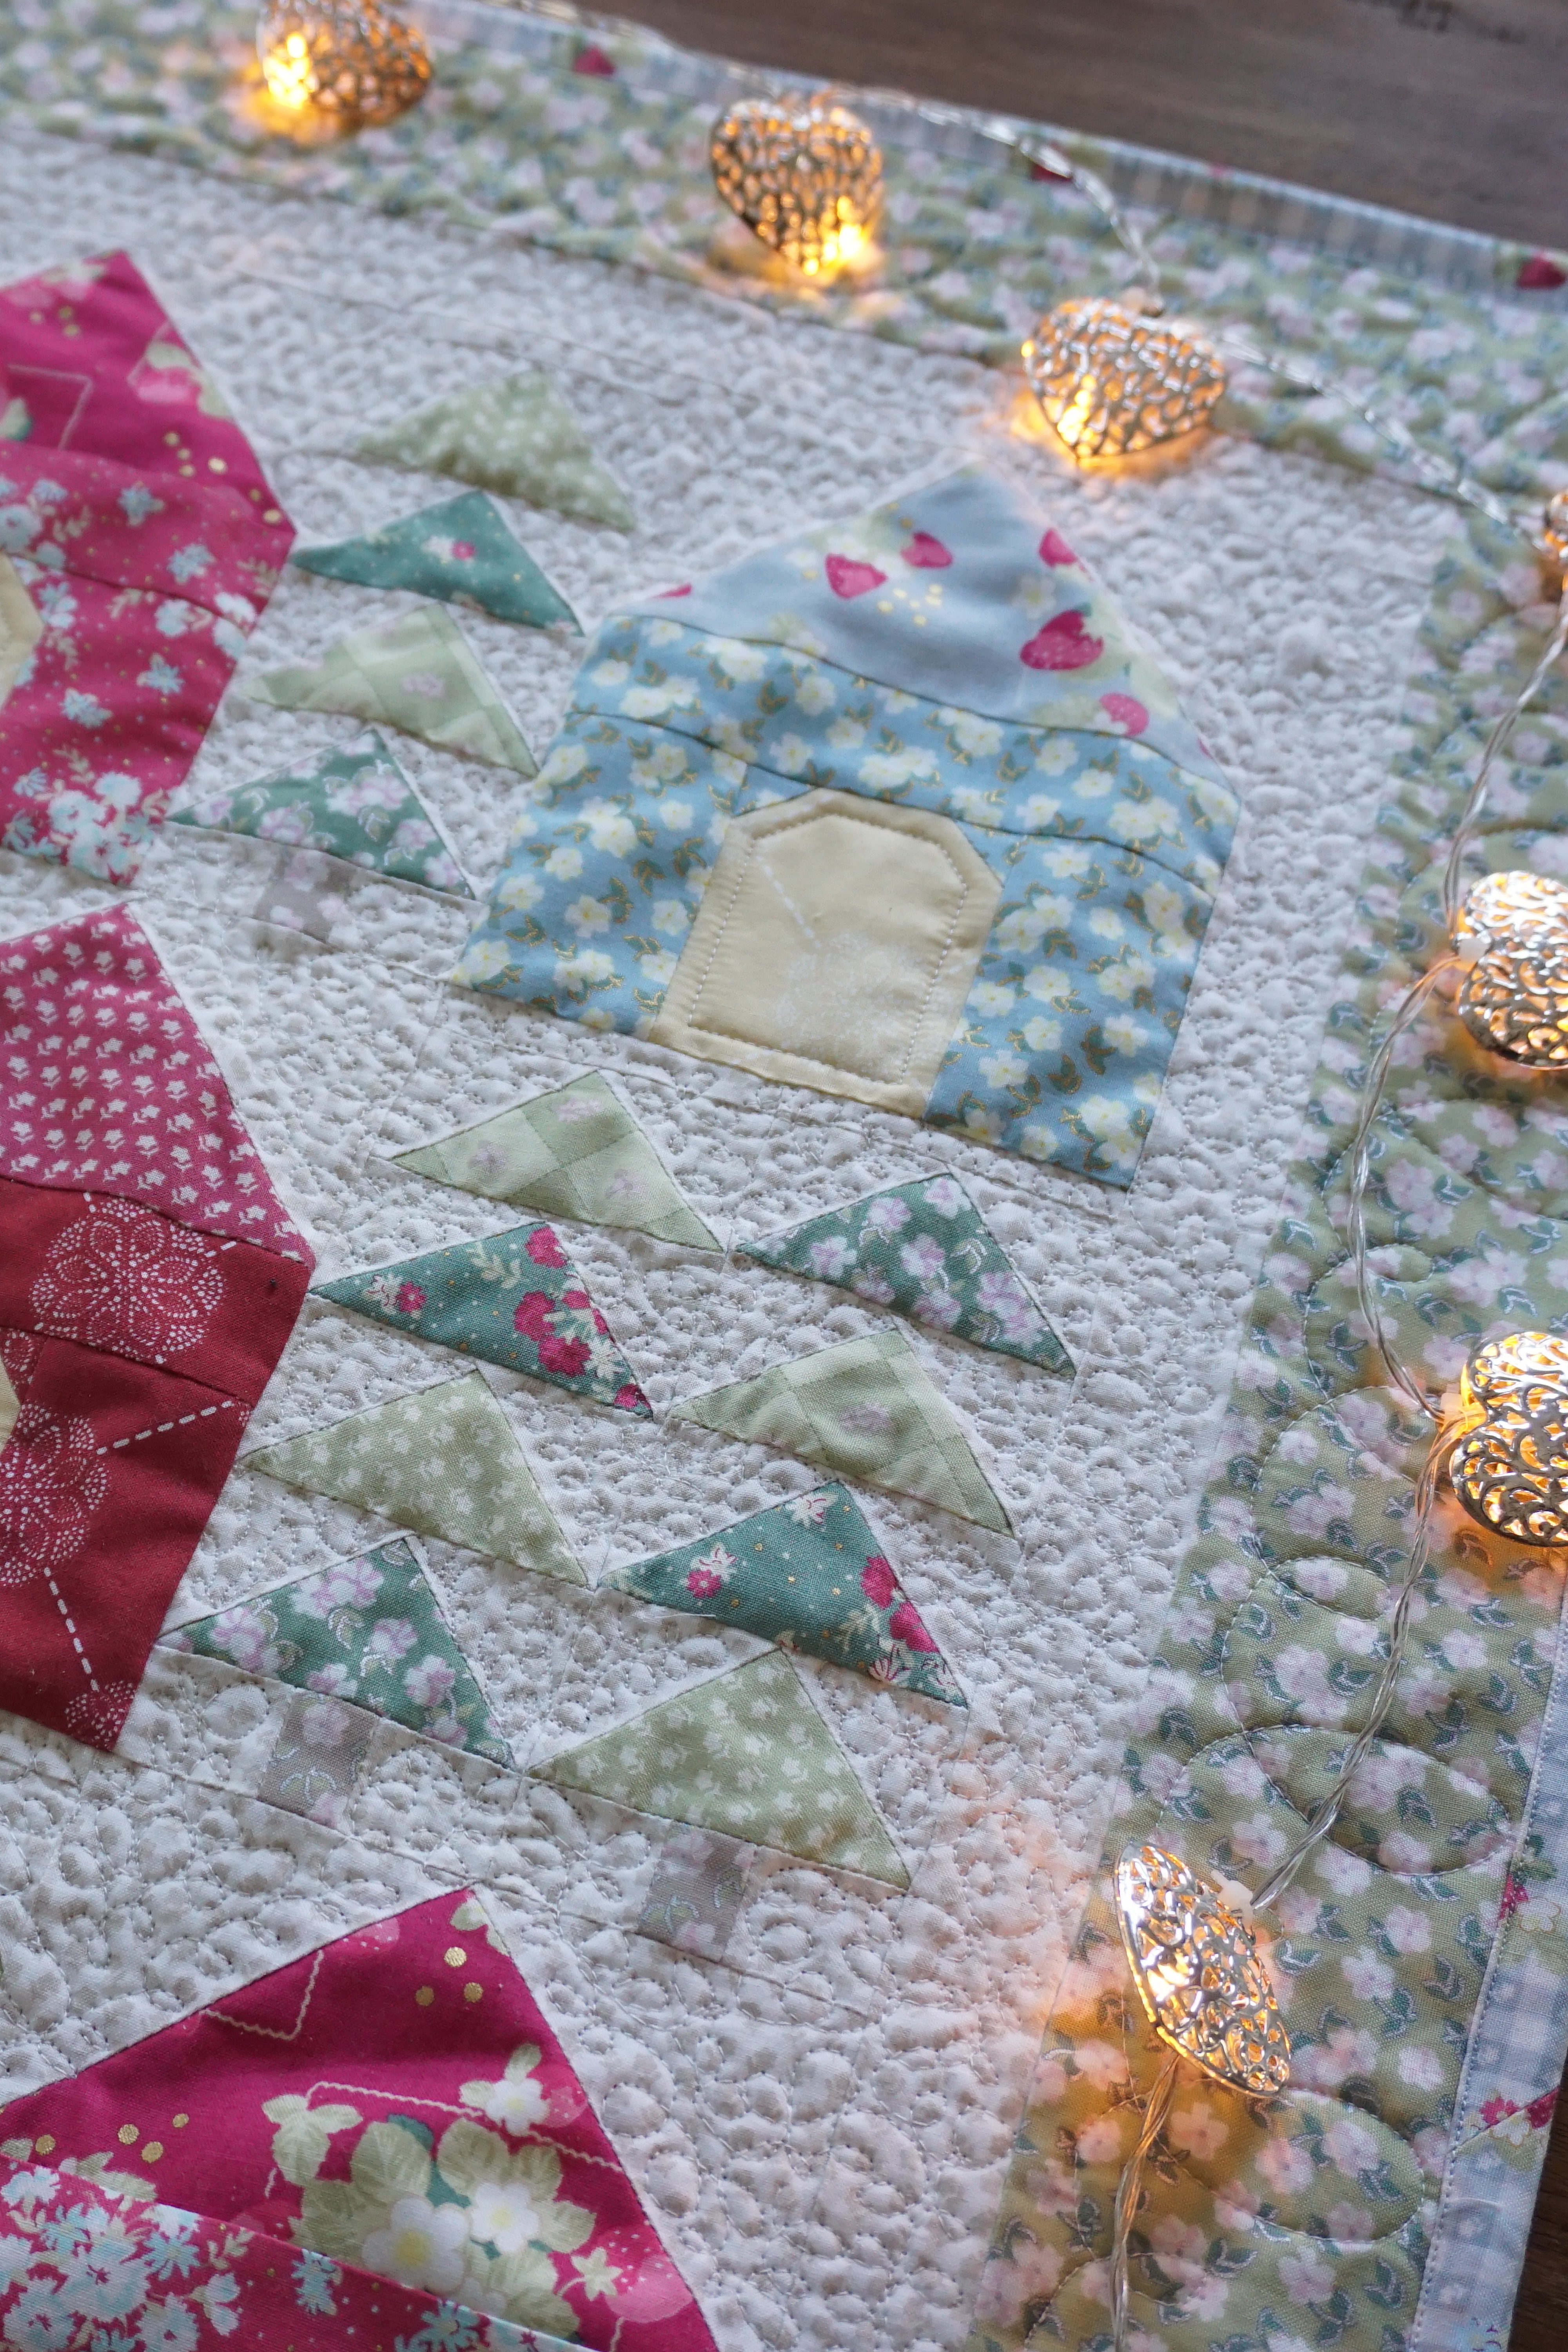
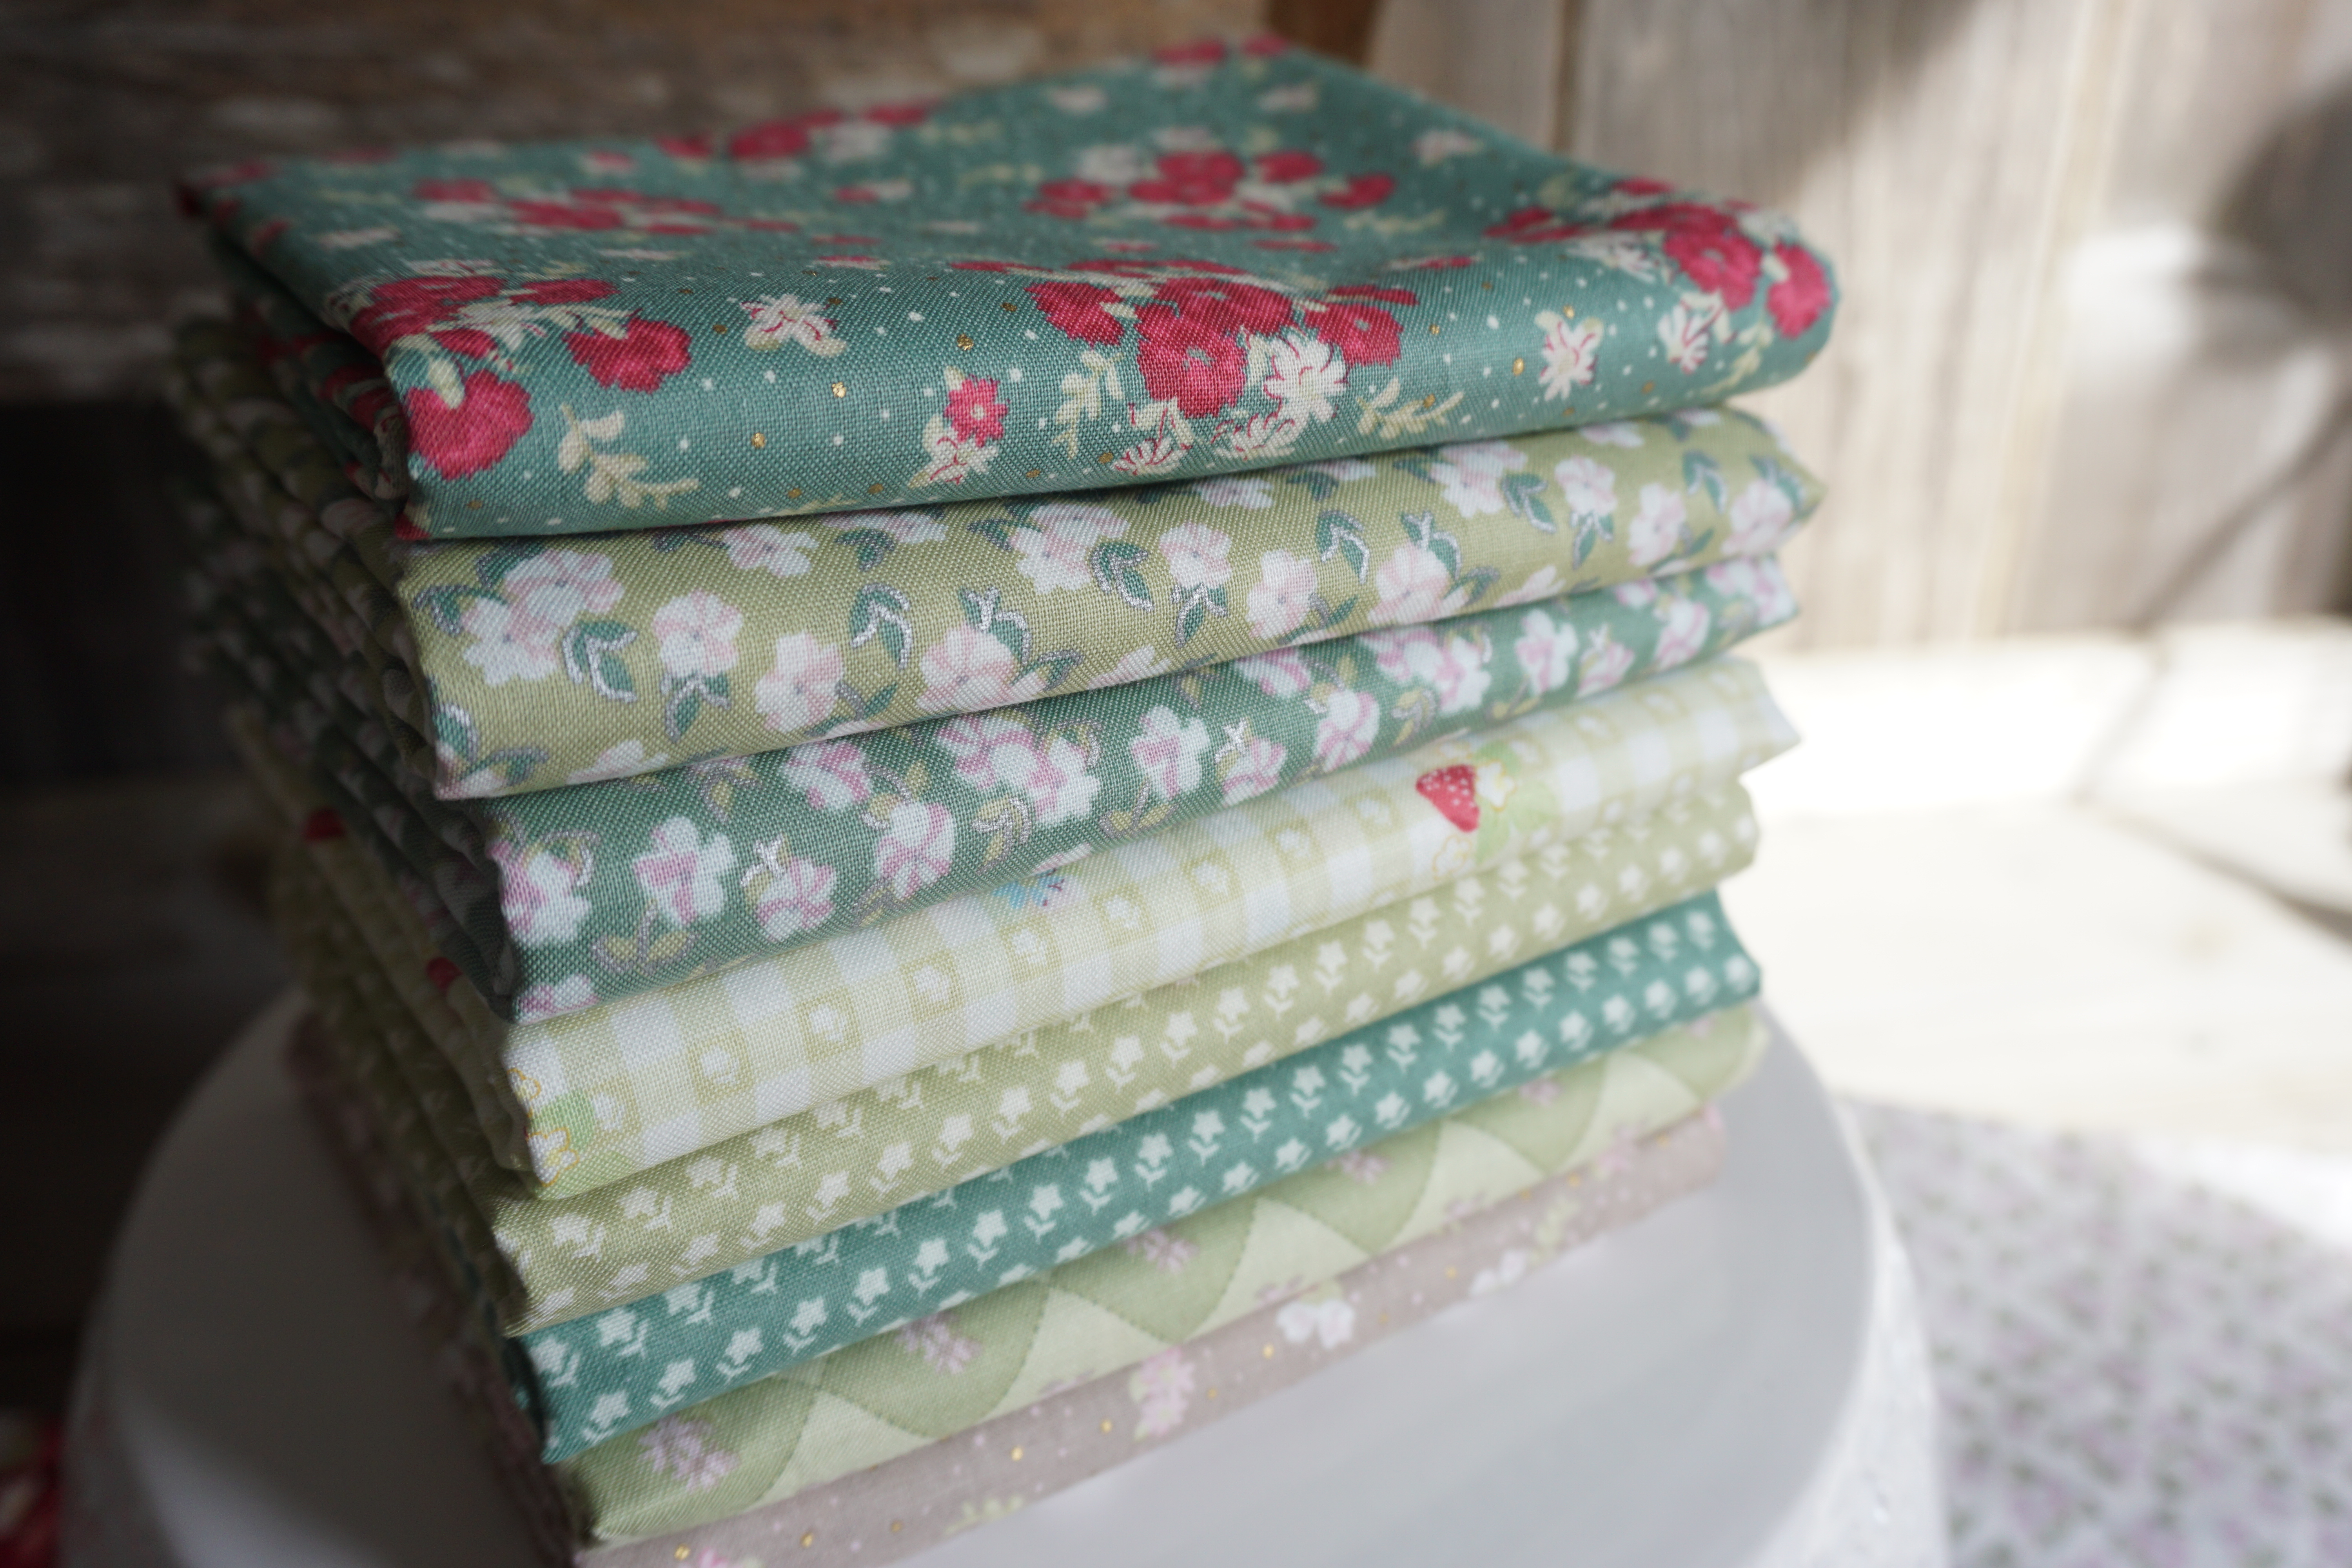
Here’s an up close of the quilting and La Conner fabric.

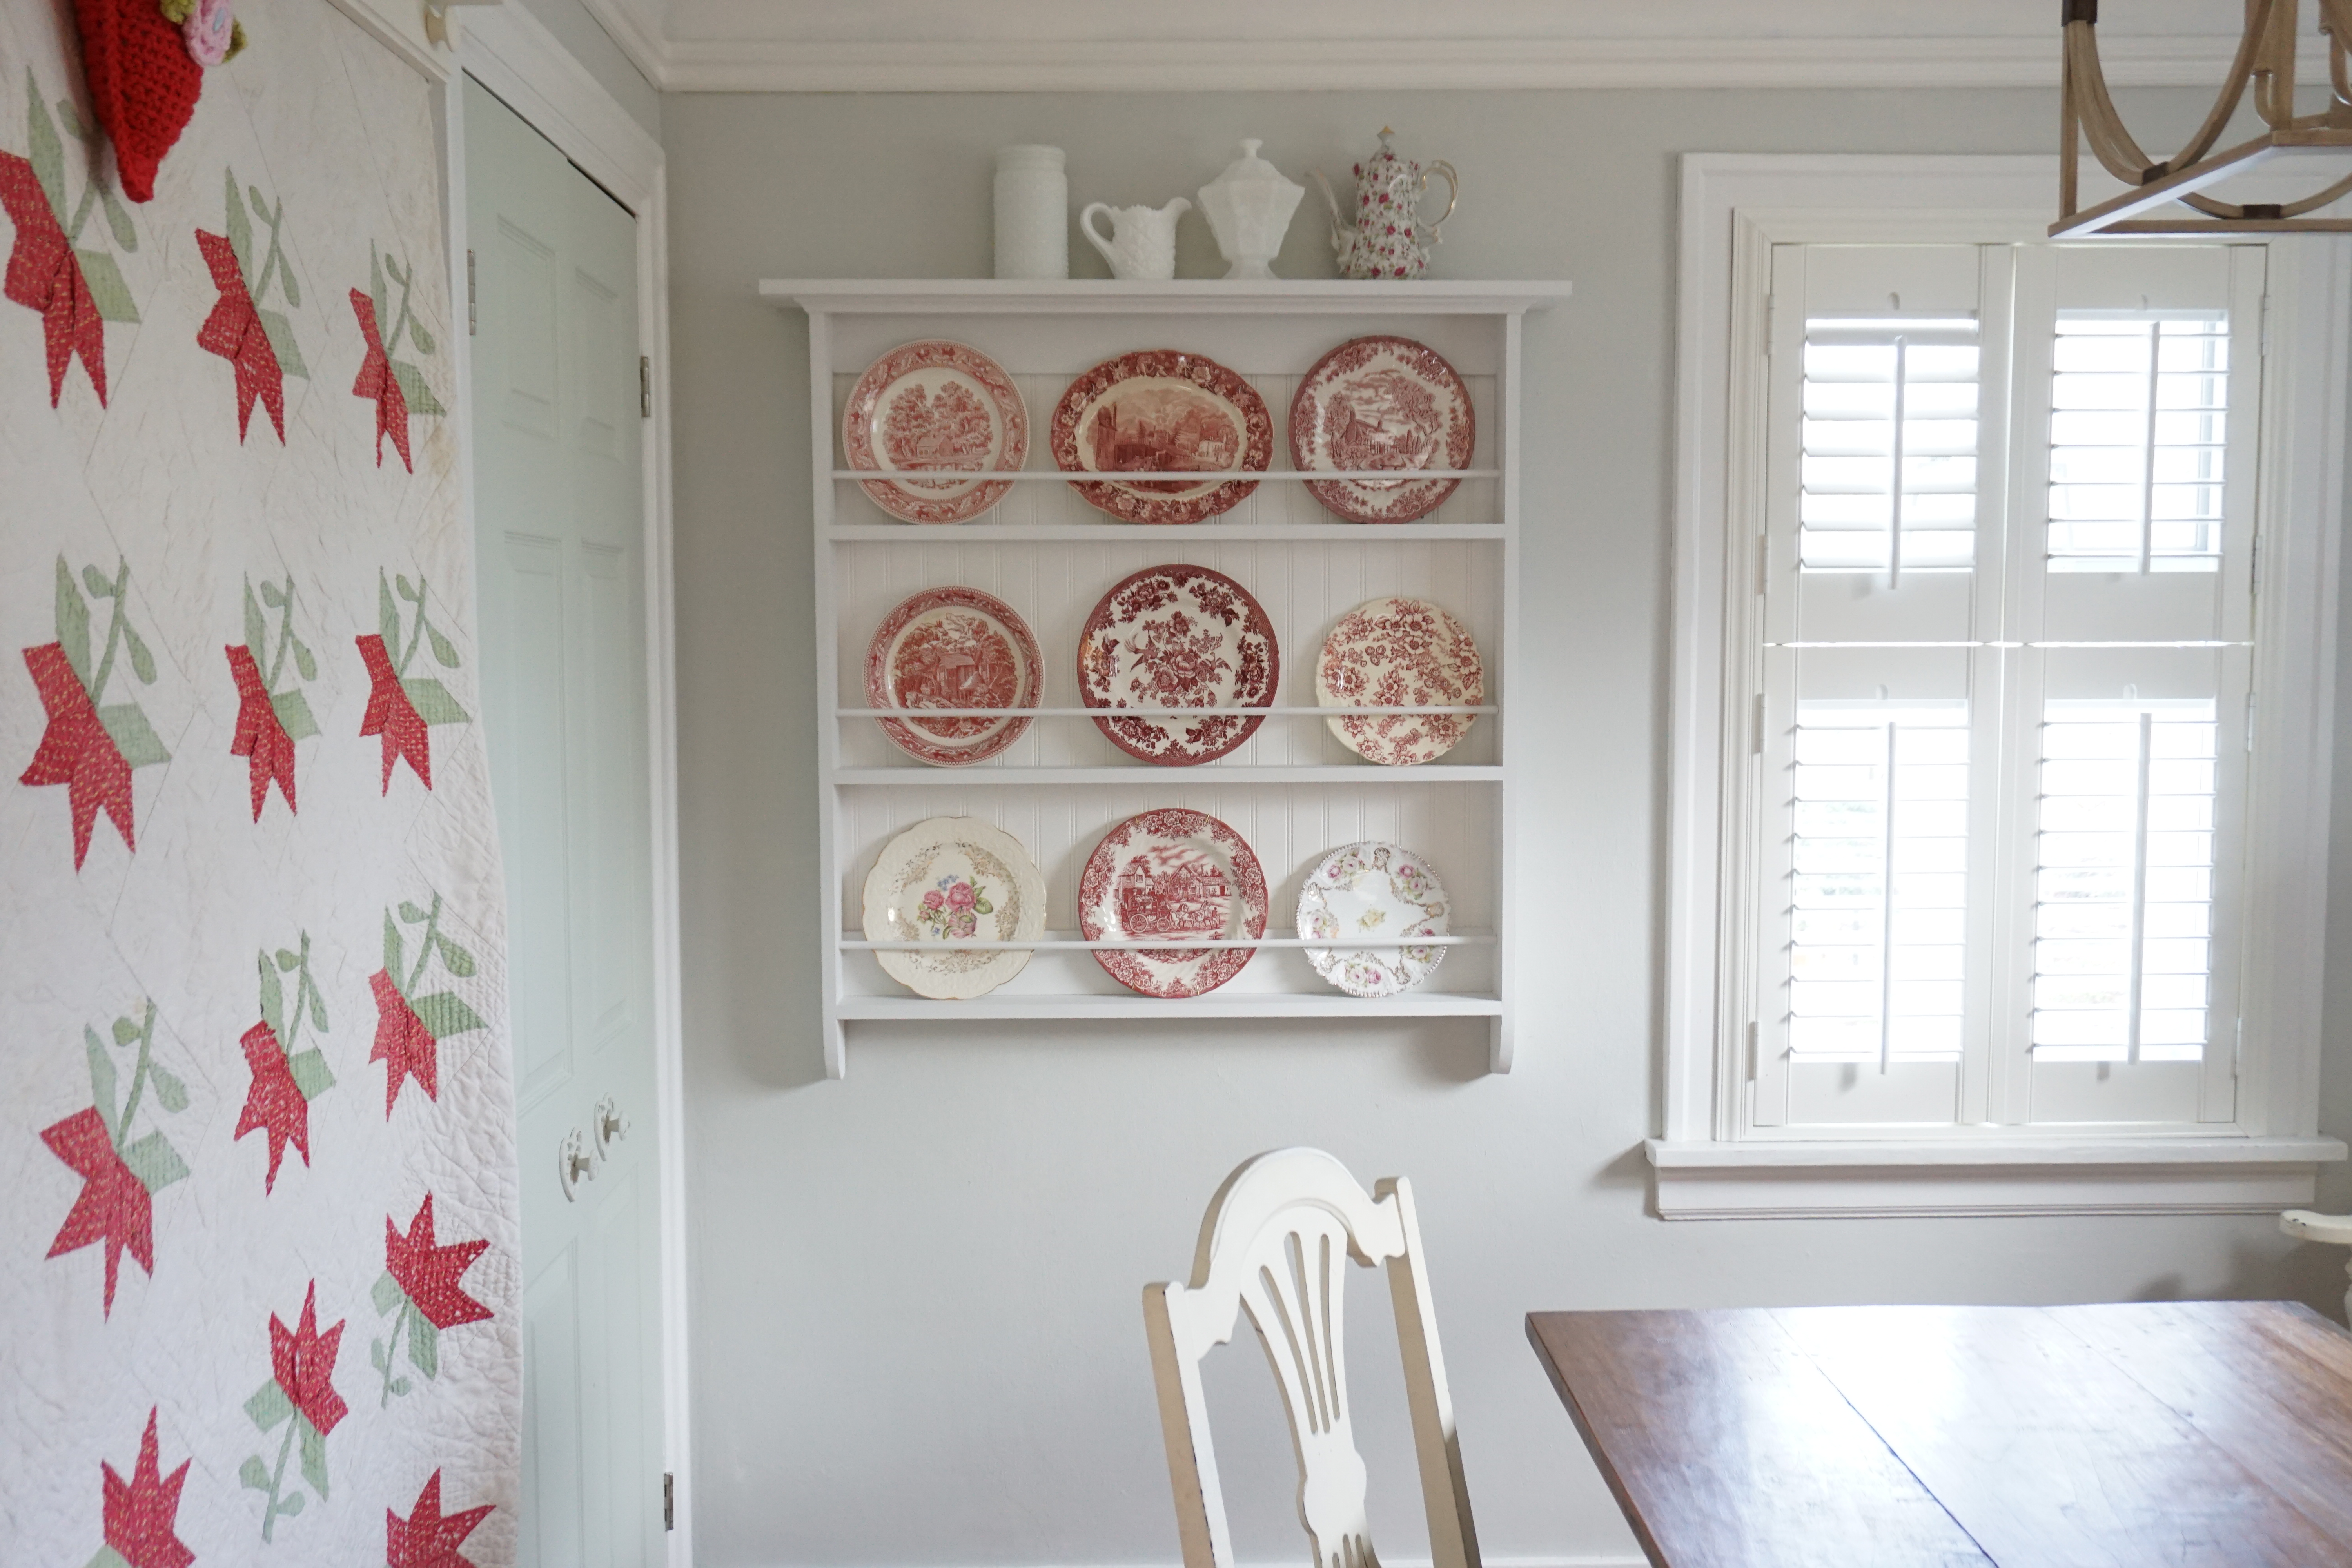
Next up on my list of beautiful things (the first two in this post being the mini quilt and my beautiful baby boy of course πŸ˜‰ is this gorgeous plate rack that my husband made me for Christmas!!! That’s right, he MADE it!!!

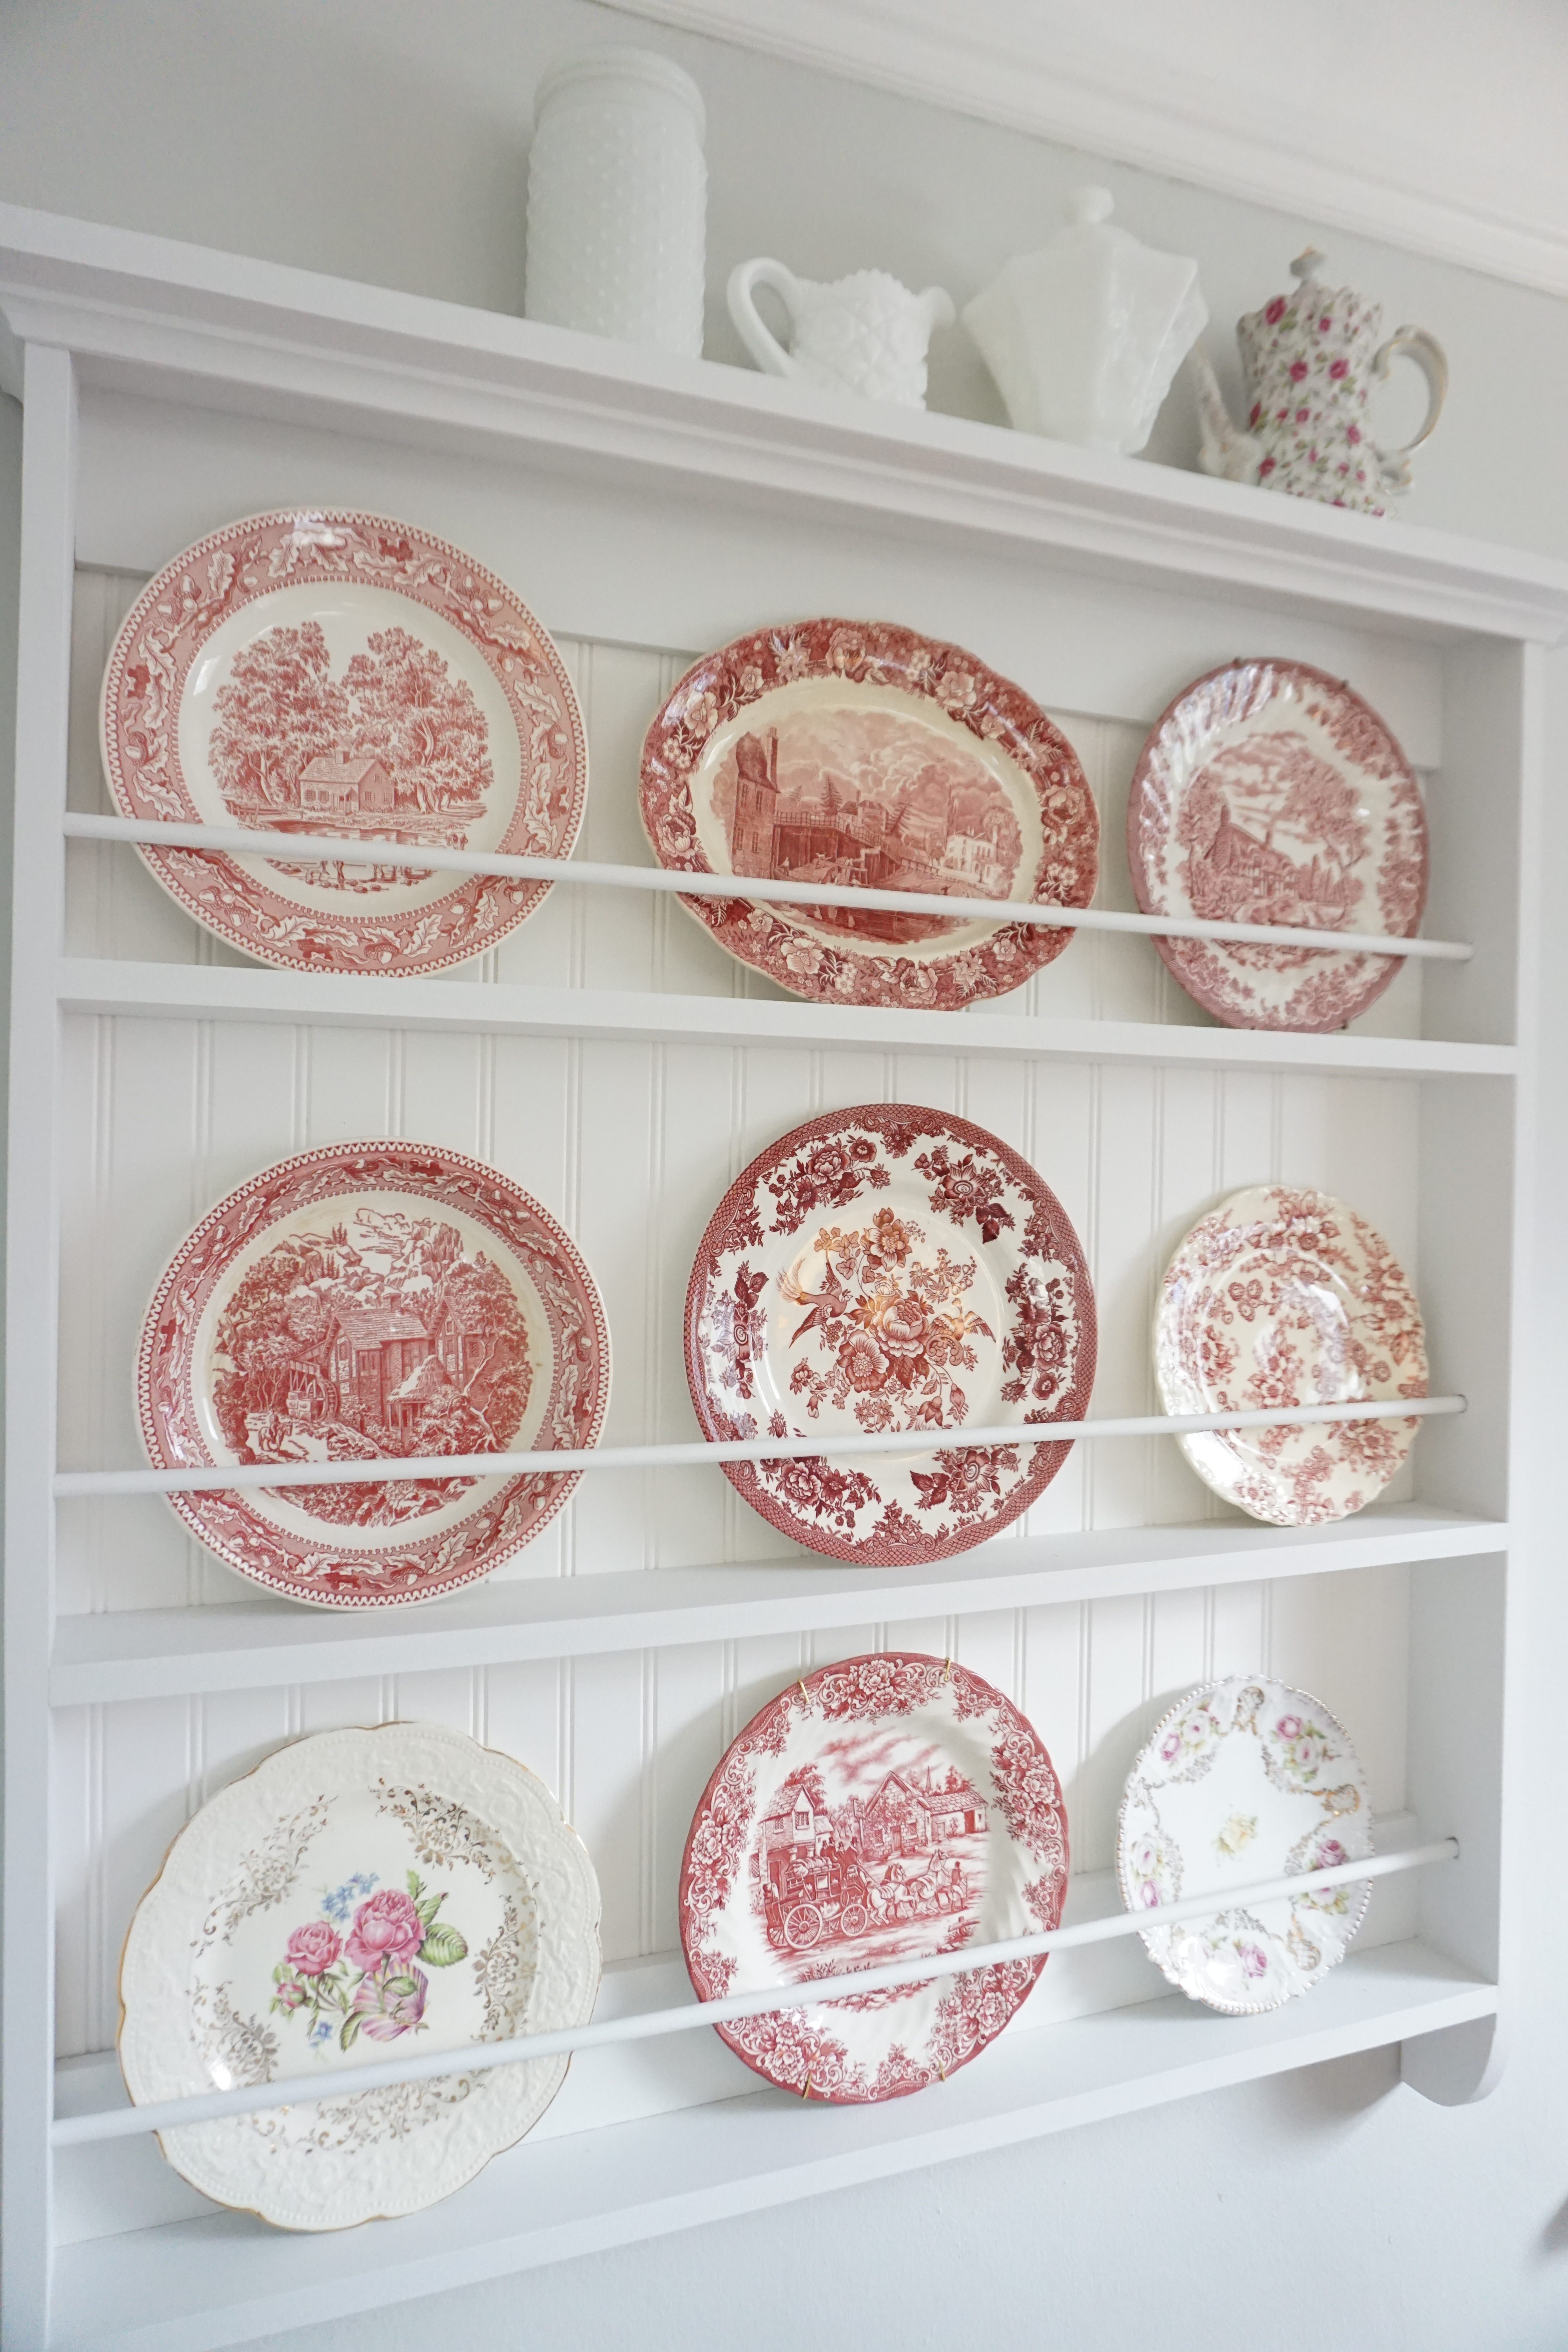
It’s perfect for displaying my mismatched red china dish collection! I still need two more red plates to complete it.

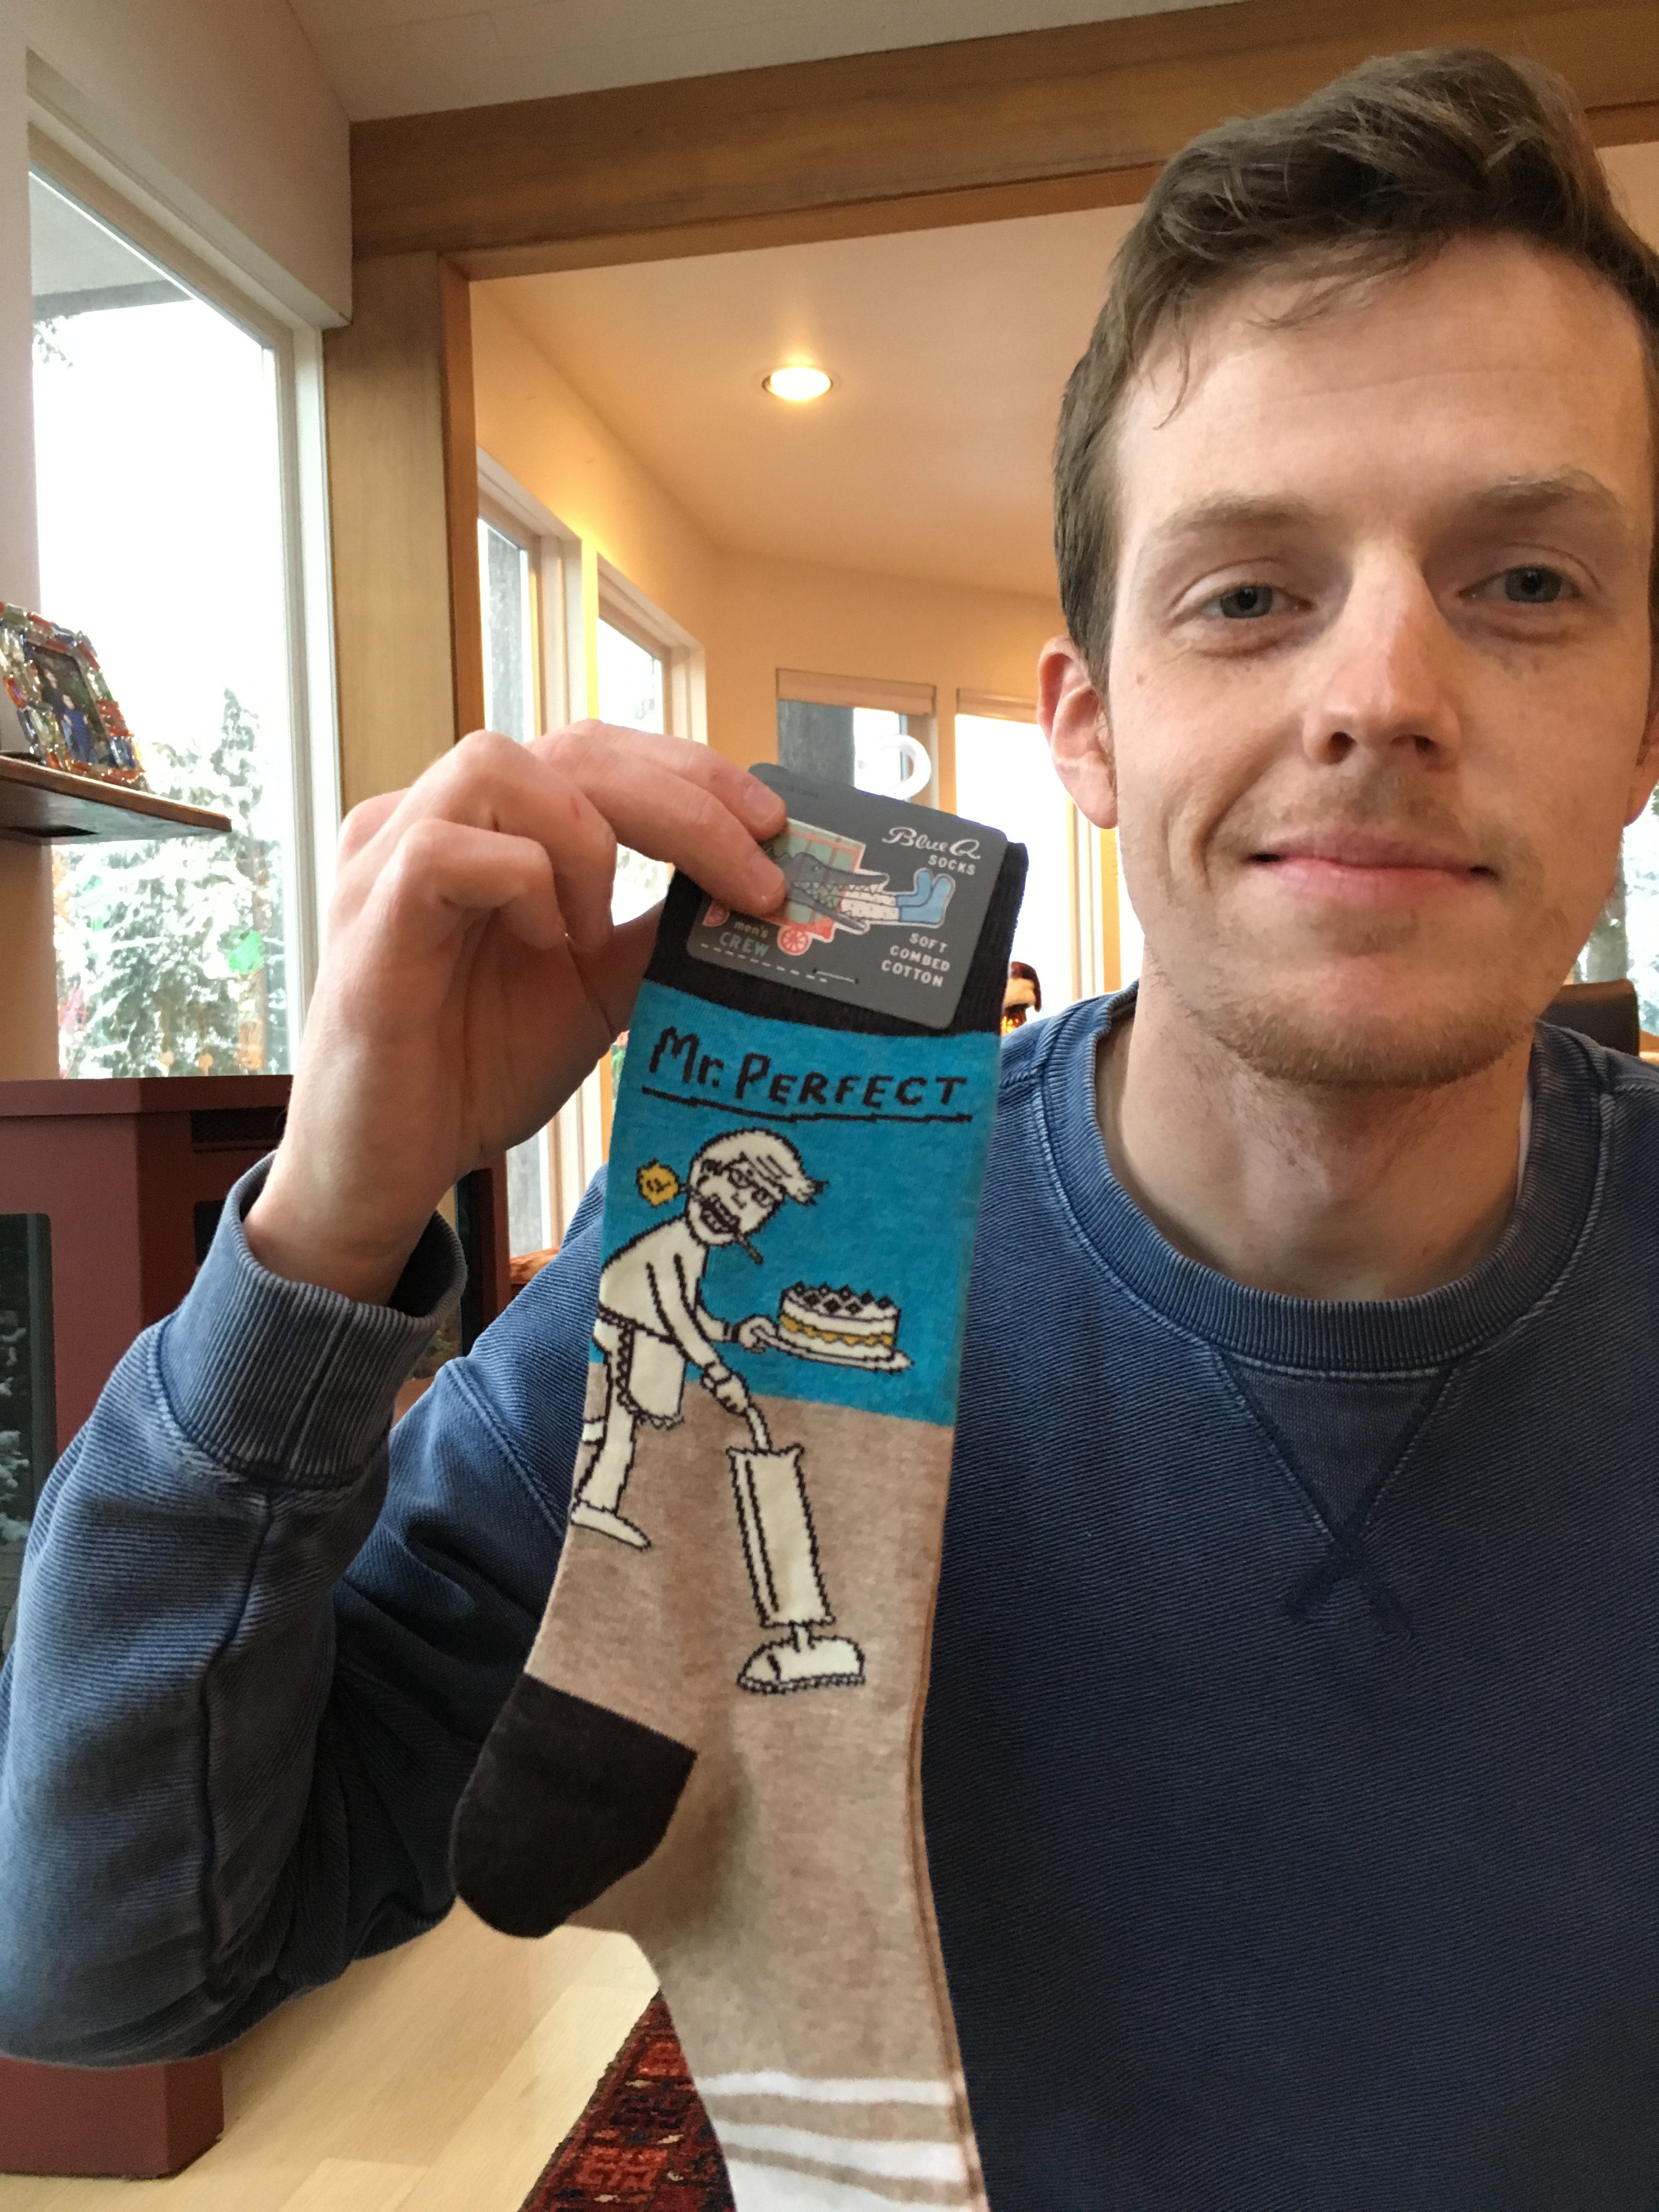
My hubby is Mr. Perfect, and my mom said it first via those xmas socks! ;-p hehe

Speaking of Christmas, I hope you all had a wonderful holiday! This photo below was taken at Country Village in Bothell, WA. One of my fave places to go antiquing and home to my fave quilt shop, Keepsake Cottage Fabrics.

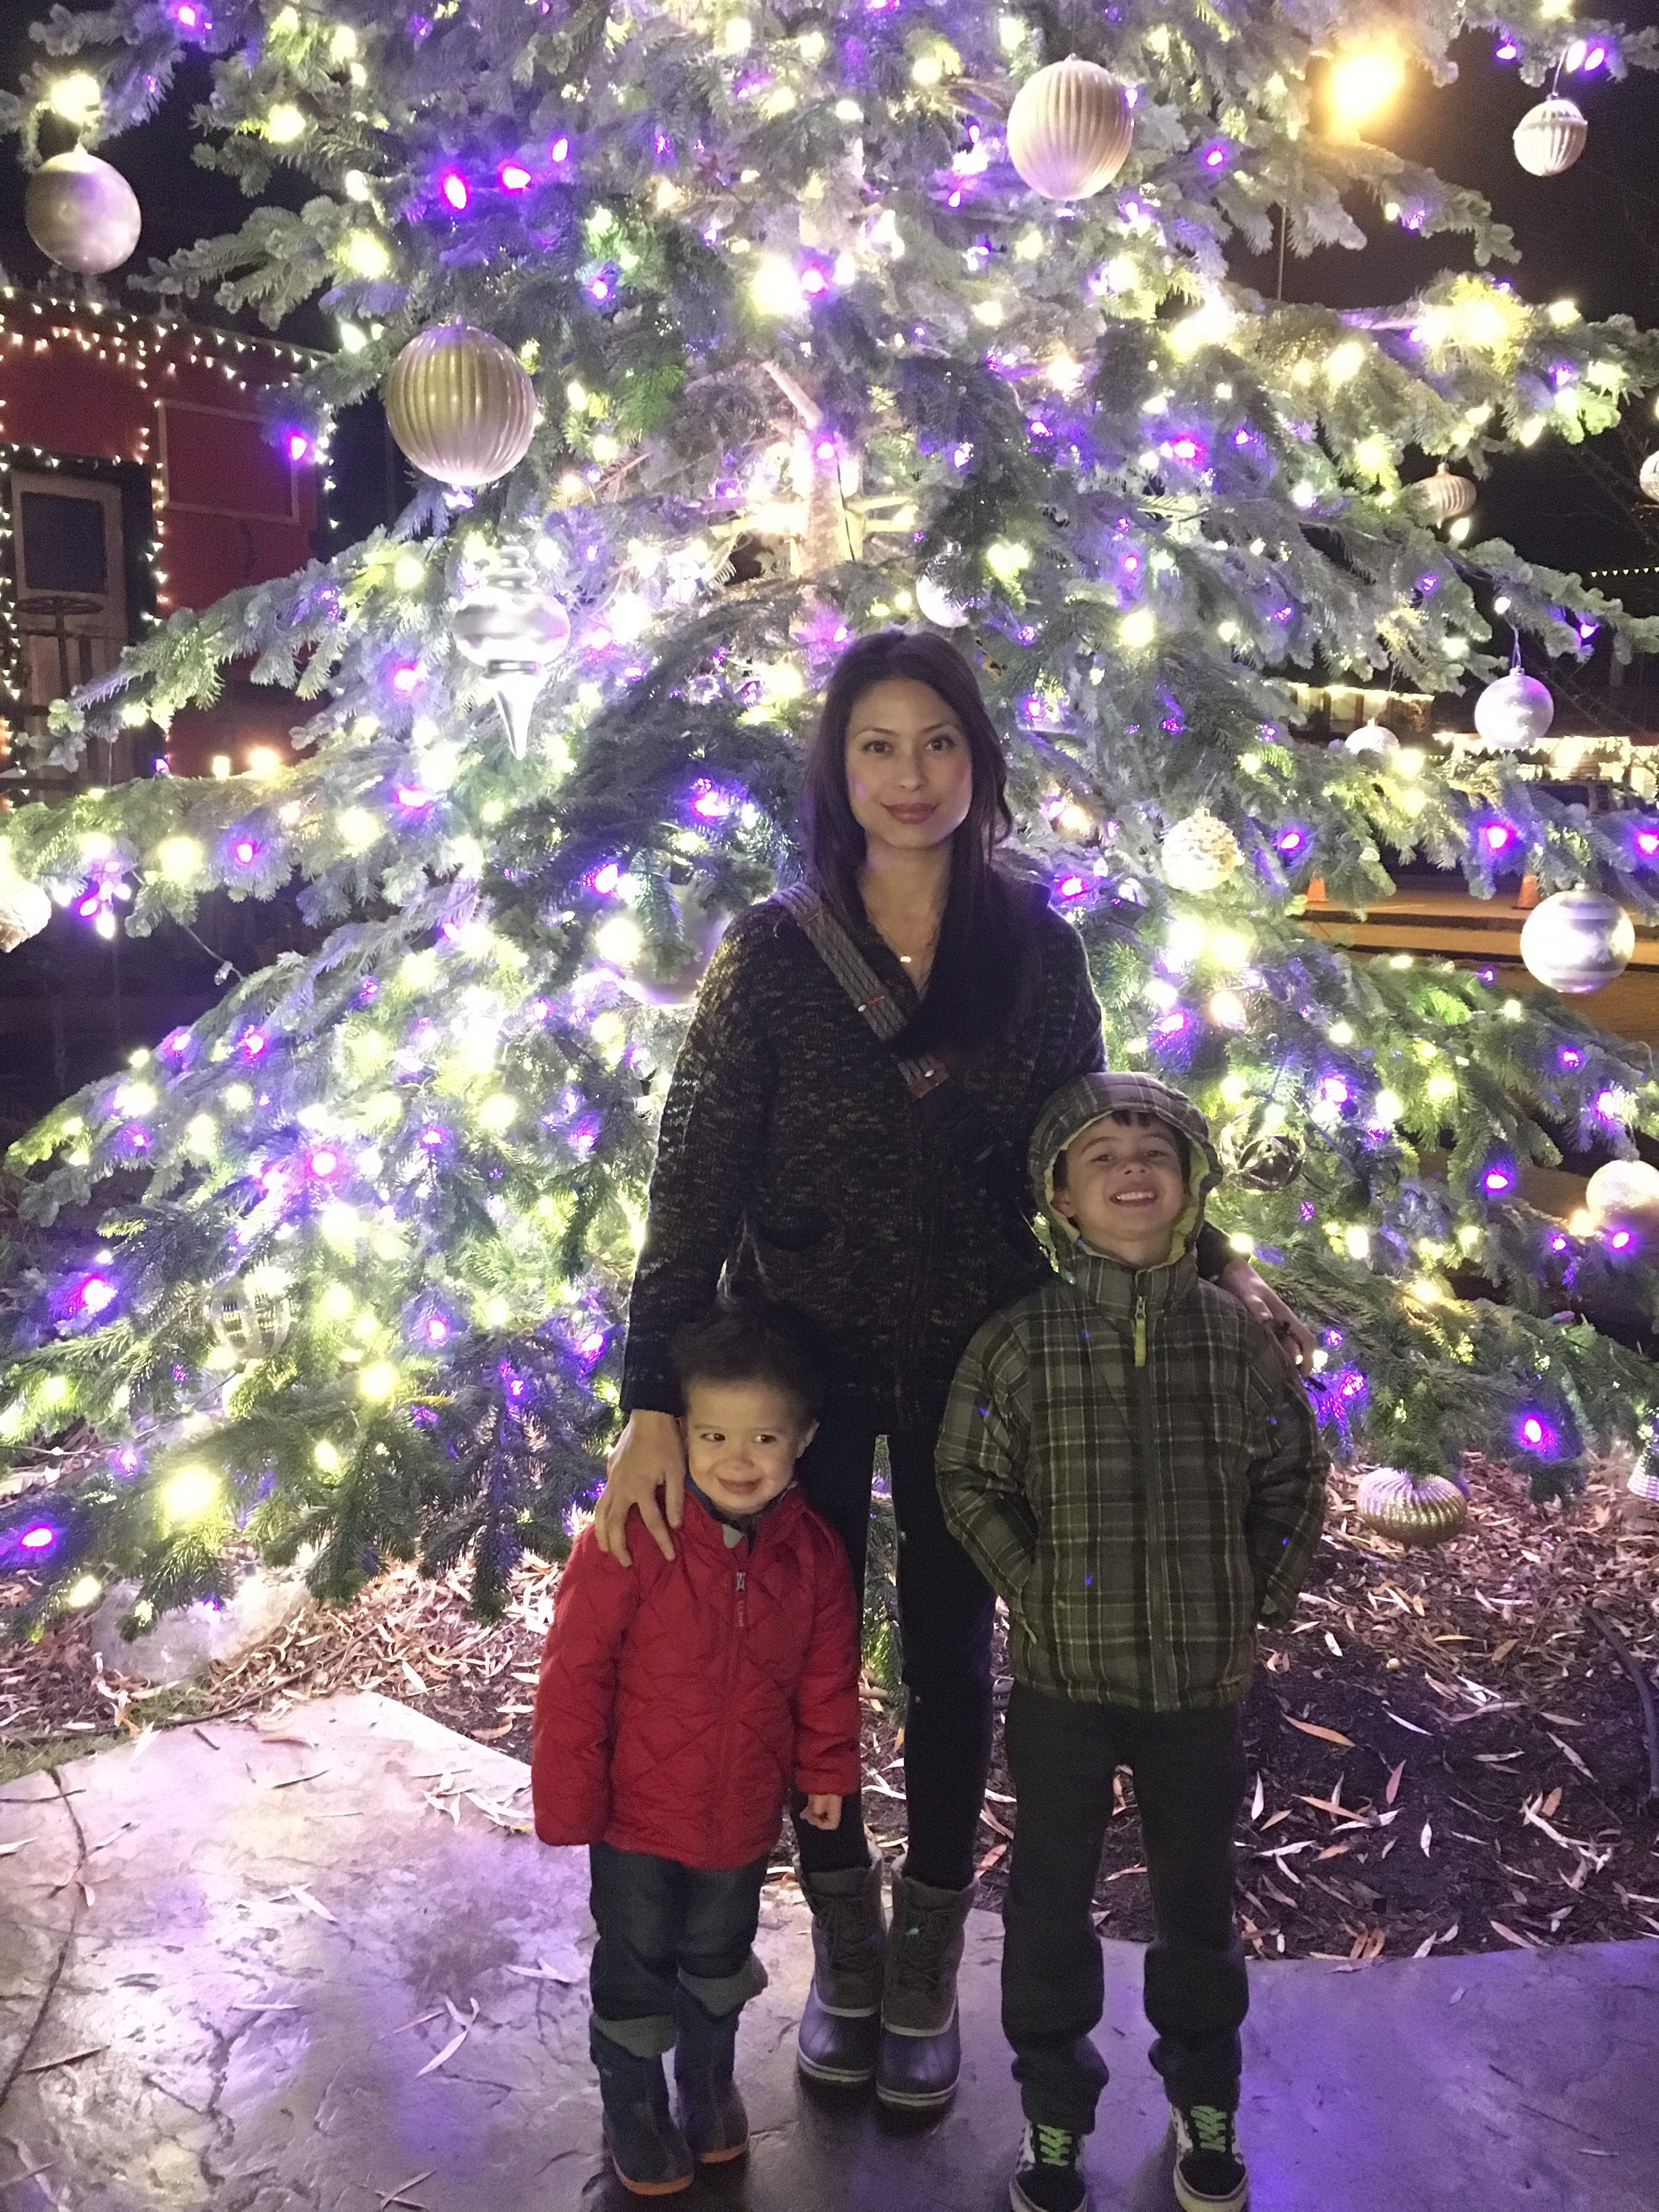
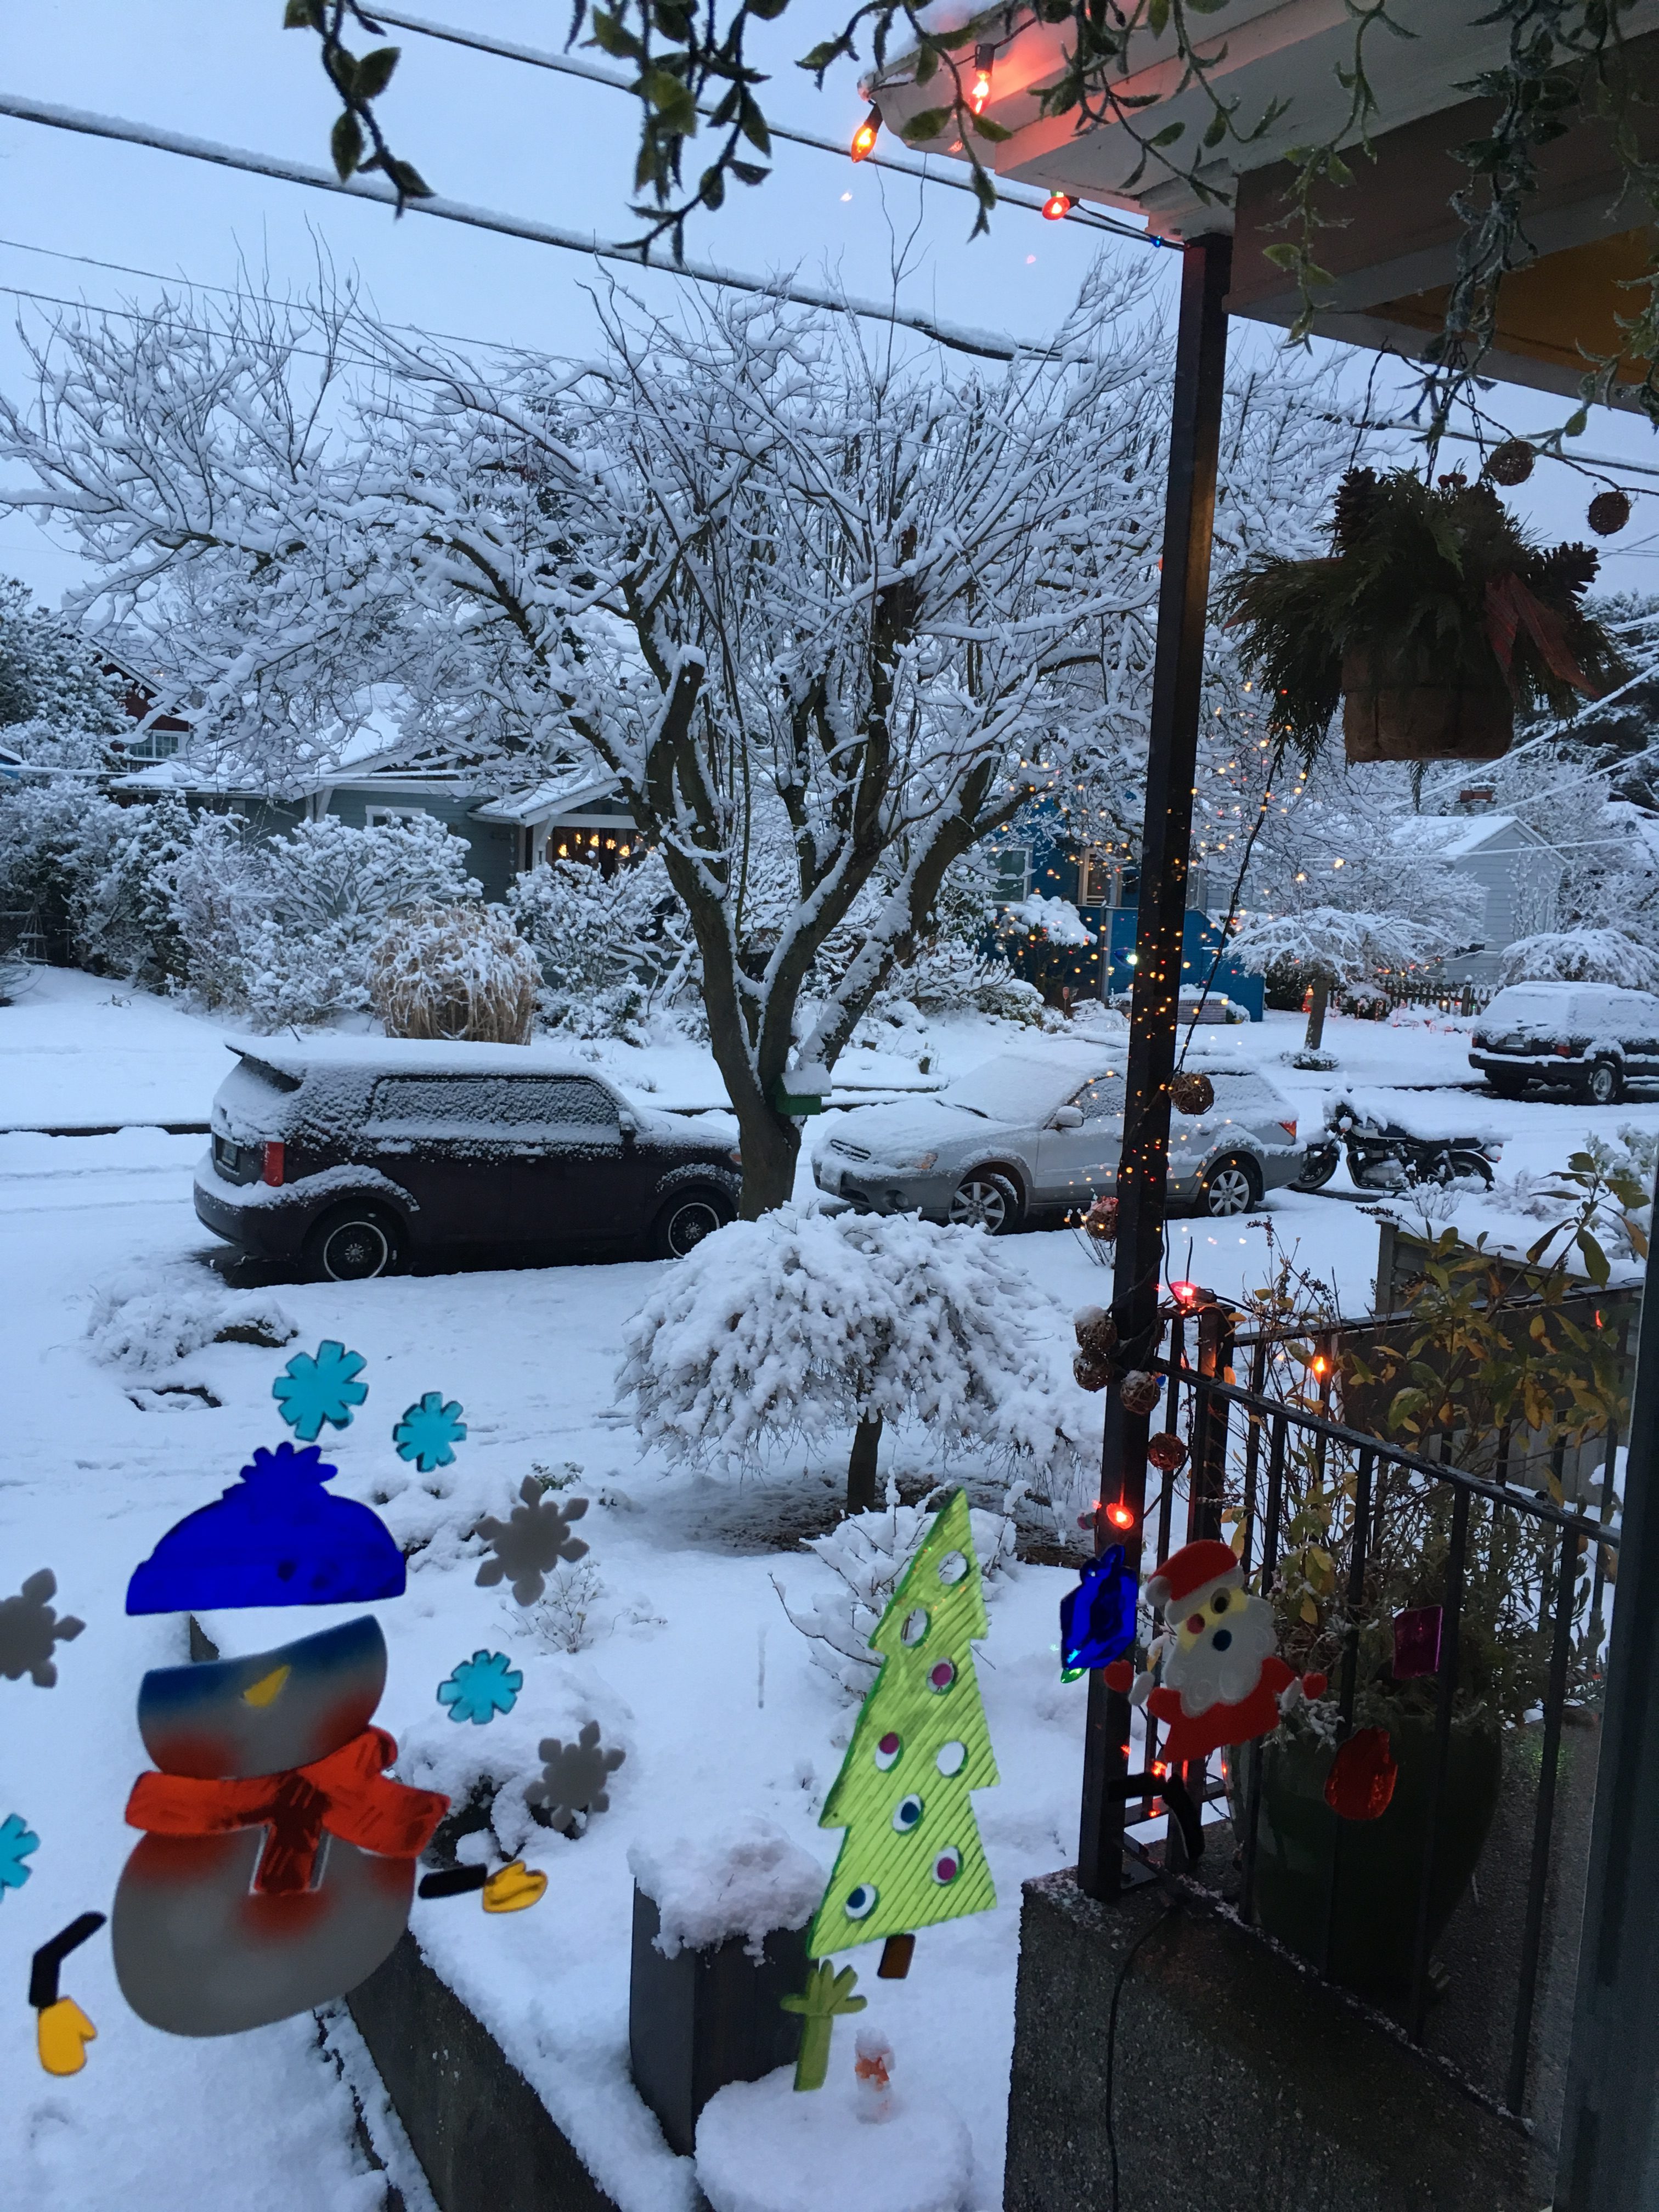
Christmas in Seattle was quite magical because we got about 4 inches of snow on Christmas morning! This NEVER happens!

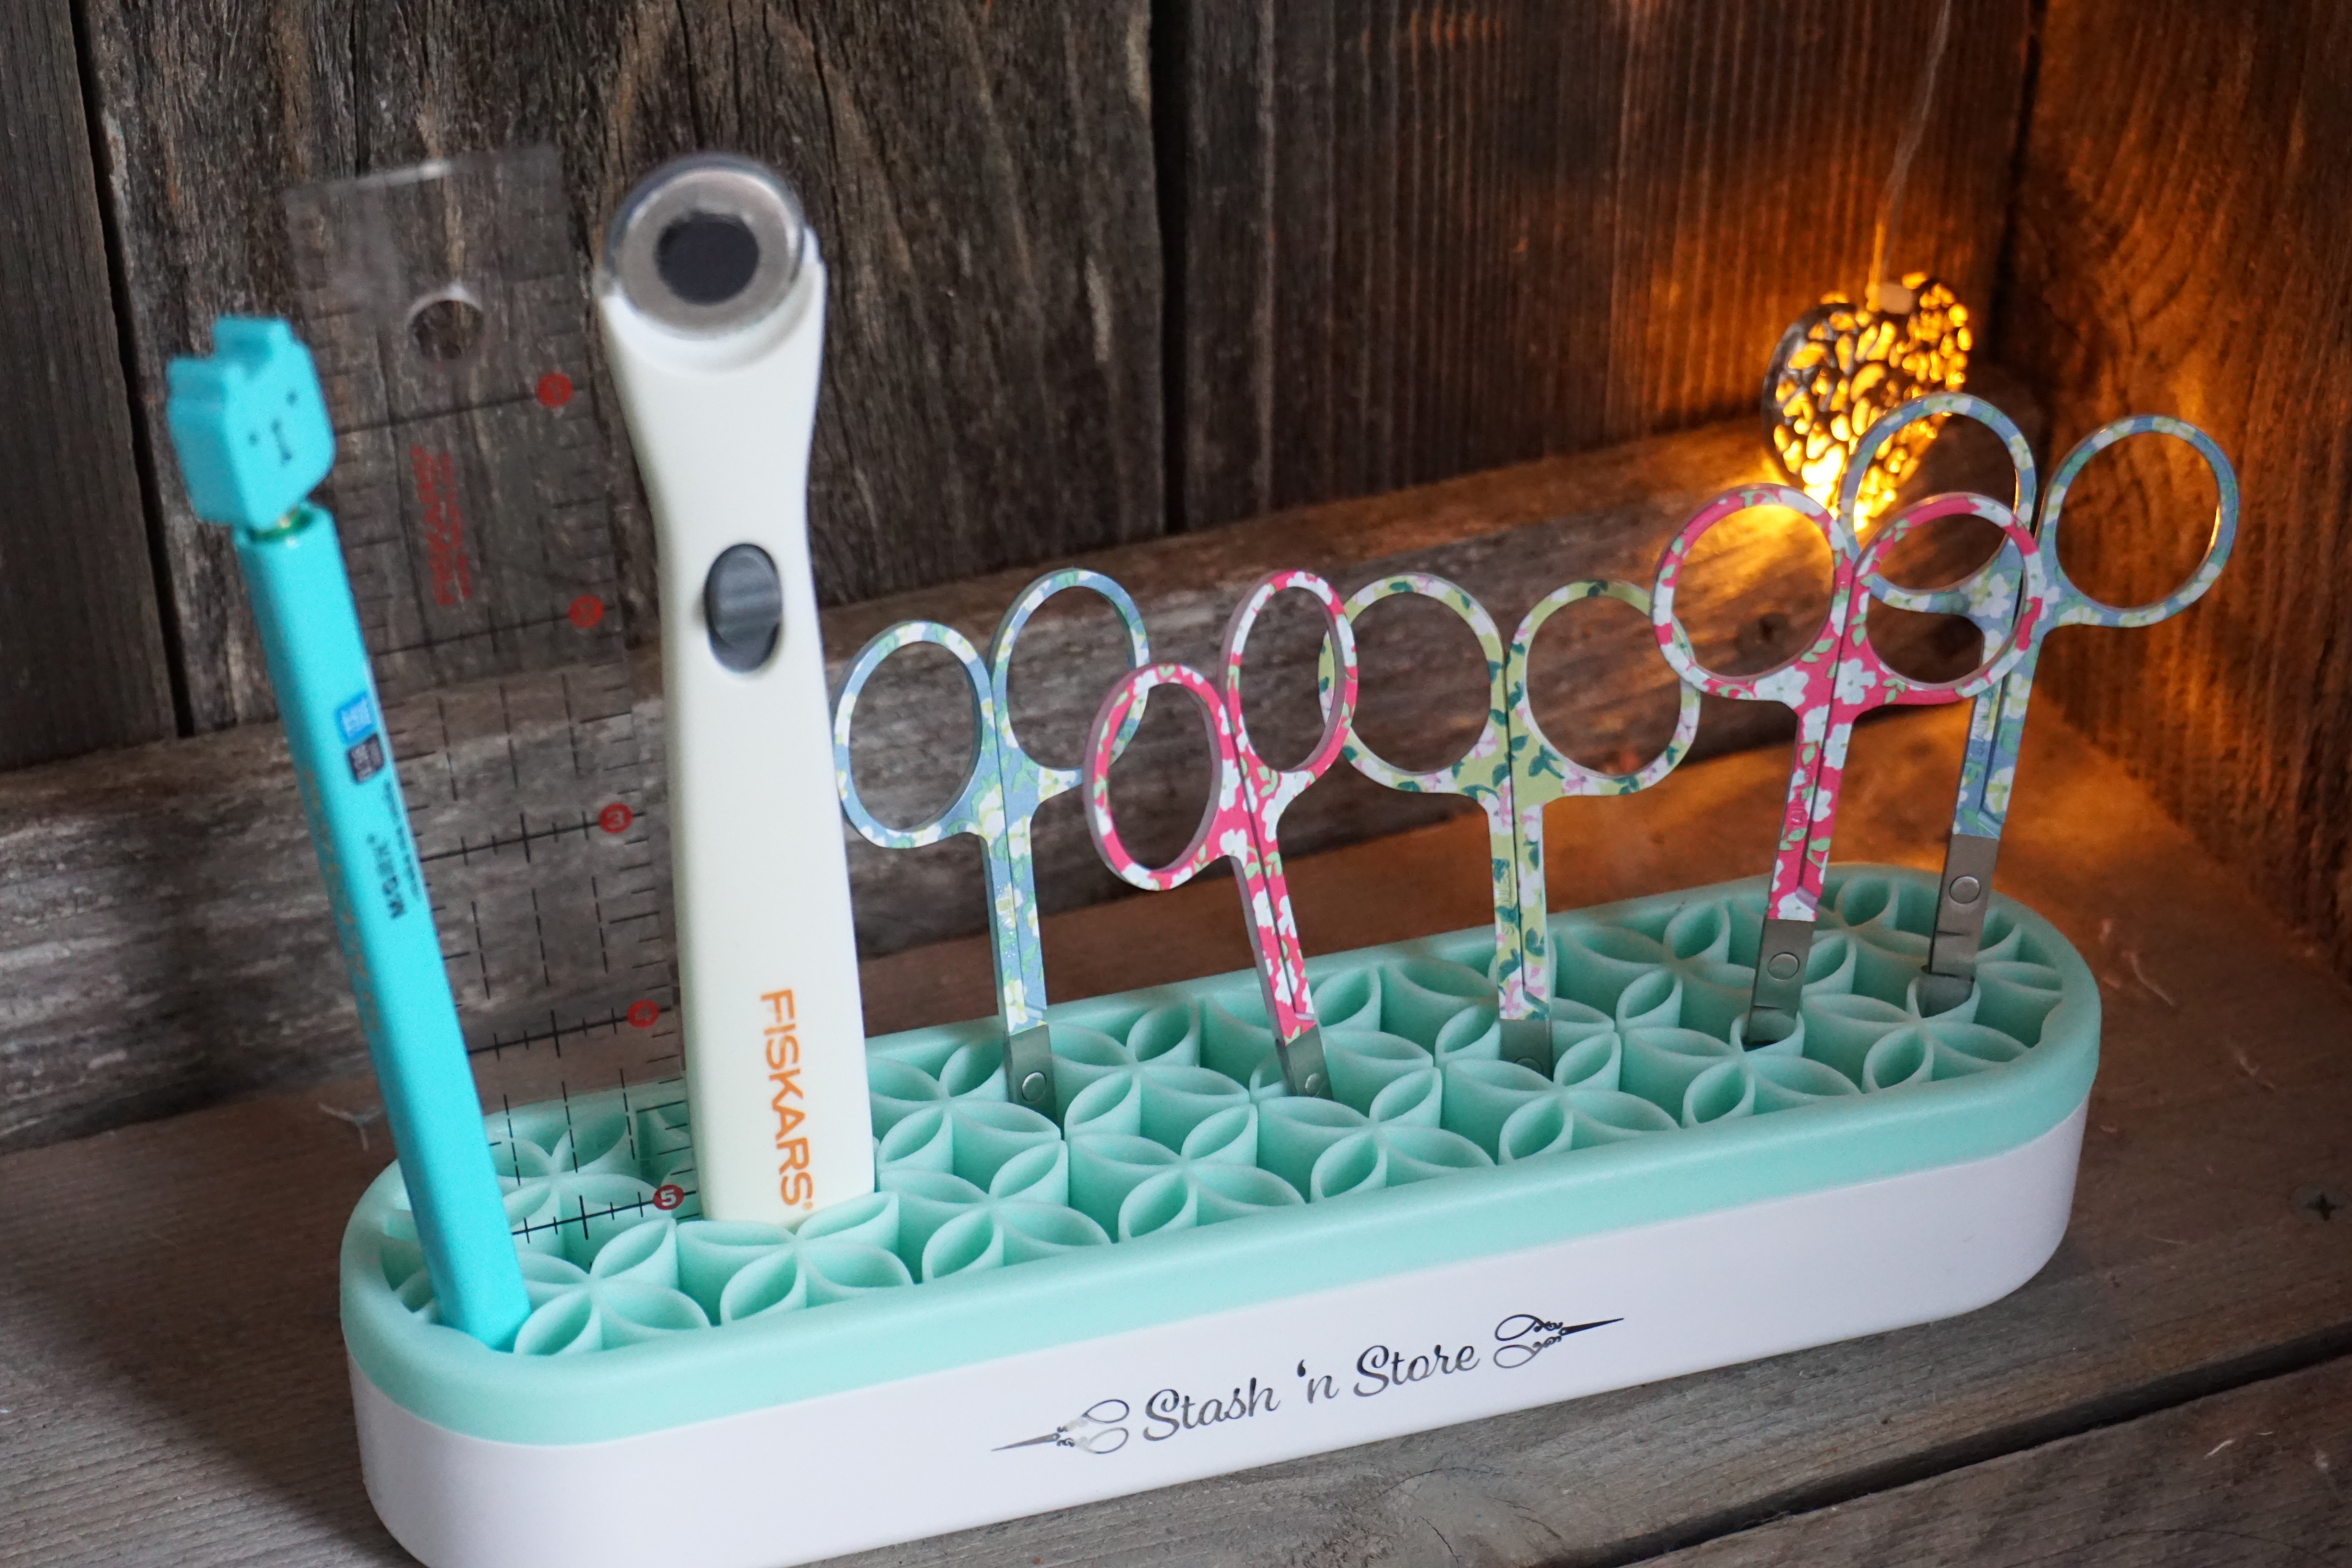
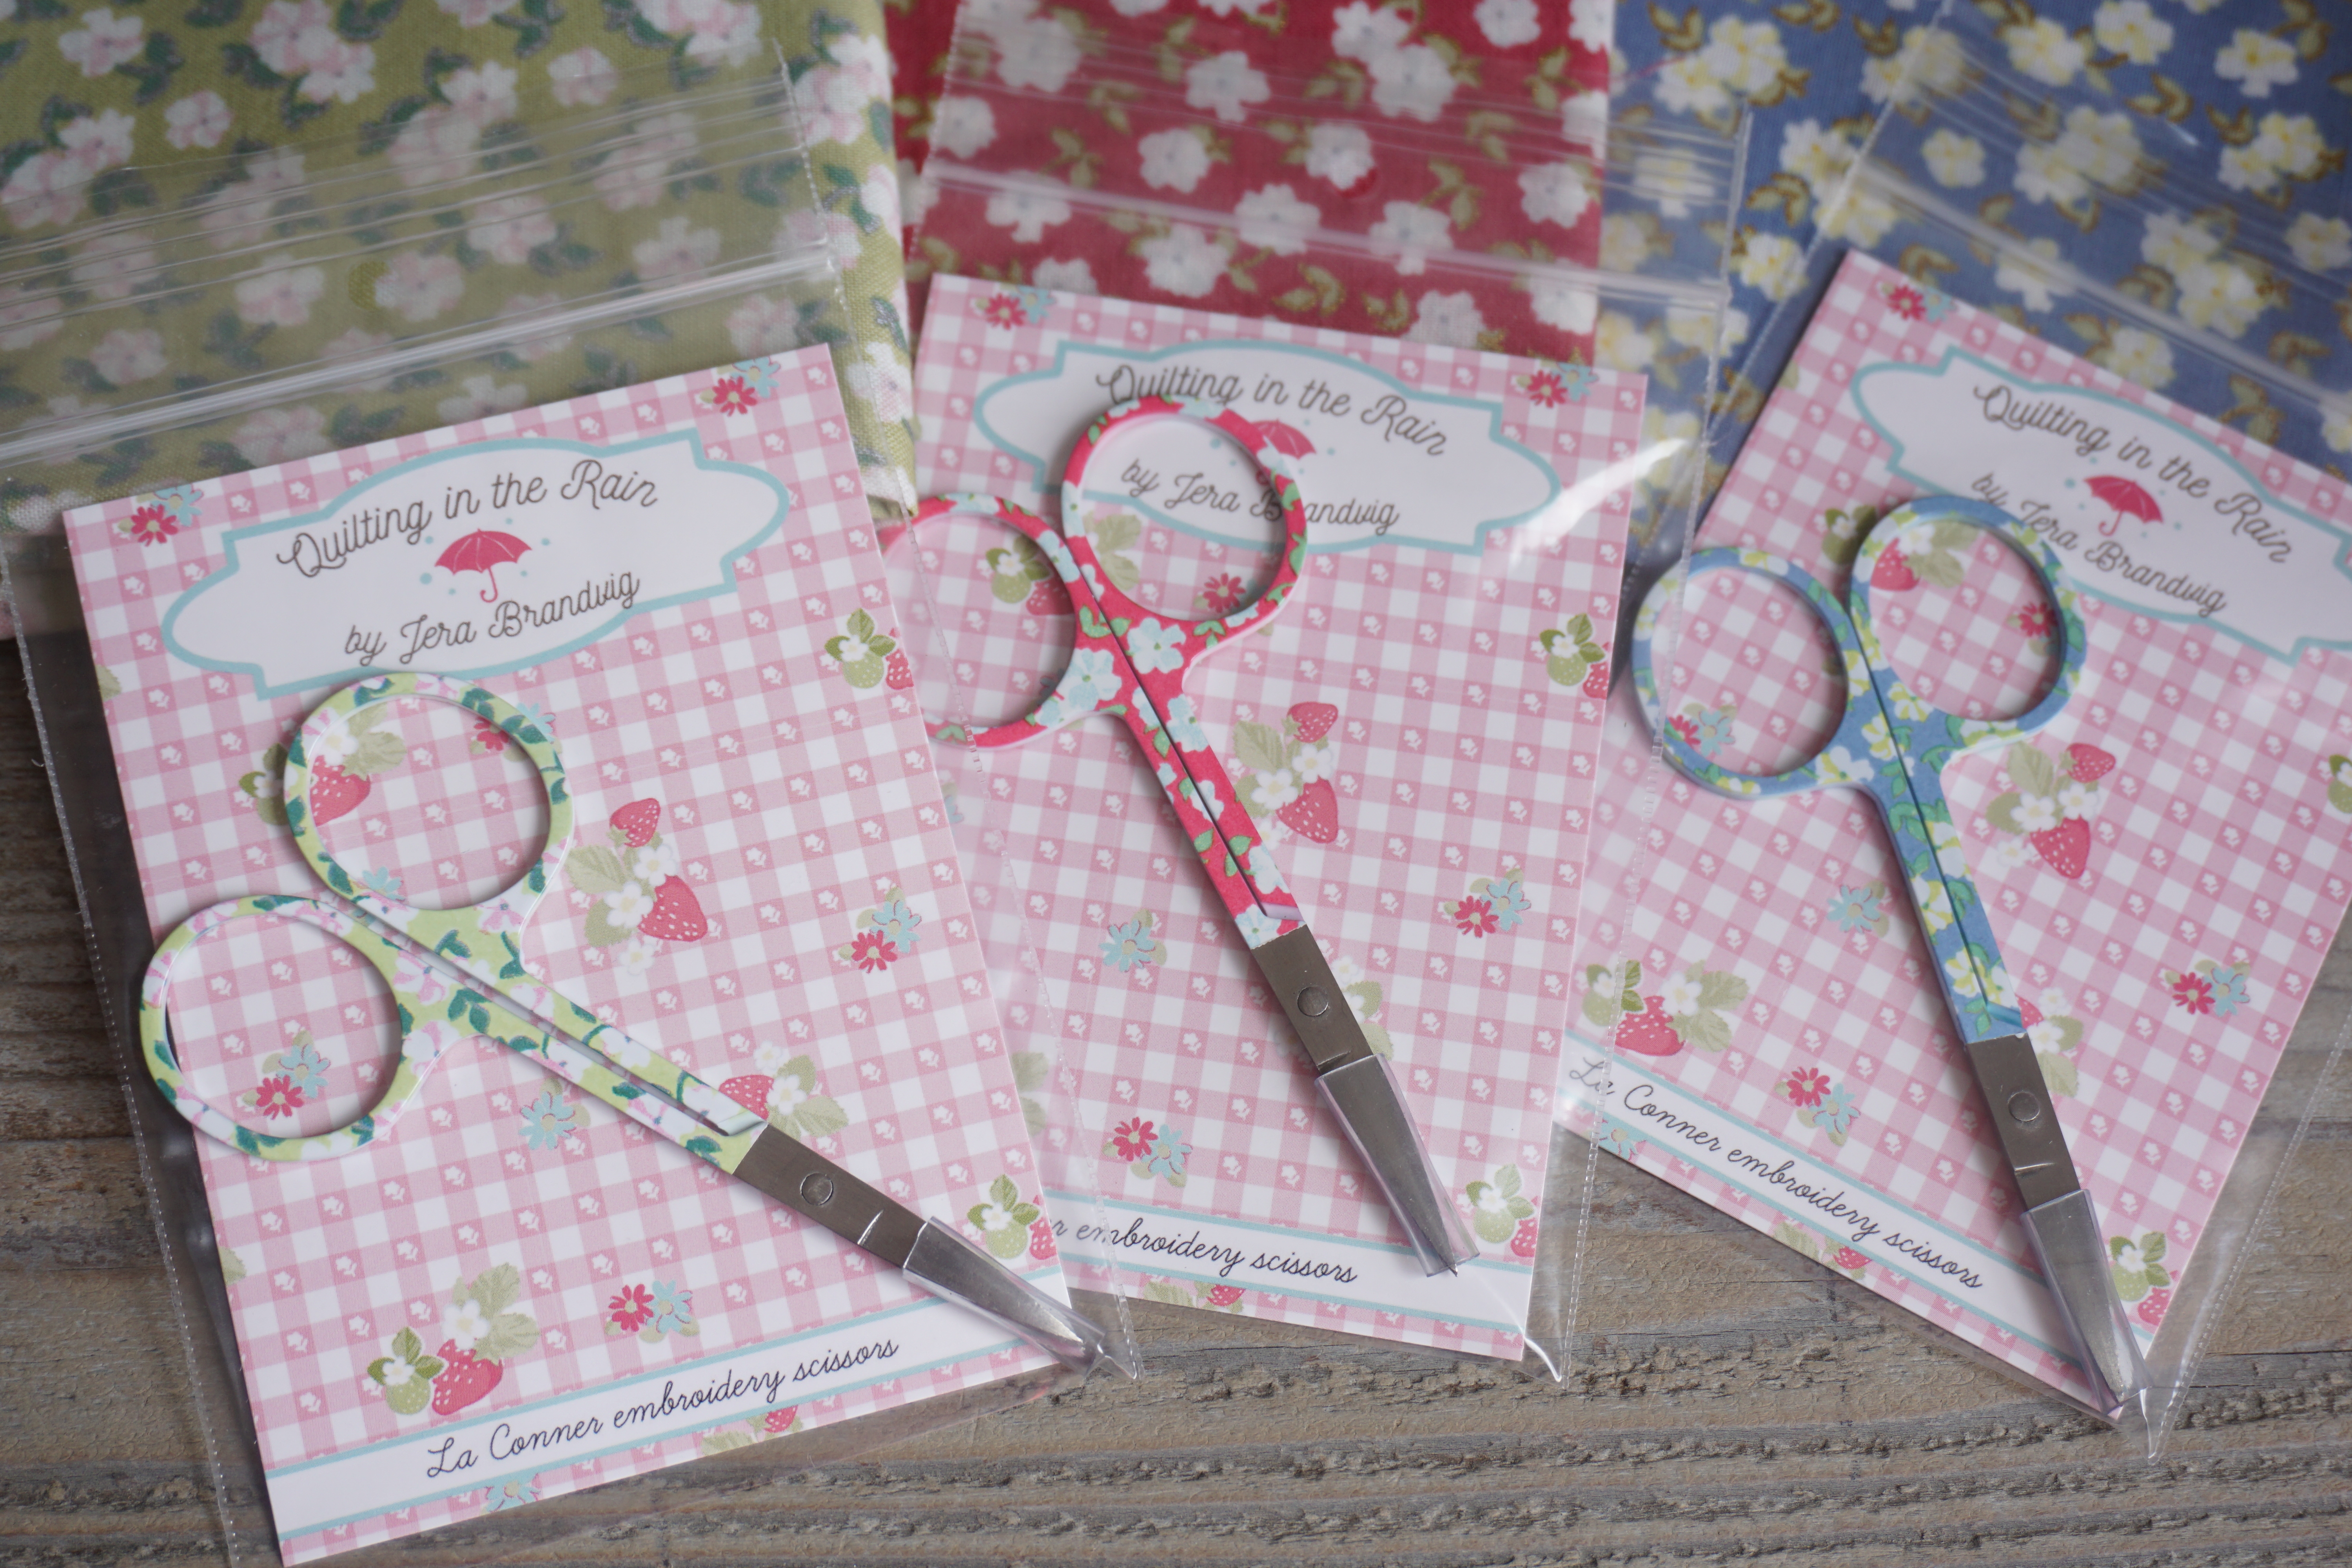
On a different note, I had to share this adorable notions holder that I got in my December Sew Sampler Box. How cute is that? It displays my La Conner scissors quite nicely, don’t ya think? I have a thing for cute scissors.

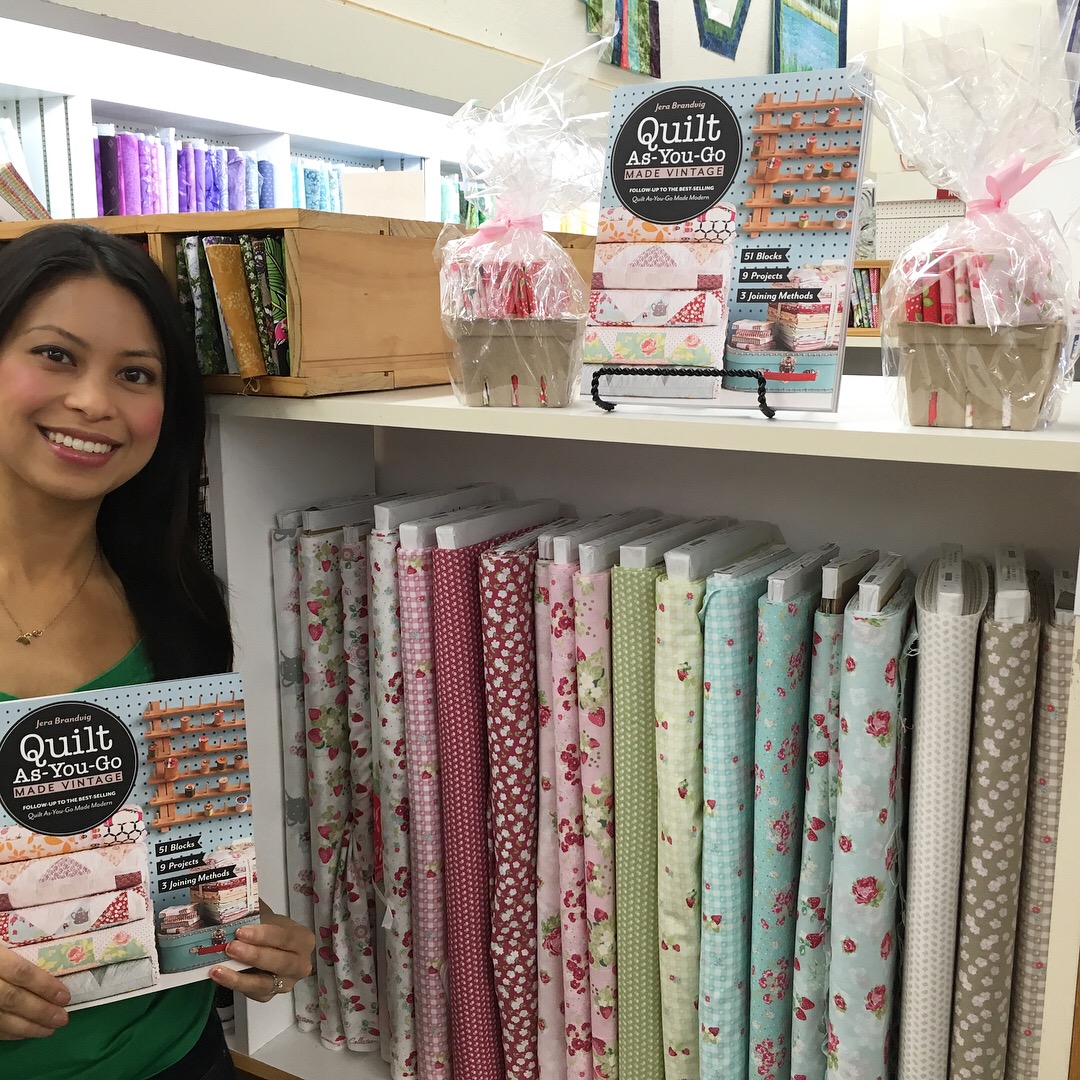
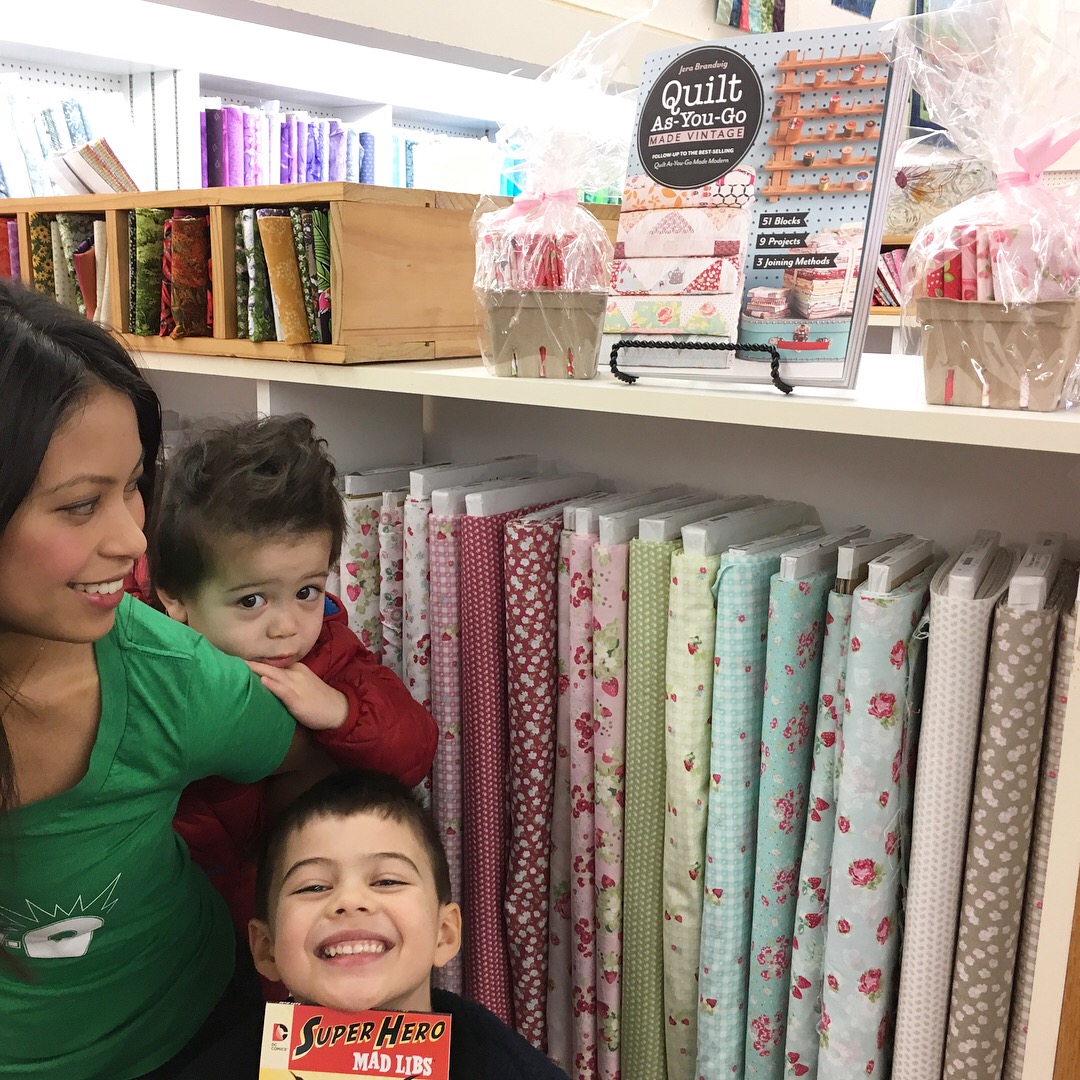
Some other fun news…! My family and I stopped in at our local fabric shop in Seattle called Pacific Fabrics. And we found my fabric plus my book! I will be having a book signing at Pacific Fabrics at their new Bellevue location on January 28th. More details to come! I can tell you now thatΒ  I’ll be handing out gifts for the first 50 or so people that arrive. πŸ™‚


What else…of yeah, I turn 32 tomorrow on New Year’s Eve! πŸ™‚

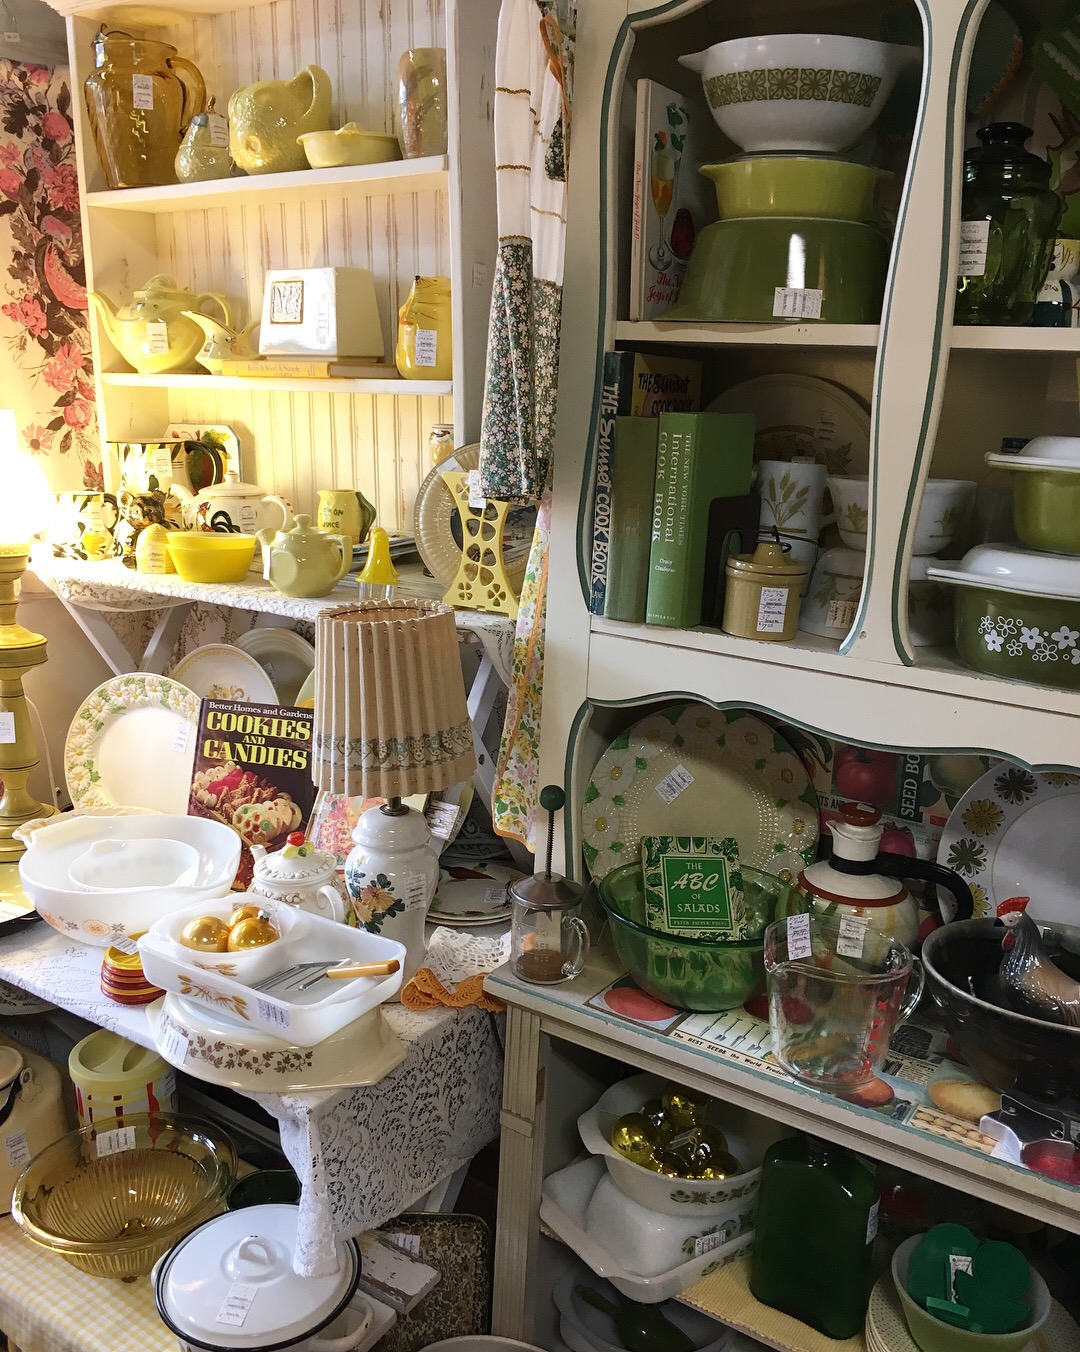
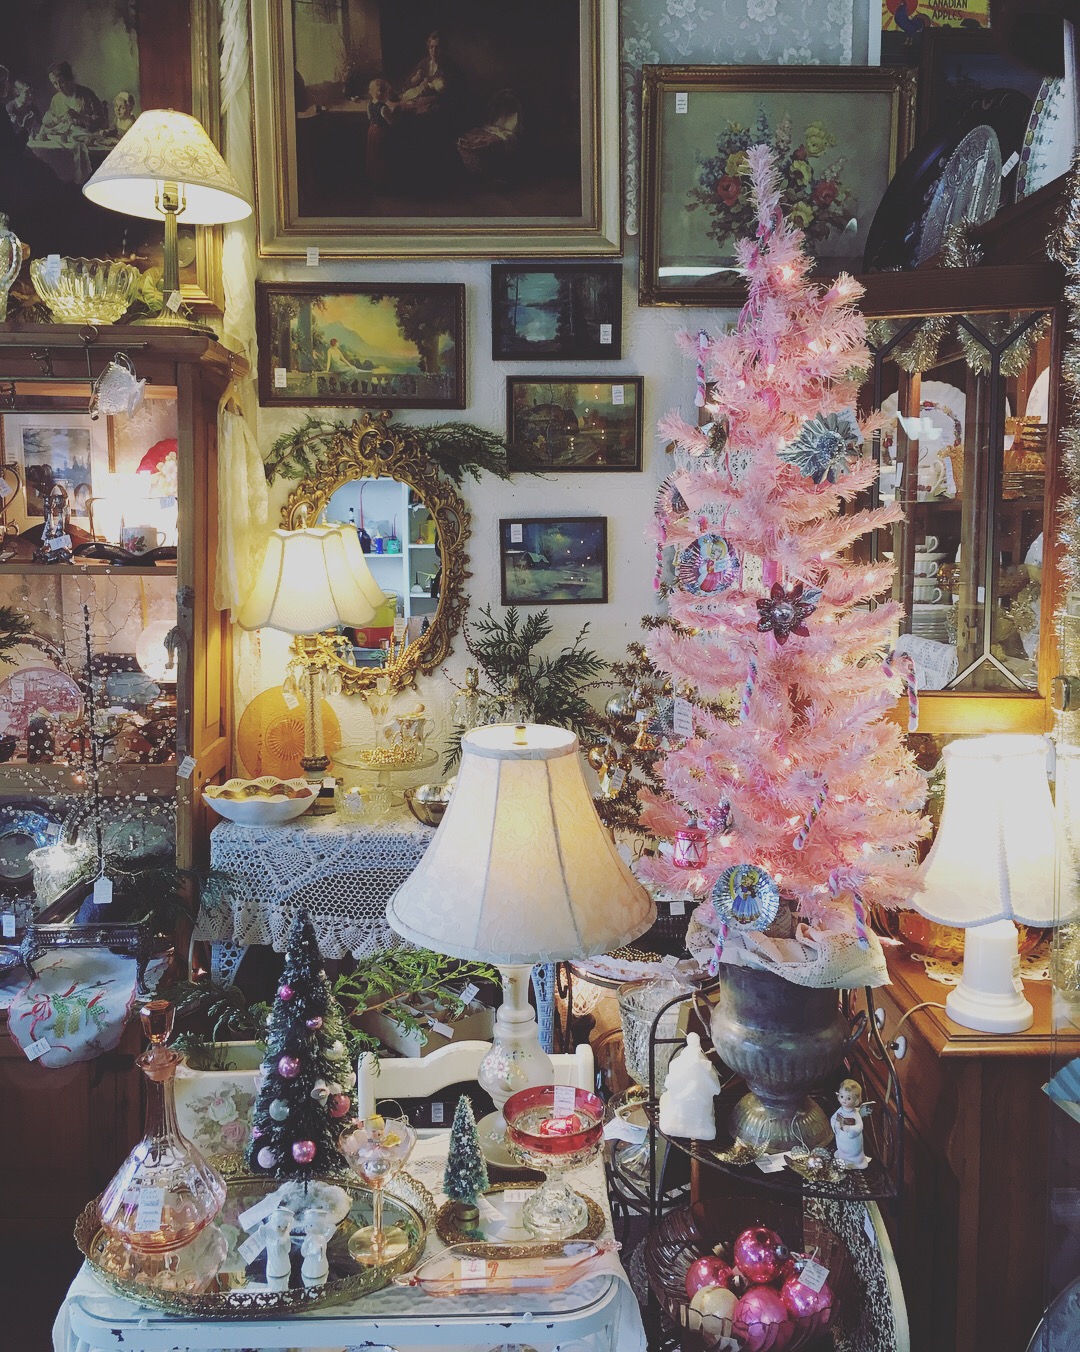
Since it’s my birthday week i’ve been taking advantage and doing lots of treasure hunting while my husband watches the kids. Here’s some photos of “Remember When Antique Mall” in historic downtown Snohomish.Β  Love this place.

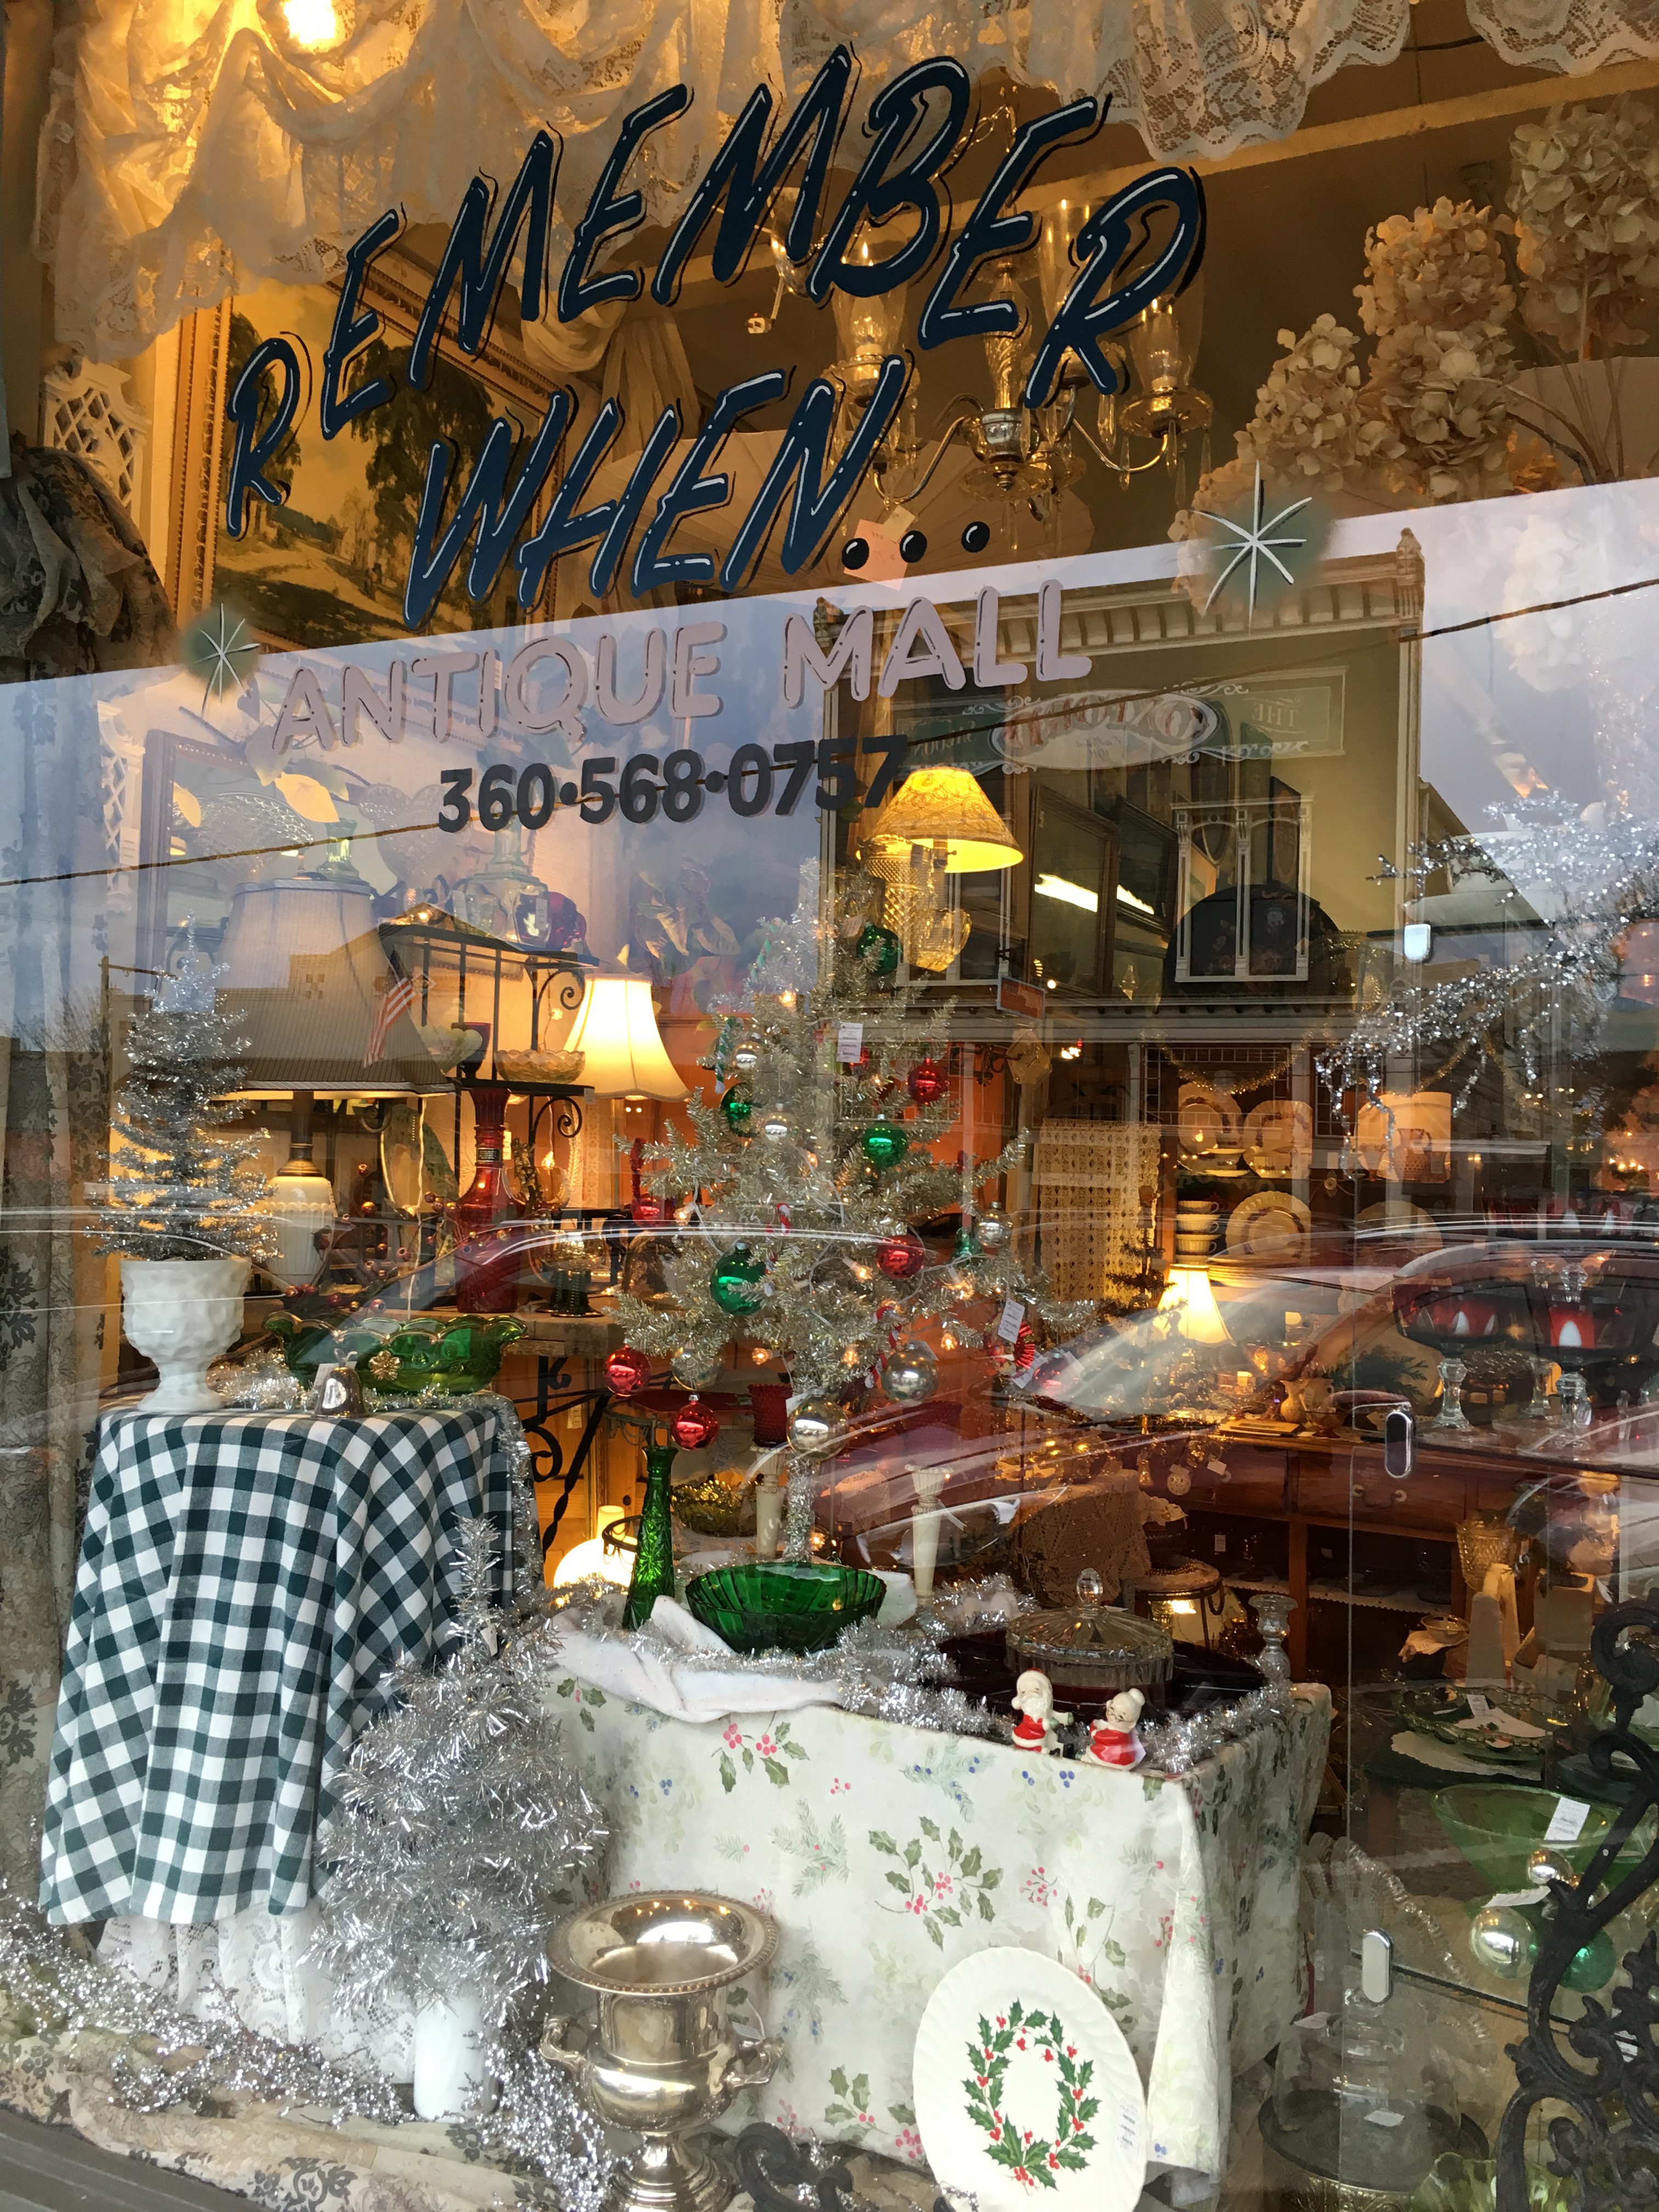
When I need a dose of inspiration for my fabric designing process, I hit the antique shops.
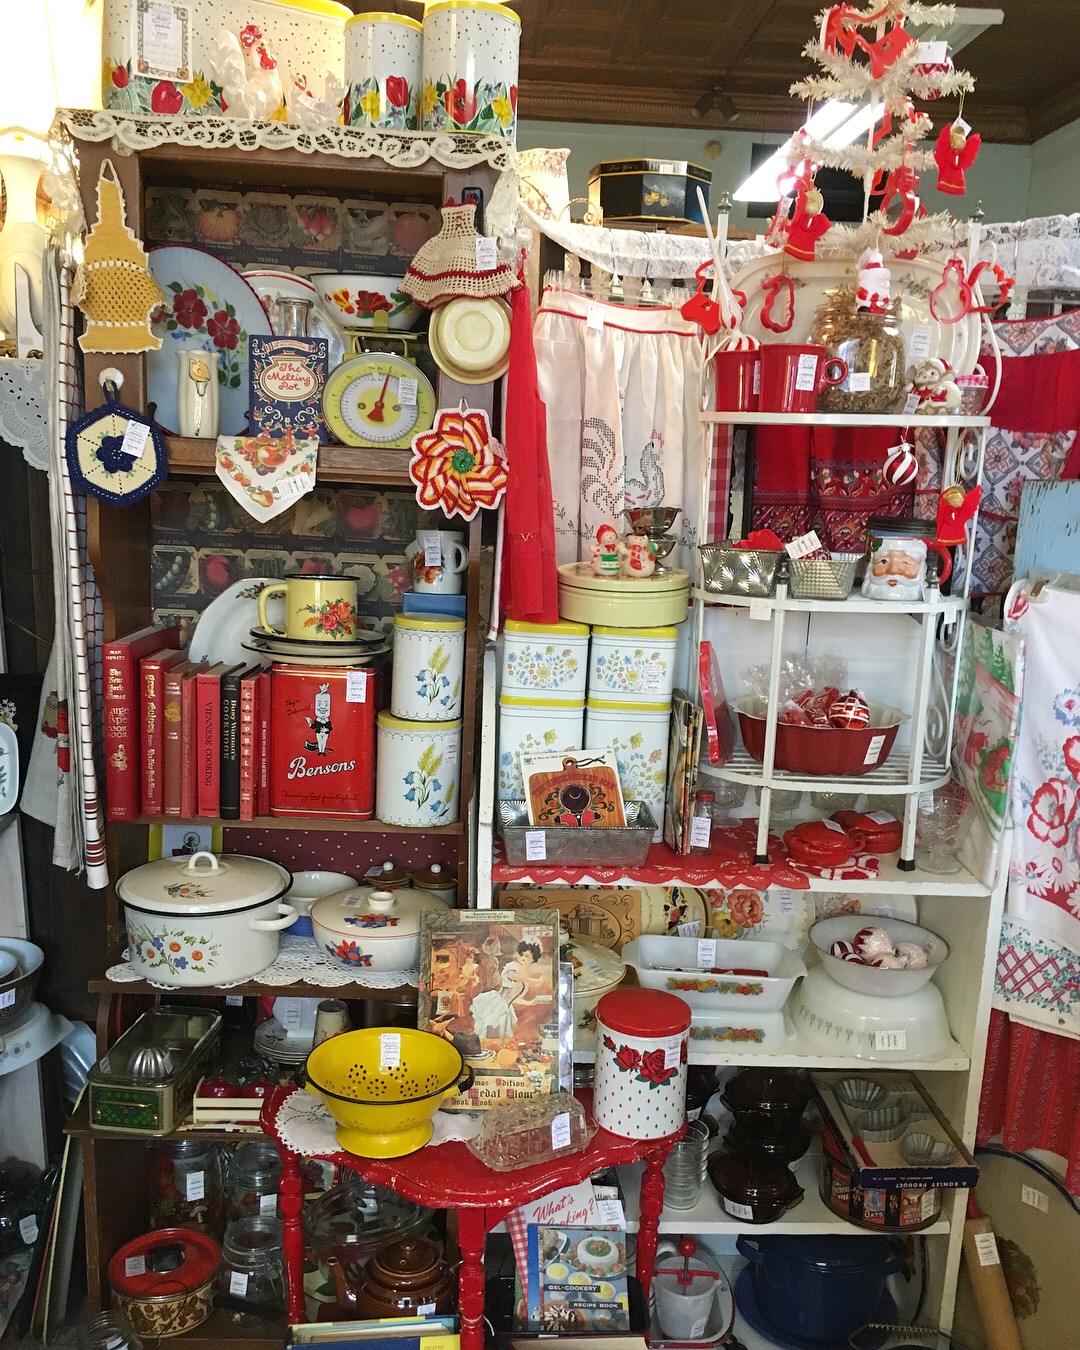
More eye candy…


Anyway, that’s it for now. My little kraken has awoken from his slumber, so I better get going! πŸ˜‰

Happy new year! See you in 2018!


<3 JerBear

Comments: 13 | Leave a comment


Homemade Soy Candles (5 easy steps)

Okay, so i’m a quilter but I aint got time to make all my loved ones a quilt this holiday season! I got your back though, because I do have an an hour to make half a dozen candles and i’m about to show you how.

This is something I’ve been wanting to set aside time to learn for a while. I’m no candle expert, but I had fun learning this and making some yummy smelling candles! And now that I’ve done it (three times now!), I just had to share how simple it is!Β  Seriously, my tutorial is 5 simple steps.

These will make excellent homemade holiday gifts – plus your home will smell amazing during the process. If you can boil water, then you can do this!

The fragrance I went with is Pear-Cinnamon.Β  It smells delectable and perfect for the holidays! According to the internet the burn time is approx. 50 hours. (Update: The next batch I made was Pear-Vanilla which I actually liked better! It’s a yummy fresh scent that the cinnamon doesn’t overpower).

Here’s what you need to make a batch of six – 8 oz candle jars. Keep in mind that if you don’t have a local candle supply store, you can find all of these products on Amazon. However, do try to buy your oils locally so that you can pair the different scents and come up with your very own fragrance – this is the funnest part! I bought all of my supplies at a local shop called Zenith Supplies in Seattle.

  • 2.5 pounds of soy wax flakes
  • 7.5 tablespoons total (equivalent to 3.75 ounces) of essential oil fragrance (*see my notes below)
  • six 8 oz mason jars, room temp.
  • Candle wicks (I used 6″ wicks) and glue
  • Pouring Pot like this one, or an old coffee tin or glass mixing bowl will do.
  • Double boiler stand (see Step 1 image below for the type I used)
  • Clothespins (see step 4 to see how they’re used)
  • Optional: Thermometer

*note: The rule of thumb is 1.5 ounces of essential oil = 1 pound of soy wax. 1.5 ounces is equivalent to approximately 3 tablespoons. A lot of people start with 1 ounce of essential oil per one pound of wax; however, after making two batches I felt it needed more fragrance so I upped it to 1.5 ounces oil per pound and that seemed to do the trick for me. The fragrance strength has a lot to do with the quality of the oils you’re using as well, so you just have to test it and see what works best. You can always start with less, and then add more – the fragrance you’re getting in the room after you’ve stirred the oils into the pot of melted wax is a good indicator of how strong your candles will smell after they’ve been poured into the mason jars.

*also note: I made Pear-Cinnamon scented candles (yummmmy!). For this batch I did 5.5 tablespoons of Pear + 2 tablespoons of cinnamon.

Okay, let’s get to it!

Step 1 – prep: Fill a pot half way with water and place a double boiler at the bottom. This is the one I used and it only cost $4.

Put all 2.5 pounds of soy wax flakes into the pouring pot.Β  The pouring pot I bought is called a “4 pound pouring pot”, but as you can see only 2.5 pounds of un-melted soy flakes fits inside. It will melt down big time, just wait and see!

Step 2 – melt it: Place theΒ  pot with wax on the double boiler and bring the water to a boil. Mix every couple minutes and watch the wax melt. (I used an old dowel I had laying around to mix my wax. An old wooden ruler, or old spoon you don’t care for works too). Here’s what to expect…

A. Bring to a boil

B. This was about 5-8 minutes into it. Already half way down!

C. About 12-15 min. in, you’ll have a few sad-looking soy clumps hanging on for dear life.

Β 

Step 3 – Cool, then add essential oils:Β  After about 20 minutes, the wax will be completed melted and will look similar to olive oil. At this time, remove from heat.

Let the wax cool to approximately 135 degrees Fahrenheit before adding your essential oils so that you don’t burn off the fragrance. If you don’t have a thermometer, just wait about 15-20 minutes before adding the oils. While you’re waiting, skip over to Step 4 and prep your wicks.

Once it’s cooled down a bit, add your 7 tablespoons of essential oils (as *noted above, I did 5.5 tablespoons of pear + 2 tablespoons of cinnamon for a yummy pear-cinnamon scented candle). Mix.

Step 4 – Prep the wicks: This part is easy (do this while waiting for your wax to cool). Just dab a little glue at the bottom of the metal stand that holds the wick, and then center it at the bottom of the mason jar. Keep the wick from tilting with a clothespin as shown below. I used super glue because I had it on hand, but Elmer’s glue will work too.

Step 5 – The final step! Pour the wax into the six prepared mason jars, then set it and forget it! ;-p I poured a little into each jar until they were all full, just to make sure it was distributed evenly. In a few hours the soy will harden and turn back to the white, milky color.

After it’s hardened, trim the wick to 1/4 inch. Then go all pinteresty on your mason jar with twine and ribbon, and don’t forget to slap a “handmade with love” sticker on it (which you can find on etsy or amazon). πŸ˜‰

That’s all there is to it. πŸ™‚ The time on the stove takes about 30 minutes total. But I would set aside at least 1 hour to make a batch due to the other preparations and waiting for it to cool, etc. But hey, 1 hour isn’t bad! Hypothetically you could make a batch while your little one is napping (like I did the other day and felt like a superstar after!) πŸ˜‰

By the way, i’ve read that it’s good to let your candles set for a few weeks before lighting them as it helps with the fragrance. When I made the pear-vanilla candles I let it set for about a week before lighting them, and you could really smell it in the room!

Anyway, I hope you found this tutorial useful and now that you’ve seen it, totally doable! As the seasons change it will be fun exploring all the different essential oil combinations you can make for these soy candles.

Thank you soy much! (that was inevitable)

Comments: 12 | Leave a comment


Vintage Quilt Stockings Tutorial

Hi All! It feels so GOOD to finally sew something again! I was up late the other night making these Christmas stockings, and then I got so excited I filmed a video tutorial for you all. Heads up that you won’t see much of me in this video, only my arms, because I was in my jammies x-p It was past midnight when I filmed this so don’t judge, lol! Anyway, below is the video tutorial. I hope you make some pretty vintage quilt stockings from it!

Tip: If you don’t have a vintage quilt that you’re ready to cut up, I recommend searching “cutter quilts” on eBay or Etsy. Cutter quilts are vintage quilts that are falling apart, or leftover pieces of a quilt, that are sold for crafting purposes such as this. They’re much more affordable than buying a whole quilt!

This is the quilt I used to make the stockings. It was too far gone for me to save…though it’s hard to tell from these photos. It was disintegrating around the perimeter, and the fabric was thinning to holes on a lot of the quilt top. It sat folded up in my basement too fragile to use.Β  I’d take it out every now and then for a dose of inspiration or for a quilt-pick-me-upper. Though it was hard to cut into at first, I have no regrets because I’ve brought it back to life in another way.

Paige was a big fan of this one.

She laid on it up to it’s last moments as a full quilt. She wouldn’t even budge when I was cutting the stockings out, I had to barrel roll her several times around the quilt.

I got this quilt a little over 2 years ago when Ethan was only 3 years old.

And now he’s a big 5 year old. The excitement when he came downstairs to see the stockings hung made the all-niter that I pulled worth it.

I plan to hang a garland above the stockings, but I haven’t busted out the Christmas deco’s just yet.


Hope you enjoy the tutorial and photos πŸ™‚

Happy Thanksgiving week everyone!

Comments: 17 | Leave a comment


Fall Shenanigans, Book Giveaway and Podcast! :)

I wanted to share a few quilty things I’ve been up to this Fall. πŸ™‚ I went antiquing last weekend and came across the perfect, vintage wooden frame for my La Conner mini quilt! This quilt was made by Alli of Woodberry Way using La Conner fabrics. You can find the pattern called Sweet Marie from Alli’s shop, right HERE. I have plans to hang this in my dining room.

Now for some shop news for my sad and neglected shop…lol. I will be posting some La Conner bundles and scissors on my blog shop shortly, including signed copies of both of my books. I just need to get the shipping squared away.

La Conner scissors – they match the fabric! <3

We’ve been having a lovely Autumn here in Seattle and every nice weekend it’s been a corn mazin’, cider drinkin’, pumpkin patchin’ kinda day. I live for days like this!


When I was treasure hunting last weekend I also brought home this vintage quilt (shown behind those lovely dahlias, below). I saw this quilt about a month ago and contemplated getting it. At the time I decided against it, but it always stayed close to my heart. When I saw it was still available, I knew it was meant to be!

Some other fun news…! On Monday at 1:00 pm Pacific (4:00 pm Eastern, 3:00 pm Central, 2:00 pm Mountain) I will be interviewed on the American Patchwork and Quilting podcast hosted by Pat Sloan, the voice of quilting! πŸ™‚

Update: Please visit the website link belowΒ  to listen to my interview, episode #357:
http://blog.patsloan.com/2017/11/quilt-as-you-go-scraps-fun-projects-my-favorite-storage-cart-deal.html

I will be talking about my latest book, Quilt As-You-Go Made Vintage, as well as my fabric.

Speaking of my book (which you can read more about here), I thought this would be a good opportunity for a book giveaway!

Update: This giveaway has ended and winners notified. Thank you!

I will be giving away 3 copies of my book. To enter, click HERE.

I will contact the 3 winners on Nov. 12th. Good luck!

Some other fun stuff…a couple weeks ago I hosted a QAYG workshop for the Seattle Modern Quilt Guild! I truly had so much fun and had a wonderful bunch of people in my class. I loved meeting each and every one of them!

Everyone left with a FINISHED quilt as you go pin cushion, a pair of scissors and pins! πŸ™‚

Didn’t their cushions turn out great?!

Anyway, that’s all for now. I hope you all have a wonderful November ahead!

No better way to end this post than a corgi on a quilt. πŸ˜‰ Hello from Paige!

Save

Save

Save

Save

Save

Save

Save

Save

Comments: 24 | Leave a comment


Cozy Cabins Quilt (free pattern!)

(note: for the mini above, I decided not to add them forest floor fabric, as well as the background spacing between the trees and houses)

Per the usual these days (haha!), I am way past due sharing this free Cozy Cabin Quilt pattern. πŸ™‚ So without further ado, here is the free printer-friendly PDF pattern! I made this pattern for Spring Quilt market (2017) back in May. You can download it HERE, or by clicking the last image to this post, below. πŸ™‚ It comes in two sizes: a wall-hanging/lap size, or an adorable mini!

With the holidays around the corner, I thought this would make the perfect Christmas quilt. The evergreen, sage and cranberry colorways from my La Conner collection would work perfectly! Perhaps I’m a bit biased. πŸ˜‰


My amazingly talented friend Faith Essenburg of Sarana Ave made the larger size quilt for my booth at Spring quilt market.

Made and photographed by Faith Essenburg

As always, she did a fabulous job. πŸ™‚ She used La Conner lace detail as an edging to the binding. Faith has a tutorial on how to do that HERE.

Photo by Faith Essenburg


Made and photographed by Faith Essenburg

Anyway, just a short and sweet post to share this pattern with you all! You can click the link below for a free, printer-friendly PDF pattern! Enjoy πŸ™‚

Comments: 20 | Leave a comment


Site by Spunmonkey.