I’m a sick puppy. I went to two local quilting shops last weekend and added to my fabric stash… I took about 10 different shots of this photo from varying angles… what can i say, i’m a fabric junky!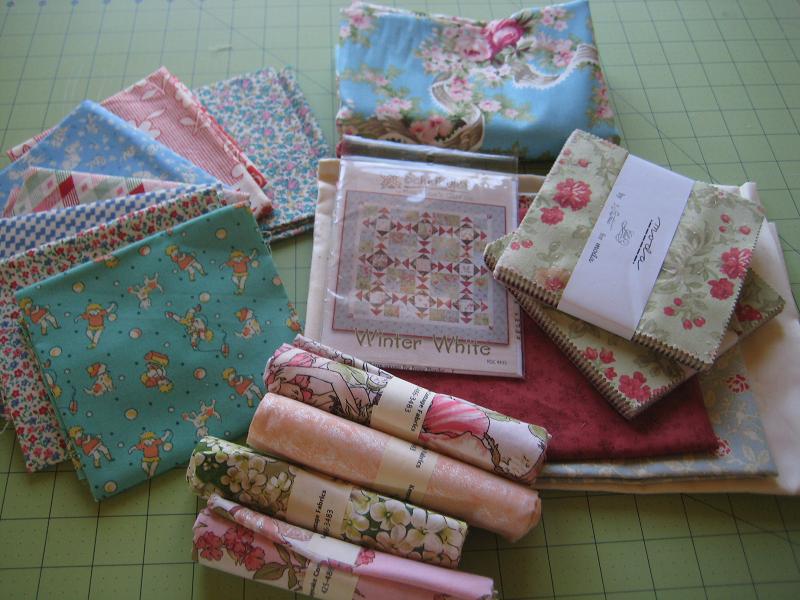
On a different note, I finally finished quilting my Moda quilt… the tutorial will be posted on Monday. For the quilting design, I went with loopy-loops. Not sure if you can see the quilting too well below, but you can click the pictures to enlarge.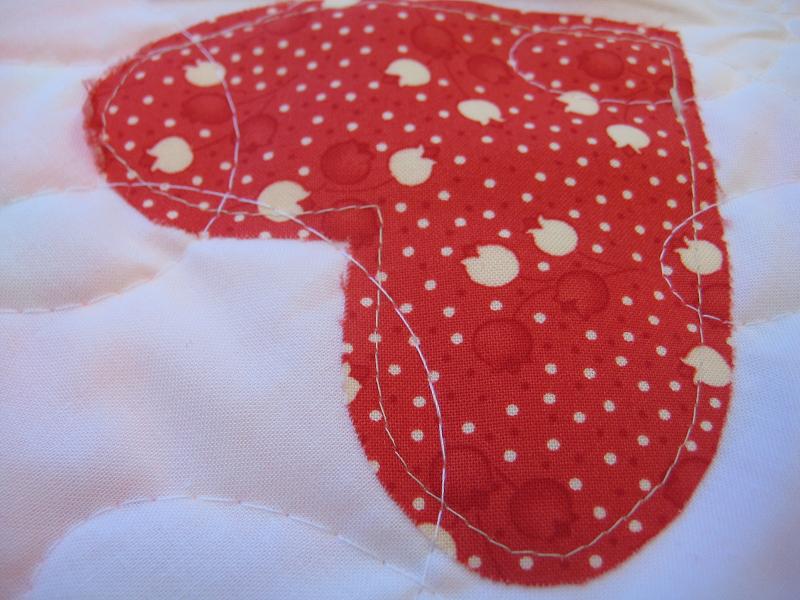

Latest project and 120″ quilting frame…
A few weeks ago I received my batch of Moda fabrics for my next Moda Bakery project! I will be using Moda’s new fabric line called “Bliss.” I just love the colors.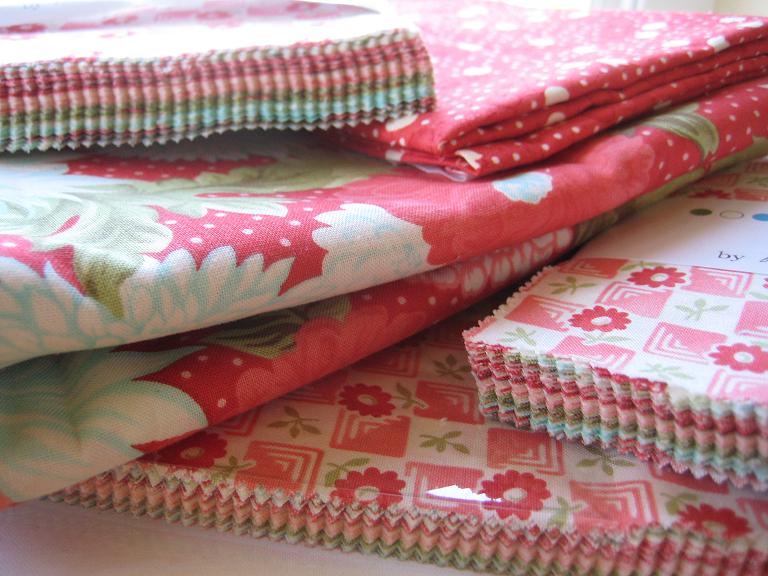
Here’s a sketch of my quilt design which uses Moda’s layer cakes and charm squares. I’m just about finished and plan on quilting it tonight, so stay tuned for the next tutorial shortly. 
Speaking of quilting, last night my husband and I were up until midnight extending my Imperial Quilting Frame from crib size (60″) to King size (120″). I’m intimidated by my quilt frame now – it’s completely taken over our upstairs and what was left of my husband’s guitar corner is no more… :- [] i owe him!!
Here’s the final set-up with the layers rolled up and ready to quilt!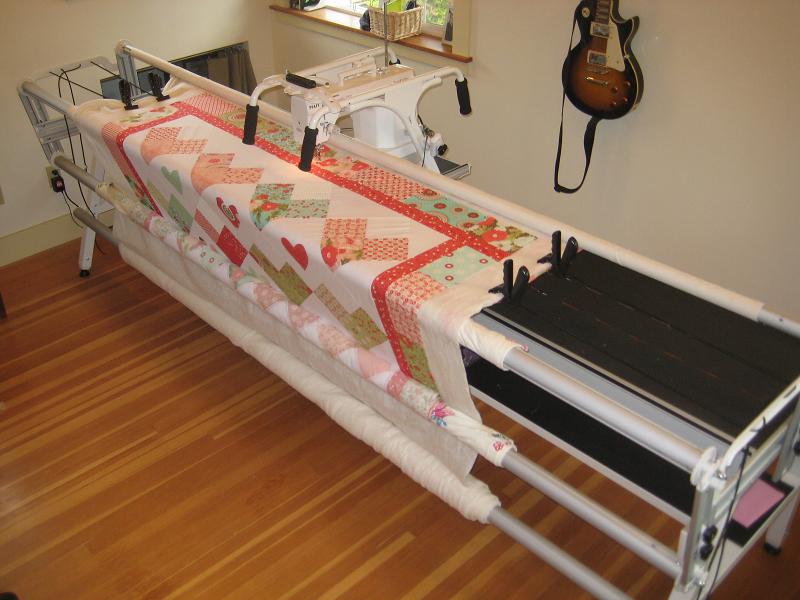
Comments: 2 | Leave a comment
Vintage sewing machine
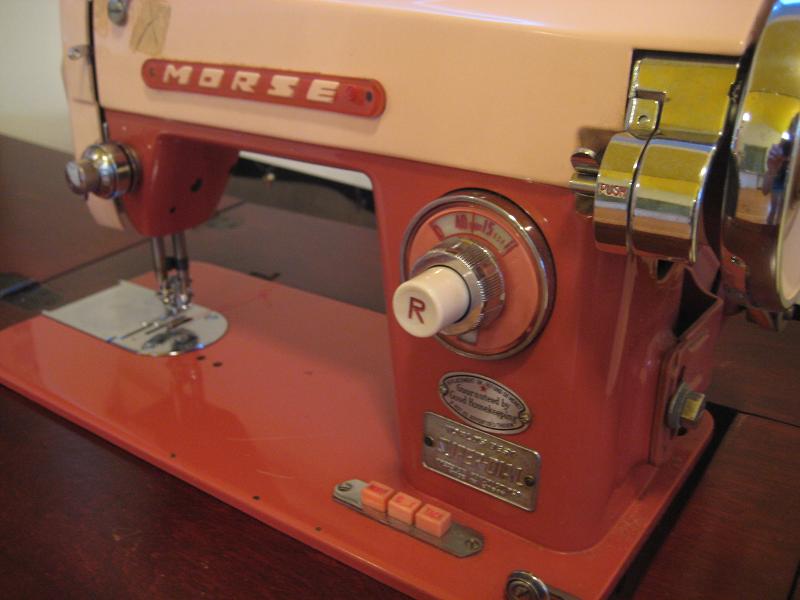 I snagged this sweet vintage sewing machine for free at a neighborhood yard sale. Apparently no one wanted this beauty so at the end of the yard sale they put up a “free” sign trying to rid of it. And along I came, perfect timing, and a happy camper 8-[) The machine still works too.
If anyone knows anything about this machine, please let me know!! I don’t even know what year it is…looks like it could be from the 70’s?
It came on this handy little table where the machine can flip under and be hidden away.
I hope to clean it up soon so i can admire it even more.
Comments: 3 | Leave a comment
Frayed Seams Quilt
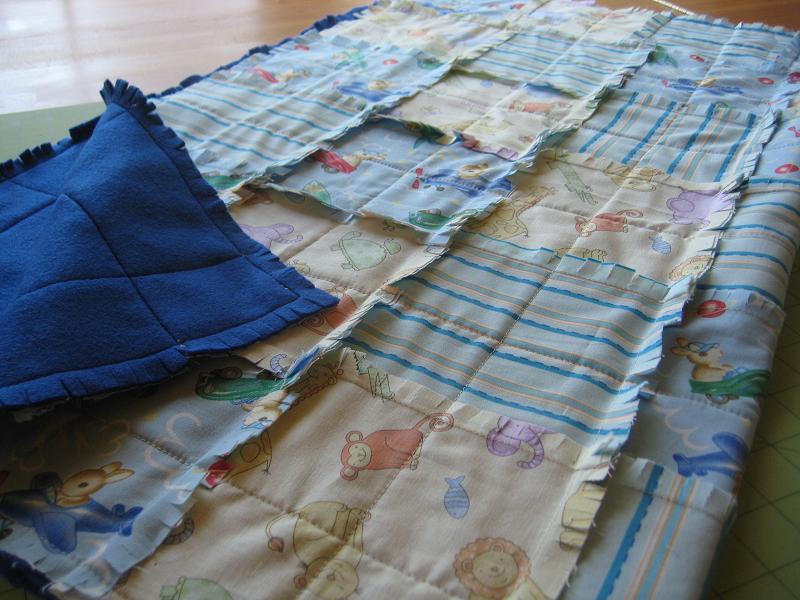 This is a fun and quick quilt that doesn’t involve binding. Since I didn’t use batting for this quilt I decided to use a semi-thick fleece for the backing fabric to keep a fluffy feel to it. I love how this quilt is basically an “inside-out” quilt, where the seams are all on the outside as opposed to hidden beneath the quilt top. After one wash, the frays on the quilt top will become super soft (skip down to the last picture to see), softer with each wash 🙂
Finished baby quilt measures 33”x38”.
Materials:
- ¾ yards of 3 different fabric prints
- 1 yard of semi-thick fleece
- corresponding thread
Step 1 – From each of your 3 different fabric prints, cut 14 6.5” squares for a total of 42 squares. For quicker cutting, layer and fold your fabrics to cut multiple layers at once.

Step 2 –Arrange the squares in 6 rows of 7 squares each. In each row, sew the squares together: with wrong sides of fabric facing together, sew a ½” seam allowance. Start and end each stitch with a back-stitch.
 |
 |
Step 3 – After you’ve sewn the squares together in all 6 rows, sew the rows together: with wrong sides of fabric facing together, align the corners and pin to keep in place. Then sew a ½” seam allowance. Start and end each stitch with a back-stitch.
 |
 |
Step 4 – After all the rows have been sewn together, the quilt top should measure roughly 33”x38”. Lay the quilt top flat on top of the fleece. Baste to keep the quilt top and fleece in place: using jumbo size safety pins, pin where the seam intersections are (circled in red below). Start by pinning the center of the quilt and work your way out. Pin the sides and corners last.(Click pics to enlarge)
 |
 |
Step 5 – Now that your quilt top and fleece backing are basted together, you can start quilting! When quilting, always start from the middle of the quilt going outward. Start and end each stitch with a back-stitch.

I quilted straight lines going vertical and horizontal, forming squares. Below: Front and back of quilt (click pics to enlarge)
 |
 |
Step 6 – Trim the excess fleece backing around the perimeter of the quilt top. Then sew a ½” seam allowance around the perimeter of the quilt.
 |
 |
Step 7 – You’re just about finished! Lastly, using sharp fabric scissors (I used appliqué scissors), cut little frays (roughly ¼” apart) within all of the ½” seams. Do not cut outside of the seam.

That’s it! After a few washes, the frays will get softer and will look like this:

Comments: 8 | Leave a comment
Seattle Urban Crafts Uprising

I’ve been on a crafting hiatus this week because my dad is in town visiting from the Philippines. 🙂 Last weekend, however, I got my crafting fix at the Seattle Urban Crafts Uprising exhibition at the Seattle Center .
The Urban Crafts Uprising is Seattle’s largest indie crafts show with over 100 vendors. Though there were no quilt vendors, I still had a fun time!
Below are some pics I snapped of quirky little crafts that caught my eye.
 Aerial view of exhibition.
 Our gallant steeds!! (we biked all the way from N. Seattle!)
 Where else will you find strange little felt creatures!? madebymoxie.com of course!
 Sycamorestreetpress.com had the funniest cards. This was a handmade fortune teller.
 I wanna have a baby just so I can buy these little onesies..! by katyANDzucchini.etsy.com
 Check out these lovely ladies at devoutdolls.com
 So freakin’ cute! Wanted to bring this expensive little guy home… www.mothandsquirrel.blogspot.com
 Love the Japanese fabrics used on these bags handmade by www.maluhia.biz
 |
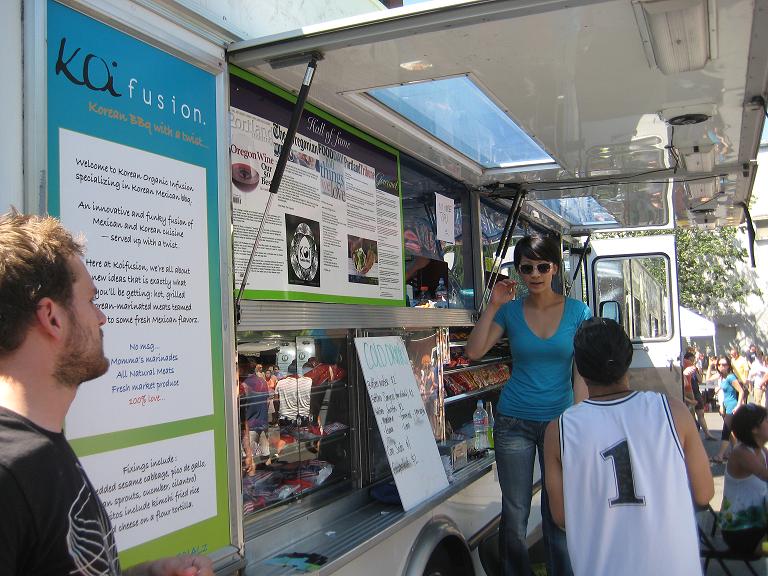 |
Korean BBQ/Mexican fusion at Koi Fusion. Took an hour to get these delicious tacos.
Looking forward to next year’s Urban crafts uprising!
Comments: 2 | Leave a comment