Kindle Sleeve


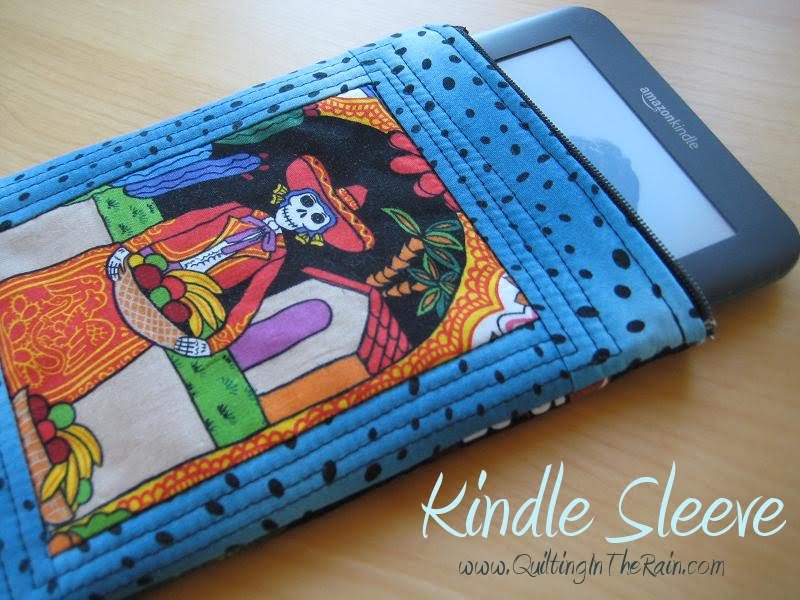
I got my husband a Kindle for Christmas and by special request I made him a ‘Kindle sleeve’ to keep it bundled up and safe from scratches. πŸ™‚ It was a fun and quick project. The longest part was figuring out the measurements, but since I’ve already done that you don’t need to! 6 easy steps below. Enjoy!

Materials:

  • Scrap fabric and batting (measurements are in step 1)
  • Zipper (at least 8″ long)

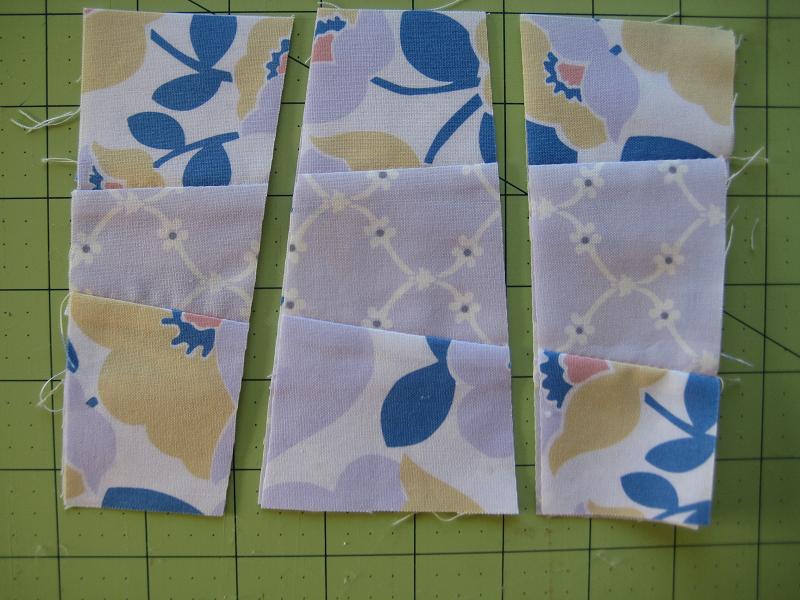
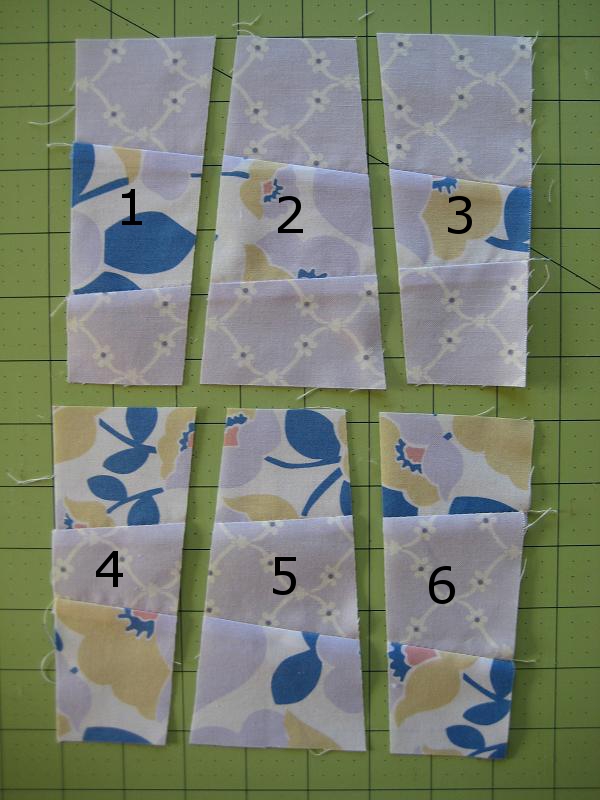
Step 1 – Cut the following from your fabrics and batting:

  • Backing fabric (this will be the inside lining of the sleeve; I used a thin felt fabric) – two 6.25” x 8.5” rectangles
  • Batting – two 6.25” x 8.5” rectangles
  • Top fabric – two 6.25” x 9” rectangles (the top fabric needs to be ½” longer than the backing and batting).


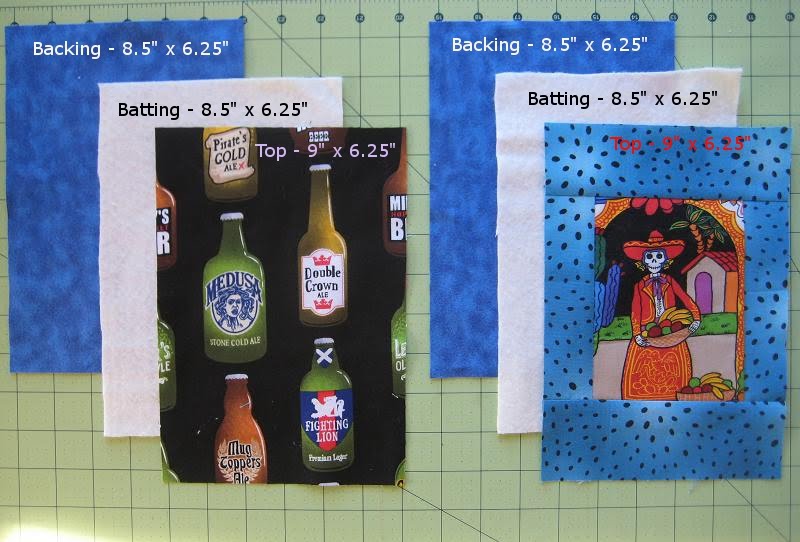
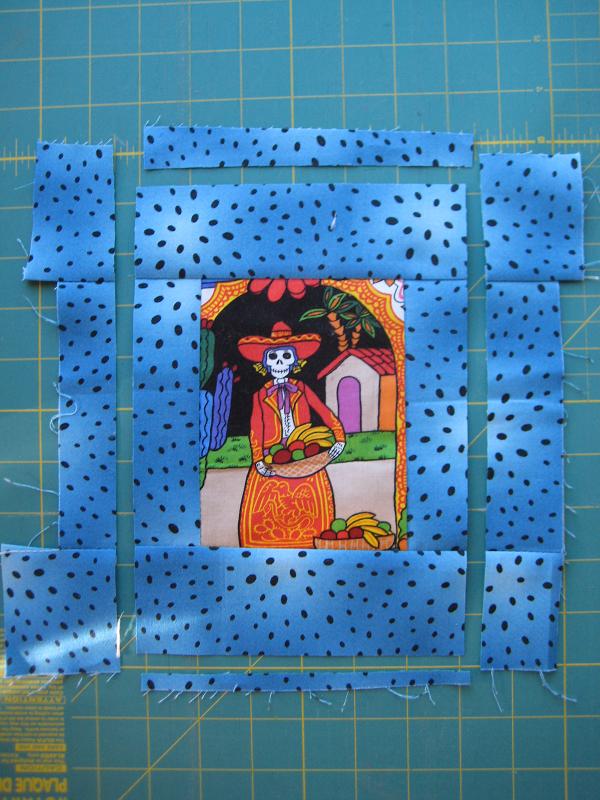
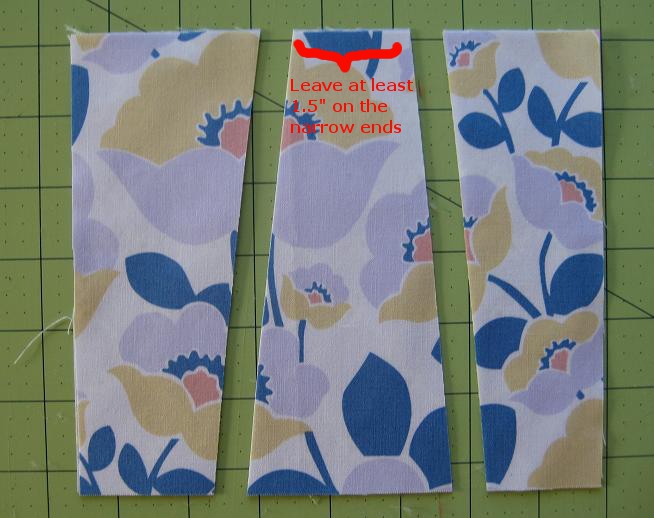
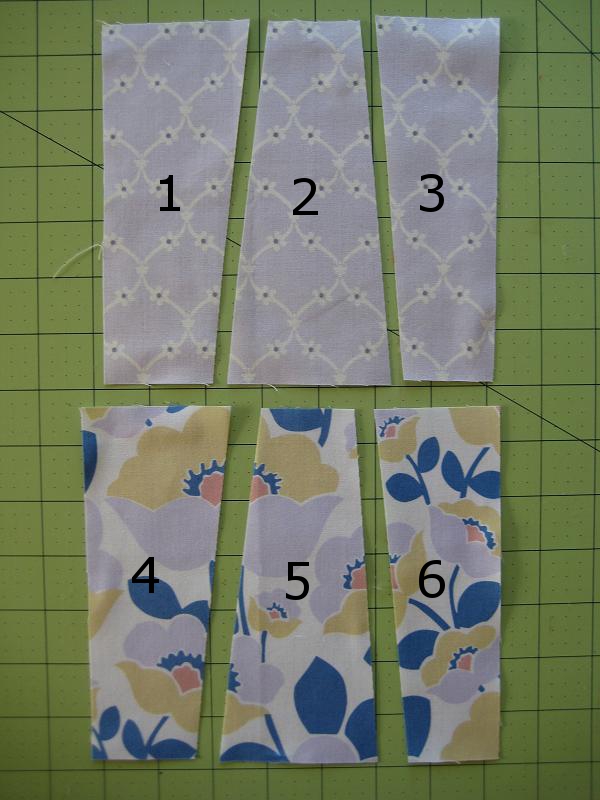
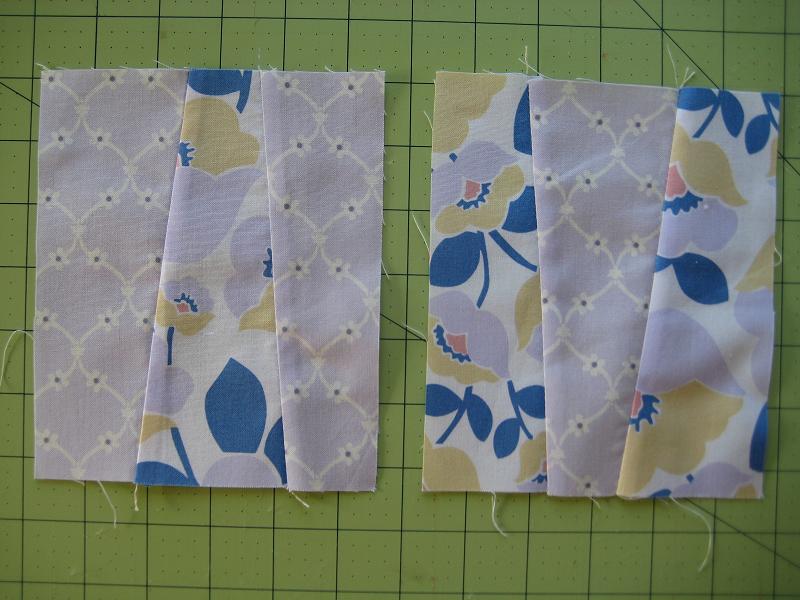
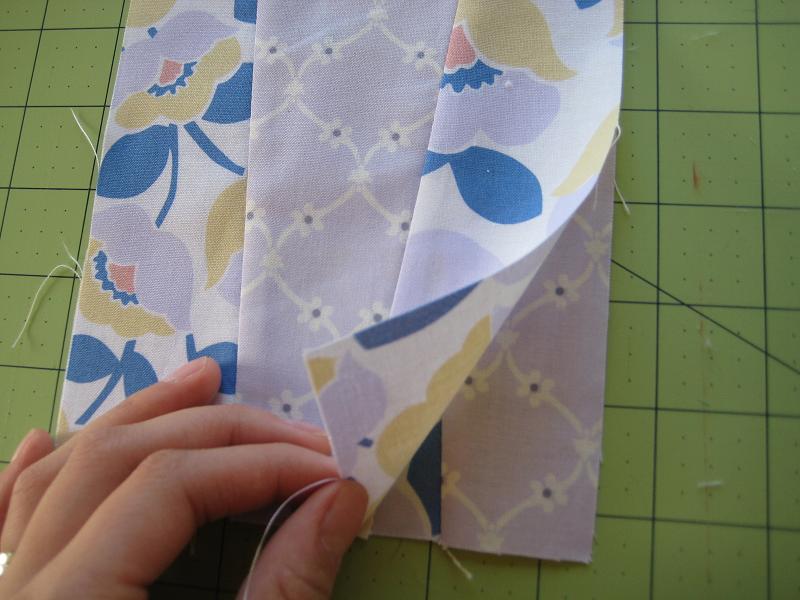
For one side of the top fabric, I pieced together scrap fabrics and then trimmed the final piece to measure 6.25” x 9” as specified above.


Step 2 –Make two quilt sandwiches: Sandwich the batting in between the backing fabric and top fabric; the wrong sides of the backing and top fabric should be facing the batting. Quilt the two sandwiches however you like (I quilted zig-zags for the beer print, and echoed the dia de los muertos print).

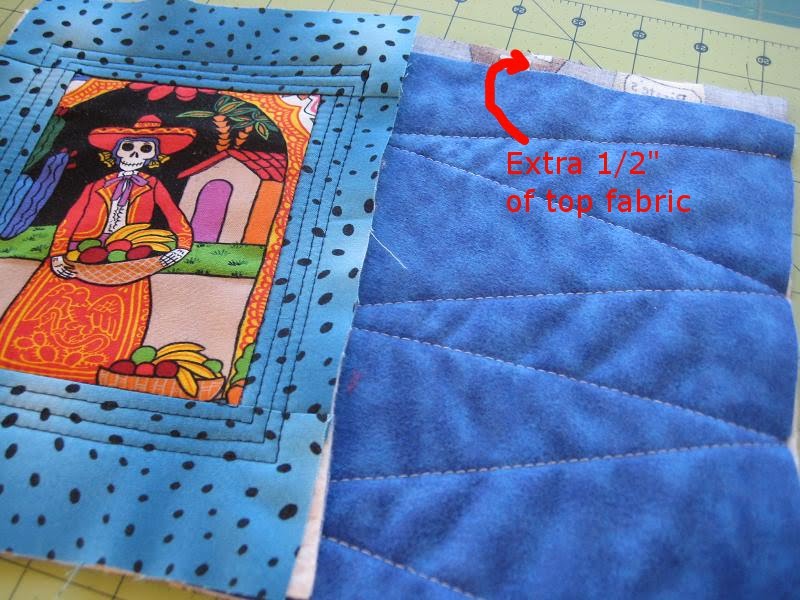
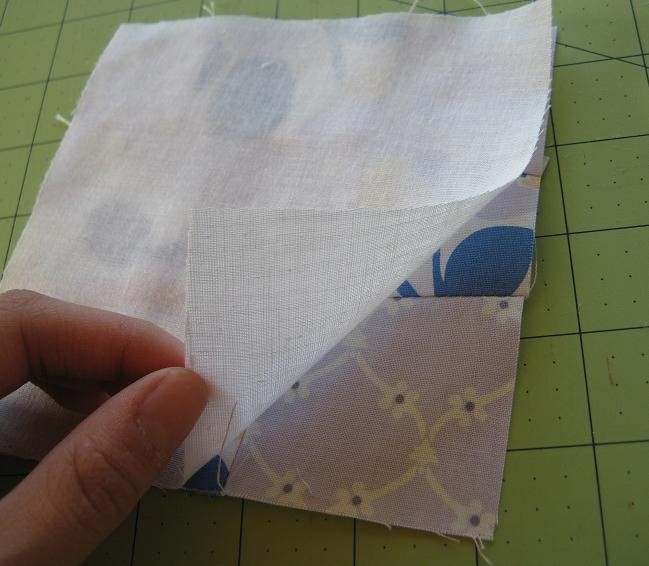
Step 3 – Iron over the extra ½” of top fabric as shown below.

Step 4 – Attach the zipper. As illustrated below, make sure there is ¼” of space between the edge of the fabric and the start of the zipper (click image to enlarge).

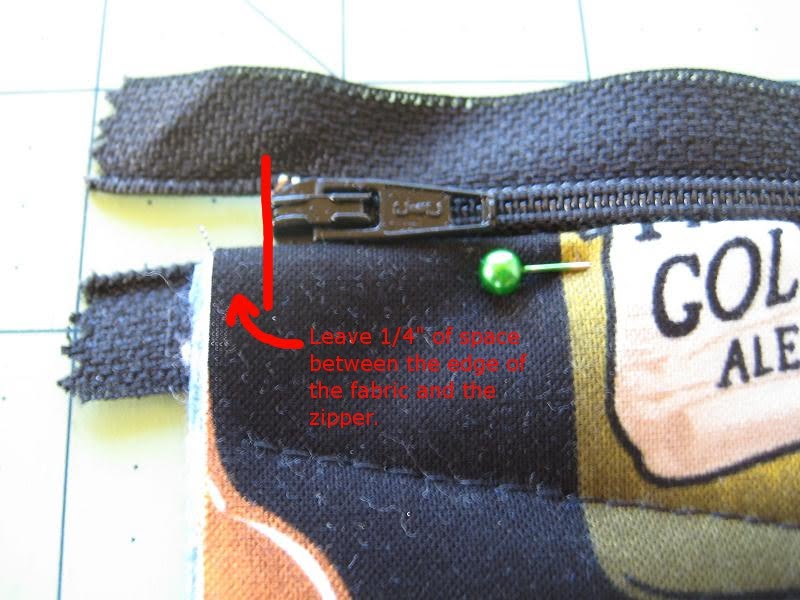
Sew along the zipper (align the side of your presser foot with the edge of the zipper to sew a ¼” seam).


Step 5 – Repeat the previous step, but on the other side of the zipper.

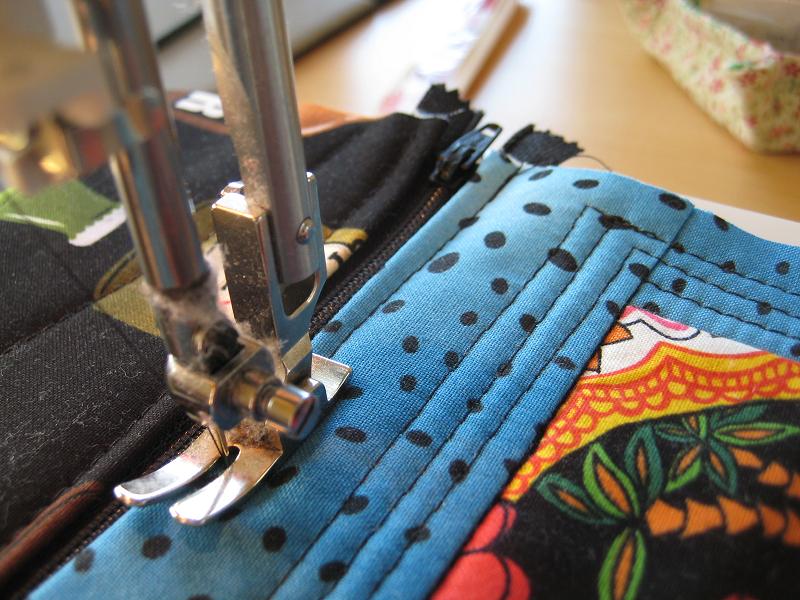
It should look like this when you’re done attaching the zipper.

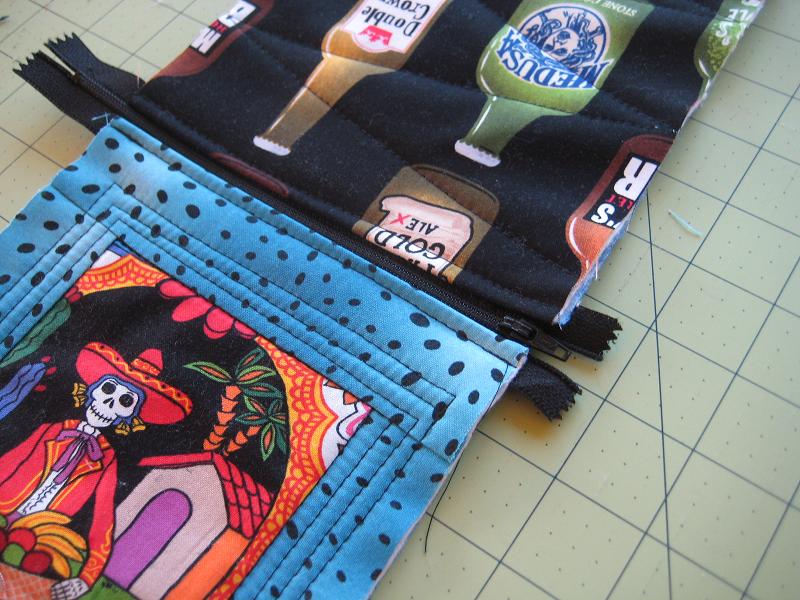
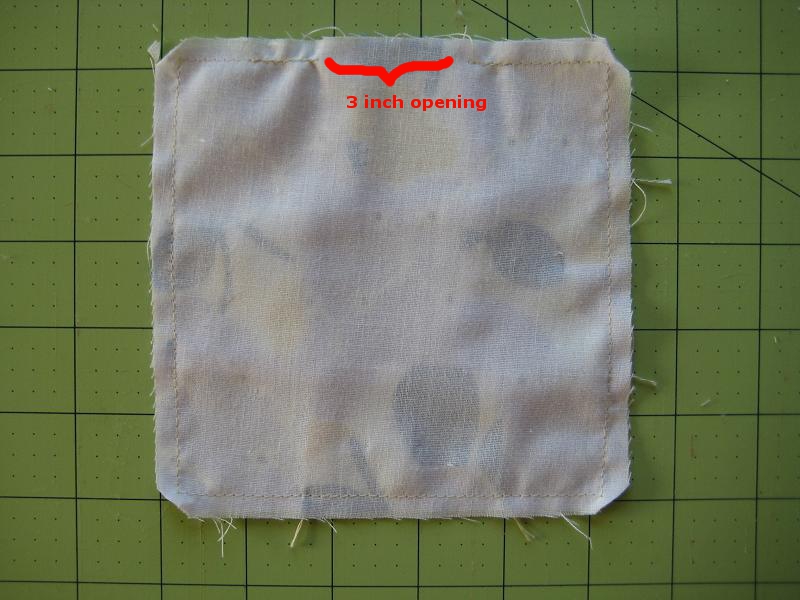
Step 6 – Flip the two quilted panels together so that the right sides are facing each other. As shown below, sew a ¼” seam around the perimeter of the quilt (except for where the zipper is). Start and end your stitch with several backstitches to secure the ends of the zipper in place. Before sewing around the perimeter, make sure the zipper is at least ΒΎ of the way un-zipped.

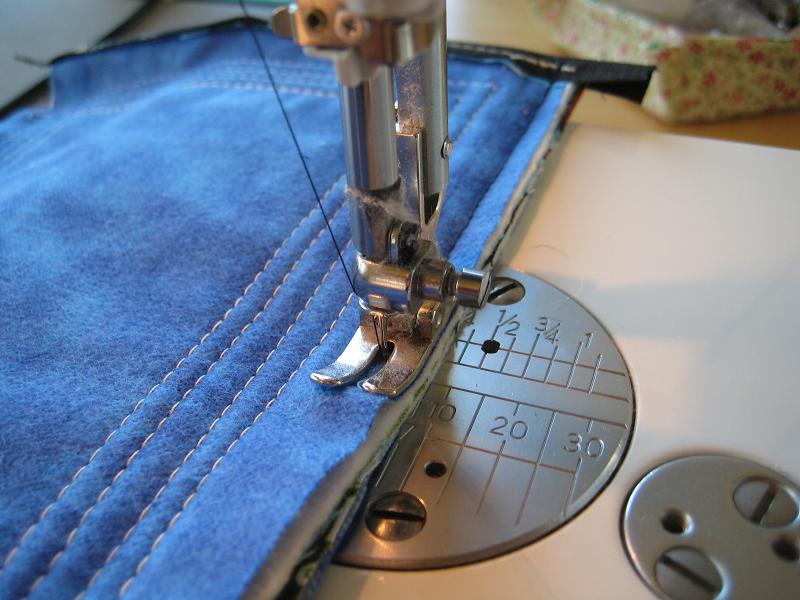
Lastly, trim off any extra fabric along the edge and corners (but outside of the ¼” seam allowance) to prevent unnecessary bulges. Trim off the extra zipper as well.

Turn right side out and you’re done!

Comments: 8 | Leave a comment


Christmas Crafting


Now that Christmas is over, I can post a couple of the projects I had been working on for Christmas gifts. πŸ™‚ Above is a quilt I made for my step dad to put on his boat ‘Refugio.’ Refugio means refuge in Latin. I tied this quilt, and the lettering was done via applique.


Above is my faithful furrball, Paige, keeping me company as I pulled all-nighters sewing away πŸ™‚


Lastly, above is a 90″x18″ reversible table runner I made for my mom. The other side is a single print of Christmas-themed fabric.
Happy Crafting! And Happy New Year!

Comments: 2 | Leave a comment


Concerned Santa

My friends and i had an early gift exchange so I finally get to post this photo! I made my friend the patchwork pillow below. I was afraid it looked too pop-corny, but on her couch with the other pillows it fit in perfectly. πŸ™‚
To make this 12″x12″ pillow, I used the same pattern from the lavender sachets tutorial except I started with four 7.5″ squares and then sewed the blocks together (2 on top and 2 on the bottom).
On a totally different note, I stayed up all night working on these Santa cookies and I just had to show them off! I confess that a night away from the sewing machine was nice. πŸ™‚ They’re made from Nutter Butter cookies, with each end dipped in melted white chocolate. After dipping the ends in chocolate, let them dry on parchment paper. For the hat I mixed red food coloring in the white chocolate, then I used M&M minis for Santa’s nose and mini chocolate chips for his eyes. I’m happy with how they turned out except Santa looks so concerned. He’s missing a smile, but I’m out of ideas on what to use. Any edible ideas to put a smile on Santa’s face?
Happy crafting and baking!

Comments: 3 | Leave a comment


Origami Photo Album

Quilting Tutorials and Fabric Creations - Quilting in the Rain - Origami Photo Album
Here’s a unique and quick little project for the fellow scrapbooker, or for anyone that wants to try something new. You know me – I LOVE quick and simple projects and this is one of them! Make this photo album in just 5 easy steps below. I made this one as a Christmas gift, but it makes a wonderful gift anytime of the year!

The album unfolds beautifully like this (click photo to enlarge):

Quilting Tutorials and Fabric Creations - Quilting in the Rain - Origami Photo Album Quilting Tutorials and Fabric Creations - Quilting in the Rain - Origami Photo Album

Materials (for one photo album):

  • Three – card stock sheet (size: 12” square).
  • Two – card stock (size: 5.5” square)
  • Scrap fabrics
  • 1 yard of ribbon
  • Glue

You can find the card stock materials in the scrapbook aisle of your local craft store.

Step 1. Fold one 12” square to create an ‘origami sandwich’ as demonstrated in the video below. Repeat with two remaining 12″ squares.
(
Forgive my hobo-looking hair that appears every now and then at the side of the video. 😐 I had a bad hair day.)

Step 2. Then, glue all three origami sandwiches together. The video below demonstrates how to glue 2 origami sandwiches together; you will need to glue all three.

Step 3. After you’ve completed steps 1 and 2, you should have something that looks like this.

Quilting Tutorials and Fabric Creations - Quilting in the Rain - Origami Photo Album

Step 4. Next, take your two 5.5″ card stocks. Decorate both however you like (this will be the front and back of your photo album). For this one, I sewed fabric to it. To get an idea of how I did this, click the following link: Patchwork Fabric Greeting Cards.

Quilting Tutorials and Fabric Creations - Quilting in the Rain - Origami Photo Album
Step 5. Choose which side you want the front of your album to be, and then glue one of the decorated 5.5” card stocks to the center of the album front, as shown in the picture above.

Lastly, flip the photo album over. As shown below, place the ribbon underneath the 5.5” card stock, then secure both the ribbon and 5.5″ card stock with glue.

Quilting Tutorials and Fabric Creations - Quilting in the Rain - Origami Photo Album
Now, put your scrap-booking skills to work and decorate the inside, or give as a gift as is.

Comments: 5 | Leave a comment


Lavender Sachets


I just love quick little projects! Toss these yummy scented lavender sachets in your undie drawer ;), or bundle them with ribbon or rick-rack to make a cute little gift! The tutorial below is quick and easy, and is a fun way to use your scrap fabrics. Also, if you like to quilt you can use this pattern to make quick quilt blocks, simply start with a bigger square (e.g. 10″ square instead of 6.5″).

Materials (for 2 sachets):

  • 2 different fabric prints (enough to cut a 6.5″ square from both prints)
  • Thin backing fabric (enough to cut two 5.5″ squares)
  • Dried lavender buds (optional: lavender oil)

Step 1 – Cut two 6.5” squares.

Step 2 – Layer both squares evenly. Then, make two diagonal cuts as shown below.

Step 3 – Because you layered both squares (previous step), you will have a total of 6 pieces. Lay them out as shown below.

Then, switch the middle top and bottom pieces (numbers 2 & 5).

Step 4 – Sew pieces 1, 5 and 3 together; and then sew pieces 4, 2 and 6 together. (Sew with right sides facing together, pin in place, stitch a ¼” seam, then press open).

Step 5 – Layer both pieced-together-squares evenly on top of one another.

Rotate the square 90 degrees as shown below. Similar to Step 2, make two diagonal cuts again.

Step 6 – Because you layered both squares (previous step), you will have a total of 6 pieces. Lay them out as shown below.

Then, switch the middle top and bottom pieces (numbers 2 & 5).

Step 7 – As shown below, sew pieces 1, 5 and 3 together; and then sew pieces 4, 2 and 6 together. (Sew with right sides facing together, pin in place, stitch a ¼” seam, then press open).

Step 8 – From the backing fabric, cut two 5.5” squares. Take one finished square (from previous step) and one backing square. Layer both squares with right sides facing together.

Step 9 – Sew a ¼” seam allowance around the perimeter of the square, leaving ~3” opening at the top. As shown below, snip the corners of the square off.

Step 10 – Turn right-side out through the 3″ opening, and then press flat with an iron.

Step 11 – Fill the sachet with dried lavender buds through the 3” opening. For a really fragrant sachet, add a few drops of lavender oil to the buds. Lastly, stitch the opening closed.

Yay you’re done!! :o) If you like the concept of this pattern, you might be interested in this tutorial: Cuttin’ Corners Quilt

Comments: 5 | Leave a comment


Site by Spunmonkey.