Gray and Gloomy

Not only did it rain all weekend, but it stayed dark and gloomy without the slightest break of sunshine. Bodie stayed by the window all weekend watching the rain and day dreaming of long summertime walks. I guess that’s typical Seattle weather for ya!

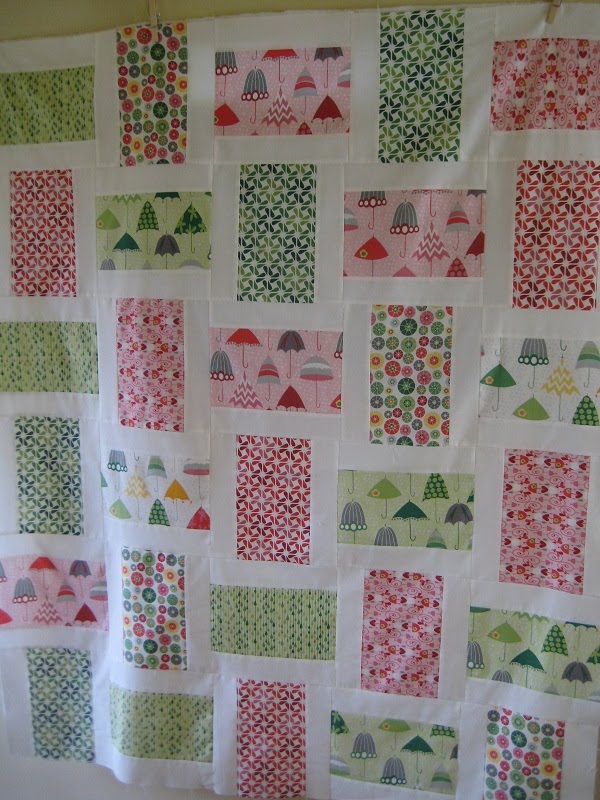
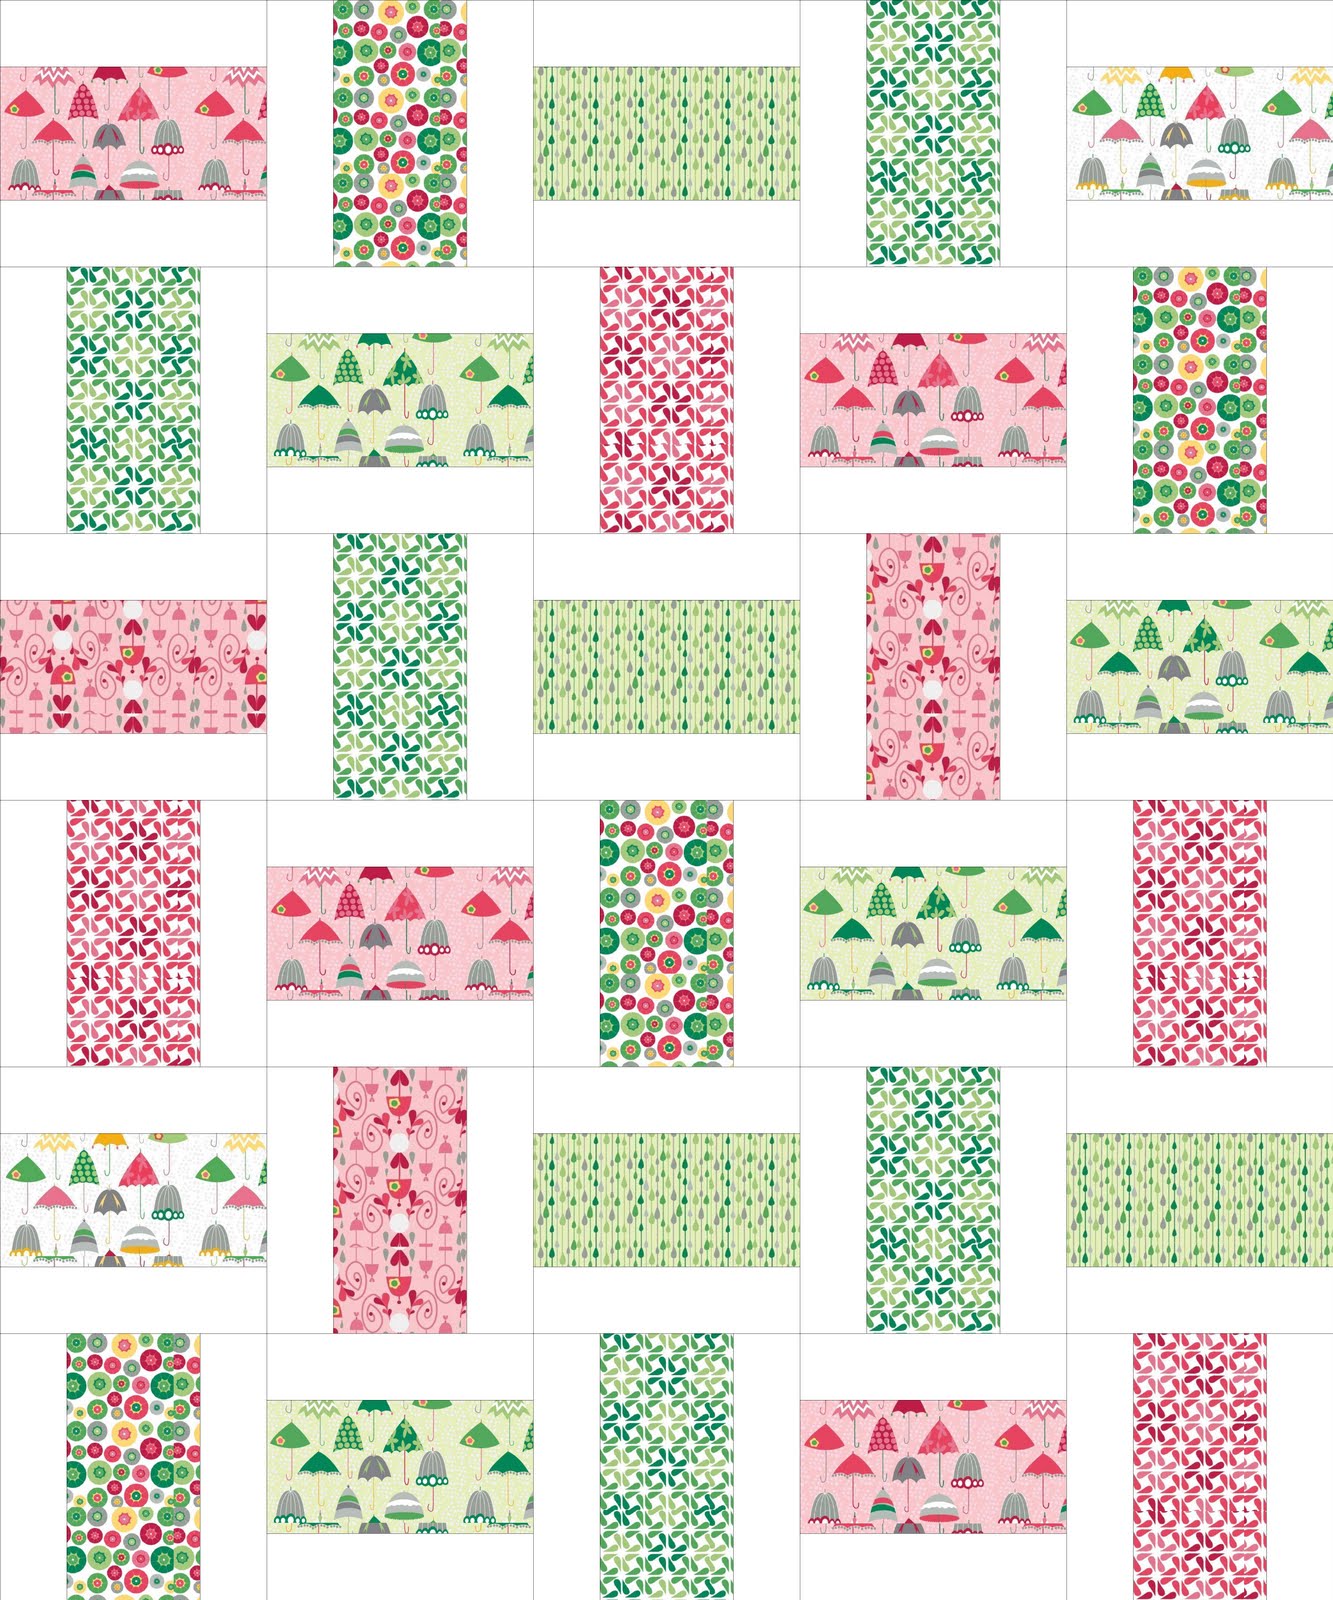
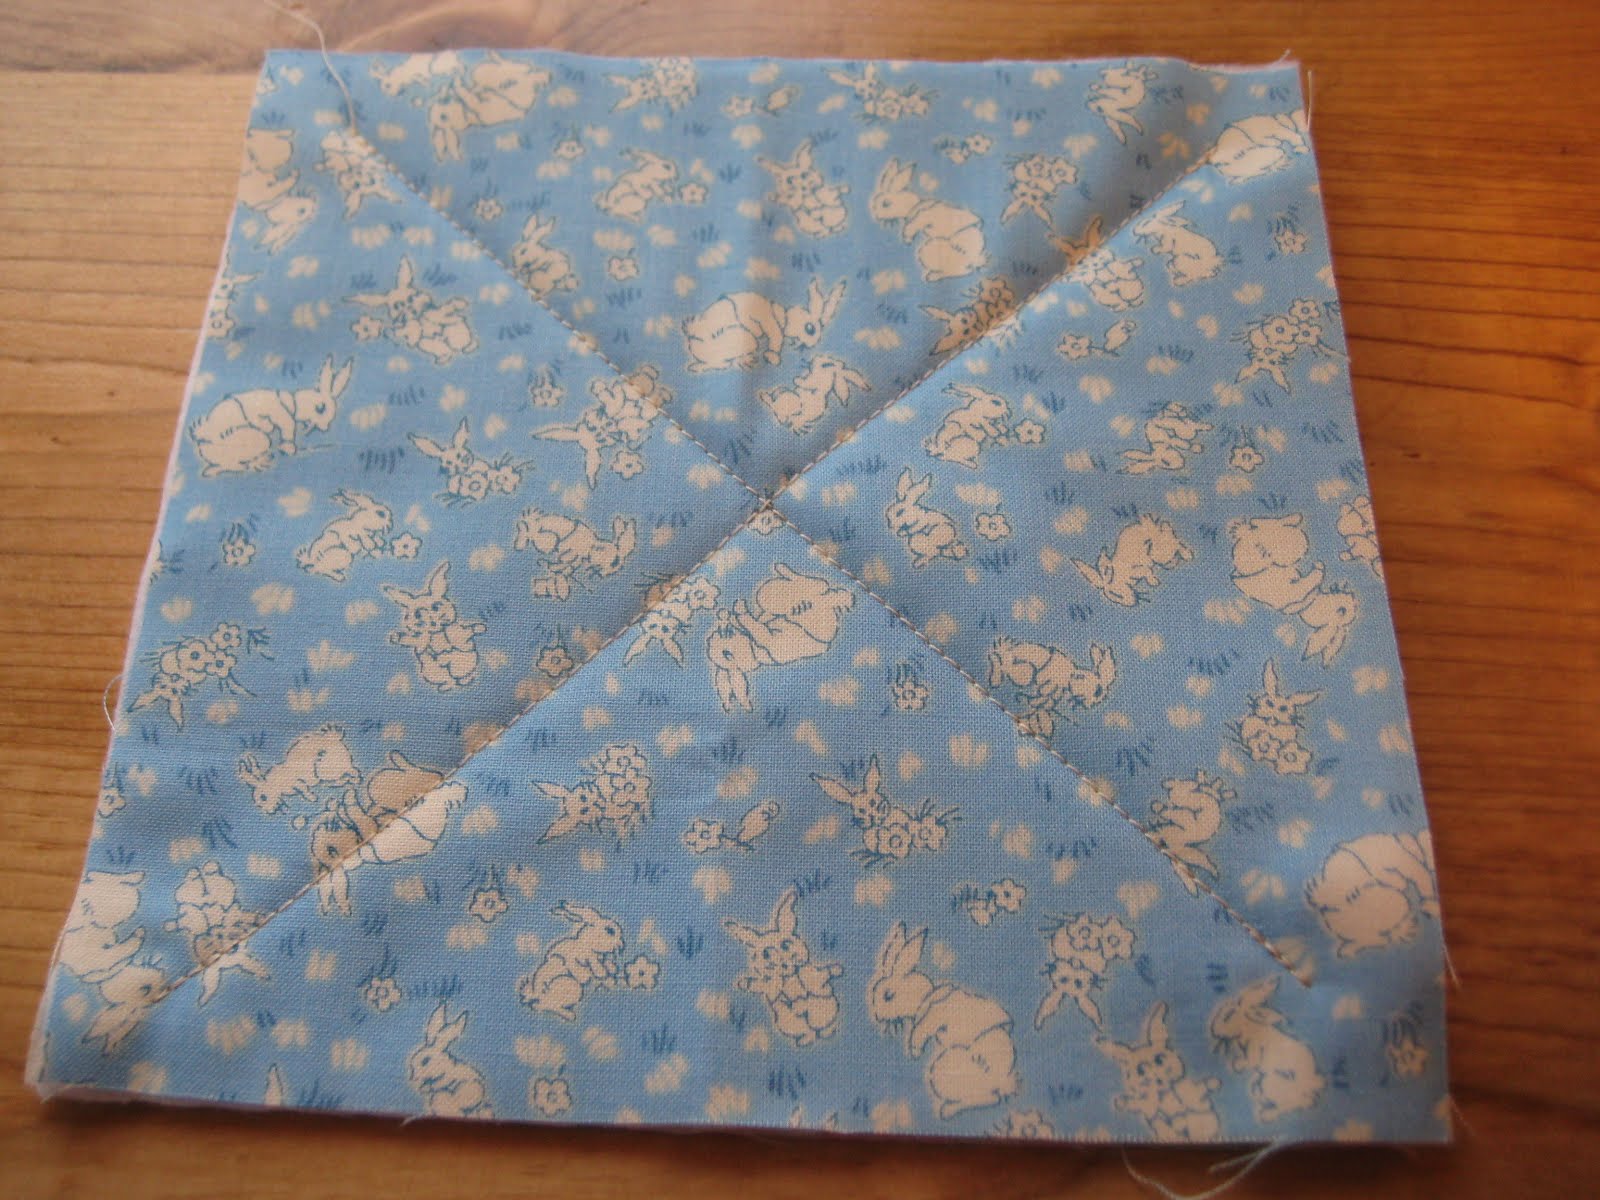
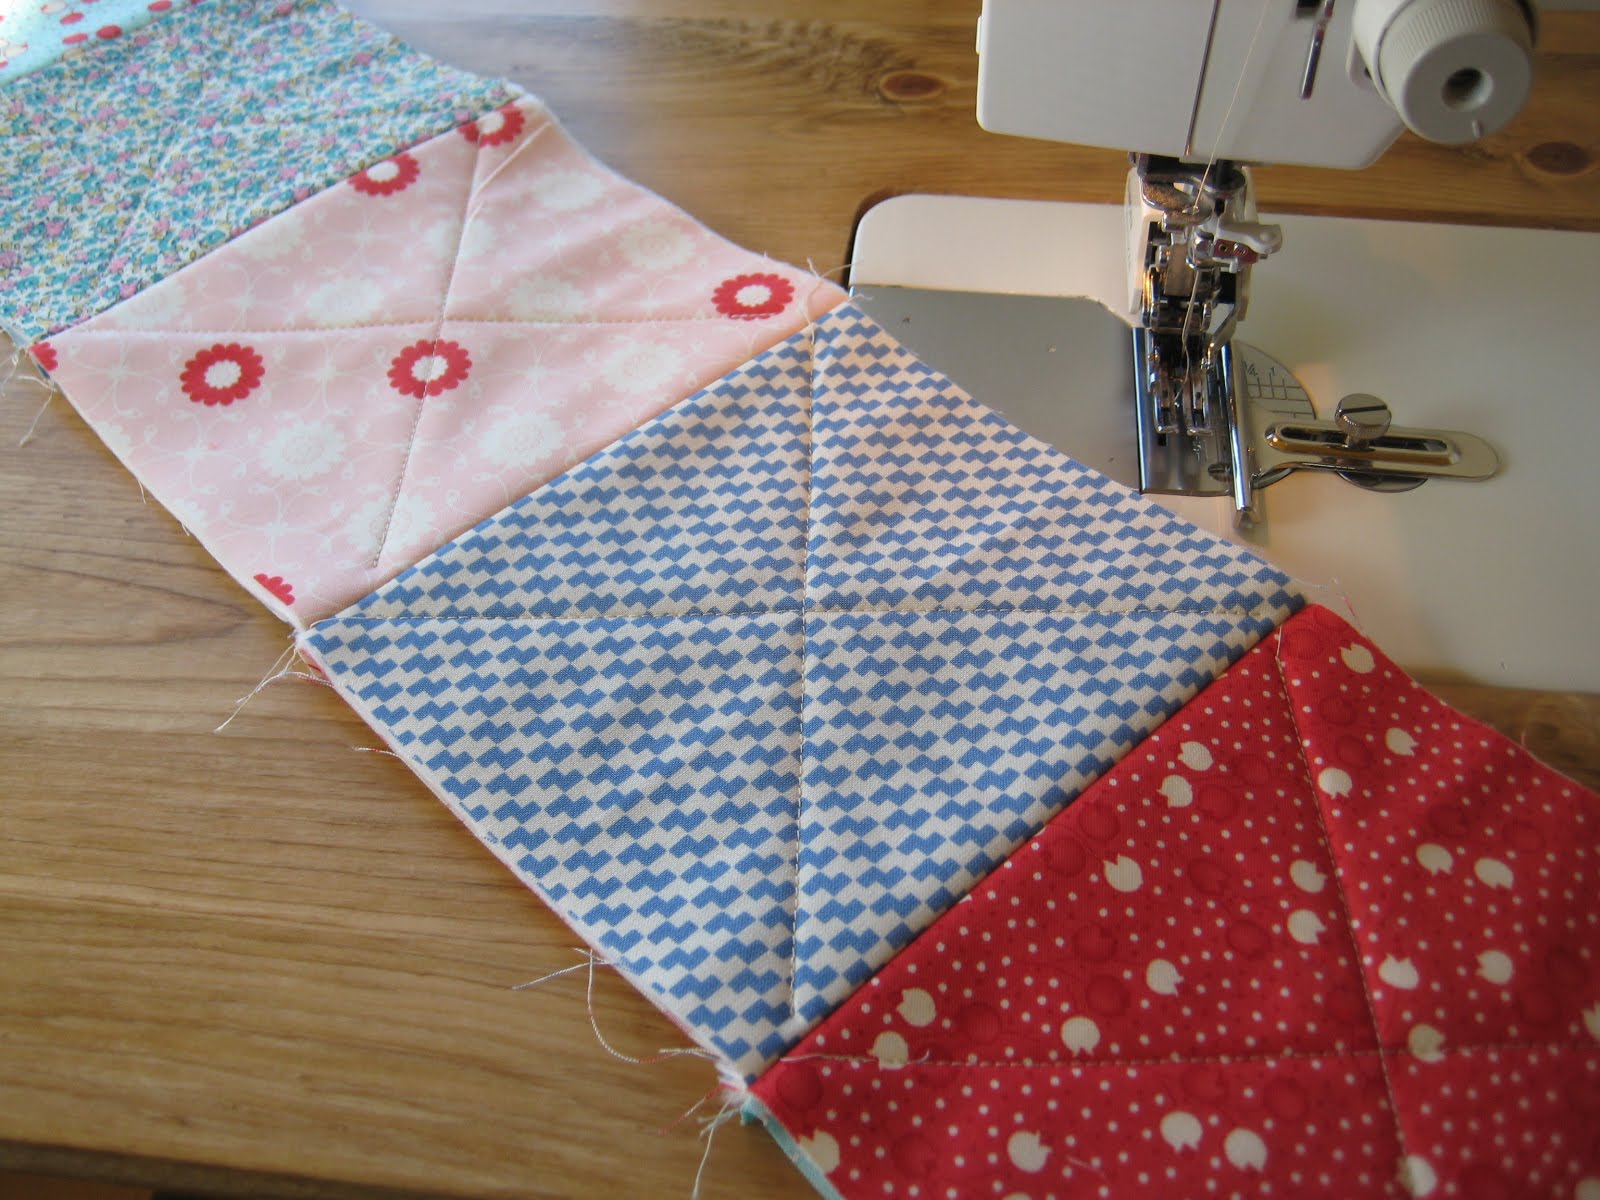
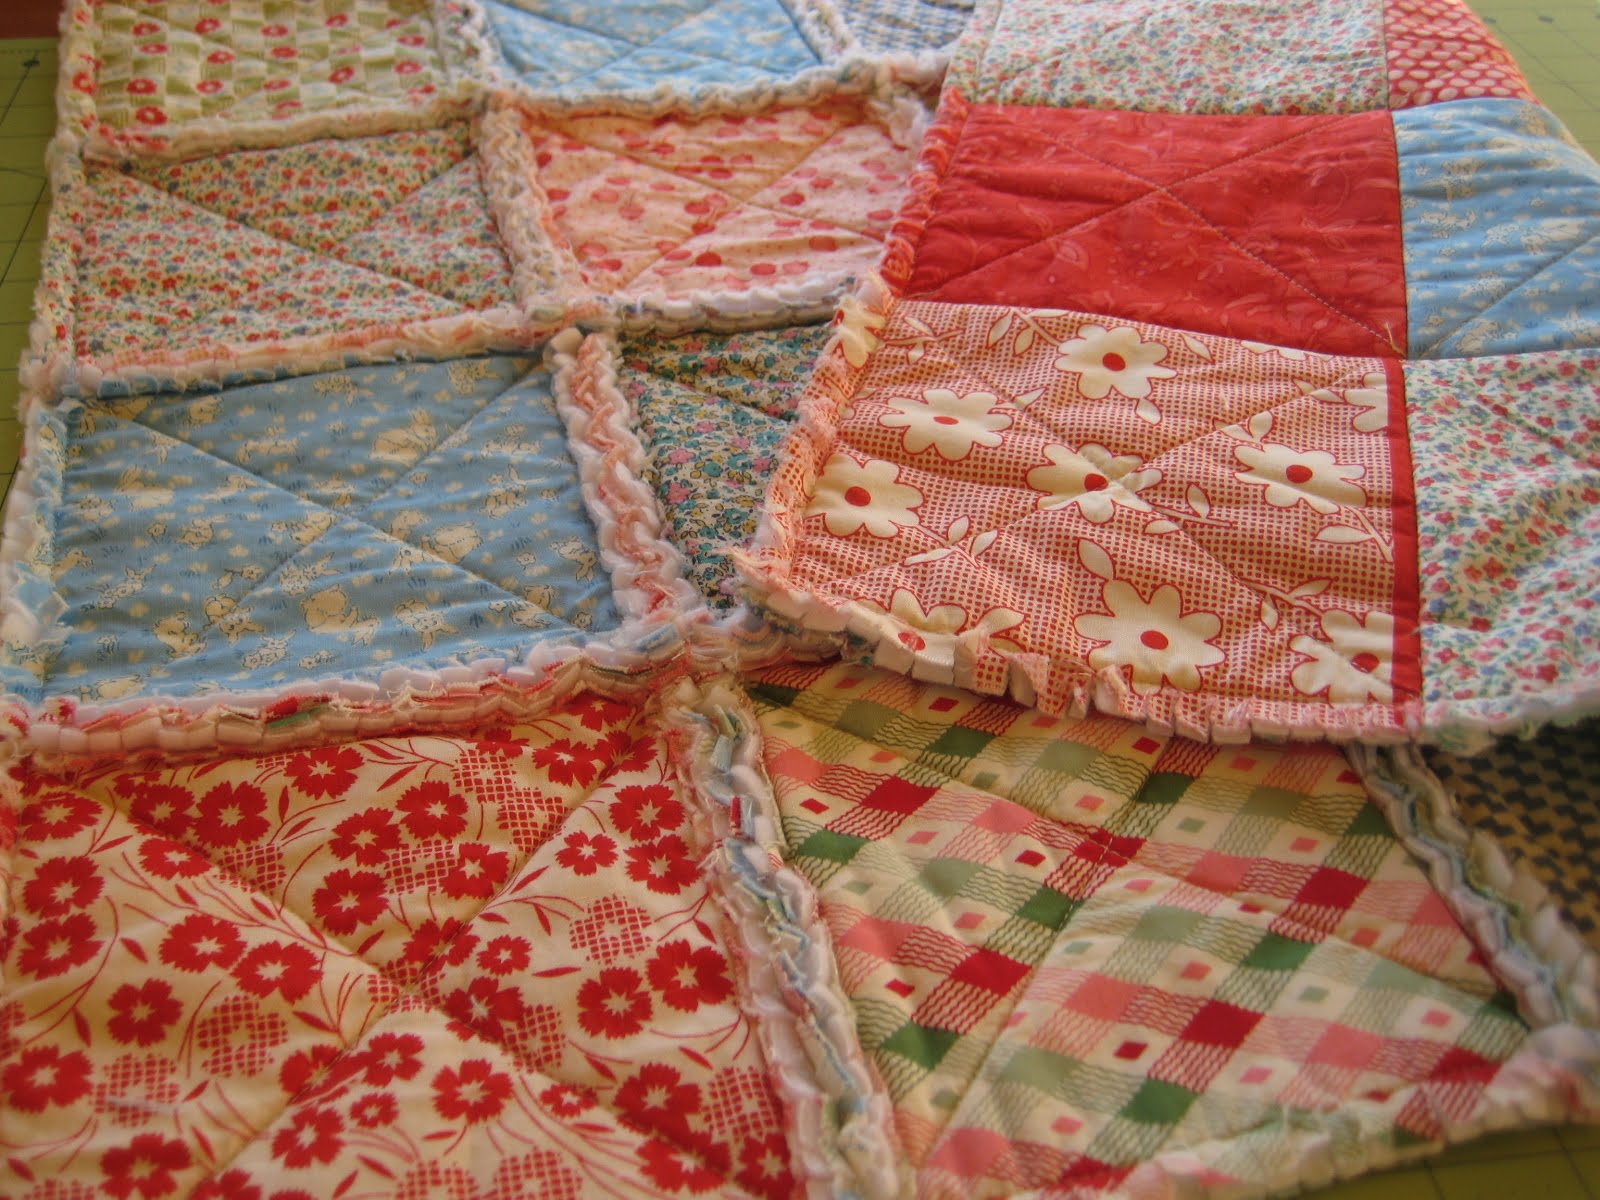
I admit the rain allowed for good quilting weather; however, it was SO gray and dark outside all day that I couldn’t even get a good picture of my finished Rainy Days quilt. πŸ™ I took several photos of the finished quilt, and my husband and I even came up with crazy lighting contraptions to try to brighten the room, but we still couldn’t get a decent picture. So in short, I apologize for not having the finished photo up yet but it will happen! My plan is to score a decent photo after returning from work this week, and thanks to daylight savings time that extra hour of daylight should help! πŸ™‚

On a different note, you may have noticed the new “Finished Quilt” button on the right hand side of my blog. This is something I’ve been meaning to put together for a while now. It captures all of the quilts I’ve made since I started this blog April of last year, and it also includes some photos of quilts I made prior. There’s a few more photos I still need to take to complete the collection, but I’ll get to them eventually. I will continue to update that page with my latest quilts.

A great benefit about blogging is it captures all of the completed projects I’ve done throughout the year. But above all, I get to meet awesome folks like yourselves who encourage me to keep at it :o)

Have a great week everyone! Hopefully you’re getting more sunshine than I am (I recently learned I have a vitamin D deficiency!)

Comments: 2 | Leave a comment


another late night quilt session

Finding time to quilt when you have a day job pretty much leaves you with two options: late night quilt sessions, and oh so short weekends. πŸ™‚ I’m at it again, quilting in the wee hours of the night.

Paige was more than ready to go to bed, but she’s a trooper and waited up for me as she always does. πŸ™‚

One quilt down, and one more to go! I hope to finish quilting my Rainy Days quilt tomorrow night. I’ve already prepped the backing, so all I need to do is throw it on my frame and quilt away. I’m tempted to just bring it in and have the quilting done for me, but that costs money that I’d rather spend on fabric :-}

I wanted to say thank you for your comments on the Rainy Day Quilt; I absolutely love reading your comments! I try to make patterns that are simple because 1) it breaks apart a quilt that may seem daunting and turns it into a doable project and 2) there’s just not enough time to quilt! It’s great having a quilt top pattern that you can finish over a weekend.

I have another simple pattern in the works that I hope to post soon that uses charm squares, so stay tuned. Anyway, that’s it for now. Just wanted to pop in mid-week to say hi!

Happy (late night) quilting! πŸ˜‰

Comments: 10 | Leave a comment


Rainy Days Quilt

Remember these fabrics I bought last month when I went on my business trip? Well, I finally used them! Living in Seattle, this Rainy Days quilt seemed very appropriate. πŸ™‚ I wanted to share this pattern with you in case you wanted to make one. It’s a super-duper easy pattern (seriously, only 3 steps below!). If you want to use the same fabric collection that I used, I recommend buying them here (Rainy Days and Mondays is an older collection so most places don’t sell them anymore).

Finished quilt top size: 47.5″ x 57″

Materials:

  • Eight 1/4 yard cuts of varying prints (fat quarters work too)
  • 1 1/4 yards solid white fabric (I used white muslin)
  • 1/3 yard binding
  • 3 yards backing

Step 1 (Cutting) – From each 1/4 yard print of fabric, cut four 6″x10″ rectangles. You will need a total of 30 rectangles, so choose one print where you will only cut two rectangles from it.

Next, from your 1 1/4 yards of white fabric, cut (70) 2.5″x10″ rectangles.

The quickest way to cut all 70 rectangles is to fold your 1.25 yards of fabric in half lengthwise so that it measures roughly 22″x45″ (it should already be folded like this when you buy it from the bolt). And then fold it in half lengthwise again so that it measures roughly 11″x45″. With a ruler and rotary cutter, cut 2.5″ strips along the length as shown below, until you have a total of (18) 2.5″x44″ strips. Then, sub-cut each strip into four 2.5″x10″ rectangles.


Step 2 (Piece together your blocks) – One block is made up of one 6″x 10″ rectangle, and two 2.5″x 10″ rectangles.

Using a 1/4″ seam allowance, sew each 2.5″x 10″ strip to the 6″x 10″ rectangle as shown below. (Sew with the correct sides facing each other, and then press open with an iron).

Repeat the above until you have a total of 30 finished blocks.

Step 3 (assemble the quilt top) – As shown below, arrange all 30 blocks into 6 rows of 5 blocks each, making sure to alternate the position of each block. Click image below to enlarge.


Lastly, sew all 5 blocks together in each row, and then sew each row together. (Using a 1/4″ seam allowance, sew with the correct sides facing each other, and then press open with an iron).

I told you it was easy πŸ˜‰ If you end up making this quilt, I’d love to see it! (quiltingintherain@gmail.com)

Happy Quilting!

Comments: 41 | Leave a comment


Bundle of Joy

I had been tracking this package stalker-style and greeted the UPS man before he even had a chance to get out of his truck. With how bad my fabric addiction is, I’m afraid one of these days my husband will find me huddled in a corner petting a jelly roll, referring to it as “my precious” like Gollum.

I just love receiving bundles like this… πŸ™‚

This fabric collection is called “Dolce” designed by Tanya Whelan by Free Spirit fabrics. It’s not a new collection, but it was on sale! Last I checked they still had some on sale, here. Anyway, more fabric to inspire me and to add to my stash.

Speaking of my stash, I thought I’d give you a glimpse. This is about 1/3 of my stash. The two bigger baskets on the middle and bottom shelf are where I throw my fabric scraps. My latest and greatest additions found a home on the top shelf. πŸ™‚

The basket on the top left are fabrics ‘next in line’ for a quilt. In fact last night I finished a quilt top using Riley Blake’s Rainy Days and Mondays collection. I’ll be posting that one soon. πŸ™‚

Anyway, that’s it for now. Just a quick mid-week post to say hi and happy quilting!

Comments: 6 | Leave a comment


Rag Quilt

Quilt Tutorials and Fabric Creations - Quilting in the Rain - Rag QuiltIf basting and binding a quilt isn’t really your thing, and if you don’t particularly like quilting large quilt tops, then a rag quilt is the perfect quilt project for you. πŸ™‚ With a rag quilt, you create smaller (therefore easier to handle) quilt sandwiches, quilt them while they’re still small, and then piece them together to form your quilt. If that sounds confusing, check out my 8-step rag quilt tutorial below.

(Click picture to enlarge)

Quilt Tutorials and Fabric Creations - Quilting in the Rain - Rag Quilt Quilt Tutorials and Fabric Creations - Quilting in the Rain - Rag Quilt

This quilt measures 23″ x 23″ which works perfectly for throwing in a stroller, or as a wall hanging quilt. Speaking of strollers, rag quilts are great for little ones as they offer a textured material for them to touch and explore.

I have a similar tutorial called Frayed Seams Quilt which uses fleece material as the entire quilt backing. You can check it out for an alternate rag quilt design.

Materials for a 23″x23″ rag quilt:

  • 10 quarter yards of varying prints
  • 1 yard of fleece (or batting, see note in step 1).
  • Coordinating thread

Step 1 – Cut fifty 6.5″ squares from your quarter yard cuts (note: 1 quarter yard = six 6.5″ squares). From your 1 yard of fleece, cut twenty-five 6.5″ squares*.

Quilt Tutorials and Fabric Creations - Quilting in the Rain - Rag Quilt*If you prefer to not have the fleece show at the seams as it does in this tutorial (see step 4), or if you prefer to use batting instead of fleece, cut twenty-five 5.5″ squares instead. Then, when you make your mini quilt sandwich as described in step 2 (below), make sure the fleece/batting is centered in between the fabric pieces.

Step 2 – Make a mini quilt sandwich: take one fleece square and sandwich it in between two fabric squares. The wrong sides of the fabric should be facing the fleece. Repeat until you have 25 mini quilt sandwiches. When putting these together, plan for how the front and back of your quilt will look.

Quilt Tutorials and Fabric Creations - Quilting in the Rain - Rag Quilt
Step 3 – Quilt all 25 of the mini quilt sandwiches you made from the previous step. For this quilt, I quilted a simple X. Start and end your stitch with a back stitch.

Quilt Tutorials and Fabric Creations - Quilting in the Rain - Rag QuiltNote: For Steps 4 through 6, use a walking foot if possible (to prevent puckering).

Step 4 – Sew the quilt sandwiches together: Sew 5 rows of 5 quilt sandwiches each, using a 1/2″ seam allowance. The front of your quilt will have the 1/2″ seam, as shown below.

Quilt Tutorials and Fabric Creations - Quilting in the Rain - Rag QuiltThe back will look like this:

Quilt Tutorials and Fabric Creations - Quilting in the Rain - Rag Quilt
Step 5 – Then, sew your five rows together the same way, so that the 1/2″ seam allowance will be at the front of your quilt.

Quilt Tutorials and Fabric Creations - Quilting in the Rain - Rag Quilt
Step 6 – After you’ve sewn all five rows together, sew a 1/2″ seam allowance around the perimeter of the quilt. This quilt requires no binding!

Quilt Tutorials and Fabric Creations - Quilting in the Rain - Rag Quilt
Step 7 – Snip little frays (roughly ¼” apart) along all of the ½” seams including the perimeter seam. Do not cut outside of the seam. Use scissors that have really sharp tips (I used applique scissors). I was able to cut through two fabric layers per snip.

Quilt Tutorials and Fabric Creations - Quilting in the Rain - Rag Quilt
Step 8 – Lastly, throw the quilt in the wash (cold water, gently cycle) and dryer (tumble dry low). Washing and drying the quilt will make the fringes you cut from the previous step soft and fluffy.

Quilt Tutorials and Fabric Creations - Quilting in the Rain - Rag QuiltThat’s it! As always, let me know if you have any questions and I’d be happy to help you out.

Happy Quilting!

Comments: 62 | Leave a comment


Site by Spunmonkey.