Archive | Book

Another one done, and another class!

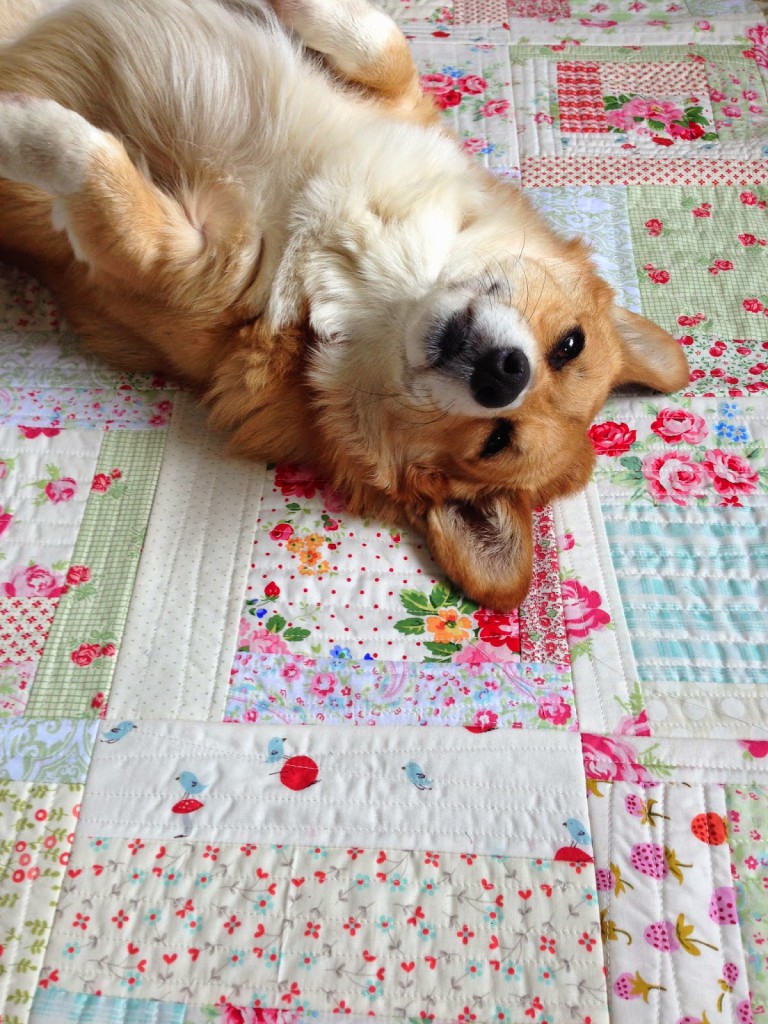
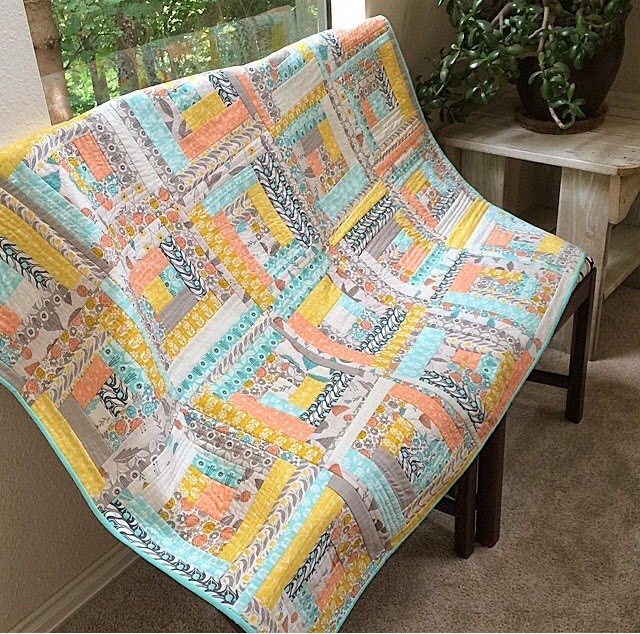
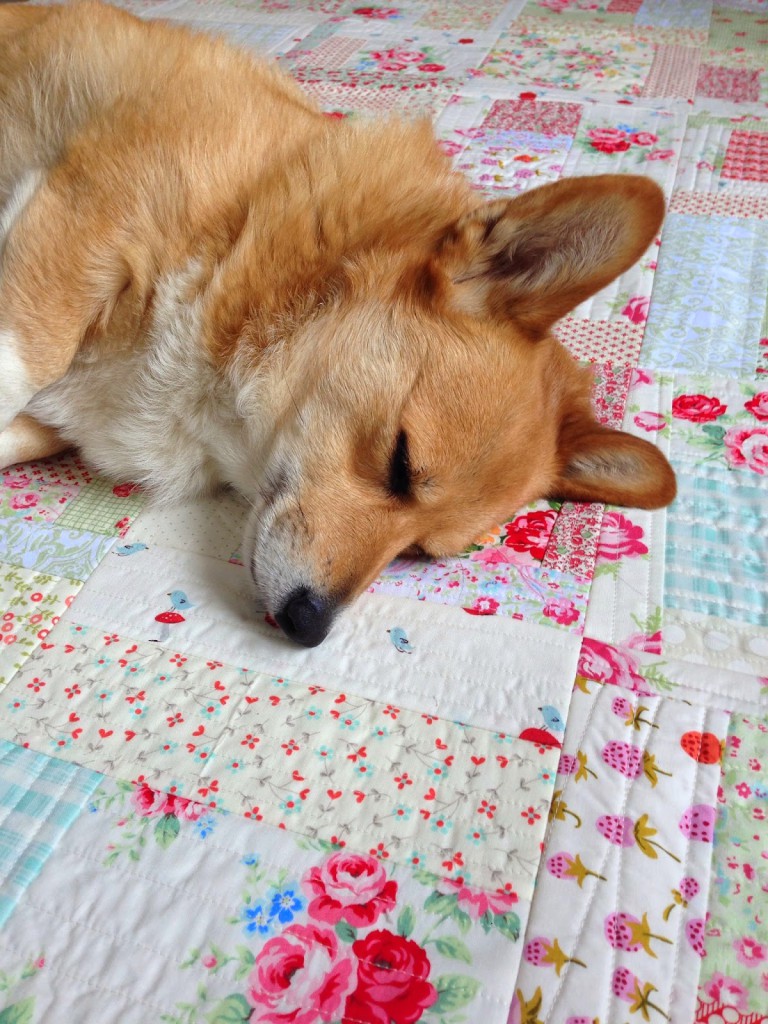
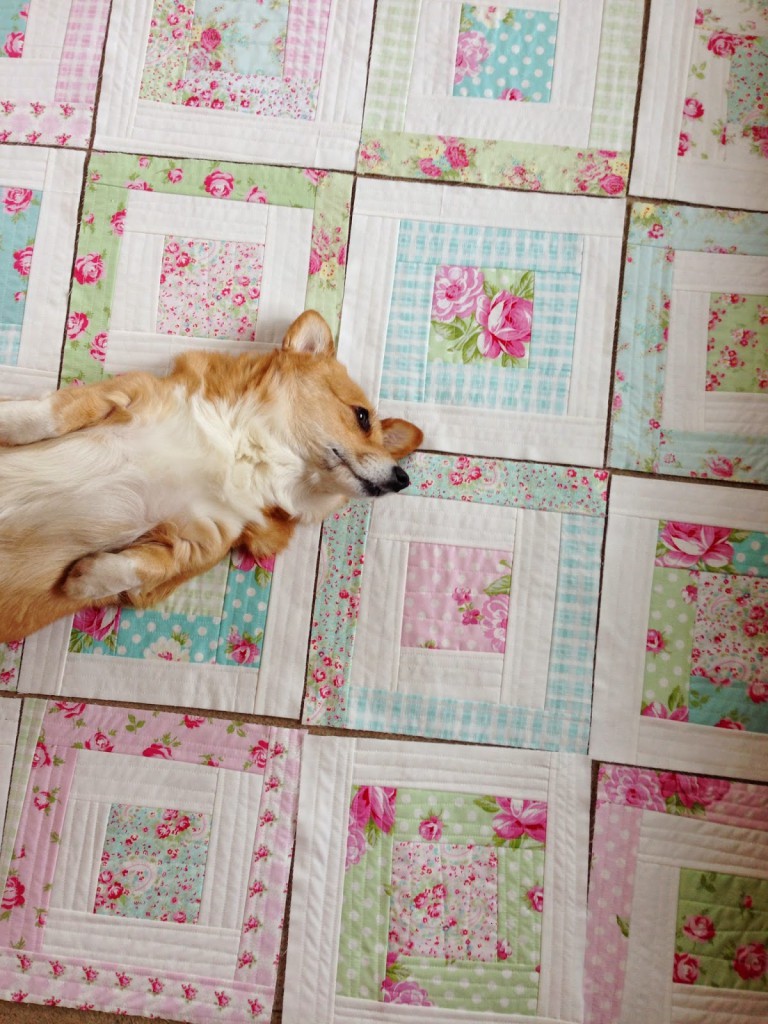
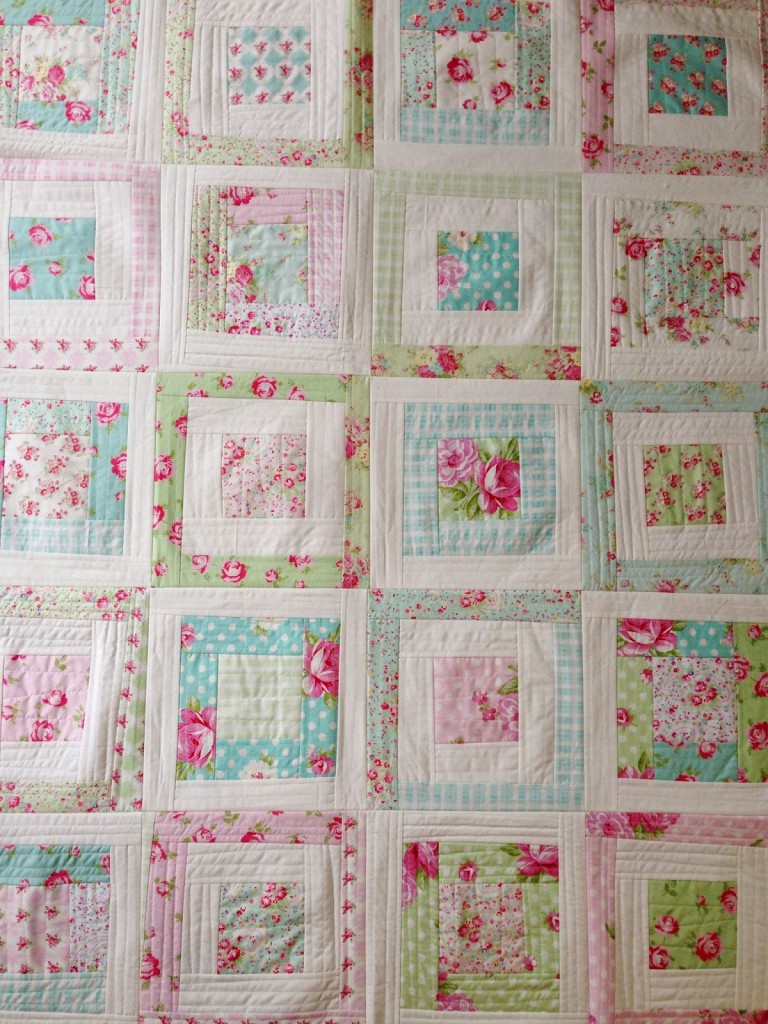
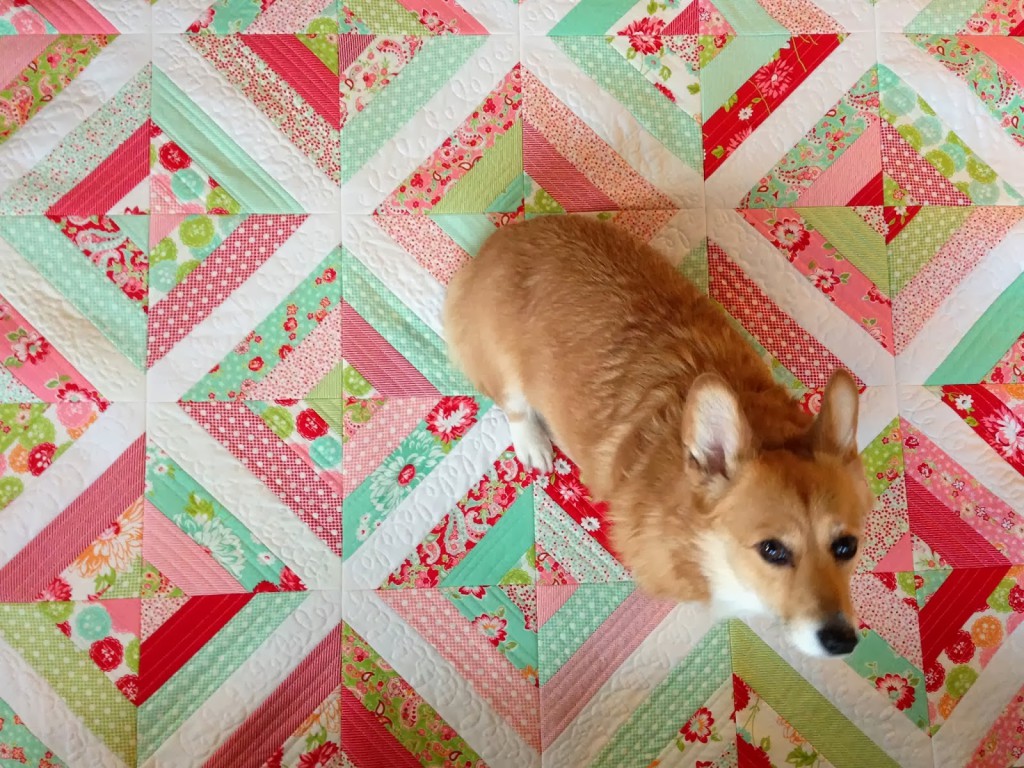
Wanted to share some lovely pics of this almost finished Quilt-as-you-Go! Still need to bind it, then it’s done! and yes, it has Paige’s stamp of approval ๐Ÿ˜‰

I used my modern Quilt-as-you-Go technique featured in my upcoming book, Quilt-as-you-Go Made Modern, in stores this September! Crazy to think that’s only a couple months away now.

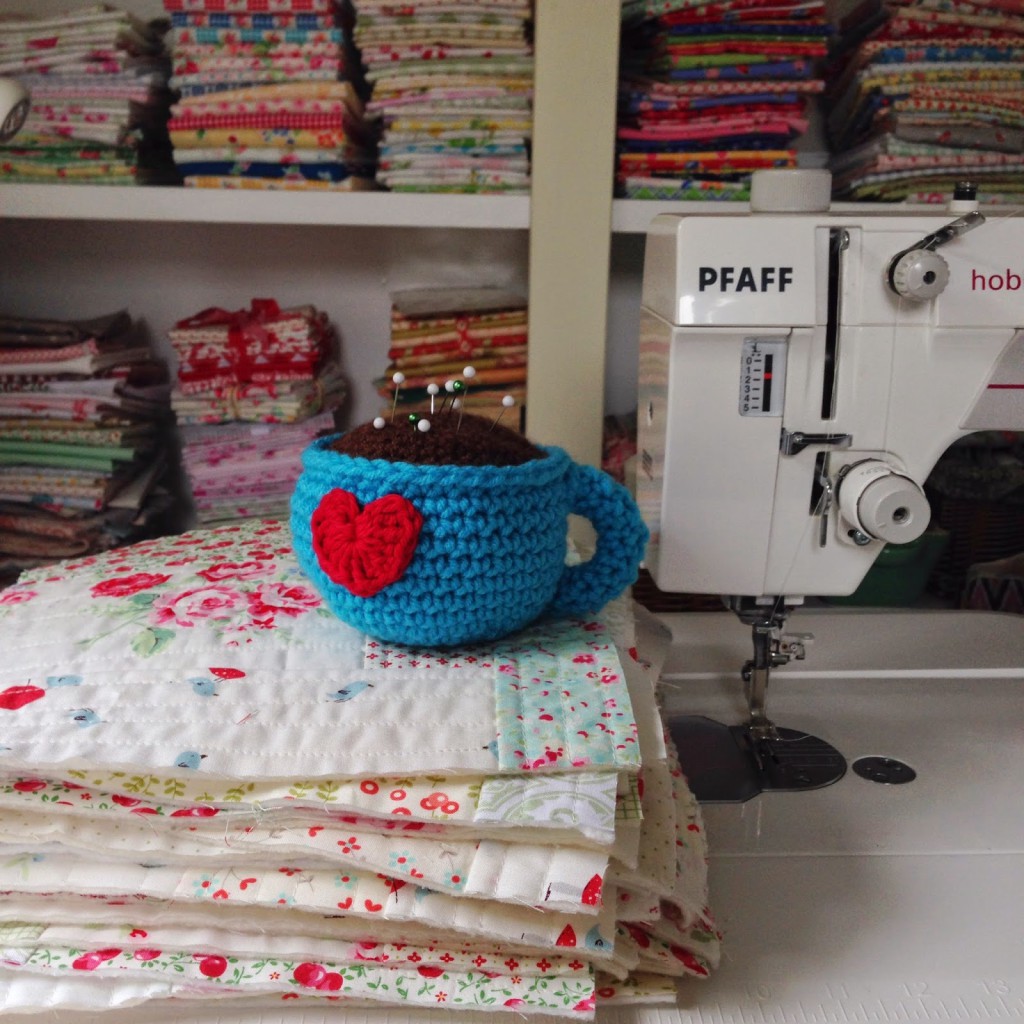
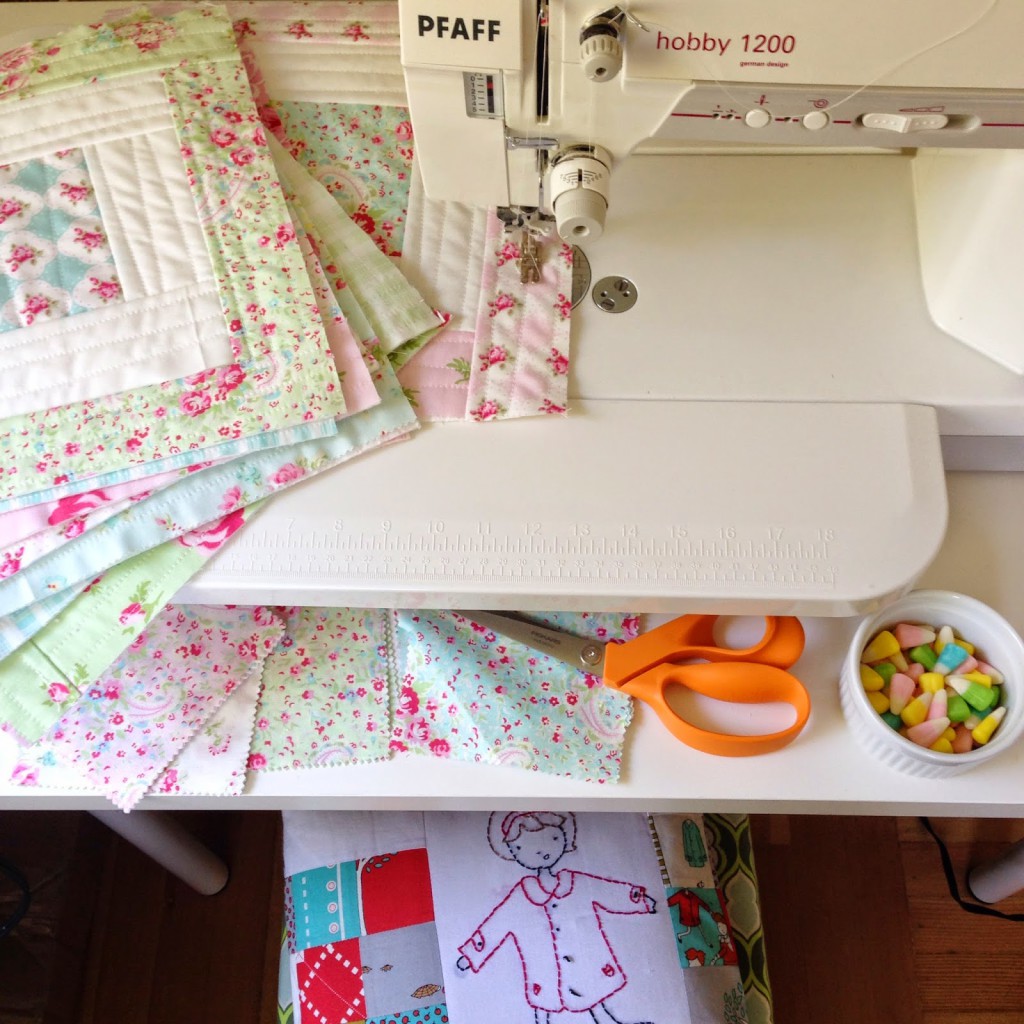
I love the stack of quilted blocks right before assembly…

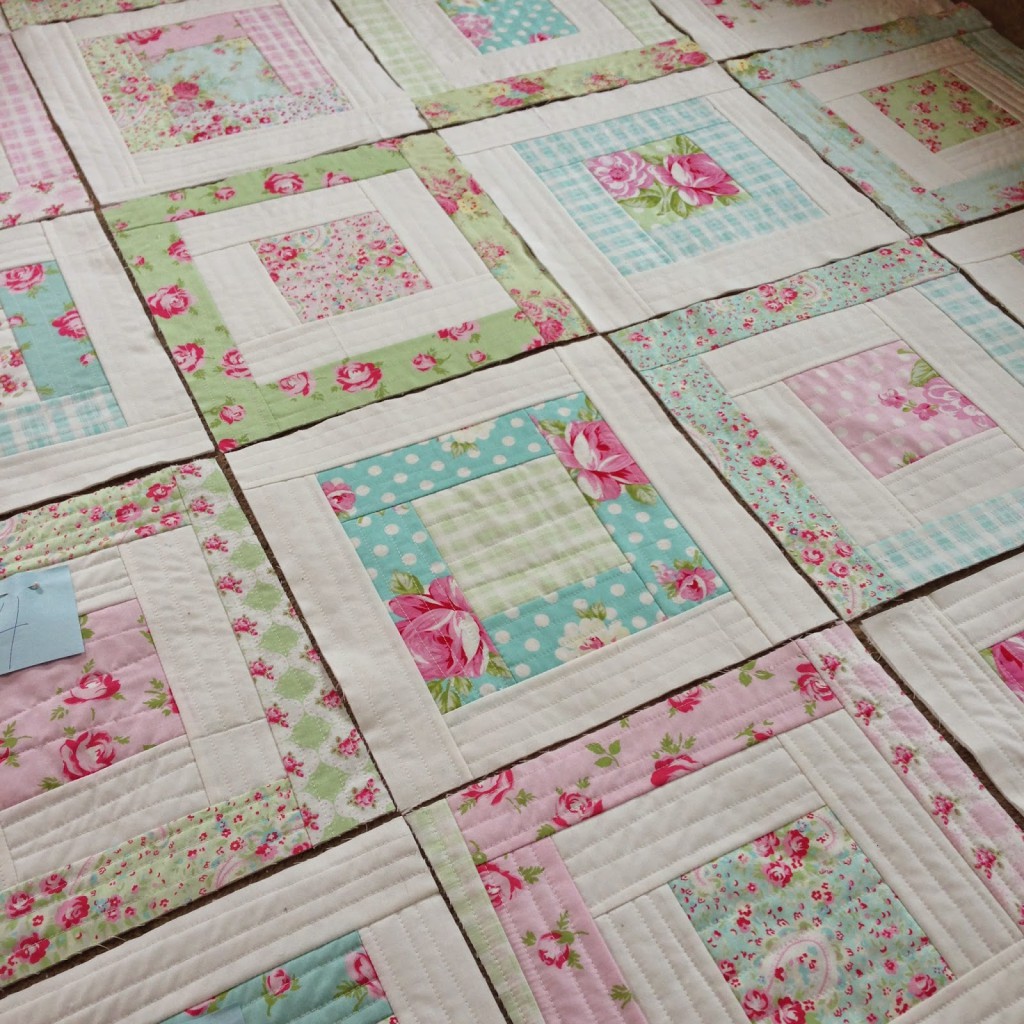
Laying them out and rearranging them is always fun too.

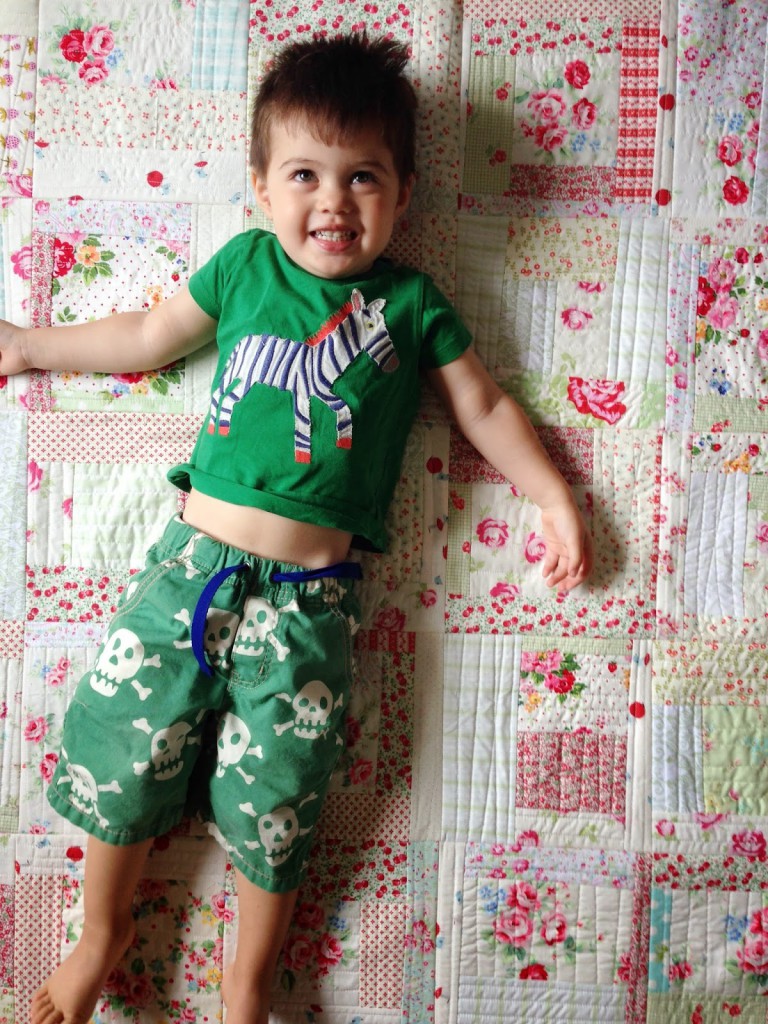
And here’s my big boy on a dainty, girly-girl quilt. ๐Ÿ˜‰ Maybe my next quilt should have more neutrals and blues?

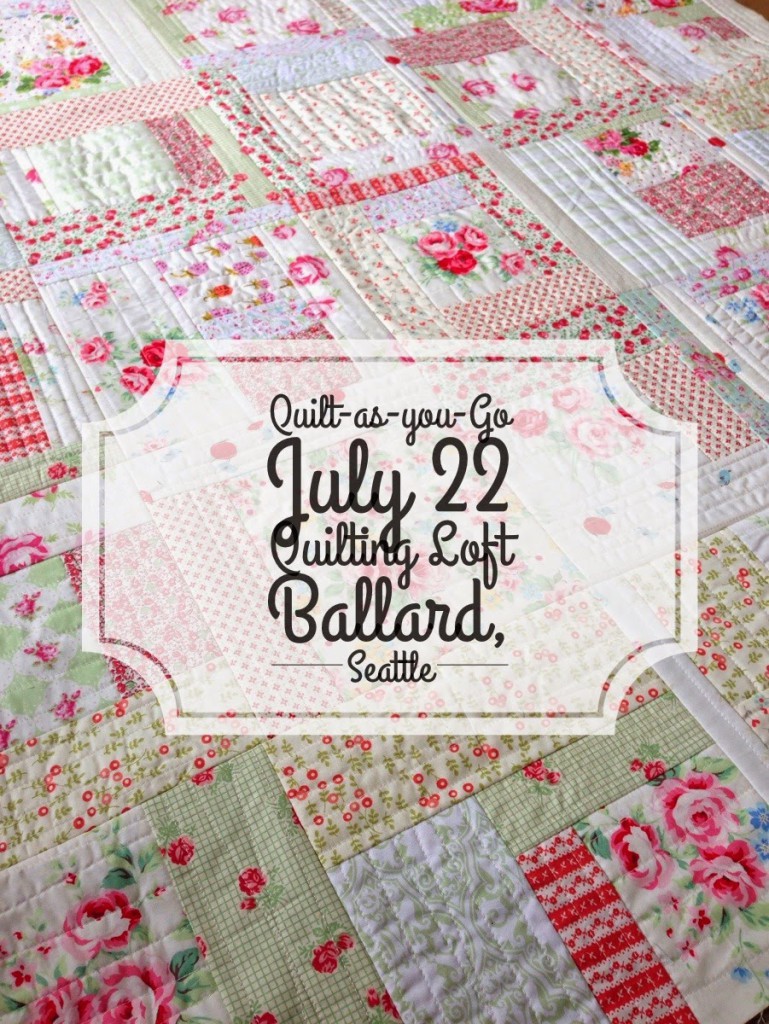
Also, I have an upcoming Quilt-as-you-Go class at The Quilting Loft in Ballard, Seattle. Register HERE and come quilt with me!

I wanted to share this beautiful picture of a Quilt-as-you-Go that one of my students sent me – she took my class at The Quilting Loft a couple months ago. This is by the lovely Sarah @oscarandthesparrow (on instagram). Isn’t is gorgeous…and even more impressive, can you believe this was her very FIRST quilt?!

Anyway, thank you for stopping by. Just a quick post to share what I’ve been up to (as i try to type this up before my son wakes up!).

And to brighten up your Monday, I shall leave you with some pictures of my furry child, Paige, modeling my latest. ๐Ÿ˜‰ Have a great week!


Happy Quilting!

xoxo jera

Comments: 24 | Leave a comment


Quilt-As-You-Go non-stop! More Projects and Classes

Sharing some Quilt-as-you-Go projects I’ve been working on including some new classes! Sorry that i’ve been MIA on my blog – it’s been a crazy week. I was up until 3:30am the other night doing a FINAL book review. The next time I see my book, it will be published and in actual book form! yay!!

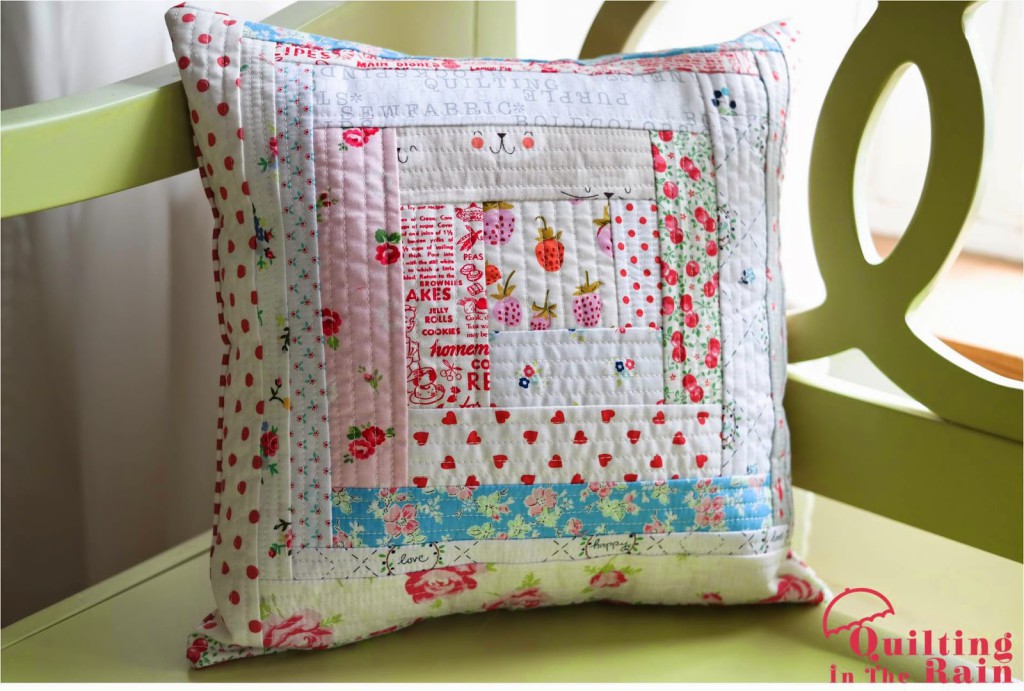
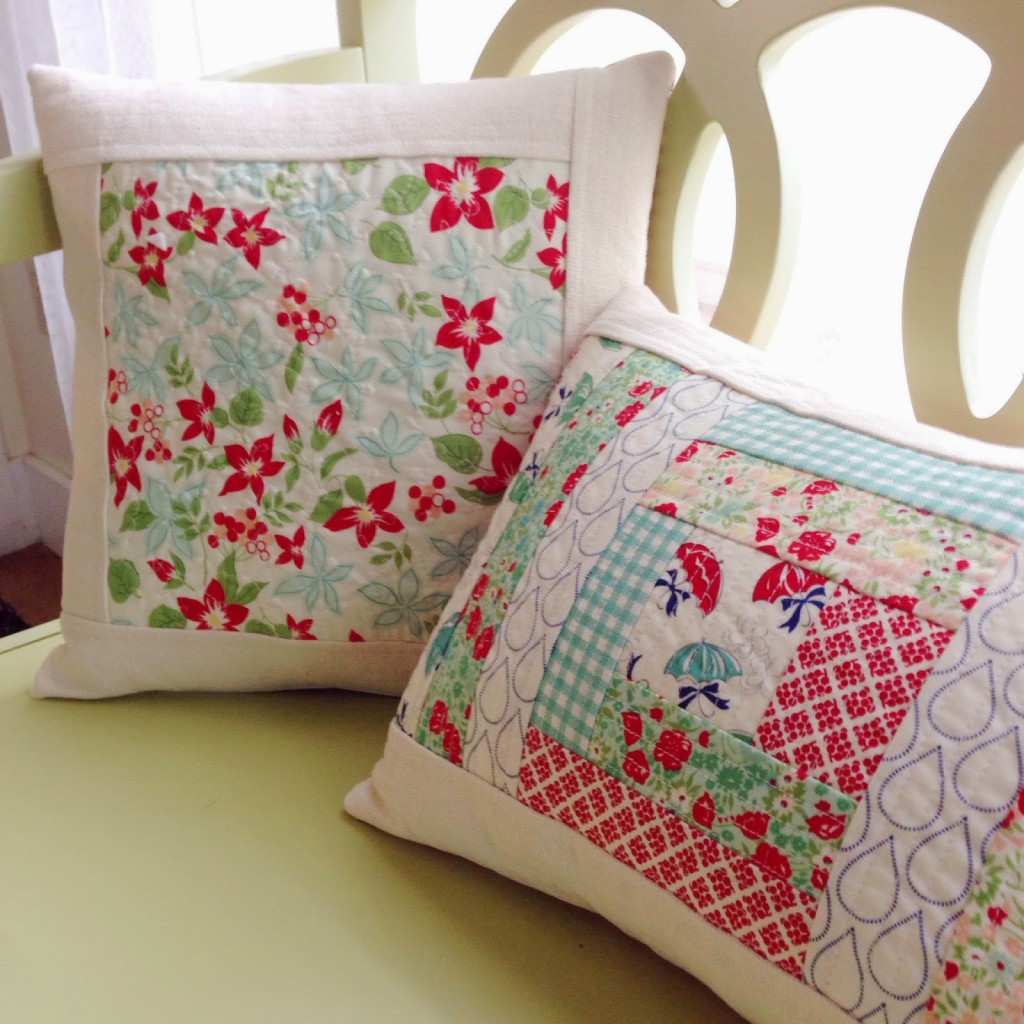
Here’s a lovely low volume pillow that I made last week. I’m kind of obsessed with these cottage, shabby-chic prints lately.


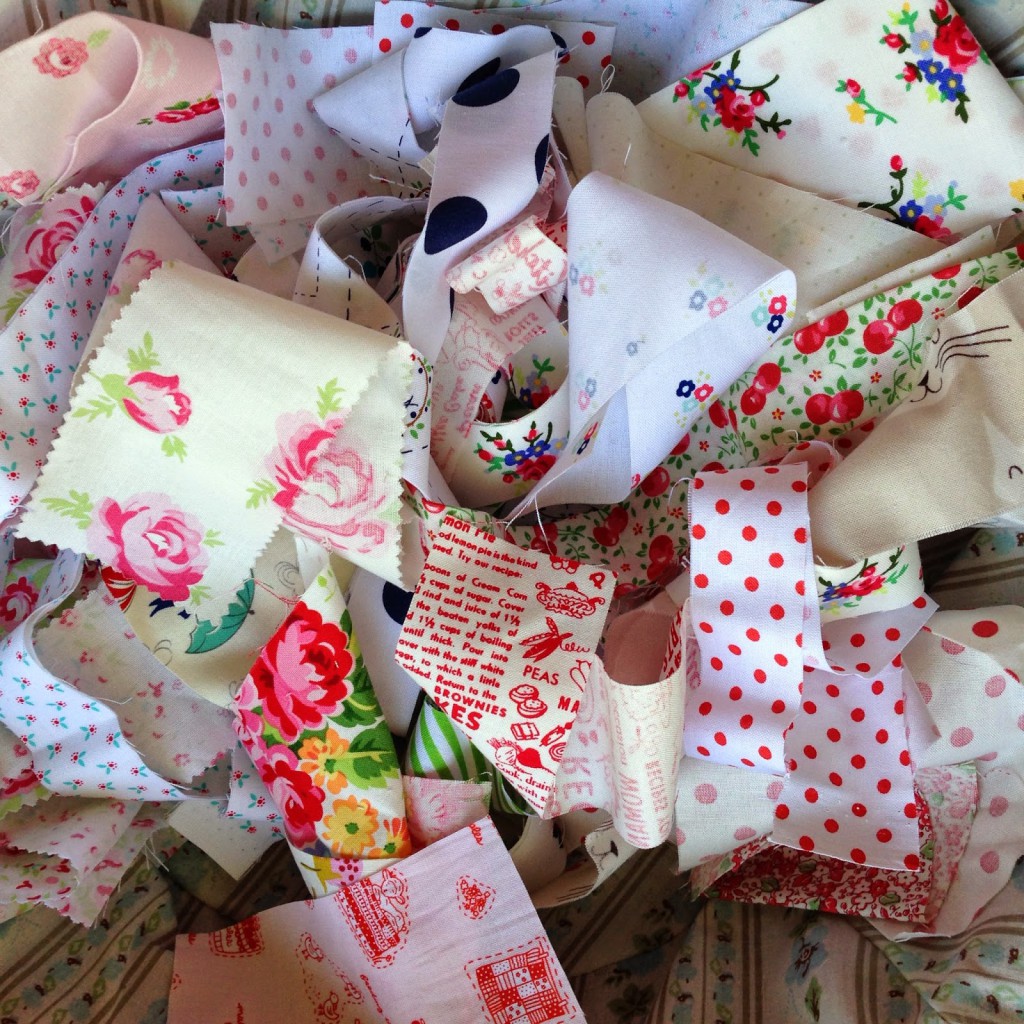
I made it using these beautiful scraps I had lying around. QAYGo is seriously the ultimate scrap buster.

Last weekend is rained. And rained some more. So of course I started a new Quilt-as-you-Go quilt using these cheery prints.

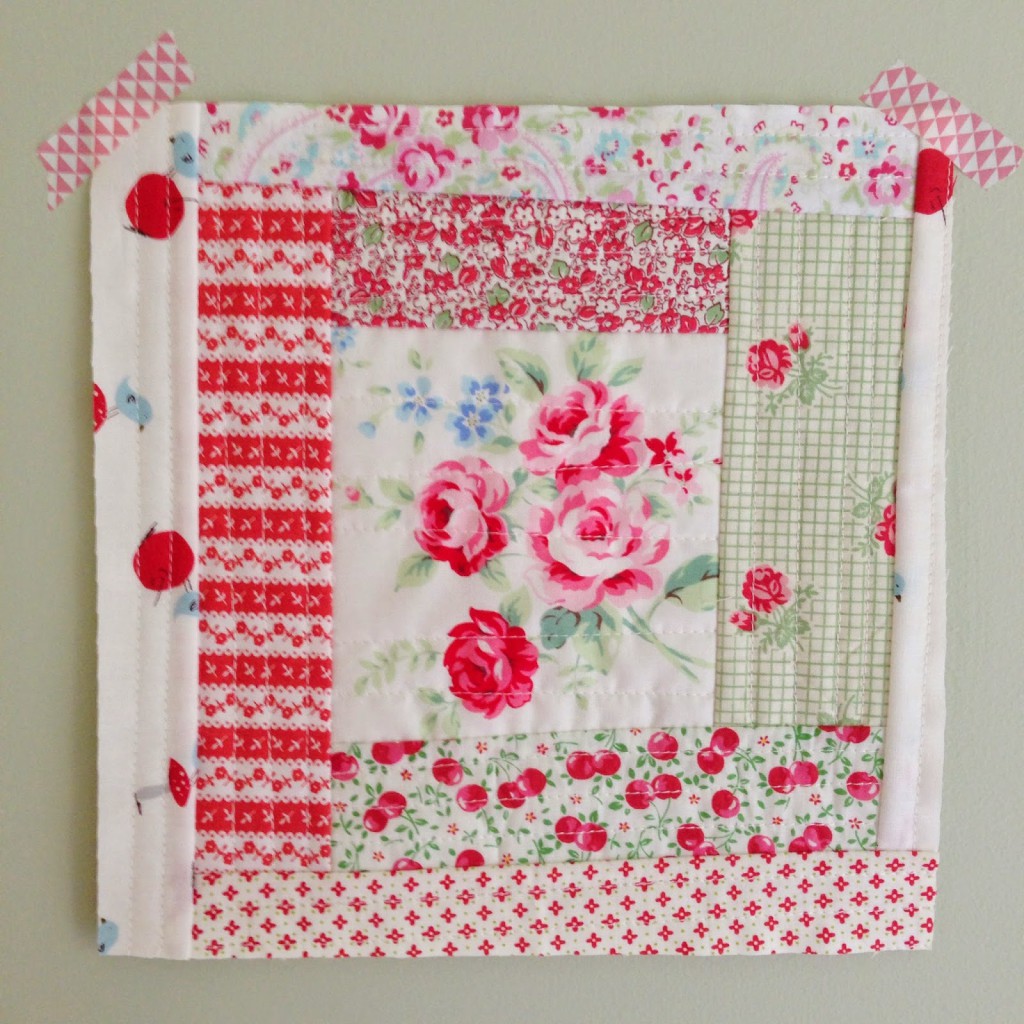
Here’s block number 1.ย  Only 19 more to go.

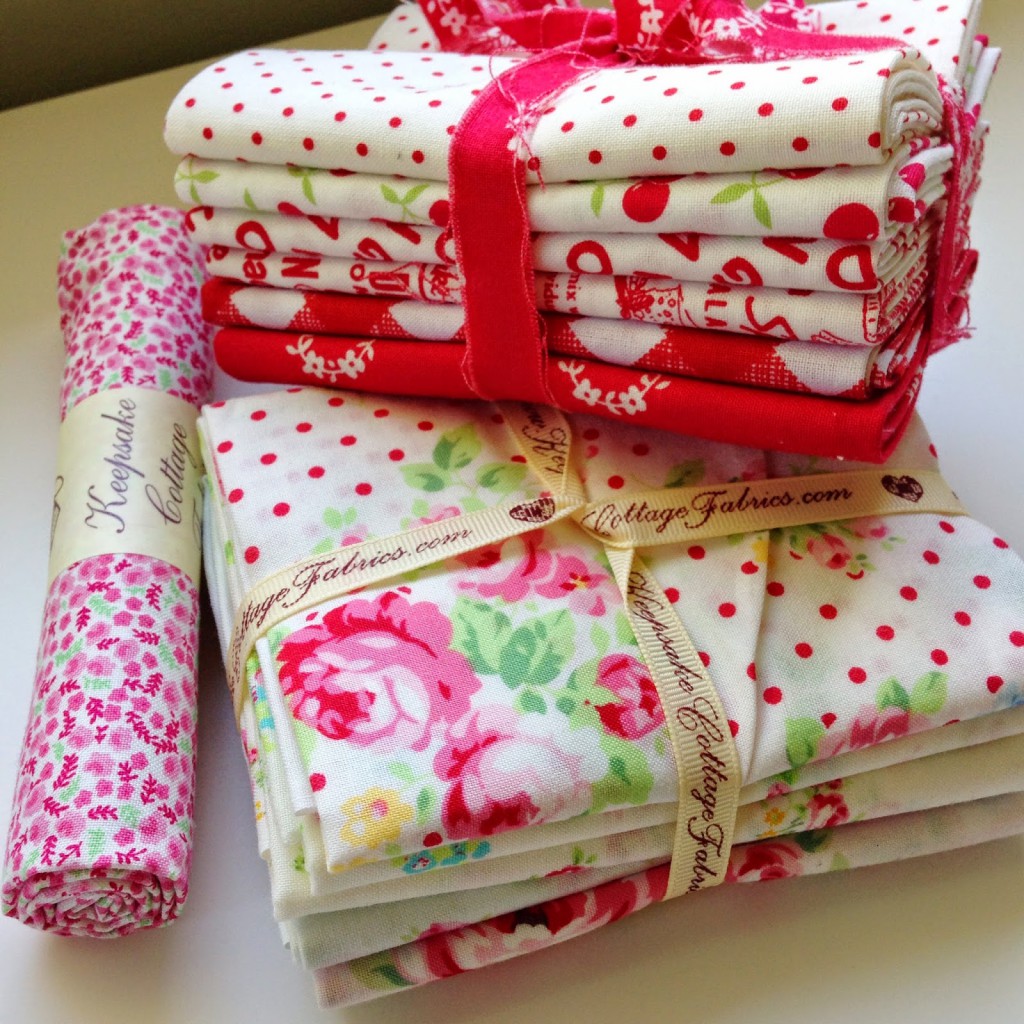
As mentioned, I can’t stop buying these cutesy prints. I bought these two adorable bundles from Keepsake Cottage Fabrics last week.ย  It’s dangerous for a fabriholic like myself because I’m teaching there now, and I buy something every time. ๐Ÿ˜ฎ

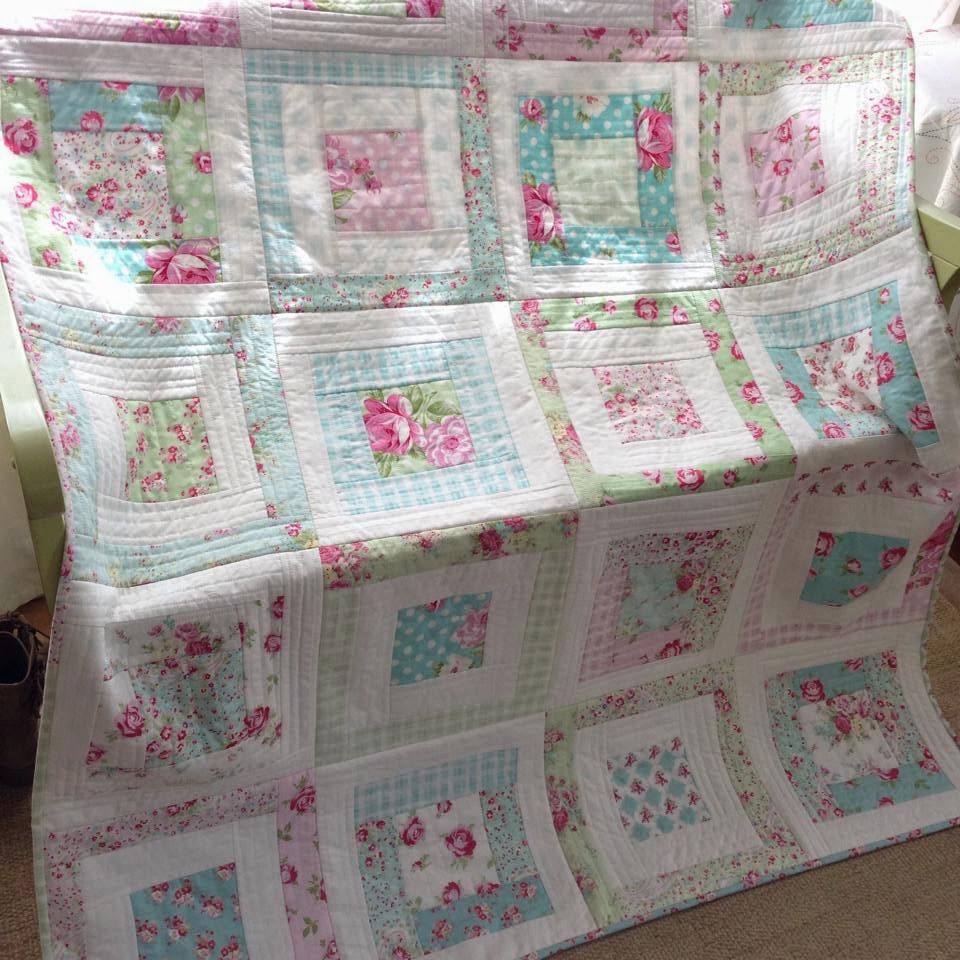
Speaking of teaching! My next class is at Keepsake Cottage Fabrics on Saturday, May 24. It’s already full but you can call to be put on the wait list, as we will be scheduling more classes there. I will be teaching this Quilt-as-you-Go:
Fabrics are from the Rosey collection by Tanya Whelan.
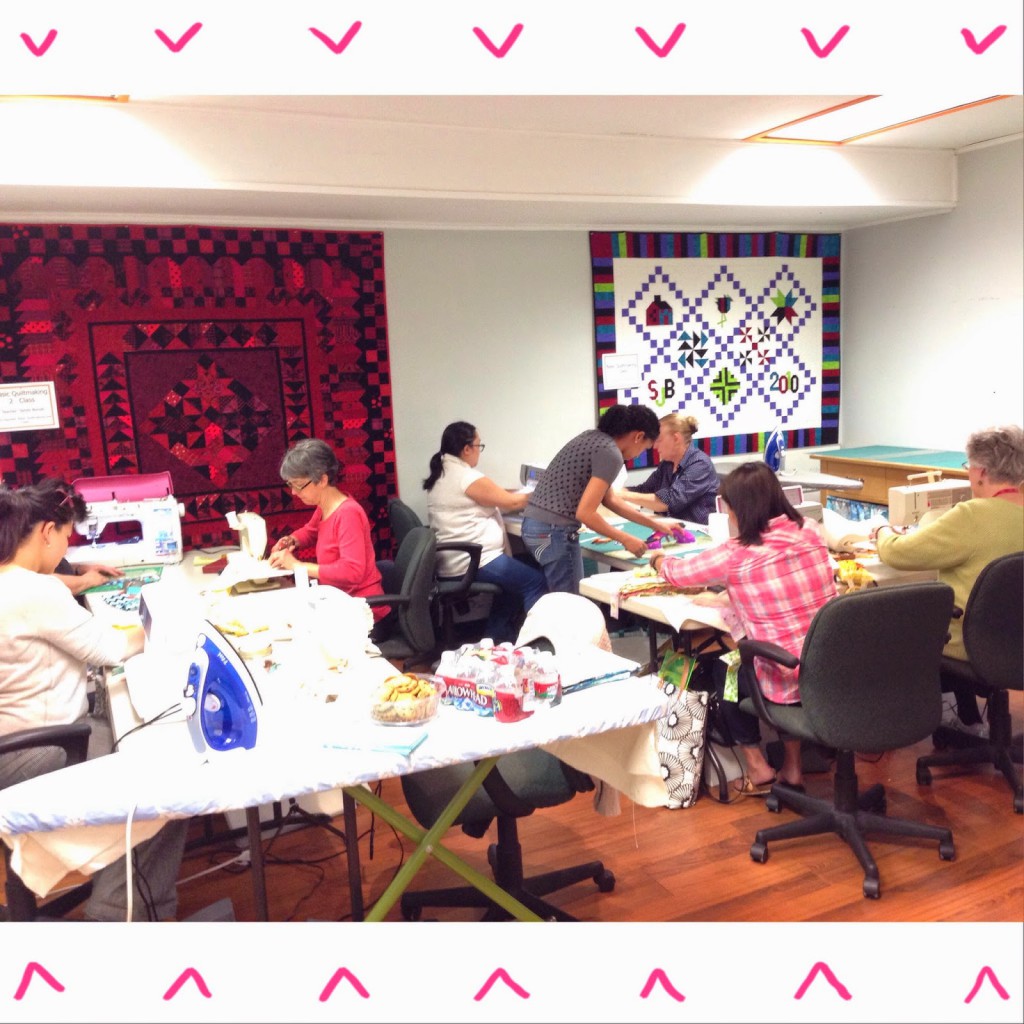
Below is a picture from a Quilt-as-you-Go class I taught last Tuesday at the Quilting Loft.ย  I really love teaching and meeting so many wonderful people that we all share a passion with: quilting and fabric! I have a class coming up at the Quilting Loft on Tuesday, June 10th. I have a bunch more classes lined up there that have not been posted yet so stay tuned.

As always, thanks so much for stopping by as I try to keep my blog up to date!

happy quilting!

xoxo
jera


Comments: 8 | Leave a comment


My New Book and New Quilt in Progress!

This is a short and very sweet post to share some exciting news, along with my latest Quilt as you Go.

Here’s the exciting news: last week my book became available for pre-sale on Amazon! Over a year ago I submitted a book proposal and heard back sooner than expected from my publisher. Then, I had 3.5 months to crank out 13 new quilt projects and write the book. It’s been a whirlwind of an experience, and seeing it available for pre-sale makes it so real! The book will be in stores mid-Sept., and will ship out from big retailers (i.e. Amazon) on October 1st. I’ll most likely be doing some book signings at local quilt shops so please stay tuned. ๐Ÿ™‚

With that, I wanted to share some pretty pictures of my latest Quilt as you Go. I’ve shared some of these photos on Instagram and/or Facebook, but I wanted to keep my bloggers updated as well. ๐Ÿ™‚

Also, I have a Quilt as you Go class on May 6th at the Quilting Loft in Ballard, WA. I think there’s a couple spots open if you’re in the area and want to sign up and learn the technique!

The collection I’m using is called Rosey my Tanya Whelan. (If you love it, use code RAIN15 for 15% off your entire purchase).

Some eye candy for all you fellow fabri-holics:

Here’s the blocks all quilted and ready to assemble.

And it obviously wouldn’t be a proper picture without my model and faithful quilting buddy, Paige.

And here it is all assembled. It’s refreshing how quickly a quilt comes together using this technique!

I’m working on binding it now, so I’ll have more pictures of it up once it’s all finished.

I was inspired by the colors of my vintage dish collectionย  to make this quilt.

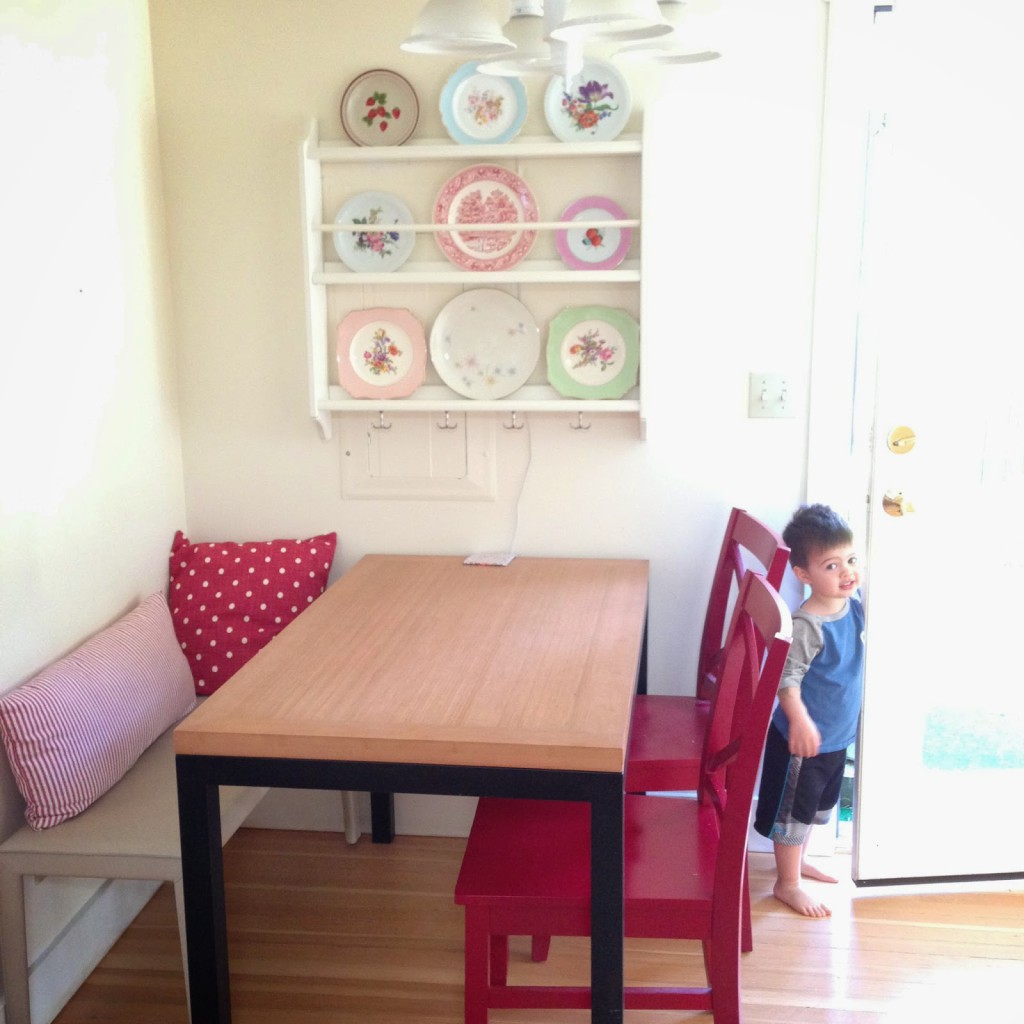
A cozy little corner in my home. ๐Ÿ™‚
Anyway, that’s it for now! I guess this ended up being a not-so-short post, but it was really sweet as promised! ๐Ÿ™‚
I’ll have another post up real soon that I’m super excited to share with you all. As always, thank you so much for stopping by and sharing my quilty-endeavors with me.
happy quilting!
-jera


Comments: 24 | Leave a comment


Quilt As You Go Improv Pillows

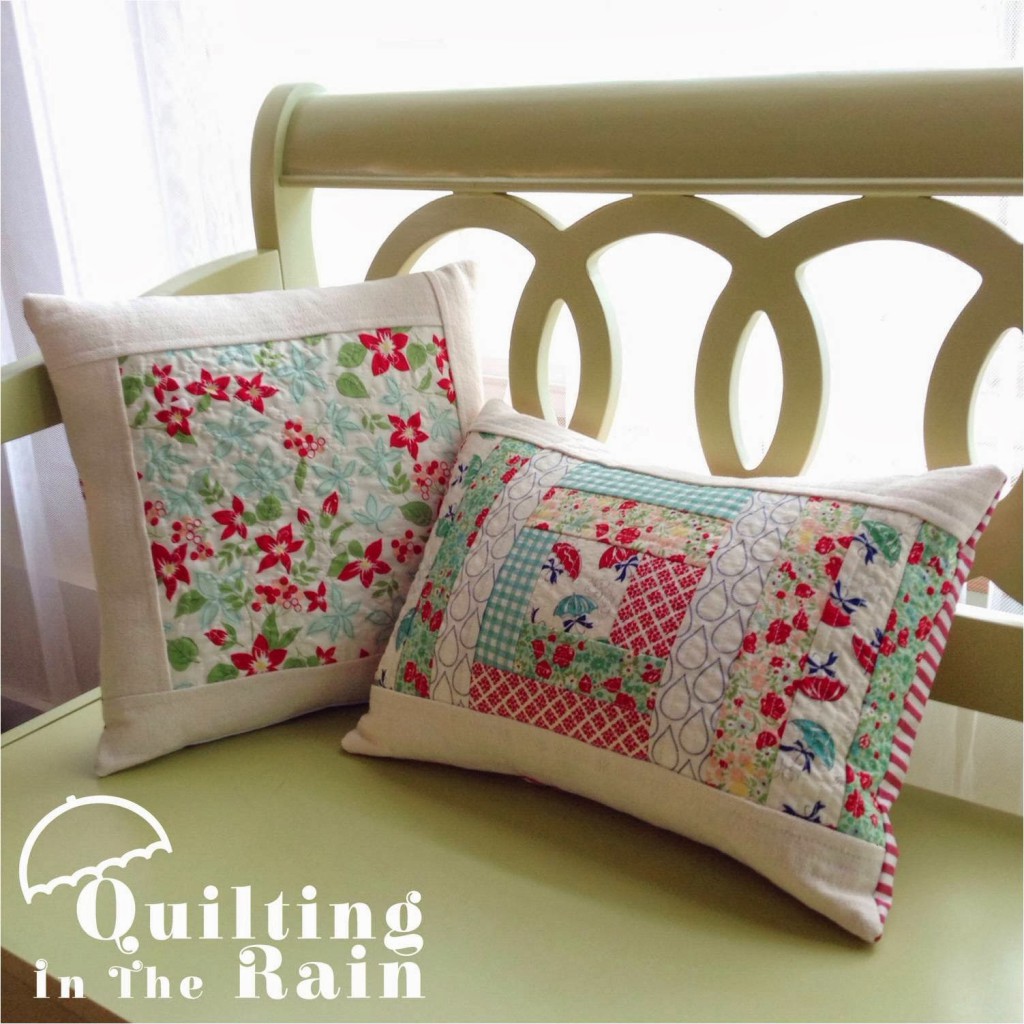
Hi All! This is Jera from www.QuiltingintheRain.com bringing you a creative weekend project. This pillow uses a modern Quilt as you Go technique which will be featured in my upcoming book, Quilt-As-You-Go Made Modern, to be released this Fall. I’m so excited to share this technique with you all!

The Quilt as you Go technique is very creative as it doesn’t follow a precise pattern. Rather, it takes on more of a improvisational style of piecing and quilting. For updates on my latest quilting endeavors, check out my Quilting in the Rain Facebook page and blog. You can also find me on Instagram. Thanks so much for stopping by!

Materials:
Please Note – For this pillow I used leftover Layer Cake squares from the April Showers Collection by Bonnie and Camille. Leftover fat quarter scraps will work too. For the solid borders, I used Moda Solids Prairie Cloth in Buff (this material is home decor weight but has a linen/canvas feel to it). For the back of the pillow, I used Moda’s Twill (home decor weight), Nautical Ticking Stripes in Red.

For Pillow No.1 (14″ x 14″ pillow cover):

  • 1 layer cake square (or a 10″ square cut from a fat quarter)
  • 1/4 yard border fabric
  • 3/8 yard Backing
  • 15.5″ x 15.5″ batting square (needle-punched batting)
  • pillow insert

For Pillow No.2 (16″ x 12″ pillow cover):

  • 6 layer cake squares for variety (or six different fat quarter prints)
  • 1/4 yard border fabric
  • 3/8 yard backing
  • 17.5″ x 13.5″ batting square (needle-punched batting)
  • pillow insert

Instructions for Pillow No. 1 (14″ x 14″ pillow cover):

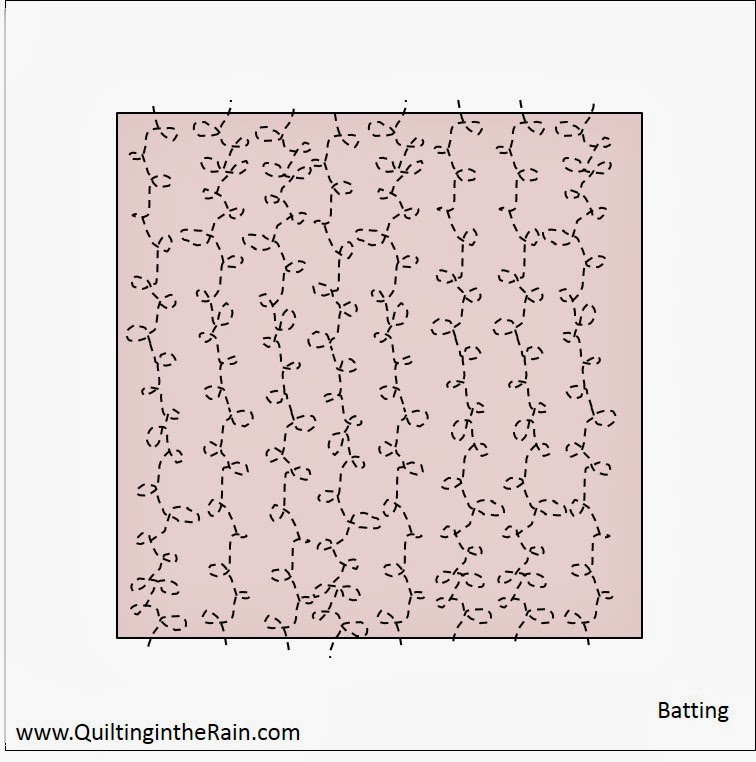
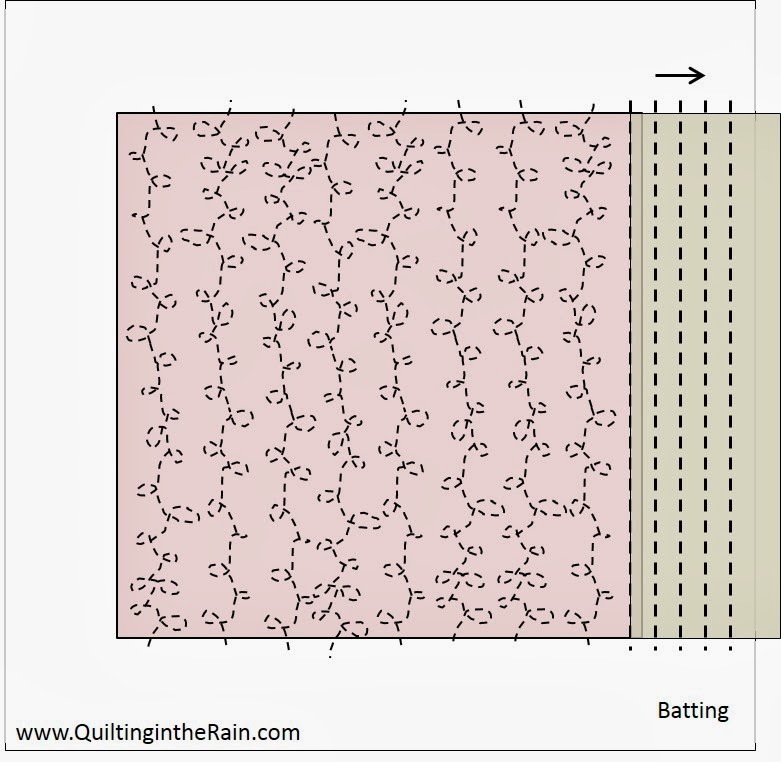
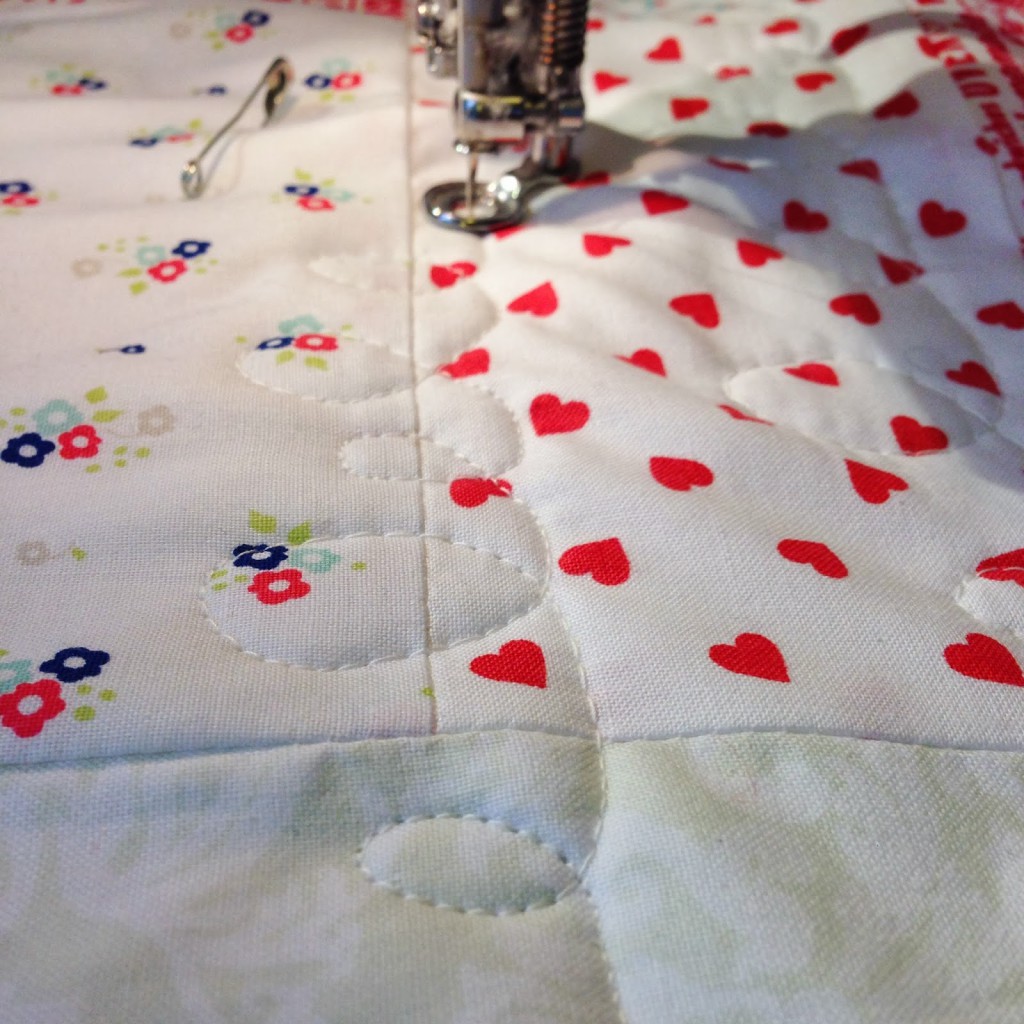
1.ย  Take a 10″ square and place it in the center of the batting. Place a few pins to help keep it down. Then, quilt it directly to the batting. As shown below, make sure your stitch starts and ends on the batting.

I did free-motion quilting with some simple loopy-loops. If you’ve never
free-motion quilted before, now is a good time to try it out as it’s
easier to do it on a smaller, more manageable block.

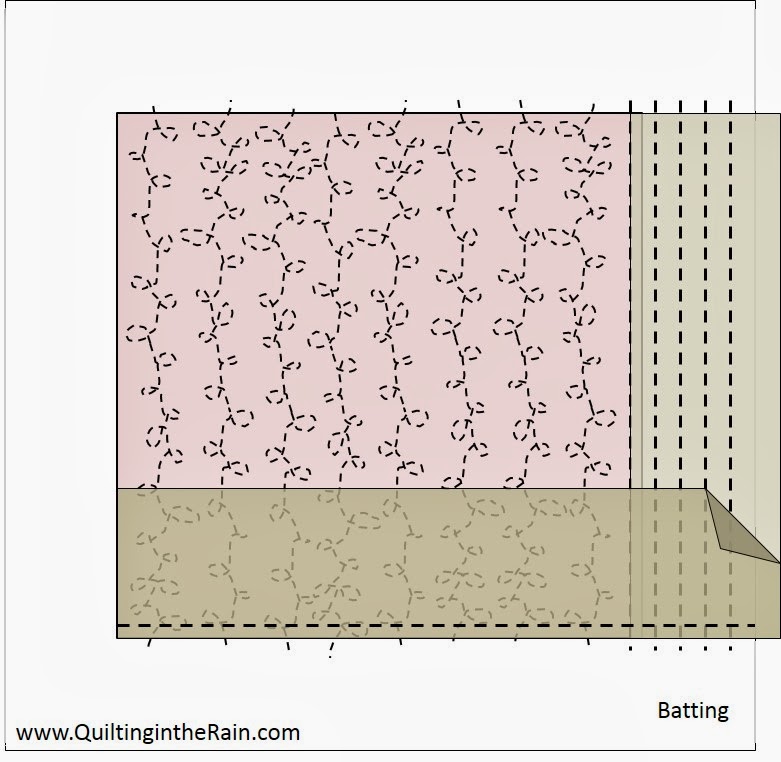
2. From your border fabric, cut two 3.5″ strips along the length. Take a strip and trim it with fabric scissors so it’s the same length as the side of the square. With right sides facing together, sew a 1/4″ seam allowance.

3. Press open, and then quilt lines that run parallel to the seam. There will be some extra fabric hanging over the batting. As shown below, make sure your stitch starts and ends on the batting.

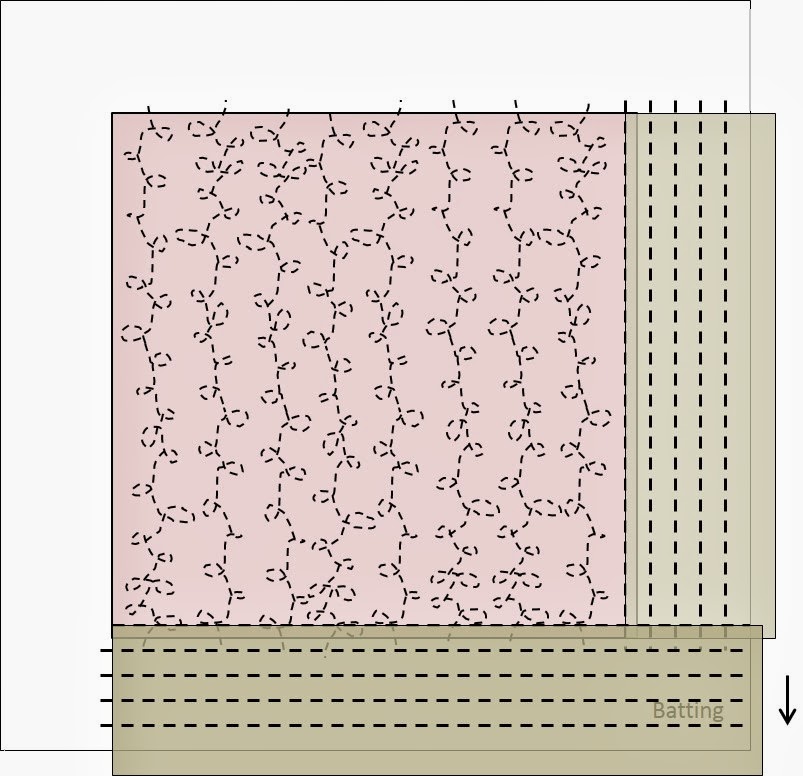
4. Take the strip and trim it with fabric scissors so that it measures the length of the square and strip that you just pieced together, as shown below. With right sides facing together, sew a 1/4″ seam allowance.

5. Press open, and then quilt lines that run parallel to the seam. There will be some extra fabric hanging over the batting.


6. Repeat the previous steps until there is border fabric surrounding all four sides of the square. You are essentially piecing fabric in a log-cabin style method, but quilting it directly onto the batting as you go.
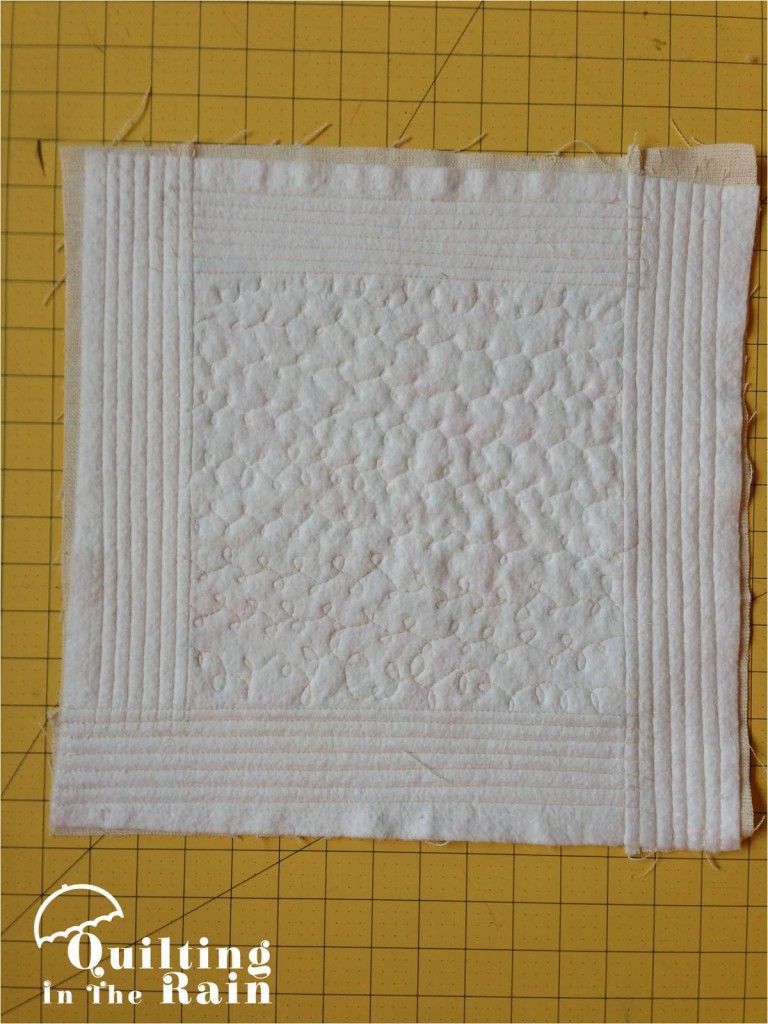
When you are finished, the entire batting will be covered and will look similar to this.
The back will look similar to this:
Flip the block over so the batting side is facing you. Trim the excess fabric sticking out side of the batting. Then, flip it over so the patchwork is facing you and trim approximately 1/4″- 1/2″ from all four sides so that your block measures 14.5″x14.5″.
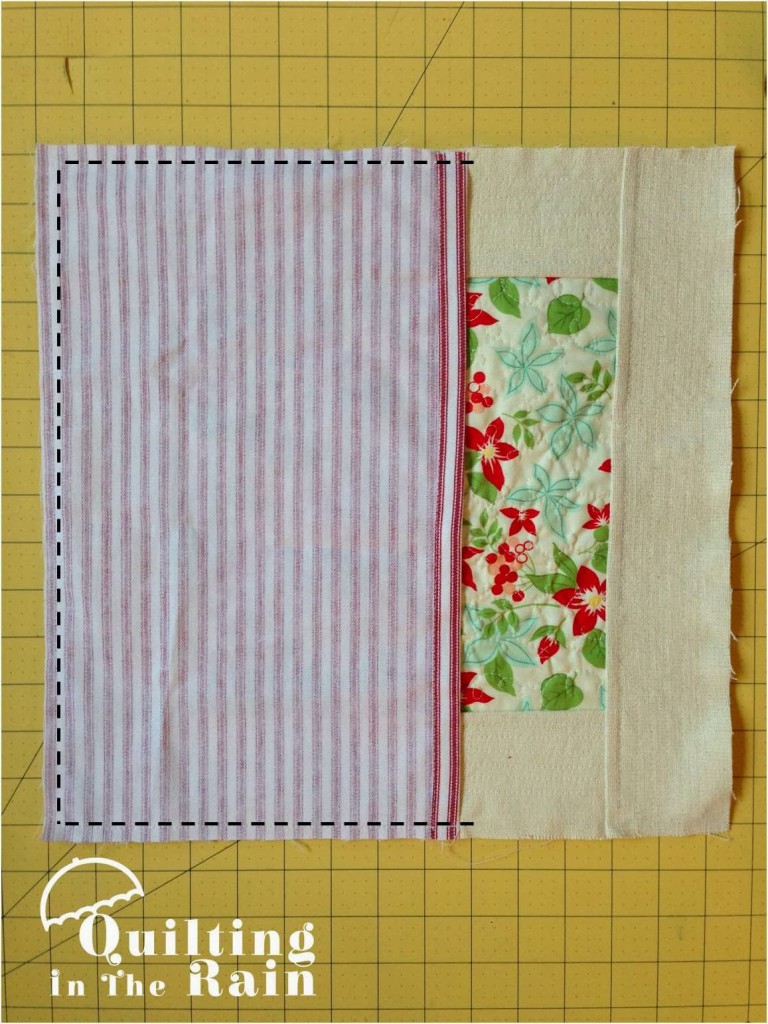
7. Next, create an envelope closure for the backing. From your backing fabric, cut two 11″x14.5″ rectangles. Along the length (14.5″ side),ย  turn the edge 1/4″ under,
press, then turn under 1″, then press again. Stitch along the fold to
keep in place to create a pretty seam. Repeat on the other rectangle as well.
With right sides facing together, take one rectangle and align it
along the left side of the pillow cover. The finished seam you
created from the previous step should be facing toward the right. Pin
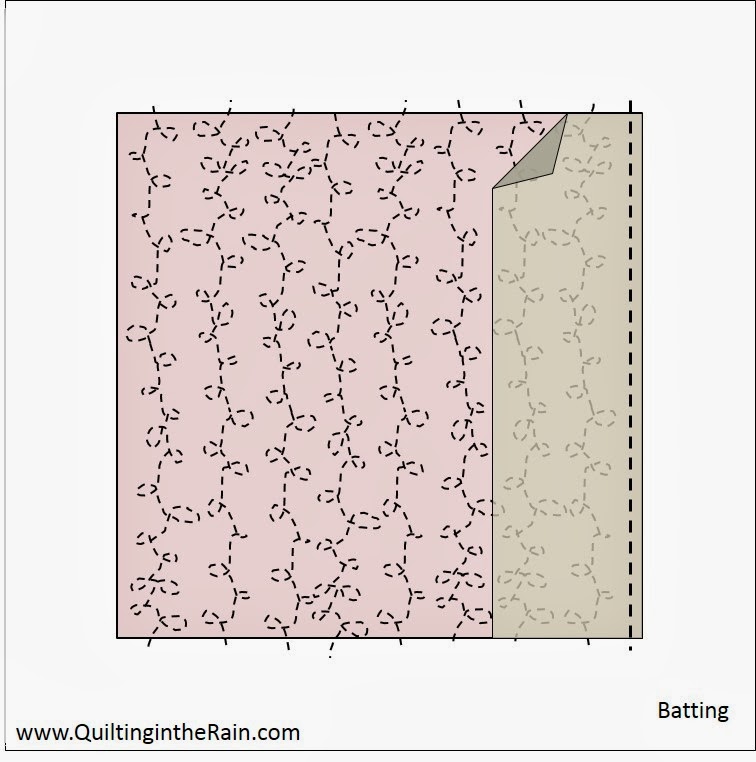
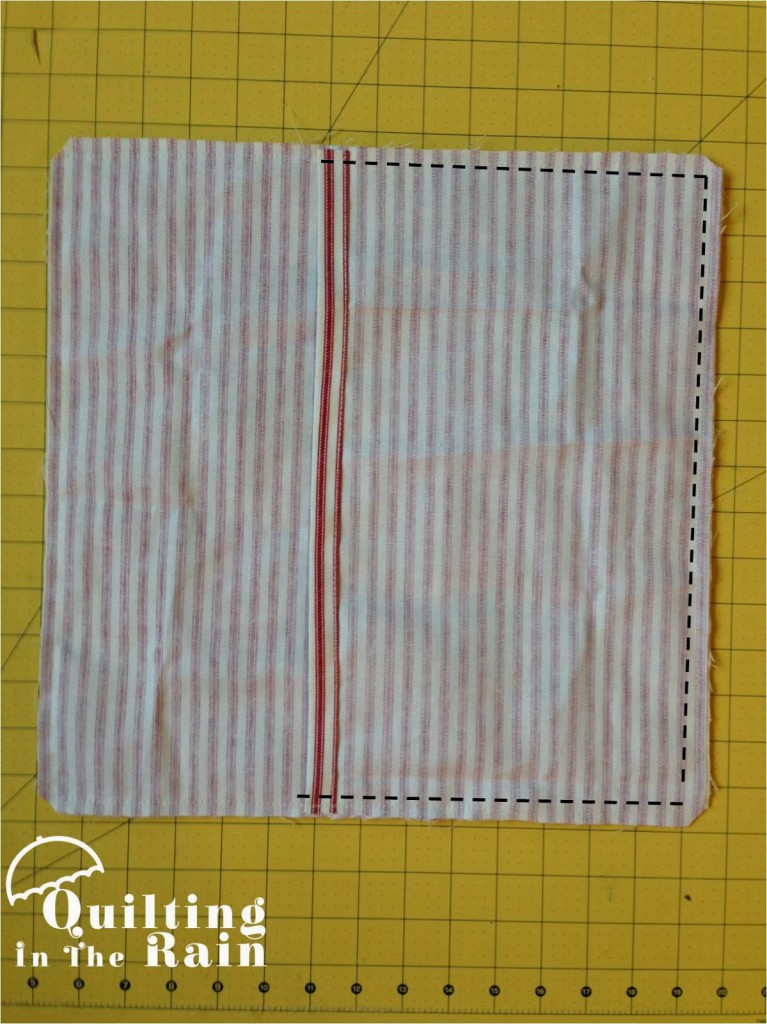
to keep in place, then sew a 1/4″ seam allowance along the perimeter as illustrated by the dashed
line below. Start and end your stitch with a
back-stitch.
Repeat with the other rectangle, but align it on the right side of the pillow. Lastly, trim the corners to get rid of bulk fabric, and then turn right side out.
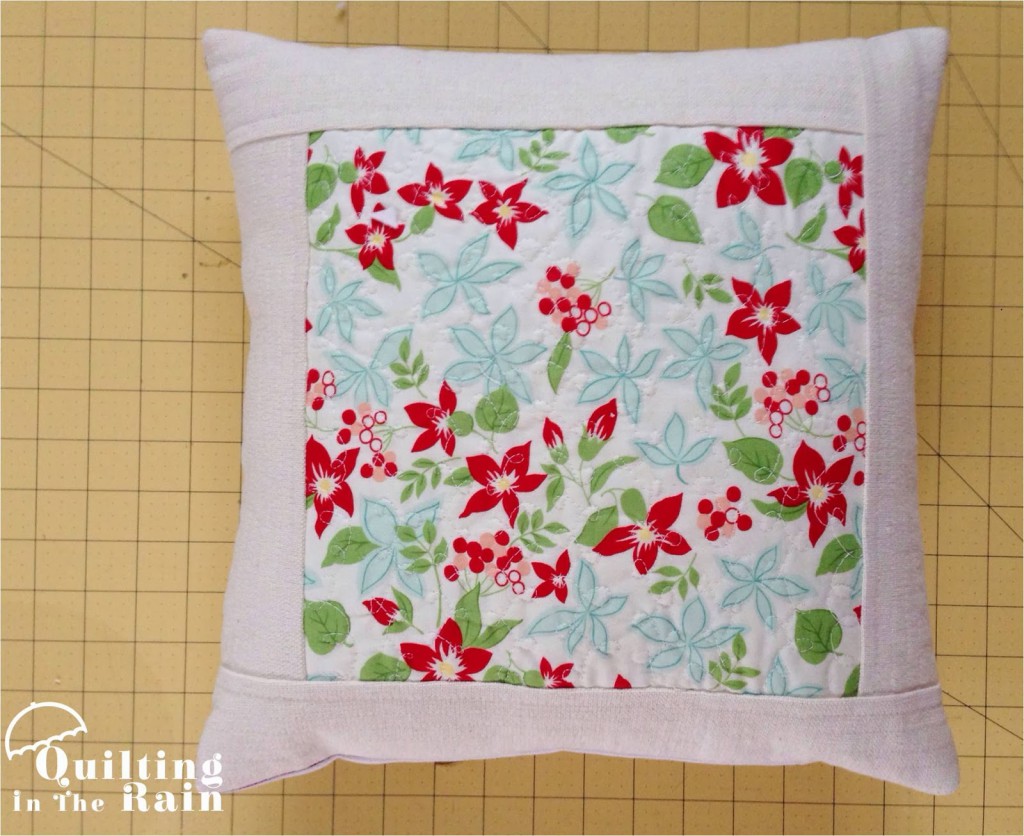
Insert the pillow and there you have it! ๐Ÿ™‚
Instructions for Pillow No.2 (16″ x 12″ pillow cover):
Please note: For this pillow, the same exact technique that was described above (for pillow No.1) was used, except with smaller pieces of fabric. The technique I explained from the first pillow will give you the basic understanding you need to complete this next pillow. That being said, I will not list step-by-step instructions.ย  Rather, I have listed the order in which the strips should be pieced. Enjoy! =)
1. From your fabric, cut one 3″ square and a couple 2″ strips from each print (you will trim these strips as needed).
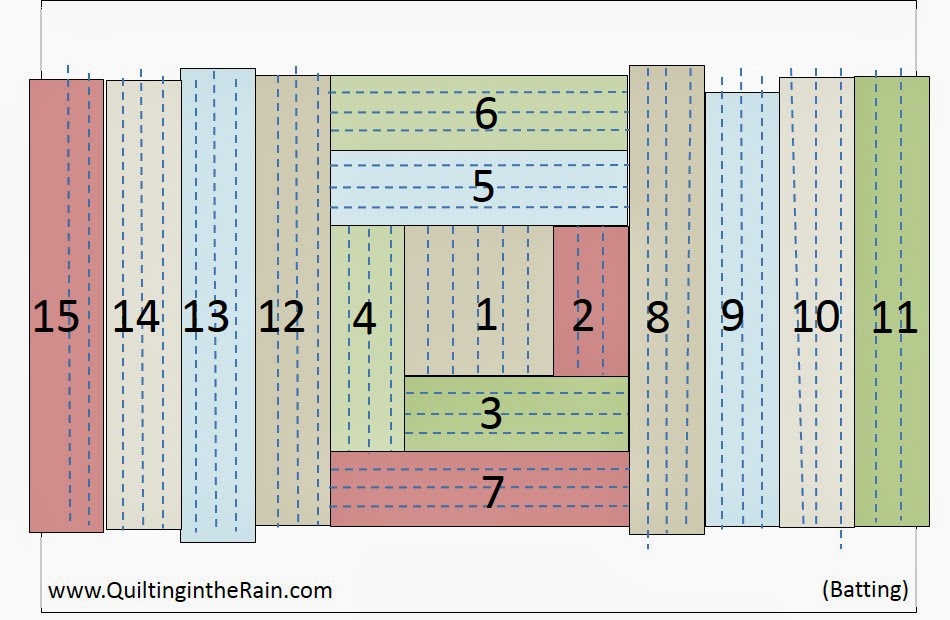
2. Start by placing the 3″ square in the center of the batting, and then quilt it. Next, add strips making sure to trim them with fabric scissors to the correct size. Add the strips in the following order, using the quilt as you go method previously described. For this pillow, I quilted straight lines that ran parallel to all of the seams.
Tip! Fabric can shift while stitching on the batting. Correct for this by
keeping the strips aligned and โ€˜squareโ€™ them as necessary. The seams of each successive piece should be at a 90ยฐ angle to the previous quilted piece.
Also, please note that your pieces will shift around slightly and the batting will stretch a little – this is completely normal. So don’t expect yours to look as straight as the illustration above. =)
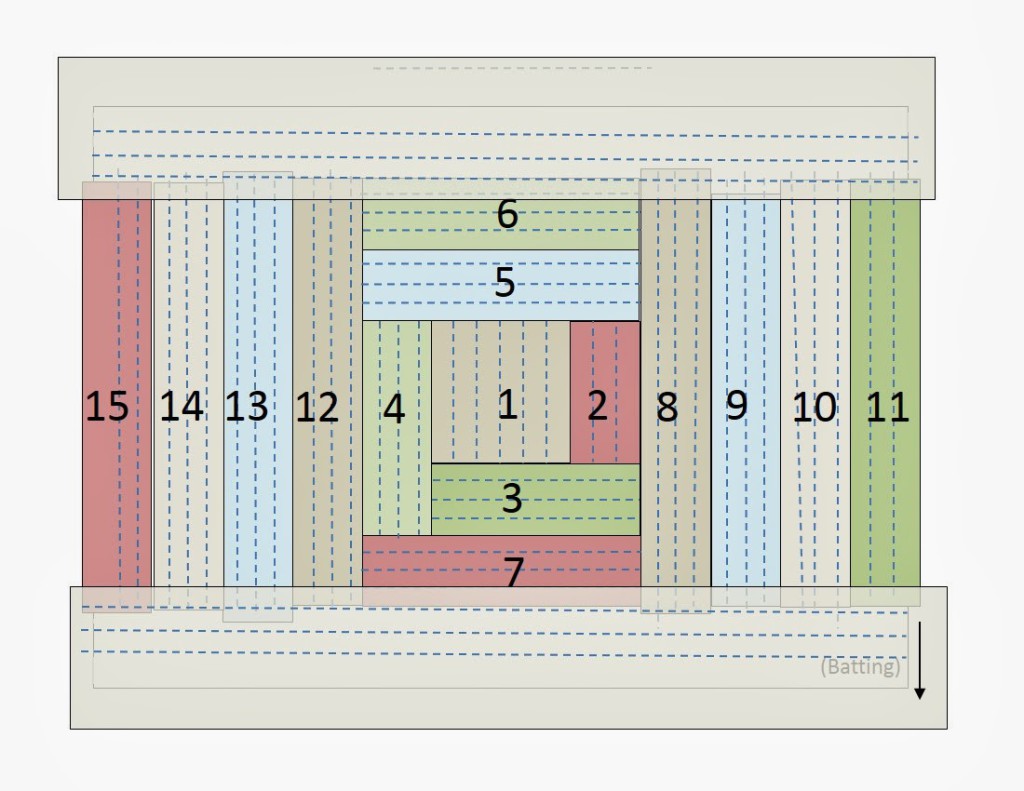
3. From your border fabric, cut one 5-6″ wide strip along the length. With right sides facing together, place the strip along the length of the patchwork as shown below. Overlap the strip with the patchwork as needed to straighten it out, and as mentioned in the “Tip!” above. Sew.
4. Press the strip down, and then quilt lines that run parallel to the seam. Repeat for the top so that the entire batting is covered.
5. Flip the block over so the batting side is facing you. Trim the excess
fabric sticking out side of the batting. Then, flip it over so the
patchwork is facing you and trim approximately 1/4″- 1/2″ from all four
sides so that your block measures 16.5″x12.5″.
6. Next, create an envelope closure for the backing. From your backing fabric, cut two 11″x12.5″ rectangles. Repeat step 7 from Pillow No.1 to create the envelope closure and to finish your pillow.
And that’s it! Quilt as you Go is definitely a fun and different way to quilt. I hope you enjoyed learning this new improvisational technique! Now that you know the concept, you can get really creative with all the other fun Quilt as you Go pillow designs you can think up!
(Above: Paige modeling a Quilt as you Go strip quilt using the Scrumptious collection by Bonnie and Camille).
Let your creativity rain!
xoxo
-jera

Comments: 3 | Leave a comment


A New Quilt, Moda Bakeshop tutorial and Quilt as you Go Class!

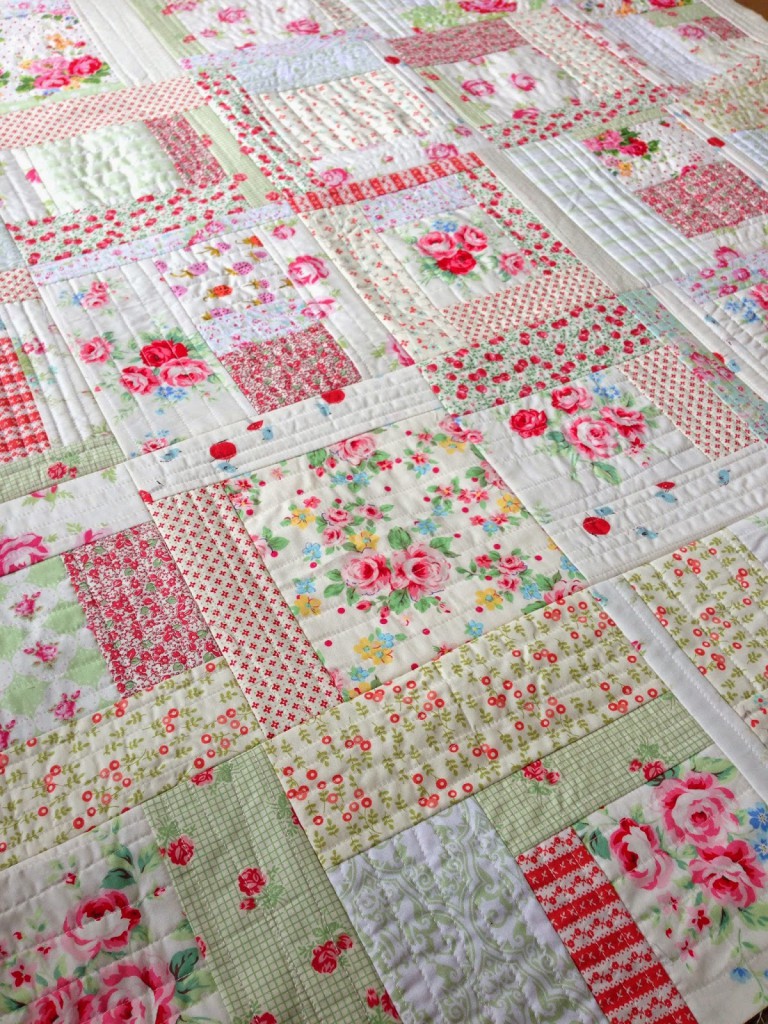
Before I move forward with any updates, I wanted to give a sneak peak of my latest quilt! (I still need to bind it!) This is a low volume bundle quilt. If you love it, my next post will have a tutorial on it along with a custom quilt kit from my friend Cristi over at Whimsy Quilts and Fabrics! Like me, Cristi lives in Washington but in the city ofย  Issaquah. If you haven’t yet, check out her shop and use discount code RAIN15 for 15% off, which is good for this whole month of March ๐Ÿ™‚ I’m a long time customer of her shop, which used to be an etsy.
Next, my Quilt-as-you-Go pillow tutorial posted on Moda Bakeshop this morning! Check it out for a taste of my modern Quilt-as-you-Go technique to be featured in my upcoming book. Enjoy! Oh, and thanks to moda Bakeshop, HERE’s a printable version of it.

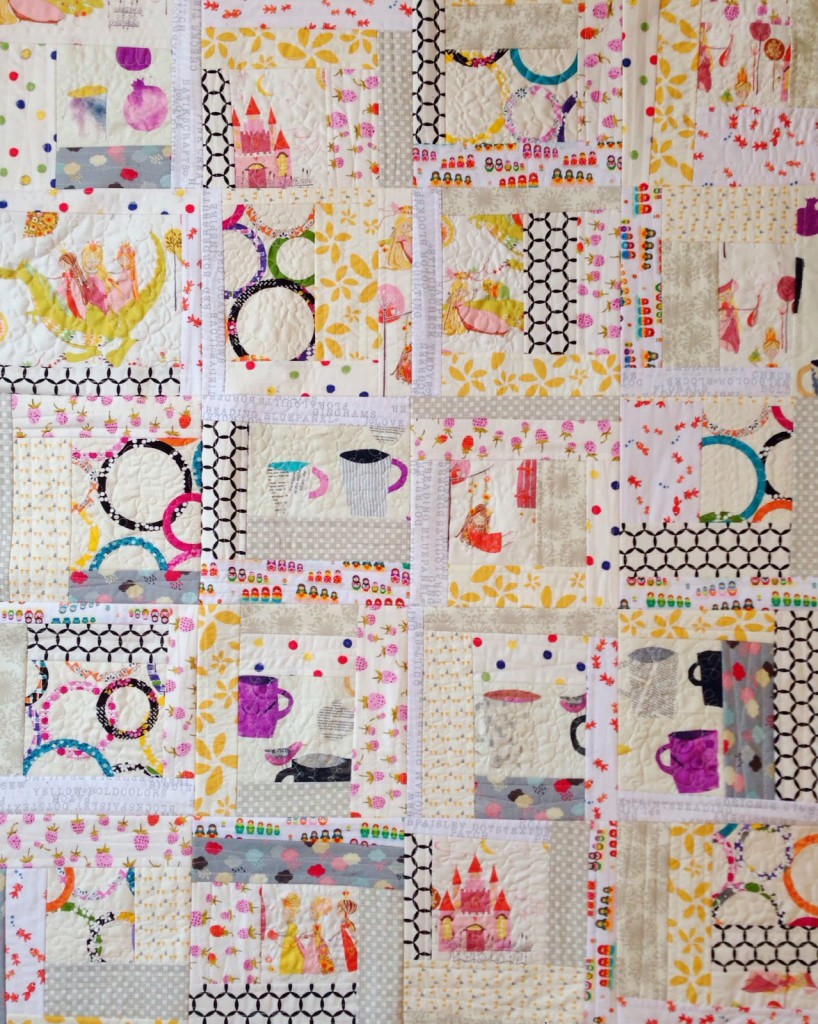
Next, if you’re in Washington I have another Quilt-As-You Go class at the Quilting Loft in Ballard, Seattle. The class is on Tuesday, May 6th from 6-9pm. Register here. I hope to see you there and I’d love to spend the evening sewing with you ๐Ÿ™‚ !! I’ll be teaching how to make the following quilt, but you’ll also learn the technique so you can take your quilt in a whole other direction if you wish – it’s a very creative technique and class!

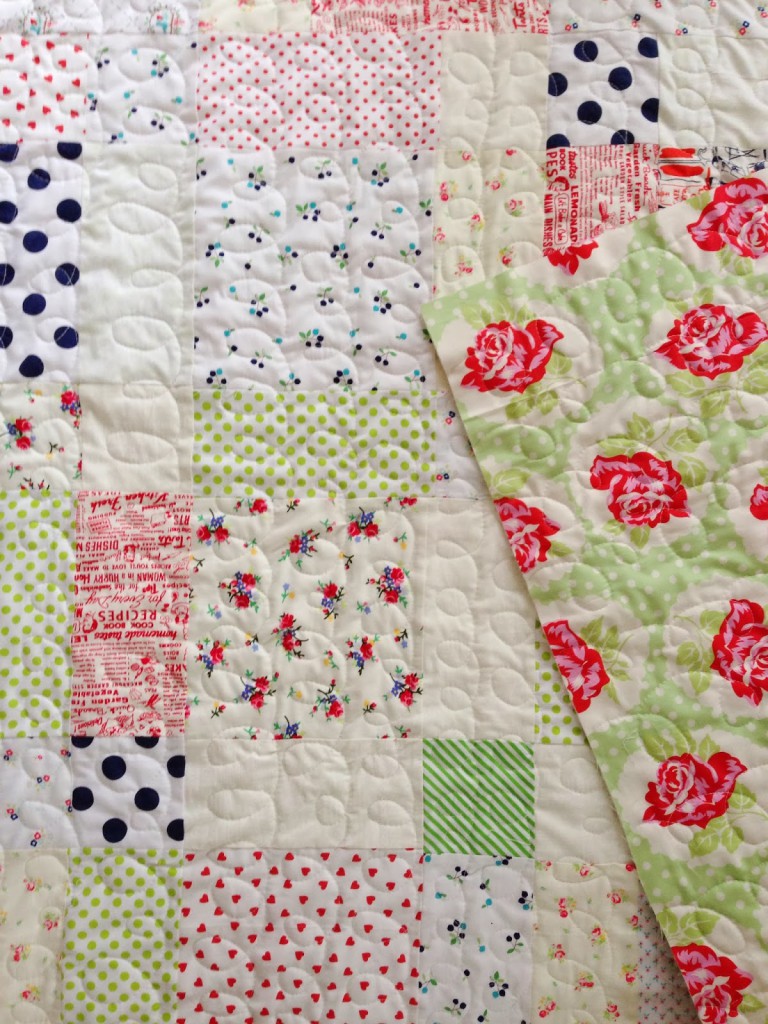
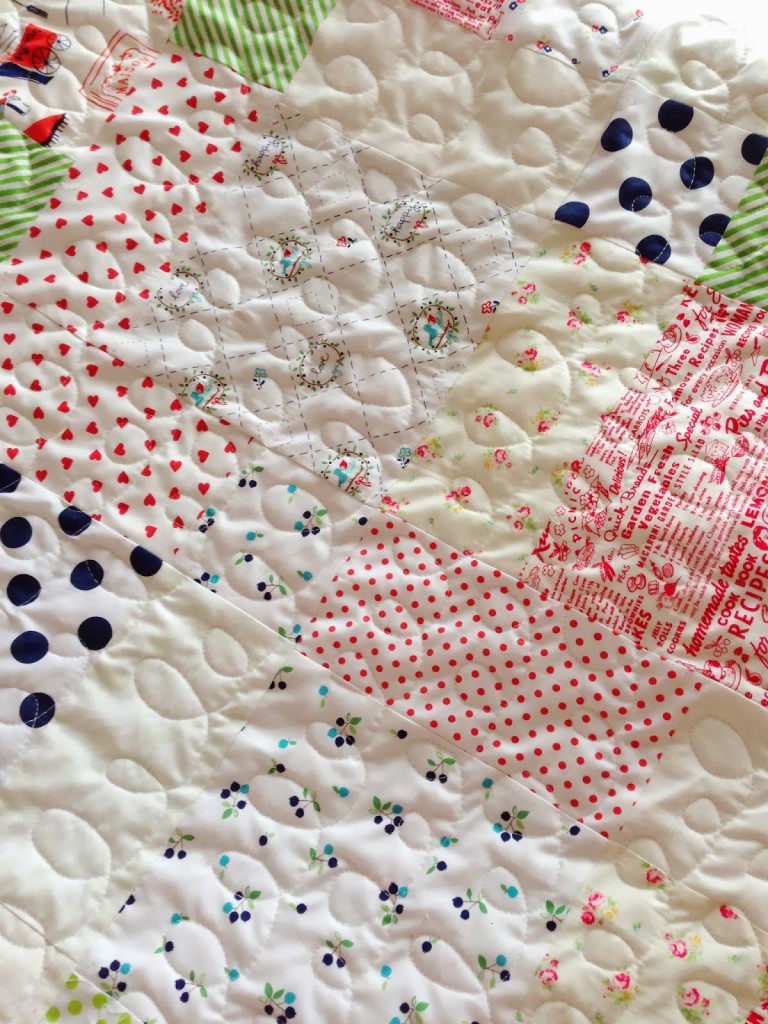
Finally, here are a few more pictures from last night of my latest quilt. I was up until 1 AM happily quilting it! ๐Ÿ™‚ I was in ‘the zone.’ This was my first quilt doing free-motion quilting without using my quilting frame (which i sold after having Ethan). I had a sudden streak of confidence to do this. I’m sure it’s from all the free-motion quilting practice I had from my latest Quilt-as-you-Go quilts.

I stuck with simple loopy-loops…

Absolutely LOVE how it turned out!


Thanks for stopping by my blog to see my latest! Happy Friday and have a wonderful weekend ๐Ÿ™‚
xoxo
-jera

Comments: 9 | Leave a comment

Site by Spunmonkey.