The Chevron curtains puts a nice finishing touch to my new crafting space! I still need to make curtains for the storage on the bottom right side of the picture above to help hide all my crap. The shelf unit under the table has wheels and I plan on putting a red cutting mat on the top so I can roll it out when I’m ready to cut. This picture looks so pristine, lol. Wait until I start sewing in it and make a mess. I cant wait! 😉
Archive | September, 2012
My first reupholstered chair
So I’m going to be honest…I totally winged this project. I’ve never reupholstered anything before. I skimmed some DIY’s on pinterest (yes, skimmed, as i really don’t have time for much more these days!) and figured it could be done. What have I got to lose except a $30 chair from Ikea 😉 Overall, i’m totally happy with how it turned out. I absolutely love it, and now i want to reupholster just about every chair in my house.
This isn’t a reupholstering tutorial as I am such an amateur! But I’ll show you how i did it. For those of you that have been following me, you’ll know that I’m incredibly laid back when it comes to crafting – I just do what works! That being said…WARNING for you reupholstering gurus out there, you might want to avert your eyes at my reupholstering skills…or lack thereof? 😐
First I cut enough fabric to give me plenty of leftover for wrapping around the entire seat cushion. I didn’t have to add any batting or cushion since the Ikea chair I bought already came cushioned.
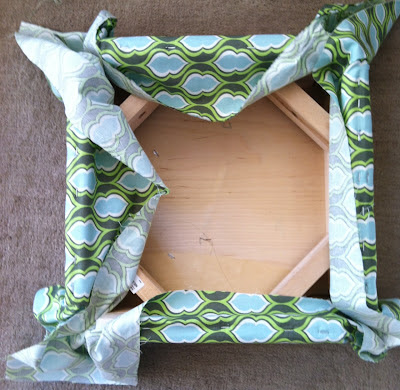
Then I had fun with my husband’s staple gun. I started by stapling the fabric to all four sides of the chair (starting with opposite sides) making sure it was nice and taught.
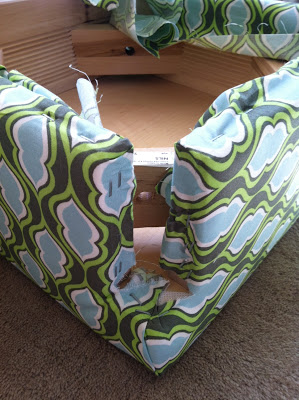
And then I pretty much butchered the corners and stapled the hell outta them until they lay nice and flat. Hah! I told you this isn’t a tutorial! Hey, have you ever wrapped a Christmas present before? If yes, then you can do this! ;-p
After finishing the corners, I trimmed all the excess fabric to tidy it up.
Lastly, I screwed the legs onto the seat using the notorious Ikea hex-wrench (it’s amazing how much furniture you can put together with that wrench!). And tah-dah! I’ve got myself a custom reupholstered chair for my new crafting space. I’m a happy mama. 🙂


Comments: 22 | Leave a comment