 First of all, happy Valentine’s Day! I hope you all treated yourself to something sweet.
Second of all, it’s crazy to think that yesterday was my baby boy’s due date yet I’ve had my little munchkin for 14 days now! It’s been a tiring but rewarding and exciting 2 weeks adjusting to Ethan’s schedule, but we’re getting there!
While up at 3 am the other night nursing Ethan, I managed to compile/edit these rag quilt photos on my iPhone. I made this quilt for my dear friend who is due next month. I was able to finish this quilt the Saturday before my maternity leave started.
 I made this quilt using 1 Layer Cake (pre-cut 10 inch squares) from the Puttin’ on the Ritz collection.
Rag quilts are awesome – they’re simple and quick projects that make such softly textured quilts. I love the simplicity of rag quilts so much that I decided to post a super quick tutorial on how I made it. If you need a more detailed tutorial, you can refer to my Rag Quilt Tutorial.
Materials:
- 1 Layer Cake (or 40 pre-cut 10 inch squares)
- 20 pre-cut 9 inch squares of batting (I used Warm and Natural batting)
- Coordinating thread
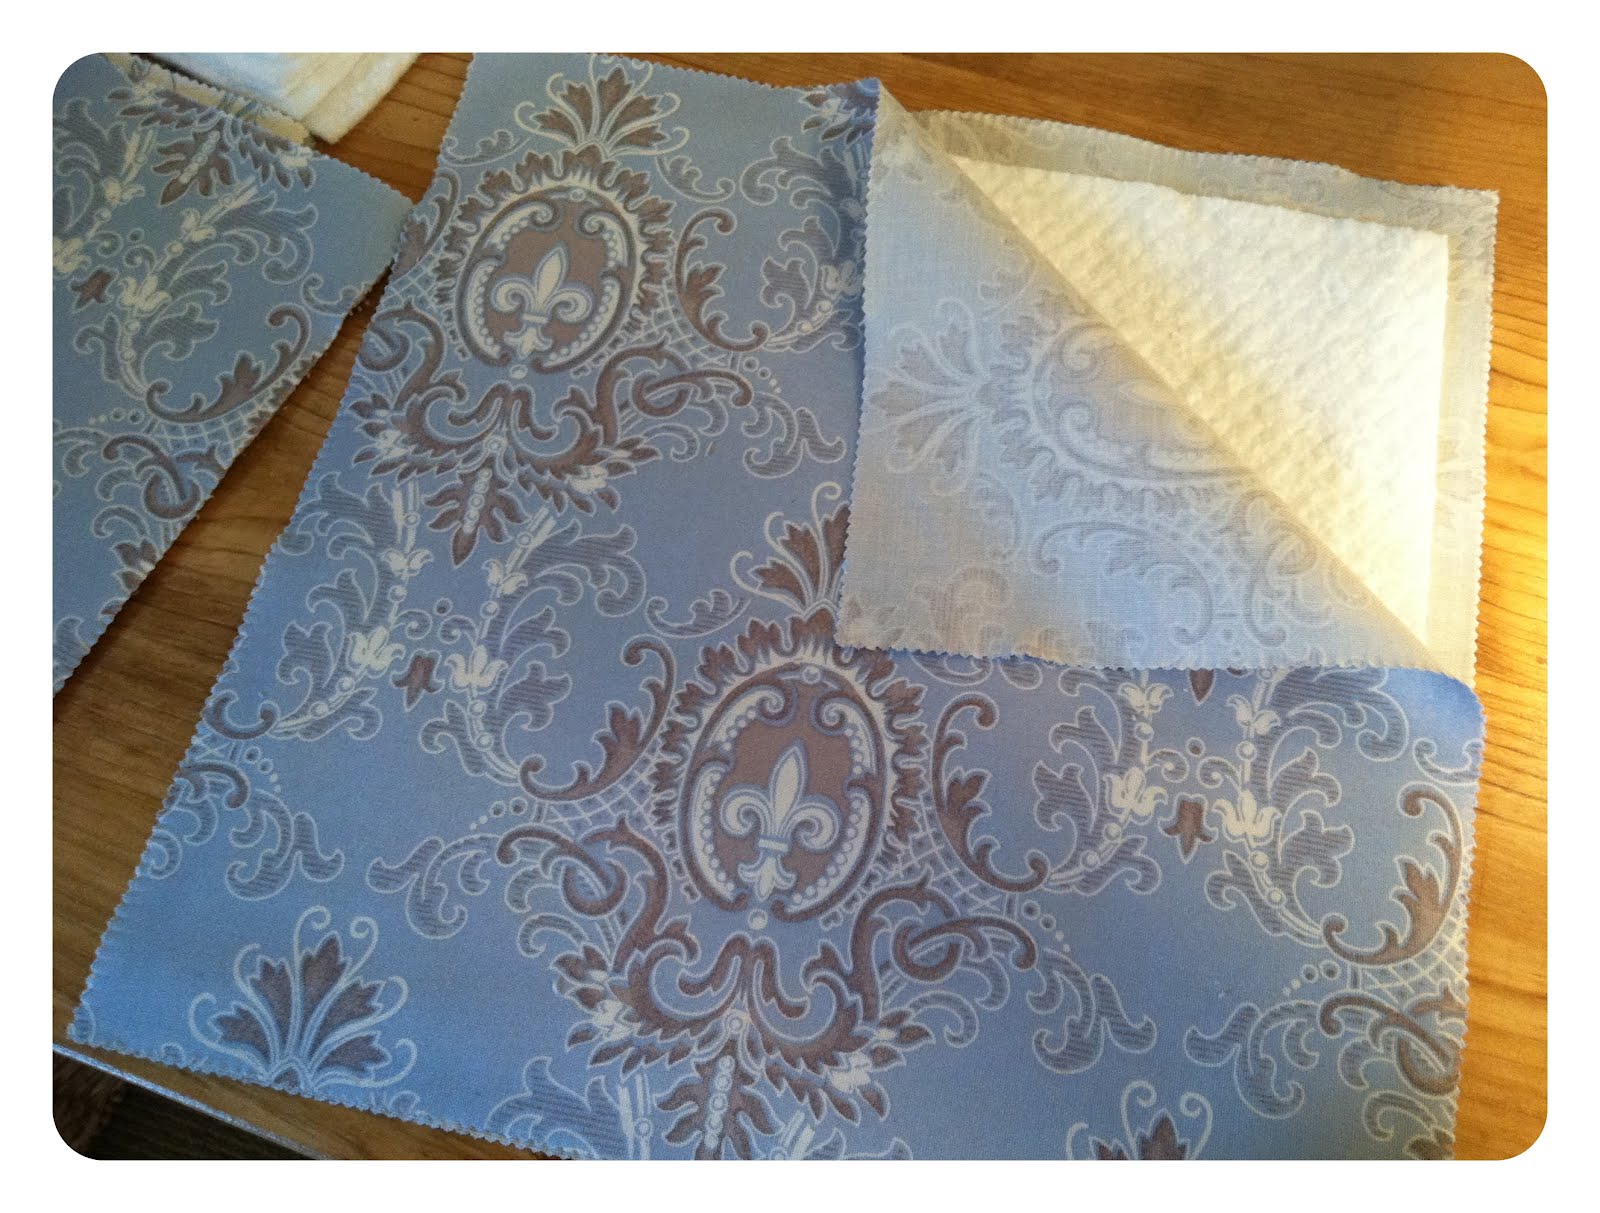
 Step 1 – Make a mini quilt sandwich: take one 9 inch batting square and sandwich it in between two 10 inch fabric squares. Make sure the batting is centered; also, the wrong sides of the fabric should be facing the batting. Repeat until you have 20 mini quilt sandwiches.
 Step 2 – For all 20 mini quilt sandwiches, sew an X as shown below. You can start and end sewing at least 1/4″ from the corners. Start and end each stitch with a back-stitch.
 Step 3 – Arrange your 20 mini quilt sandwiches in 5 rows of 4 sandwiches each. Keep in mind of how the back will look.
 Step 4 – Sew the quilt sandwiches together using a 1/2 inch seam allowance. Start by sewing the sandwiches within each row together, and then sew the rows together. After you’ve sewn all five rows together, sew a 1/2″ seam allowance around the perimeter of the quilt. This quilt requires no binding!
 Step 5 – Use sharp fabric scissors to snip little frays (roughly ¼” apart) along all of the ½” seams. Lastly, throw the quilt in the wash/dryer so the frays become all soft and fluffly. 🙂
 That’s it! You know me…I absolutely love cute and satisfying projects like these. Now that i have a little one of my own, I could use more projects like these. Thanks goodness for pre-cuts!
Happy quilting! Back to my munchkin’ for now… 🙂


Comments: 23 | Leave a comment