
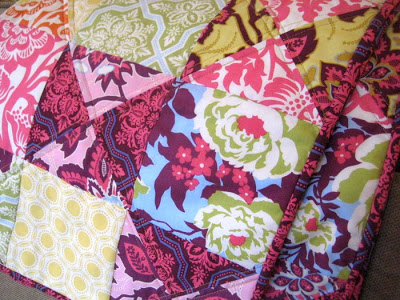
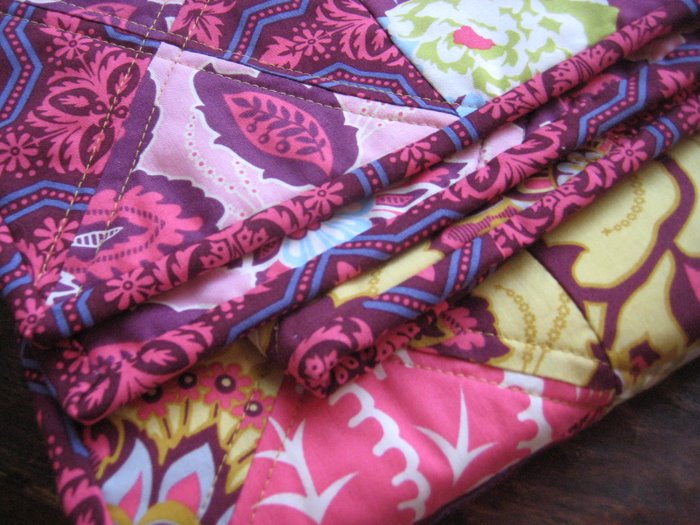
 Recall this quilt I was working on? I finally finished it! This one went to my Grandma in the Philippines as a gift for her 50th wedding anniversary. 🙂
It’s a simple quilt that doesn’t require that many materials. If you use the right prints, it’ll turn out looking more intricate than it really is! I used the Heirloom collection by Joel Dewberry.
If you like it, we have Heirloom quilt kits available at our shop. The kits come with all the fabric you need to make this quilt (even backing and binding fabric). Enjoy the tutorial below! Only five simple steps.
Materials for one 35″ x 46.5″ quilt:
- 8 fat quarters (or 8 quarter yard cuts)
- 1.5 yards backing fabric
- 1/2 yard binding
OR
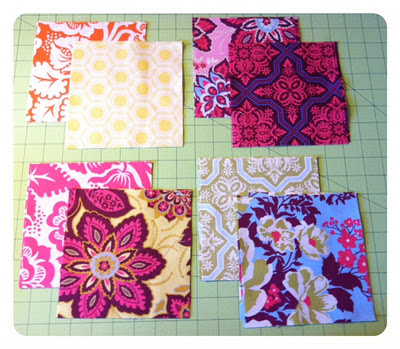
Step 1 – From each fat quarter, cut three 7 inch squares (save the remaining scraps for step 4). This will give you a total of twenty-four 7 inch squares. For quicker cuts, stack your fabrics 2-3 at a time, press with an iron to help keep in place, and then cut.
Then, pair your fabric prints:
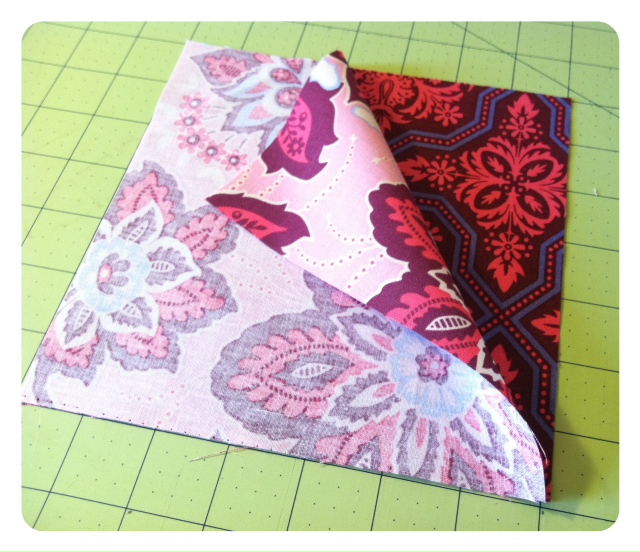
 Step 2 – Choose a fabric pair to start with, and place one square directly on top of the another, with right sides facing together.
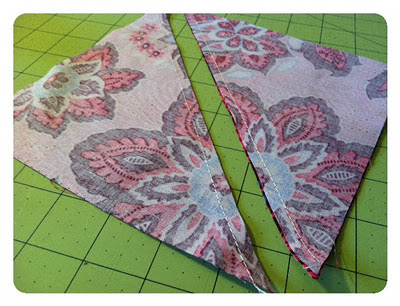
 With a rotary cutter and ruler, make a diagonal cut as shown below. This will give you two half square triangles. Then, sew a 1/4″ seam allowance along each edge where you made the cut.
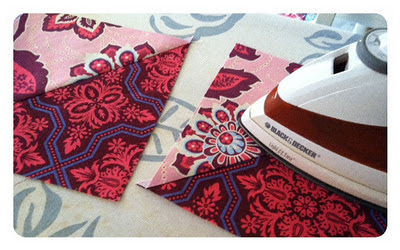
 Press open with an iron, yielding two half triangle squares:
 Then, make a diagonal cut on both half triangle squares as shown below. This will yield four triangles:
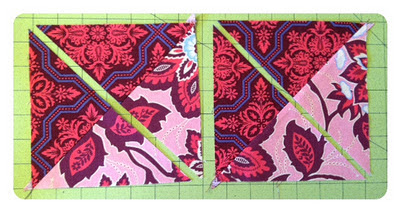 Switch the triangles around so that opposite prints are adjacent to one another. With right sides facing together, sew the half square triangles together using a 1/4″ seam allowance. Press open with an iron:
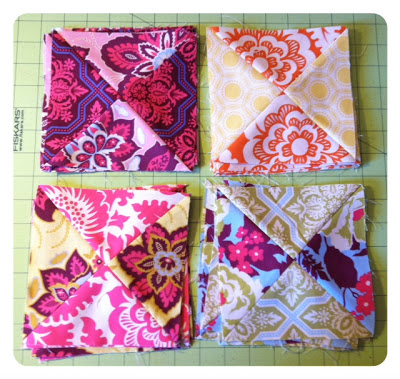
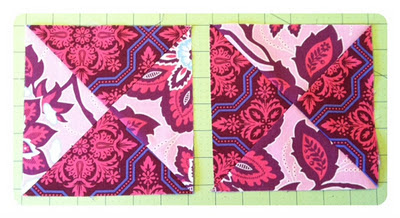 Step 3 – Repeat step 2 for all remaining pairs that you sorted from step 1. This will yield a total of 24 of these ‘x’ blocks (six stacks of each pair).
 Step 4 – From your remaining eight fat quarter scraps, cut three 6 1/4 inch squares from each. This will yield a total of twenty-four 6 1/4 inch squares.
Step 5 – At this point, you should have a total of twenty-four ‘x’ blocks from steps 2-3, and twenty-four plain blocks from step 4, for a total of forty-eight blocks. Rearrange all forty-eight blocks in alternating order with 6 blocks per row and a total of 8 rows, as shown below. (click image to enlarge)
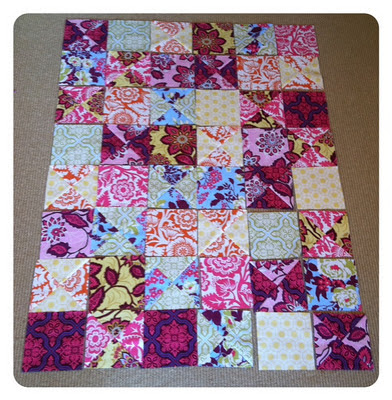 Then, piece your quilt top together: with right sides facing together, sew all six blocks in each row together, press open with an iron. And then all eight rows together.
Lastly, baste, quilt and then bind. And there you have it…one simple yet gorgeous, keepsake quilt!
Let me know if you have any questions. Happy Quilting!
-jera
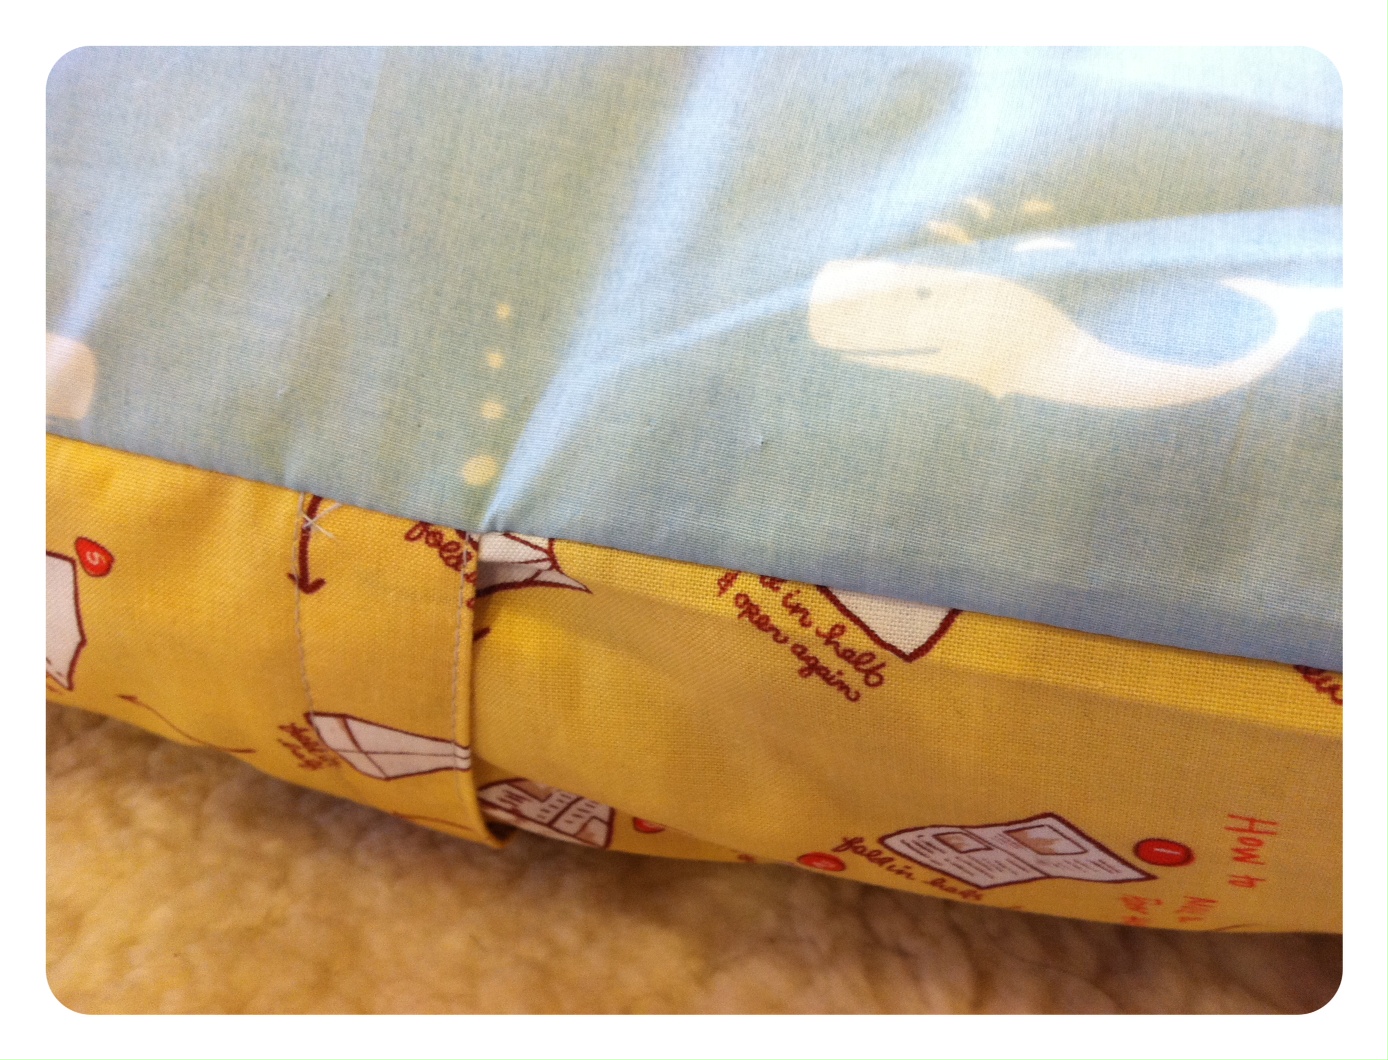
 I love the simplicity of this pillow and how quickly it came together. I got the whale fabric from a shop in Portland, Oregon earlier this month when my husband and I took a road trip there for a last minute baby-moon. 🙂
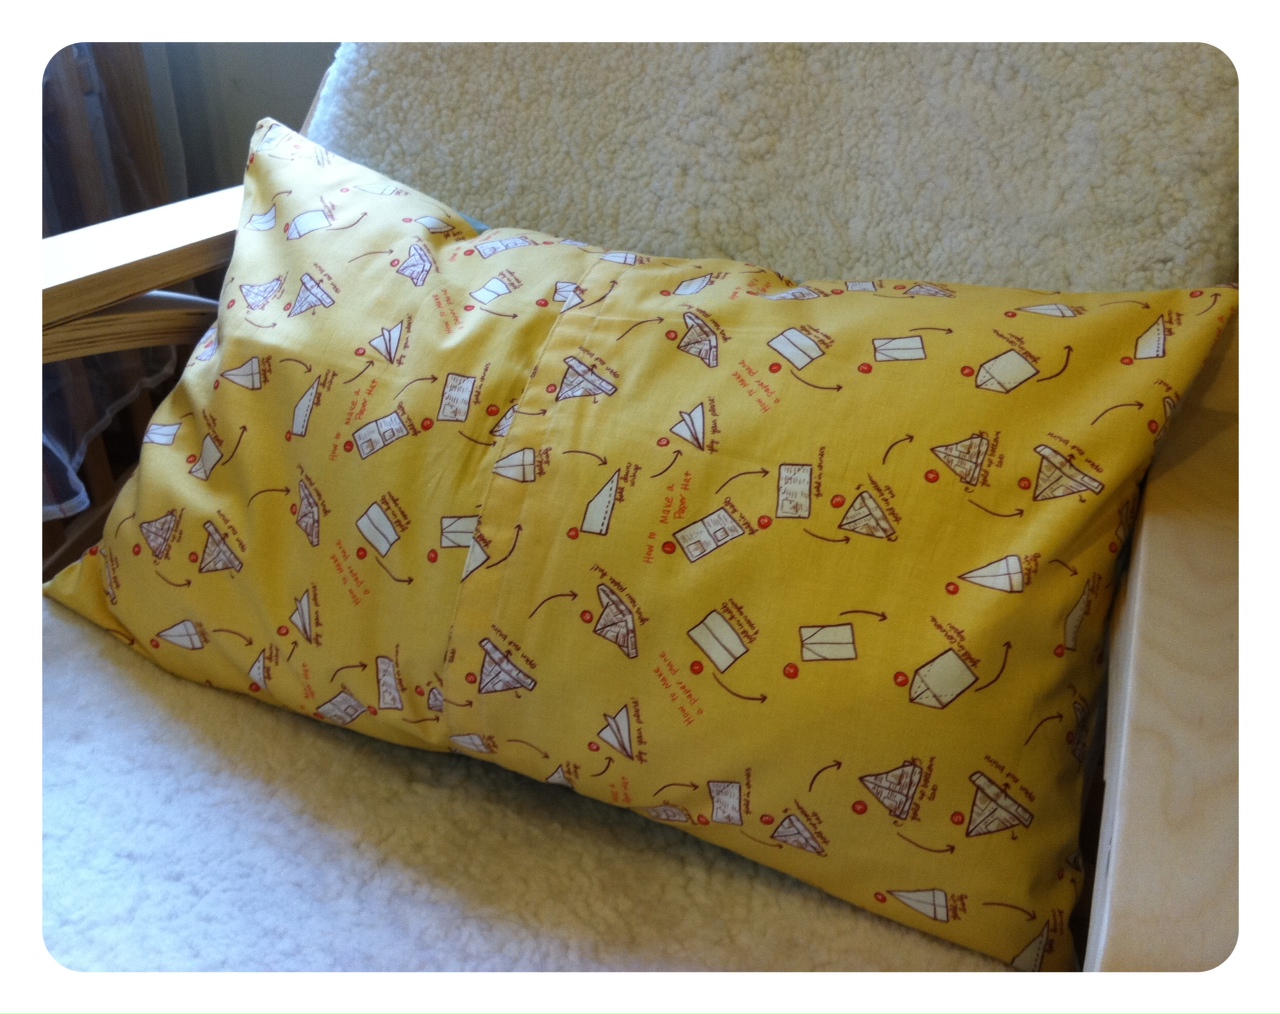
 Anyway, that’s it for now…time to get more rest… 🙂 Happy quilting all!


Comments: 8 | Leave a comment