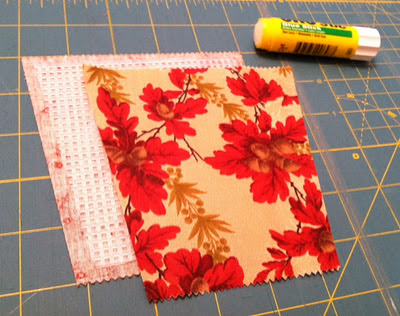
 With the holidays just around the corner (yay!), I was trying to think of a quick crafting project that would make a fun little gift. I love this idea because the fabric basket can be reused throughout the year. This tutorial uses charm squares (pre-cut 5″ squares) – I used Autumn themed prints since Thanksgiving is this week (can you believe it?!). Check out all the other charm square options at the new store! Enjoy the tutorial!
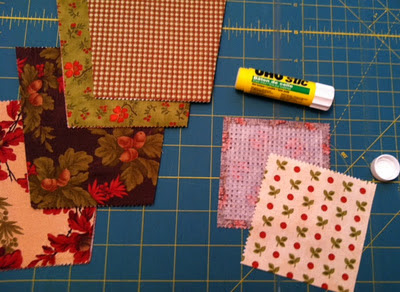
Materials for 1 basket:
- 10 charm squares (pre-cut 5″ squares)
- Plastic mesh, at least an 8″ x 16″ sheet (you can find this at most crafting stores)
- Coordinating embroidery floss and needle
- Coordinating thread
- Glue stick
Step 1 – Cut the plastic mesh to create a total of four trapezoids that are 4.5″ long, where the narrow end measures 3″ and the wide end measures 4.5″. To do this, cut your mesh so it measures a 15.75″ x 4.5″ rectangle. Using a pen and ruler, make the following markings along the length of the plastic mesh as illustrated in red, below. (click image to enlarge)
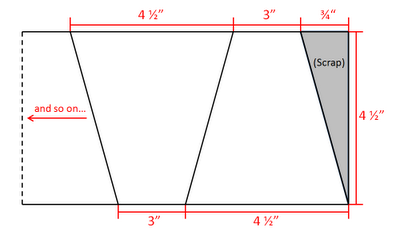
(Note: this image is not a cutting template – it is not to scale)
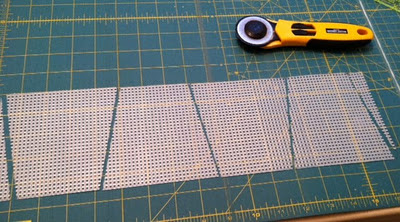
Then, make diagonal cuts (black lines shown above). This will give you a total of 4 trapezoids:
 From the remaining mesh, cut a 3″ x 3″ square. This will be the base of your basket.
After you’re done cutting the mesh, you should have a total of four trapezoids, and one 3″ square.
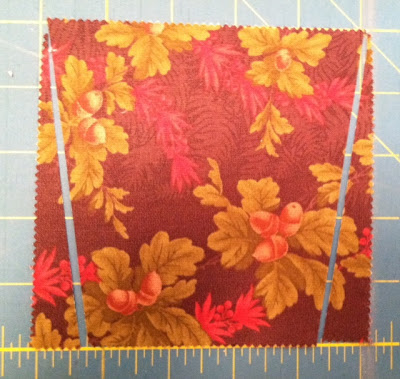
Step 2 – From your 10 charm squares, choose eight and trim them into trapezoids. These trapezoids will be 1/4″ bigger around the perimeter than the mesh trapezoids you previously cut. To do this, take one charm square and at the bottom, measure 3/4″ inward on both the left and right sides. From that mark, make a straight cut all the way to the corner for both sides as shown below. This will give you a trapezoid that is 5″ long, where the narrow end (bottom) measures 3.5″ and the wide end (top) measures 5″. Repeat for seven more charm squares.
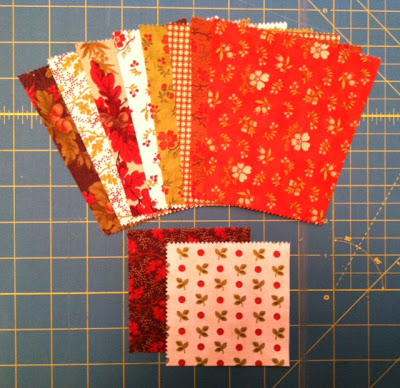
 From the remaining two charm squares, cut two 3.5″ x 3.5″ squares. When you’re done cutting all the charm squares, you should have eight trapezoids, and two 3.5″ squares:
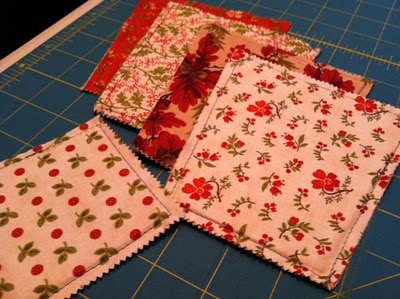
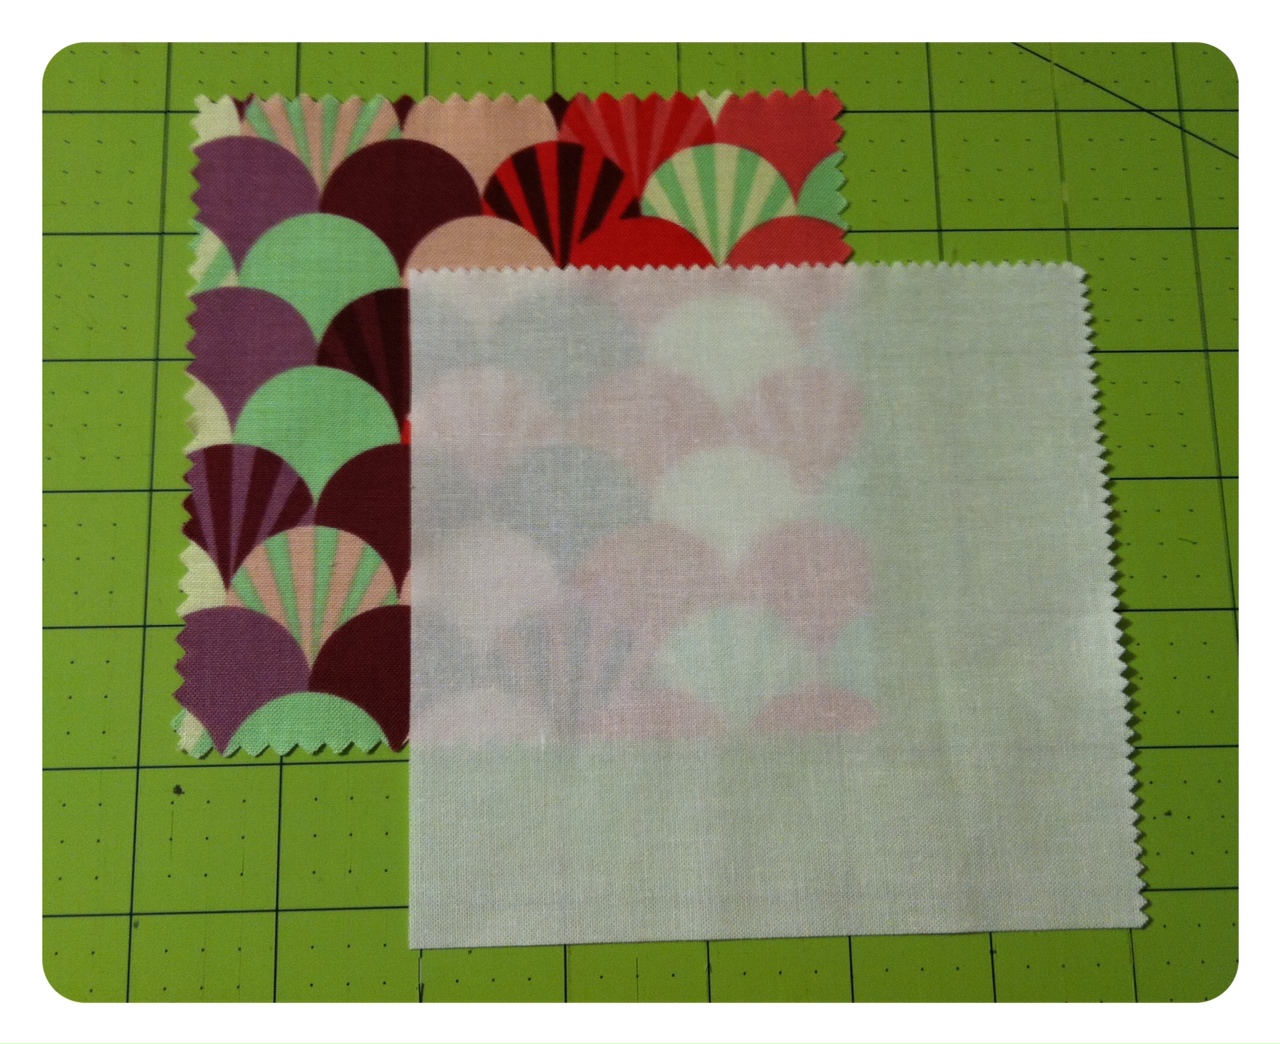
Step 3 – Create the side panels of the basket by making a fabric/mesh sandwich: Take two fabric trapezoids and one mesh trapezoid. Place the mesh trapezoid in the center of the fabric trapezoid (the fabric trapezoid will be 1/4″ bigger around the perimeter); secure with glue. The wrong sides of the fabric should be facing the mesh. Repeat to create a total of four panels.
Repeat to create another mesh/fabric sandwich, but for the base of the basket. Use the two fabric squares and one mesh square.
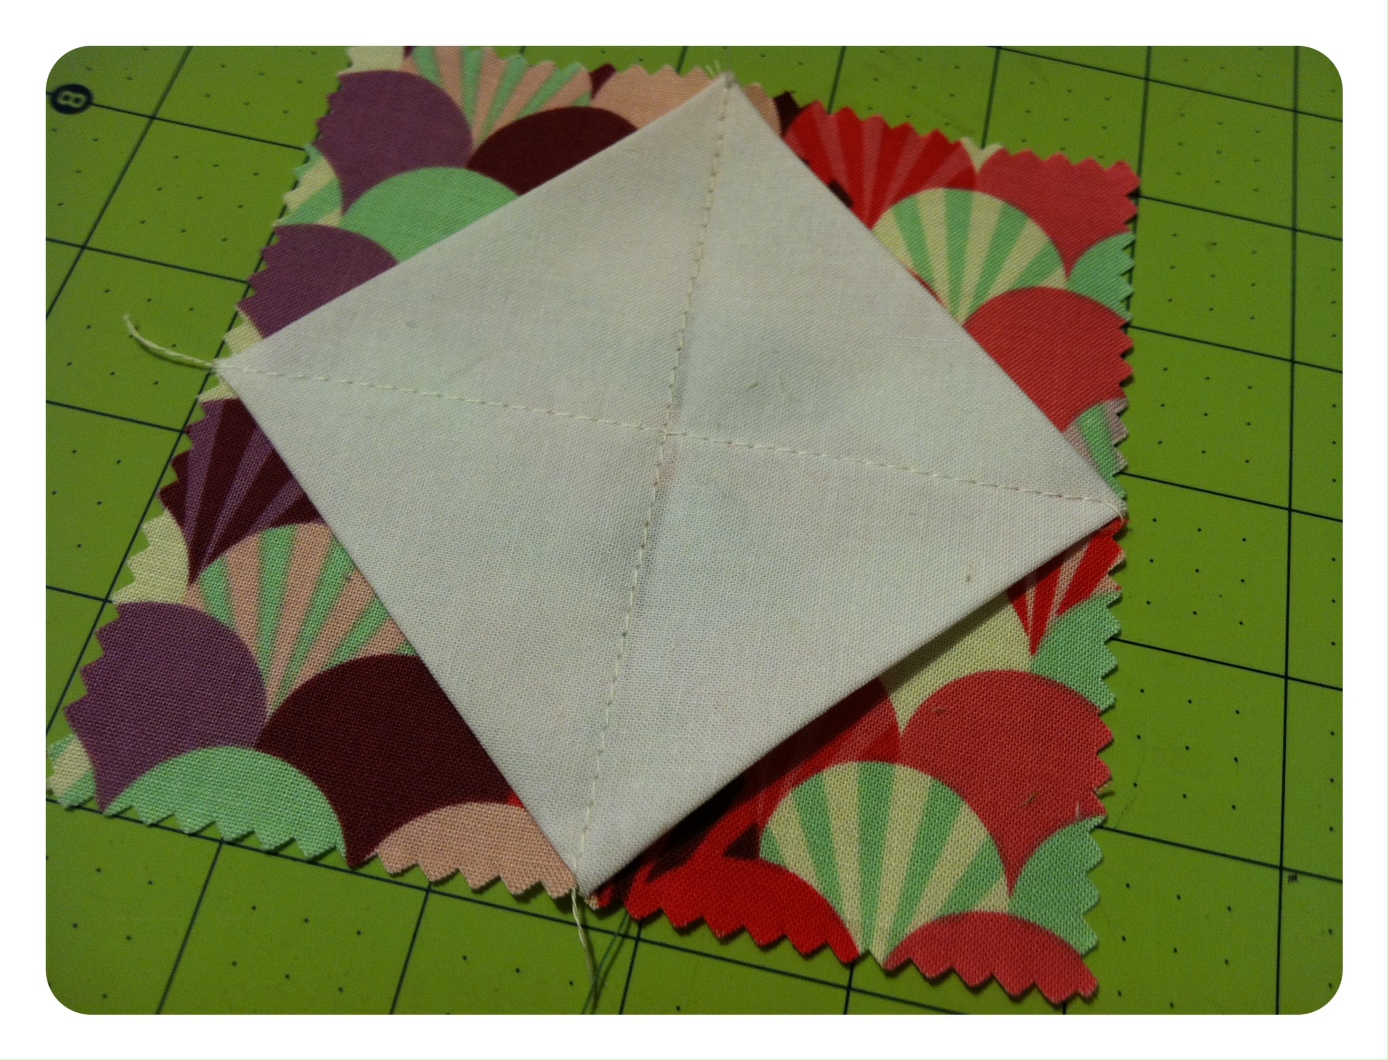
Step 4 – Sew a 1/4″ seam around the perimeter of all four side panels and the base, as shown below. Since the mesh was cut 1/4″ smaller around the perimeter, the stitch will be against the edge of the mesh.
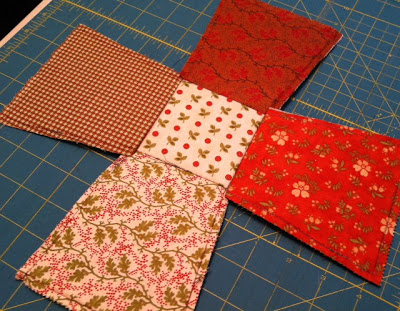
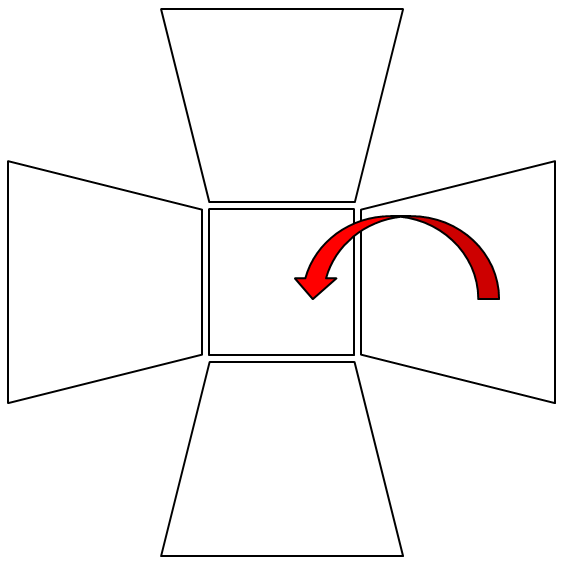
Step 5 – First, arrange the four trapezoids and the base as shown below. The surfaces that are facing up will become the inside of the basket.
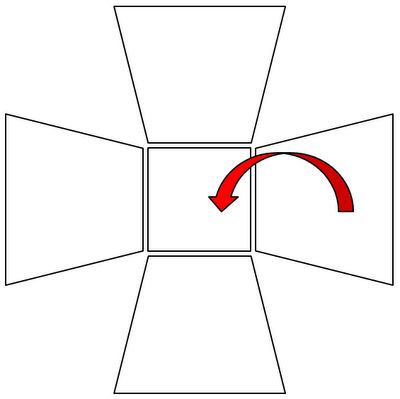 Illustrated by the red arrow above, starting with one trapezoid, flip it so that the inside surface is facing the top of the base. Make sure to align the edge of the base with the narrow edge of the trapezoid.
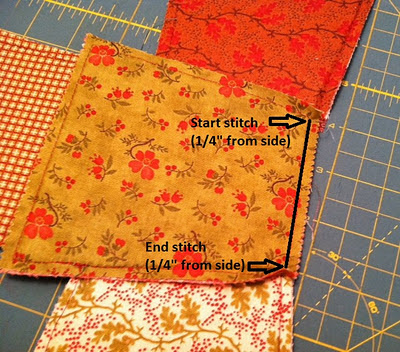
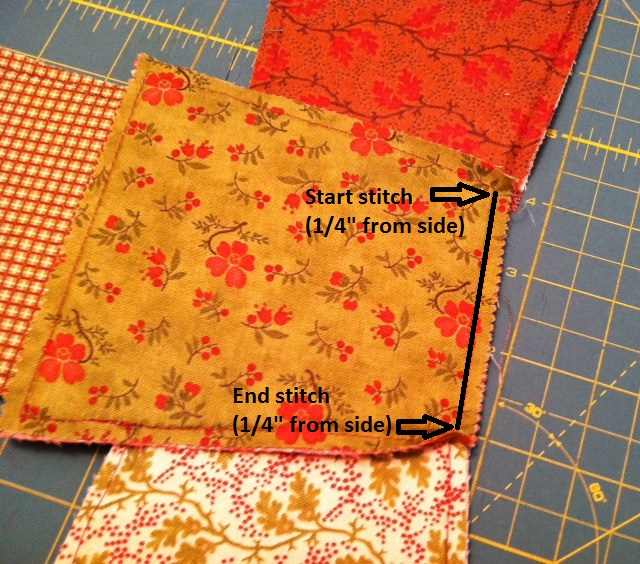
Now attach the trapezoid to the base by sewing a 1/4″ seam, making sure that you are sewing right up against the mesh. Start and end your stitch 1/4″ from the sides of the trapezoid panel as shown below (make sure that you don’t sew past the edges of the mesh). Start and end your stitch with a back-stitch.
Repeat the above for the remaining three side panels. The inside should look like this after all four panels are sewn on:
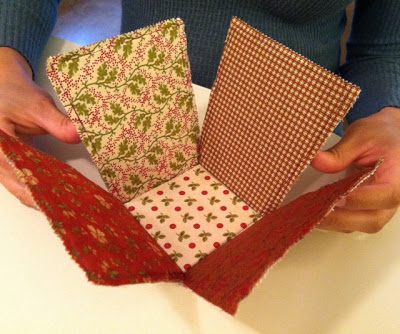
Step 6 – Lastly, fold all four panels upward. The 1/4″ seams will be exposed on the outside.
 Use embroidery floss to tie-up the corners. I did 3 knots along all four side edges. You could also sew the sides closed using a 1/4″ seam.
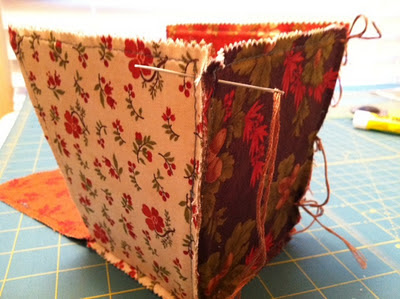 Optional: Fray the exposed seams by snipping little frays (~ 1/4″ apart). I personally like the look of the frays; it gives it a rag-quilt look.
That’s it!
Let me know if you have any questions. 🙂


 Do this for all four sides:
 Step 6 – With right sides facing together, sew the first two blocks in the first row together, then press open with an iron. Repeat for the second row. Then, with right sides facing together, sew rows 1 and 2 together, then press open with an iron.
 And there you have it! One stellar block!


Comments: 44 | Leave a comment