Archive | February, 2011

Rag Quilt

Quilt Tutorials and Fabric Creations - Quilting in the Rain - Rag QuiltIf basting and binding a quilt isn’t really your thing, and if you don’t particularly like quilting large quilt tops, then a rag quilt is the perfect quilt project for you. πŸ™‚ With a rag quilt, you create smaller (therefore easier to handle) quilt sandwiches, quilt them while they’re still small, and then piece them together to form your quilt. If that sounds confusing, check out my 8-step rag quilt tutorial below.

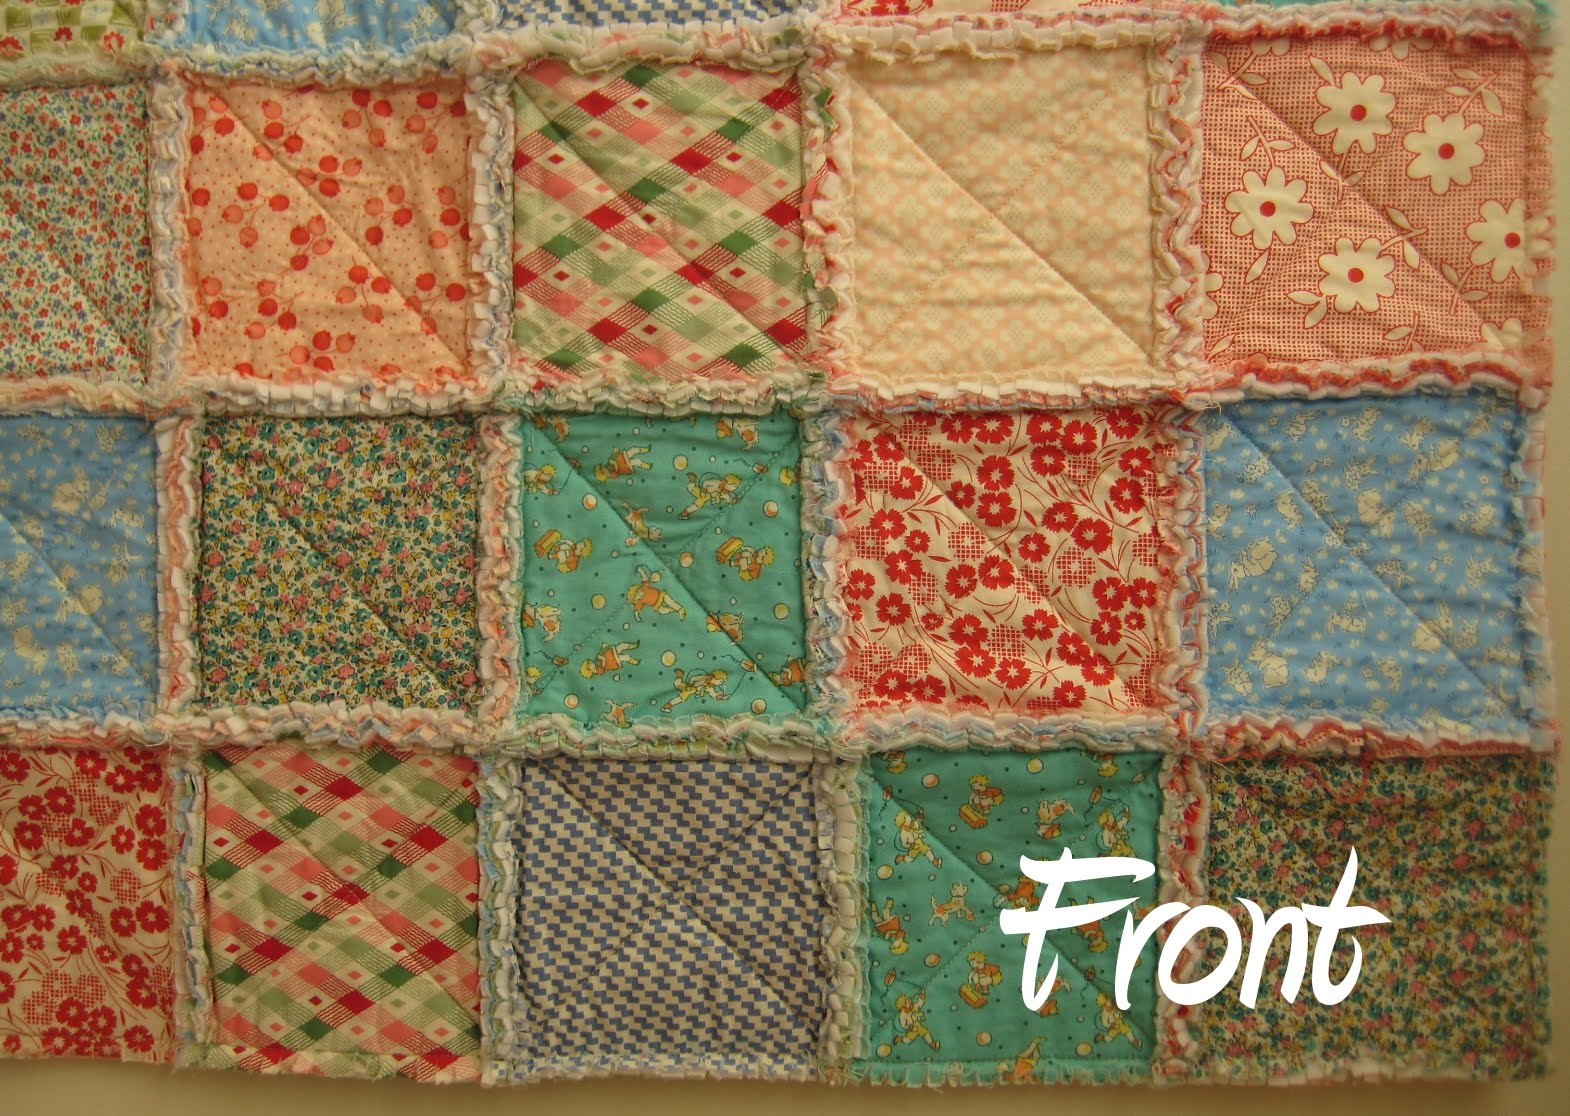
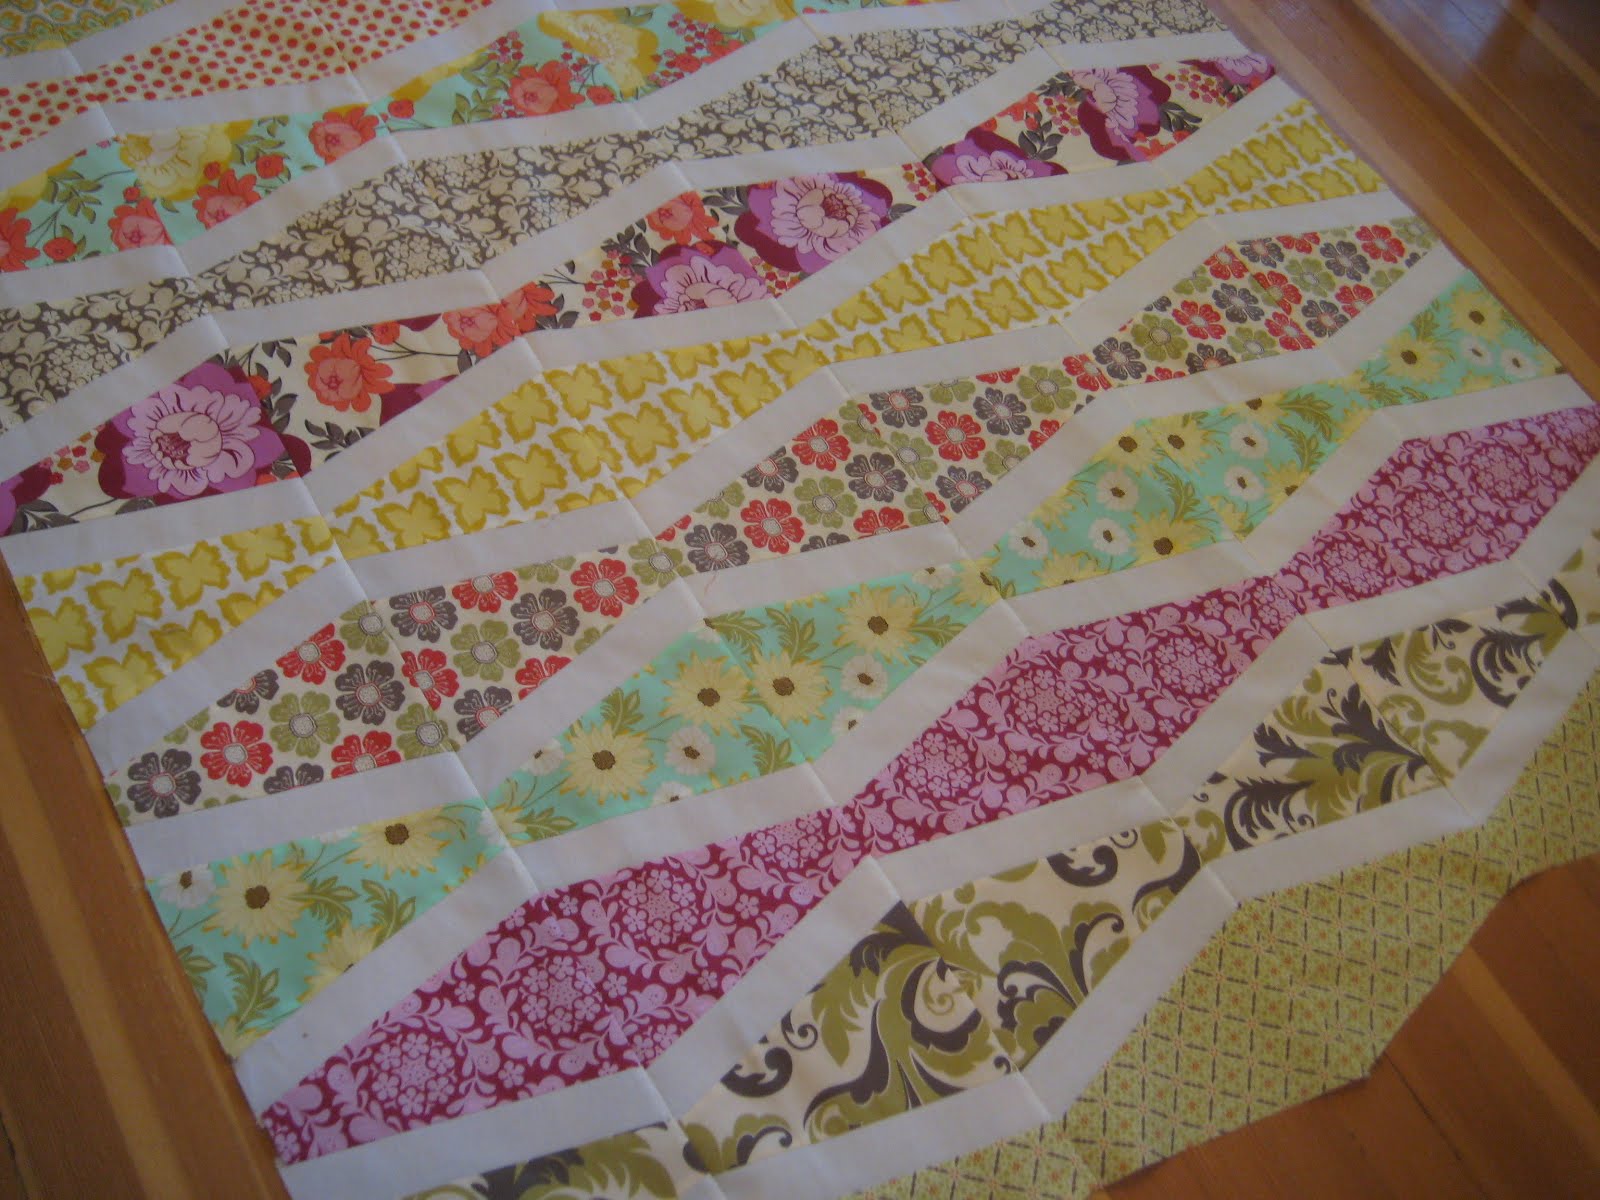
(Click picture to enlarge)

Quilt Tutorials and Fabric Creations - Quilting in the Rain - Rag Quilt Quilt Tutorials and Fabric Creations - Quilting in the Rain - Rag Quilt

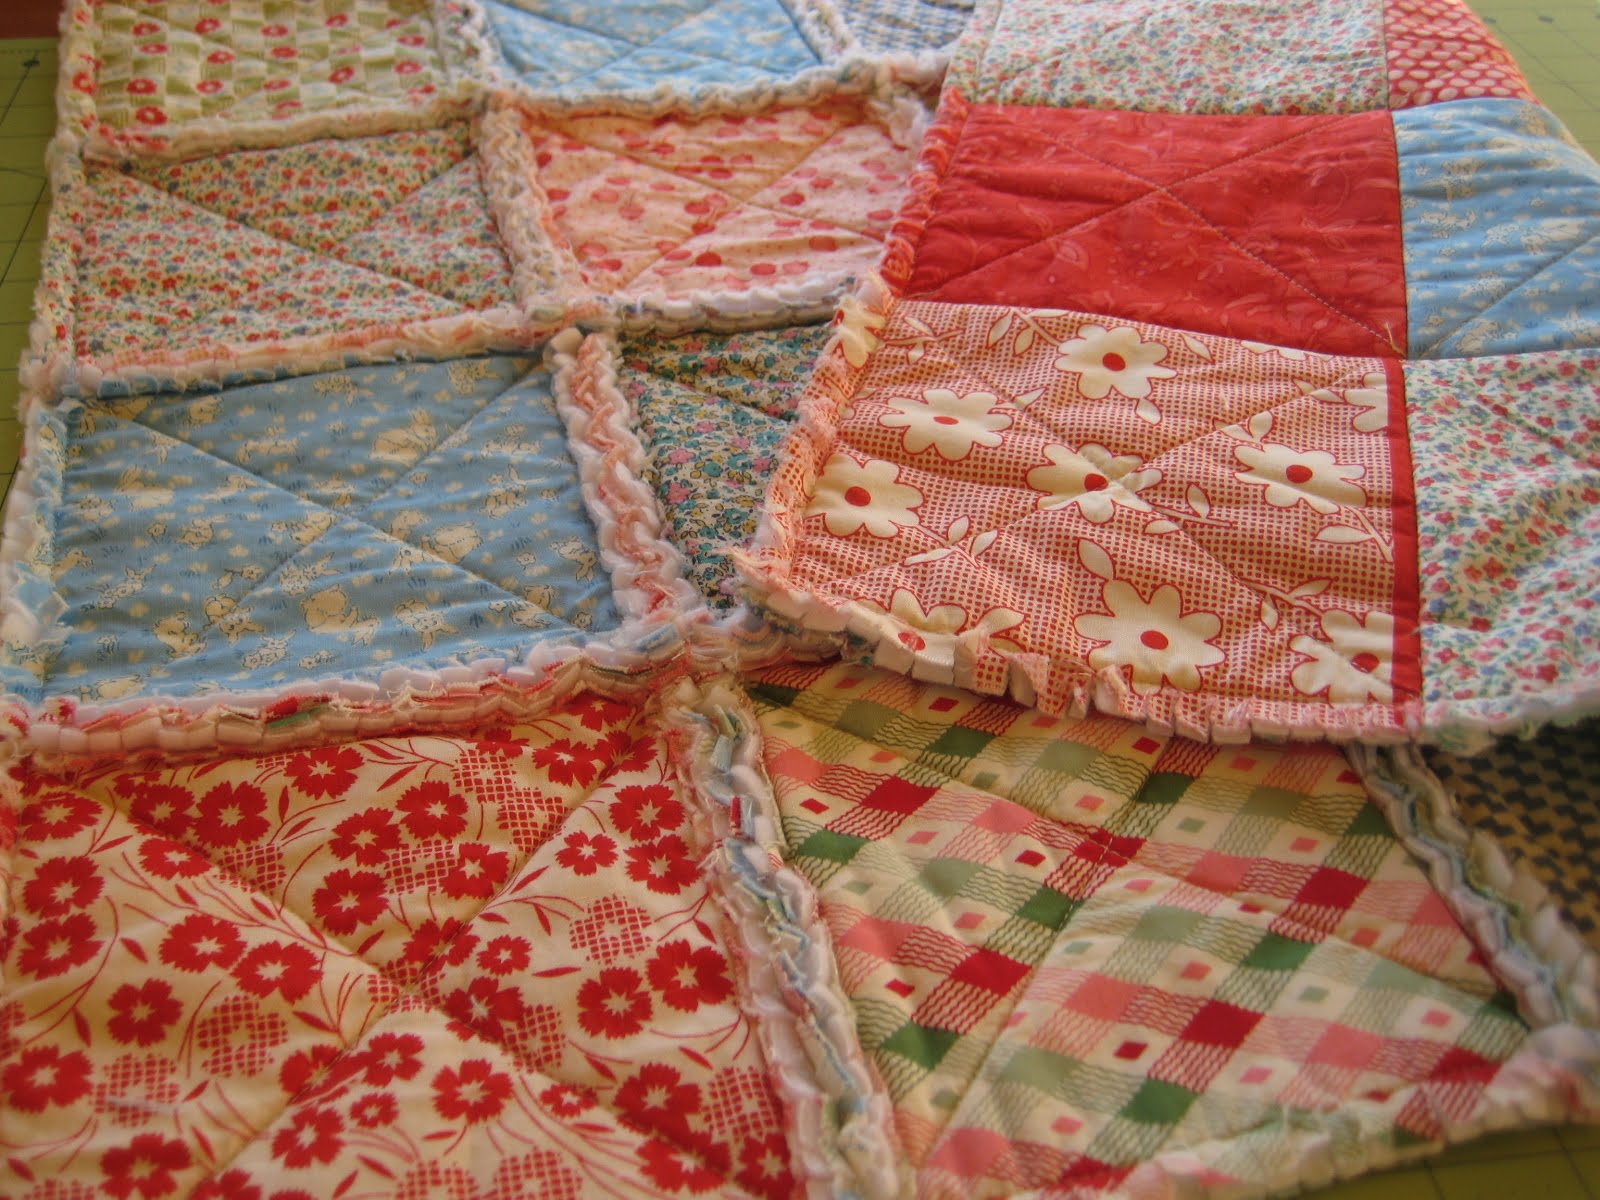
This quilt measures 23″ x 23″ which works perfectly for throwing in a stroller, or as a wall hanging quilt. Speaking of strollers, rag quilts are great for little ones as they offer a textured material for them to touch and explore.

I have a similar tutorial called Frayed Seams Quilt which uses fleece material as the entire quilt backing. You can check it out for an alternate rag quilt design.

Materials for a 23″x23″ rag quilt:

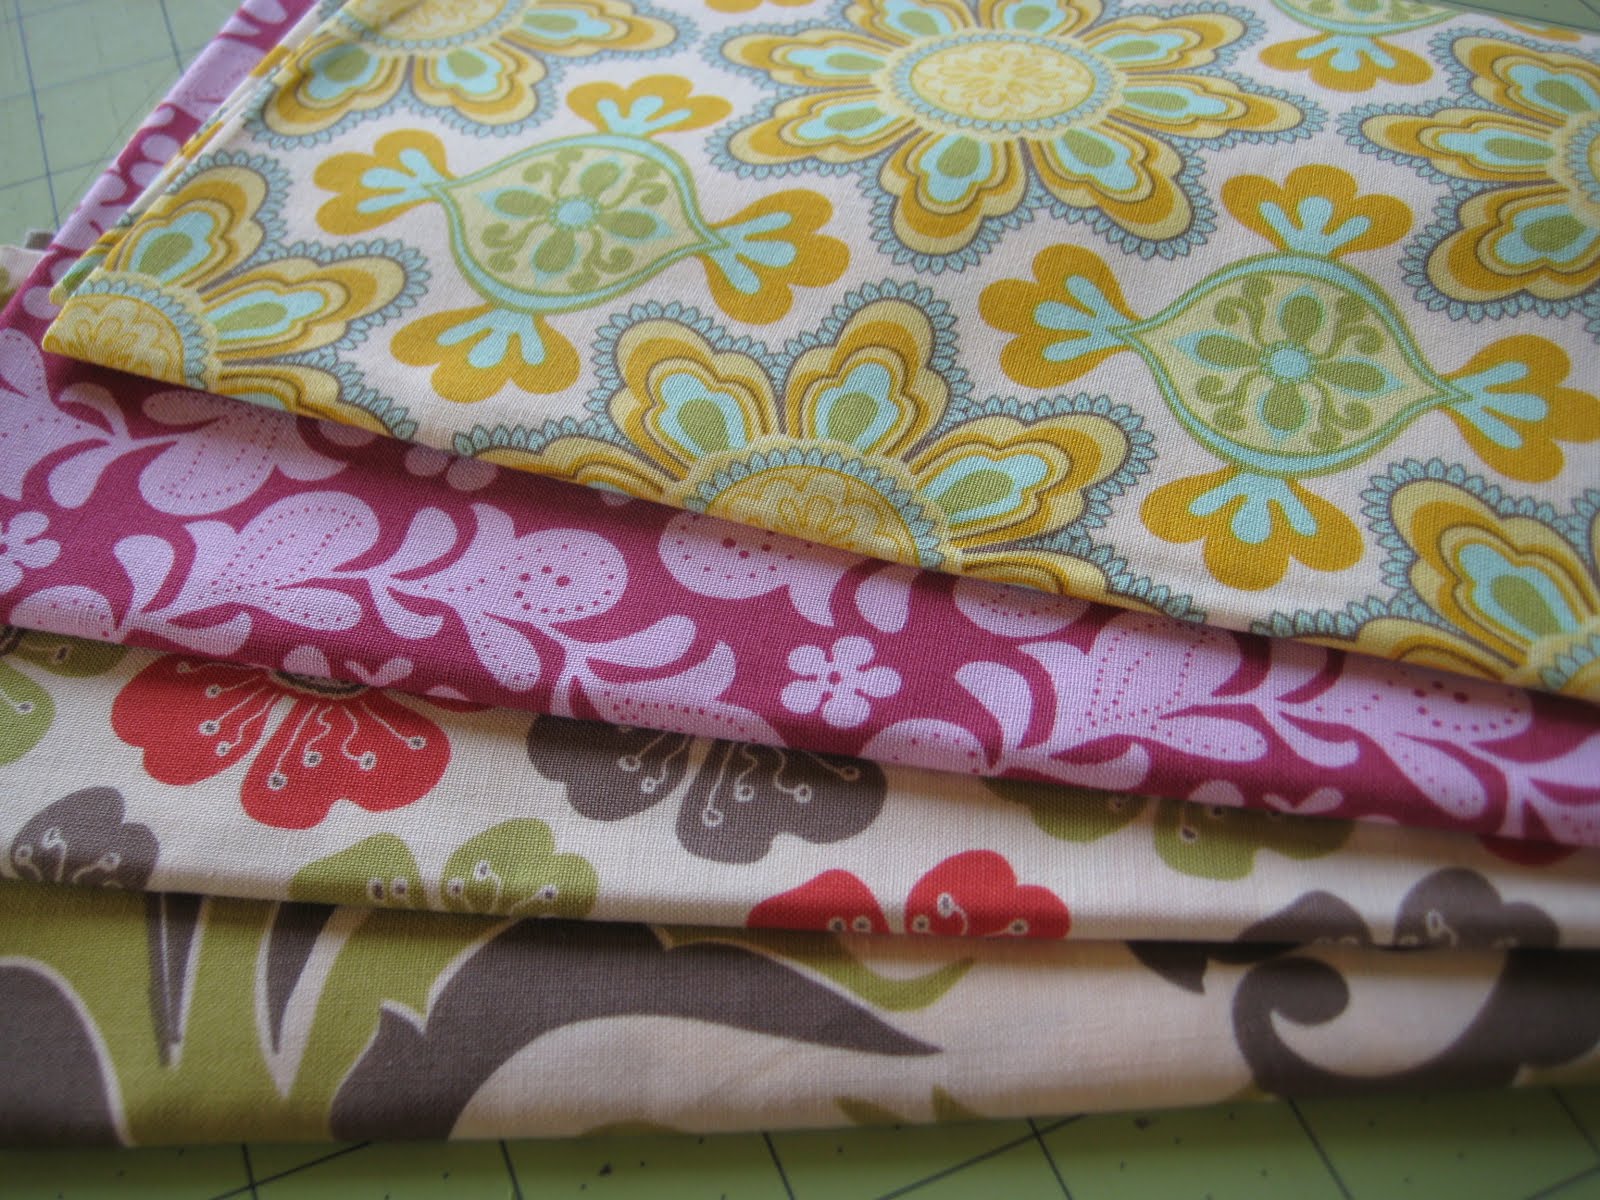
  • 10 quarter yards of varying prints
  • 1 yard of fleece (or batting, see note in step 1).
  • Coordinating thread

Step 1 – Cut fifty 6.5″ squares from your quarter yard cuts (note: 1 quarter yard = six 6.5″ squares). From your 1 yard of fleece, cut twenty-five 6.5″ squares*.

Quilt Tutorials and Fabric Creations - Quilting in the Rain - Rag Quilt*If you prefer to not have the fleece show at the seams as it does in this tutorial (see step 4), or if you prefer to use batting instead of fleece, cut twenty-five 5.5″ squares instead. Then, when you make your mini quilt sandwich as described in step 2 (below), make sure the fleece/batting is centered in between the fabric pieces.

Step 2 – Make a mini quilt sandwich: take one fleece square and sandwich it in between two fabric squares. The wrong sides of the fabric should be facing the fleece. Repeat until you have 25 mini quilt sandwiches. When putting these together, plan for how the front and back of your quilt will look.

Quilt Tutorials and Fabric Creations - Quilting in the Rain - Rag Quilt
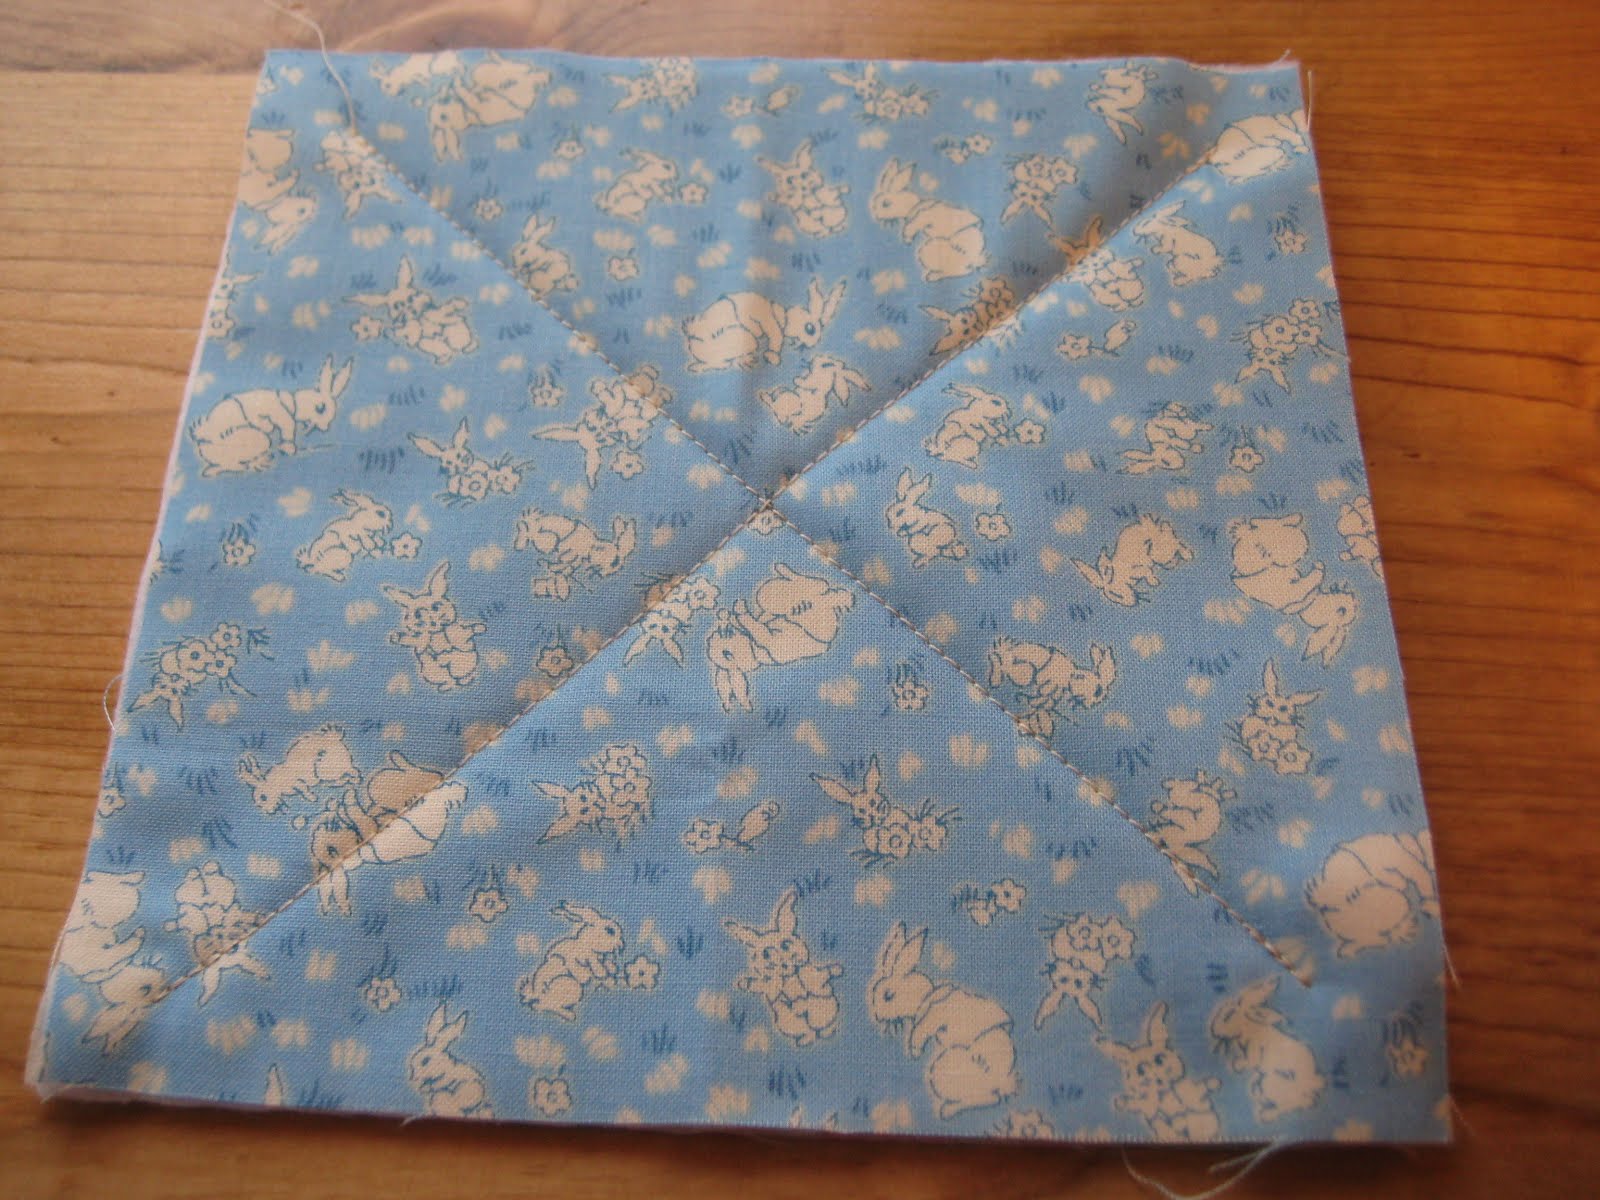
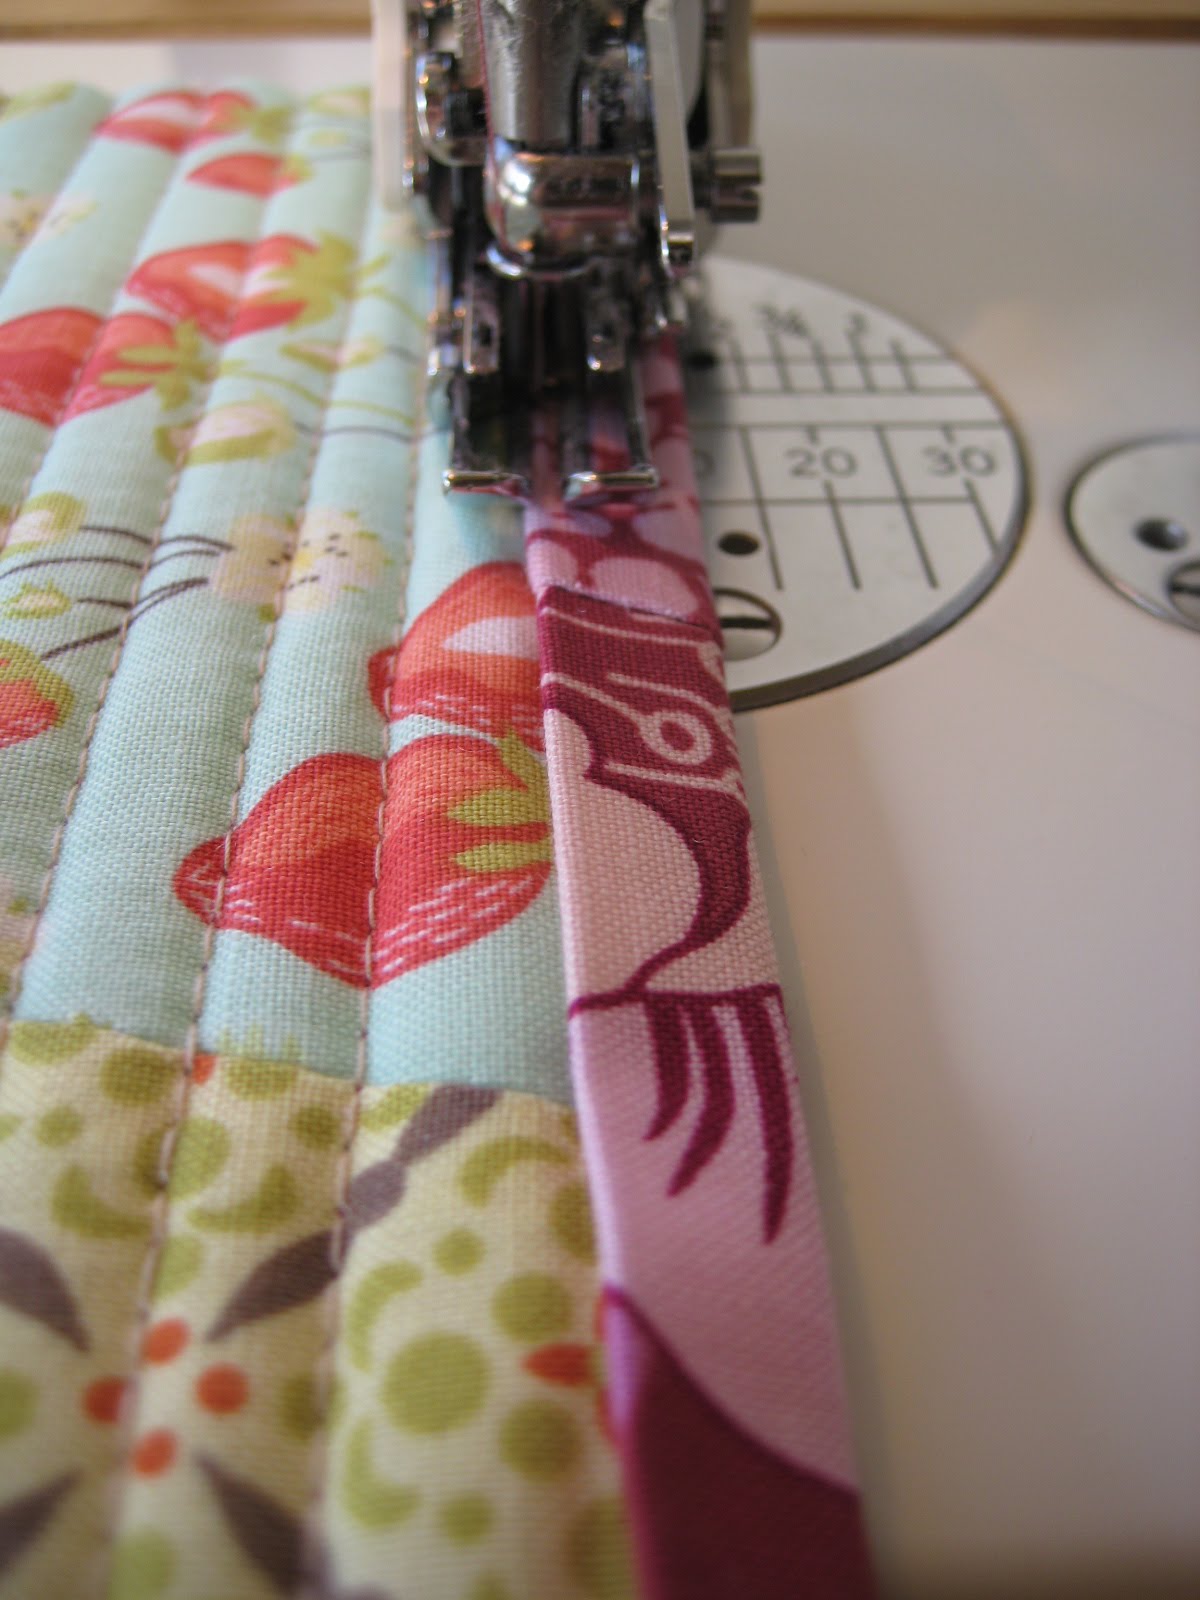
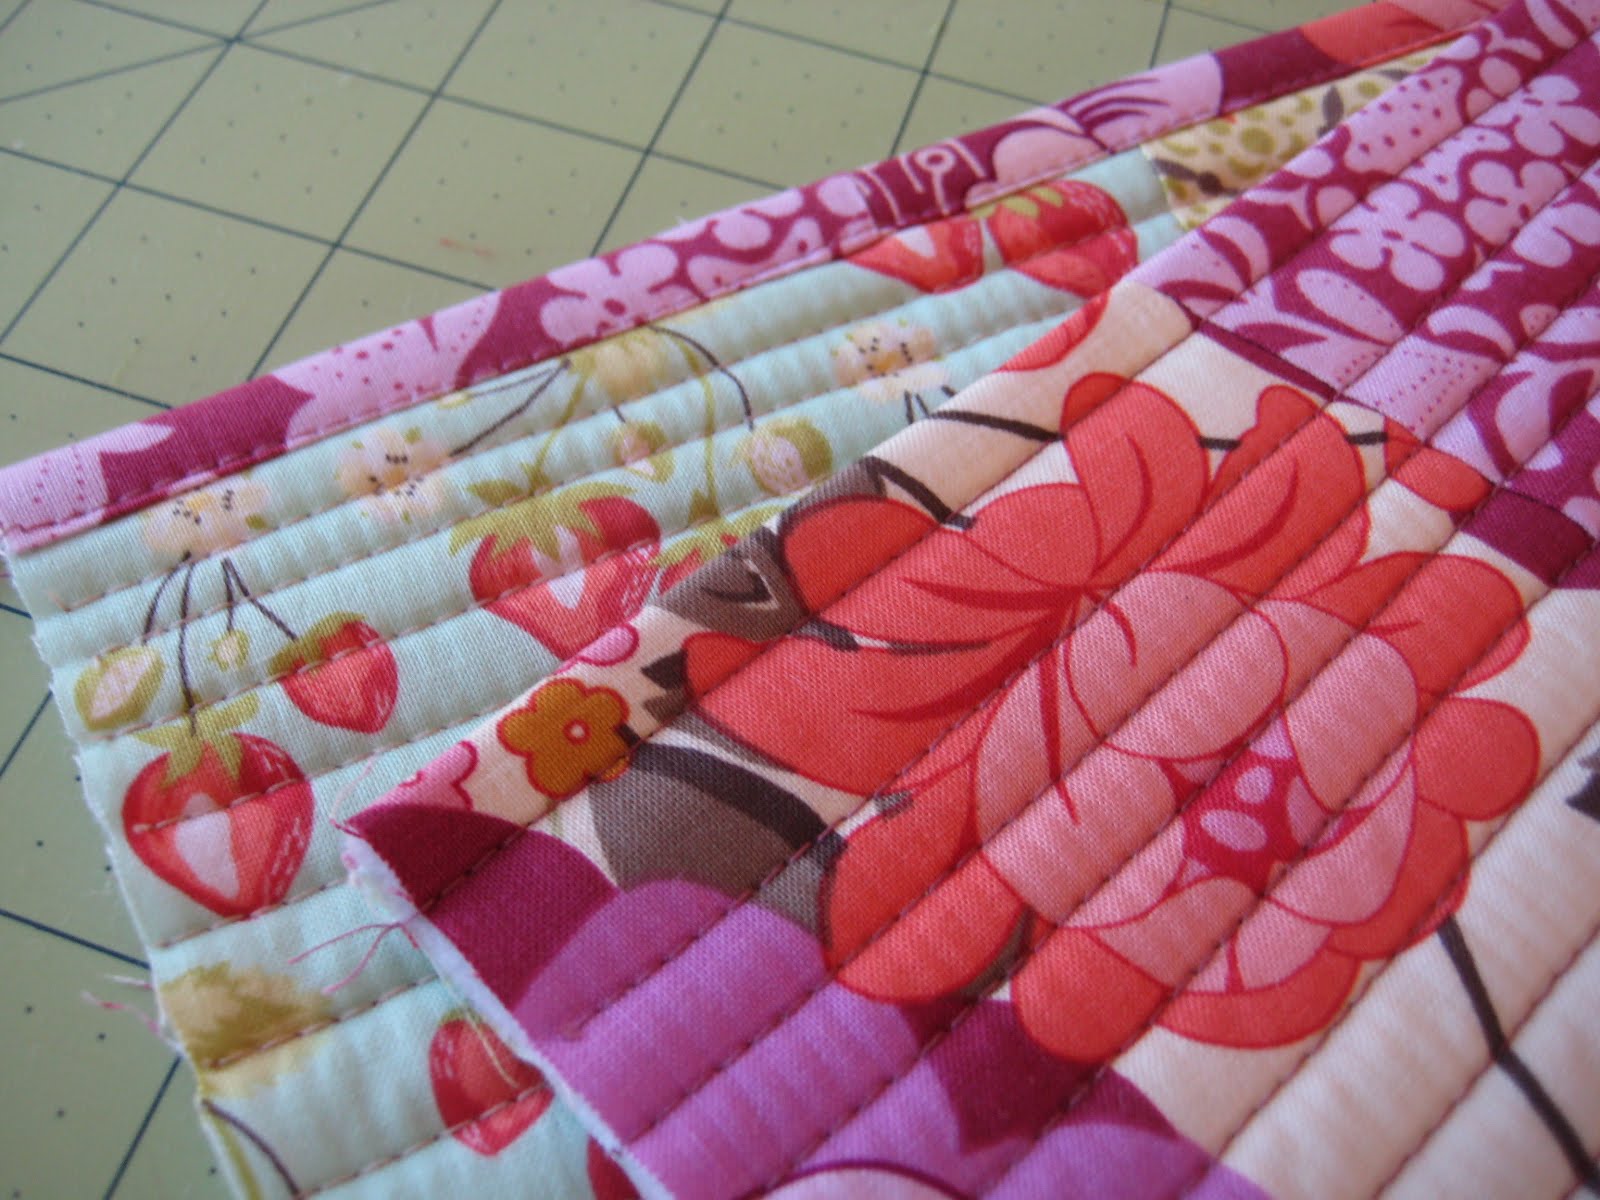
Step 3 – Quilt all 25 of the mini quilt sandwiches you made from the previous step. For this quilt, I quilted a simple X. Start and end your stitch with a back stitch.

Quilt Tutorials and Fabric Creations - Quilting in the Rain - Rag Quilt
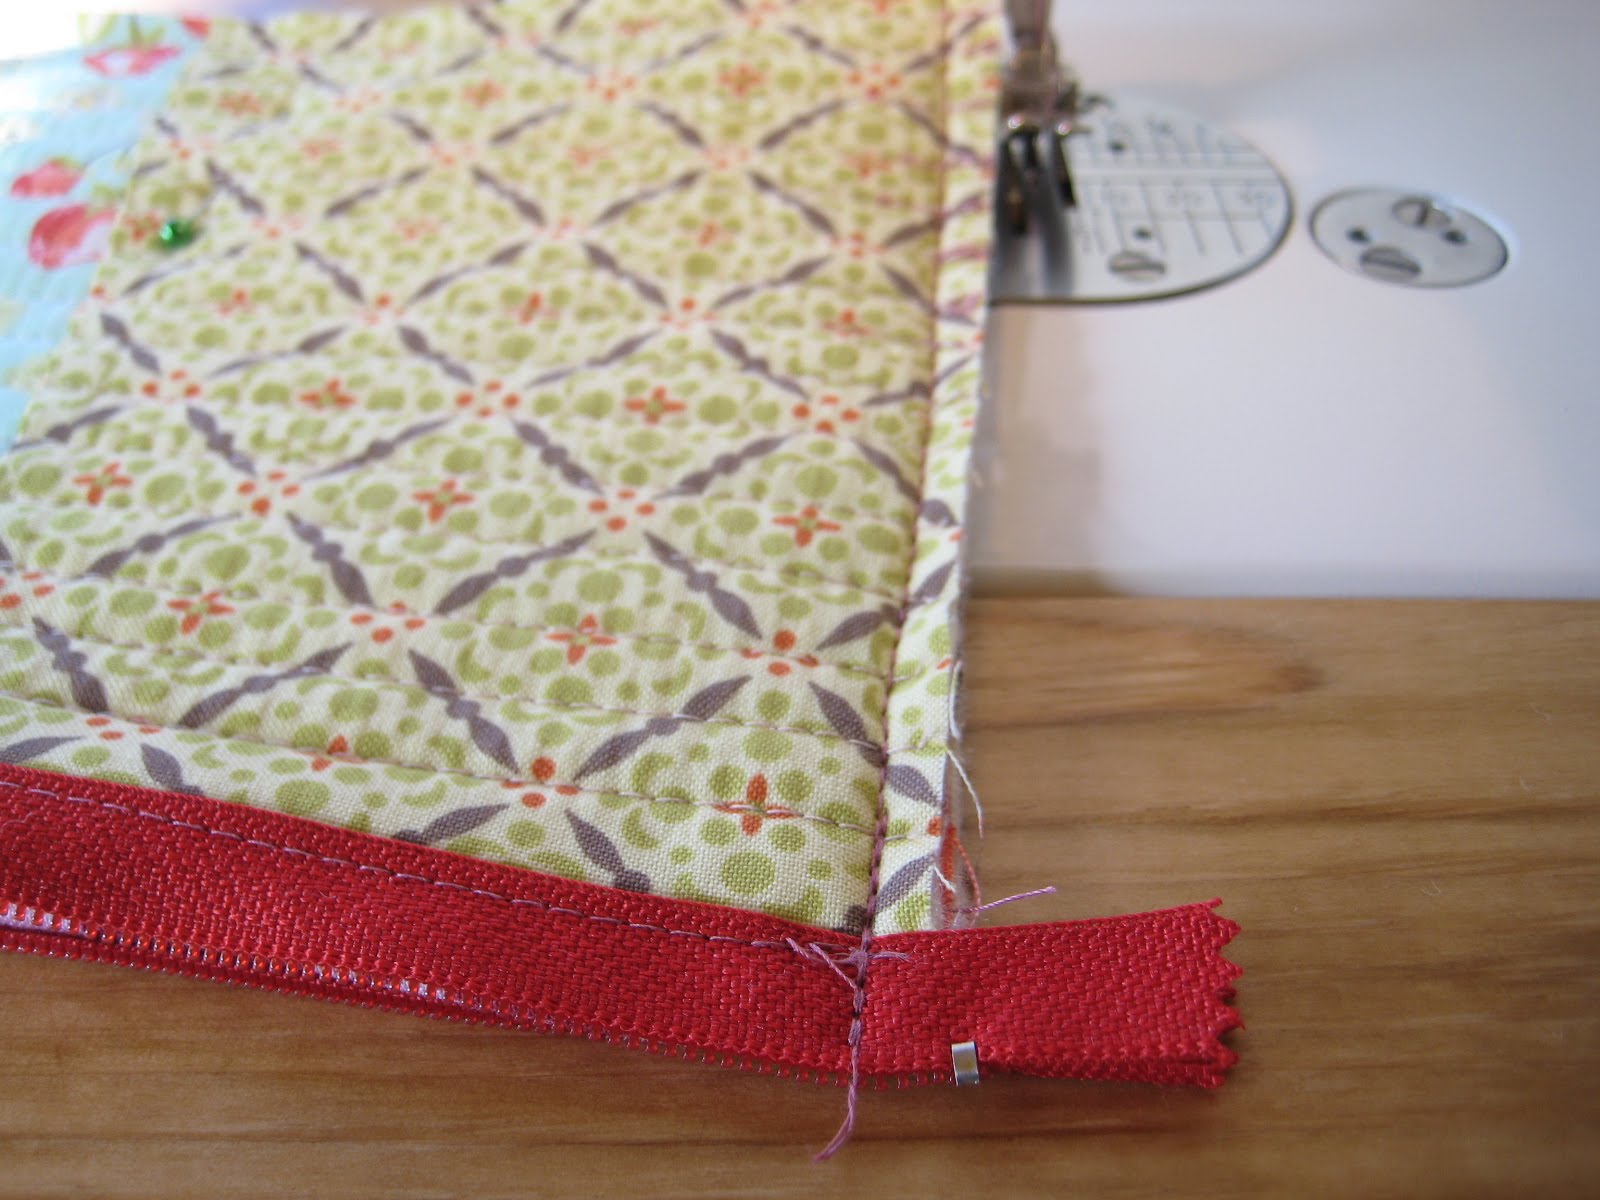
Note: For Steps 4 through 6, use a walking foot if possible (to prevent puckering).

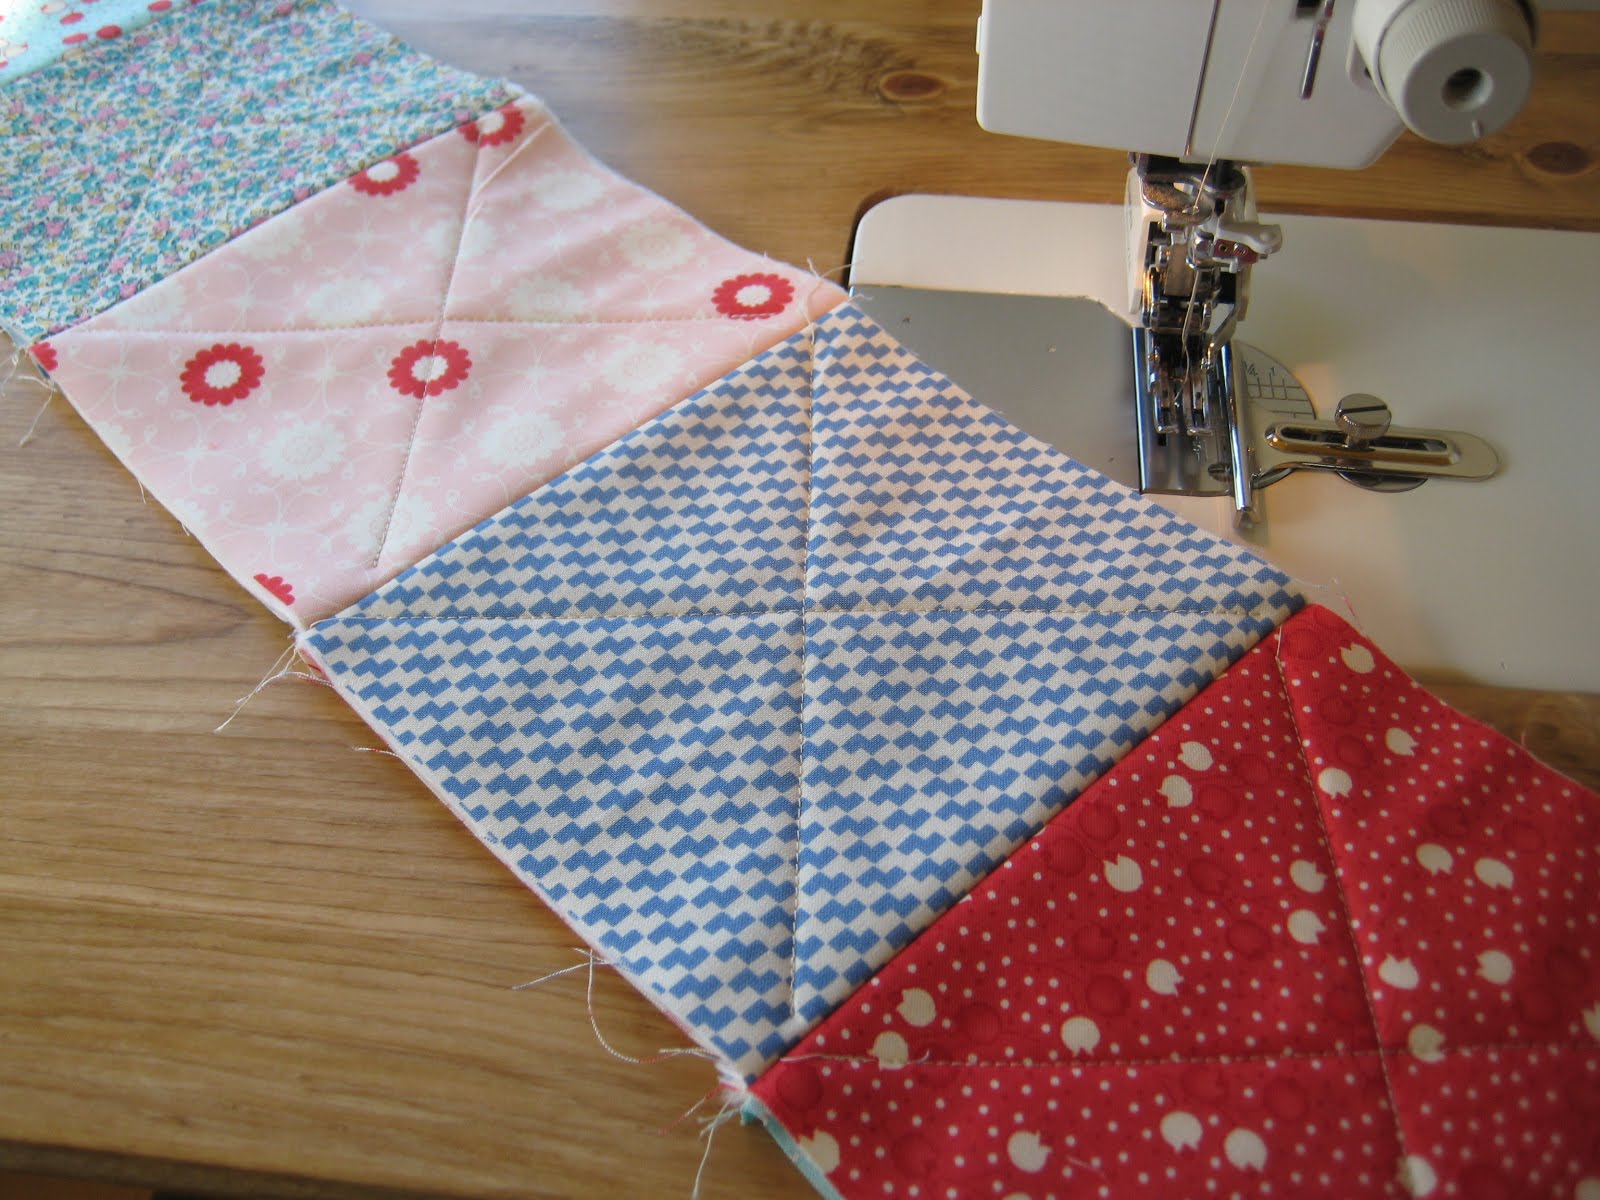
Step 4 – Sew the quilt sandwiches together: Sew 5 rows of 5 quilt sandwiches each, using a 1/2″ seam allowance. The front of your quilt will have the 1/2″ seam, as shown below.

Quilt Tutorials and Fabric Creations - Quilting in the Rain - Rag QuiltThe back will look like this:

Quilt Tutorials and Fabric Creations - Quilting in the Rain - Rag Quilt
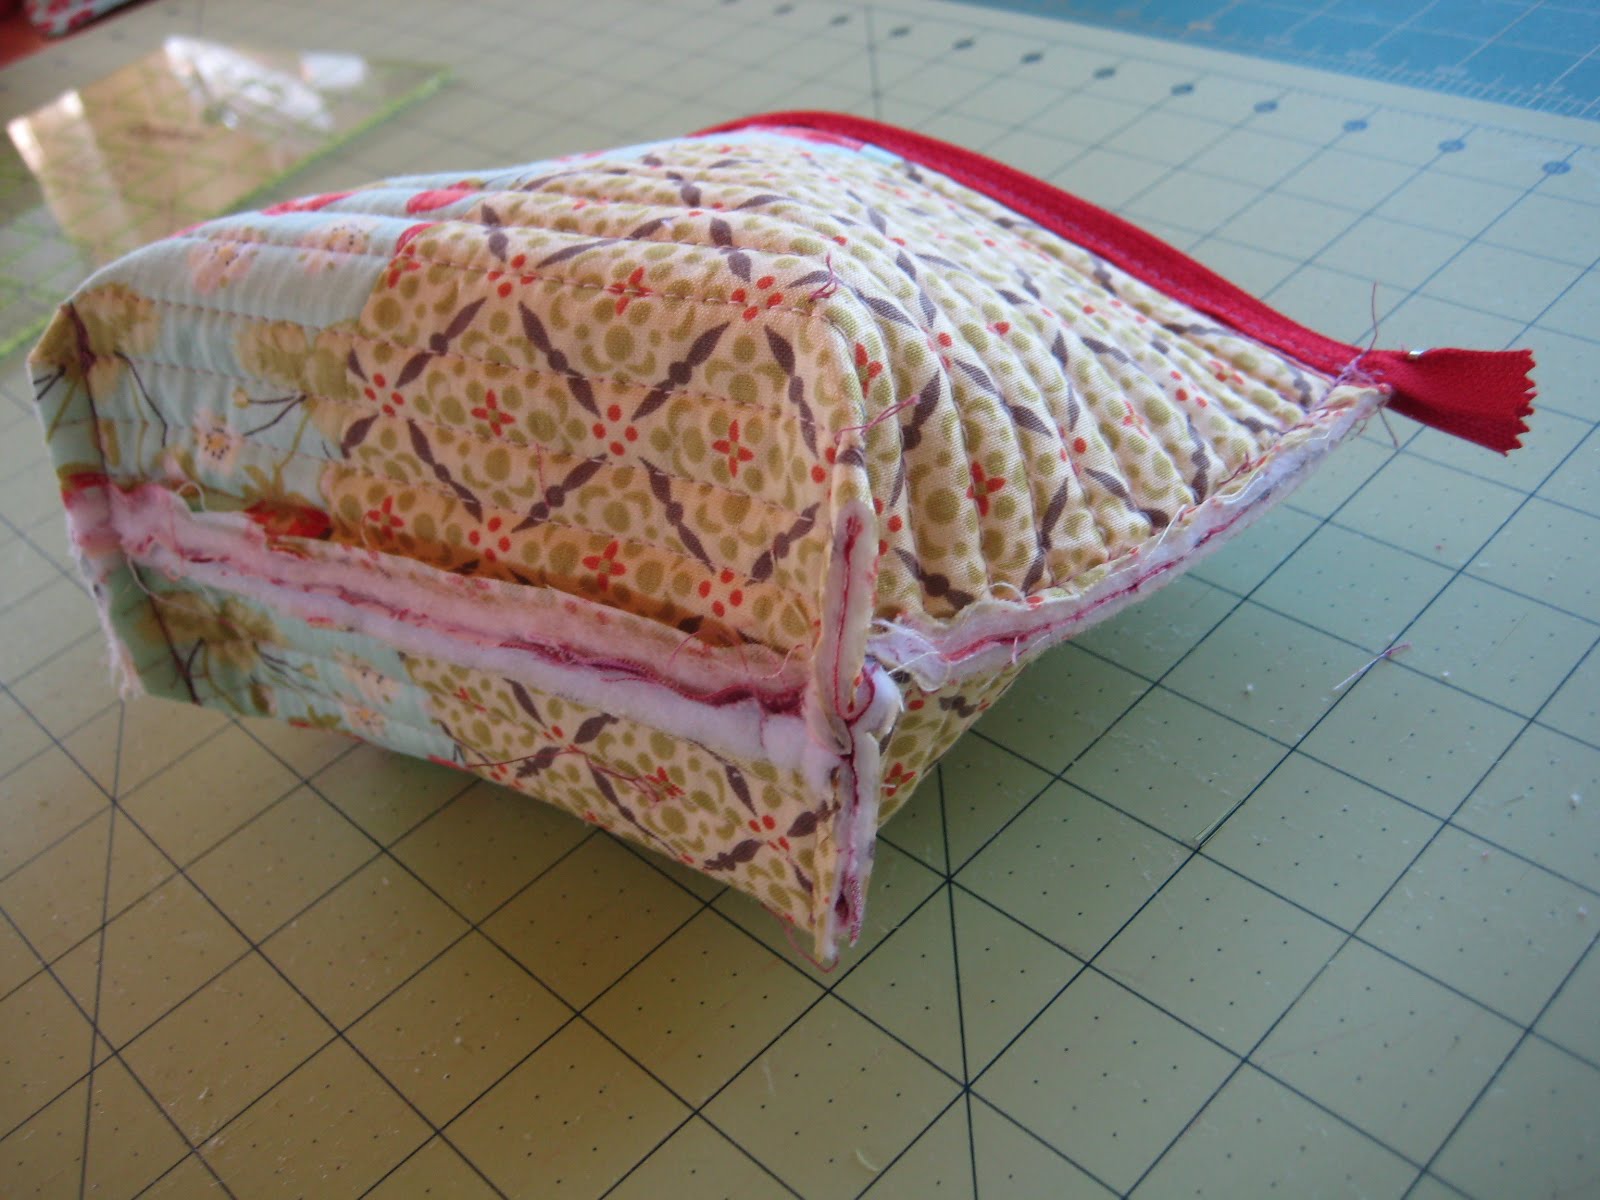
Step 5 – Then, sew your five rows together the same way, so that the 1/2″ seam allowance will be at the front of your quilt.

Quilt Tutorials and Fabric Creations - Quilting in the Rain - Rag Quilt
Step 6 – After you’ve sewn all five rows together, sew a 1/2″ seam allowance around the perimeter of the quilt. This quilt requires no binding!

Quilt Tutorials and Fabric Creations - Quilting in the Rain - Rag Quilt
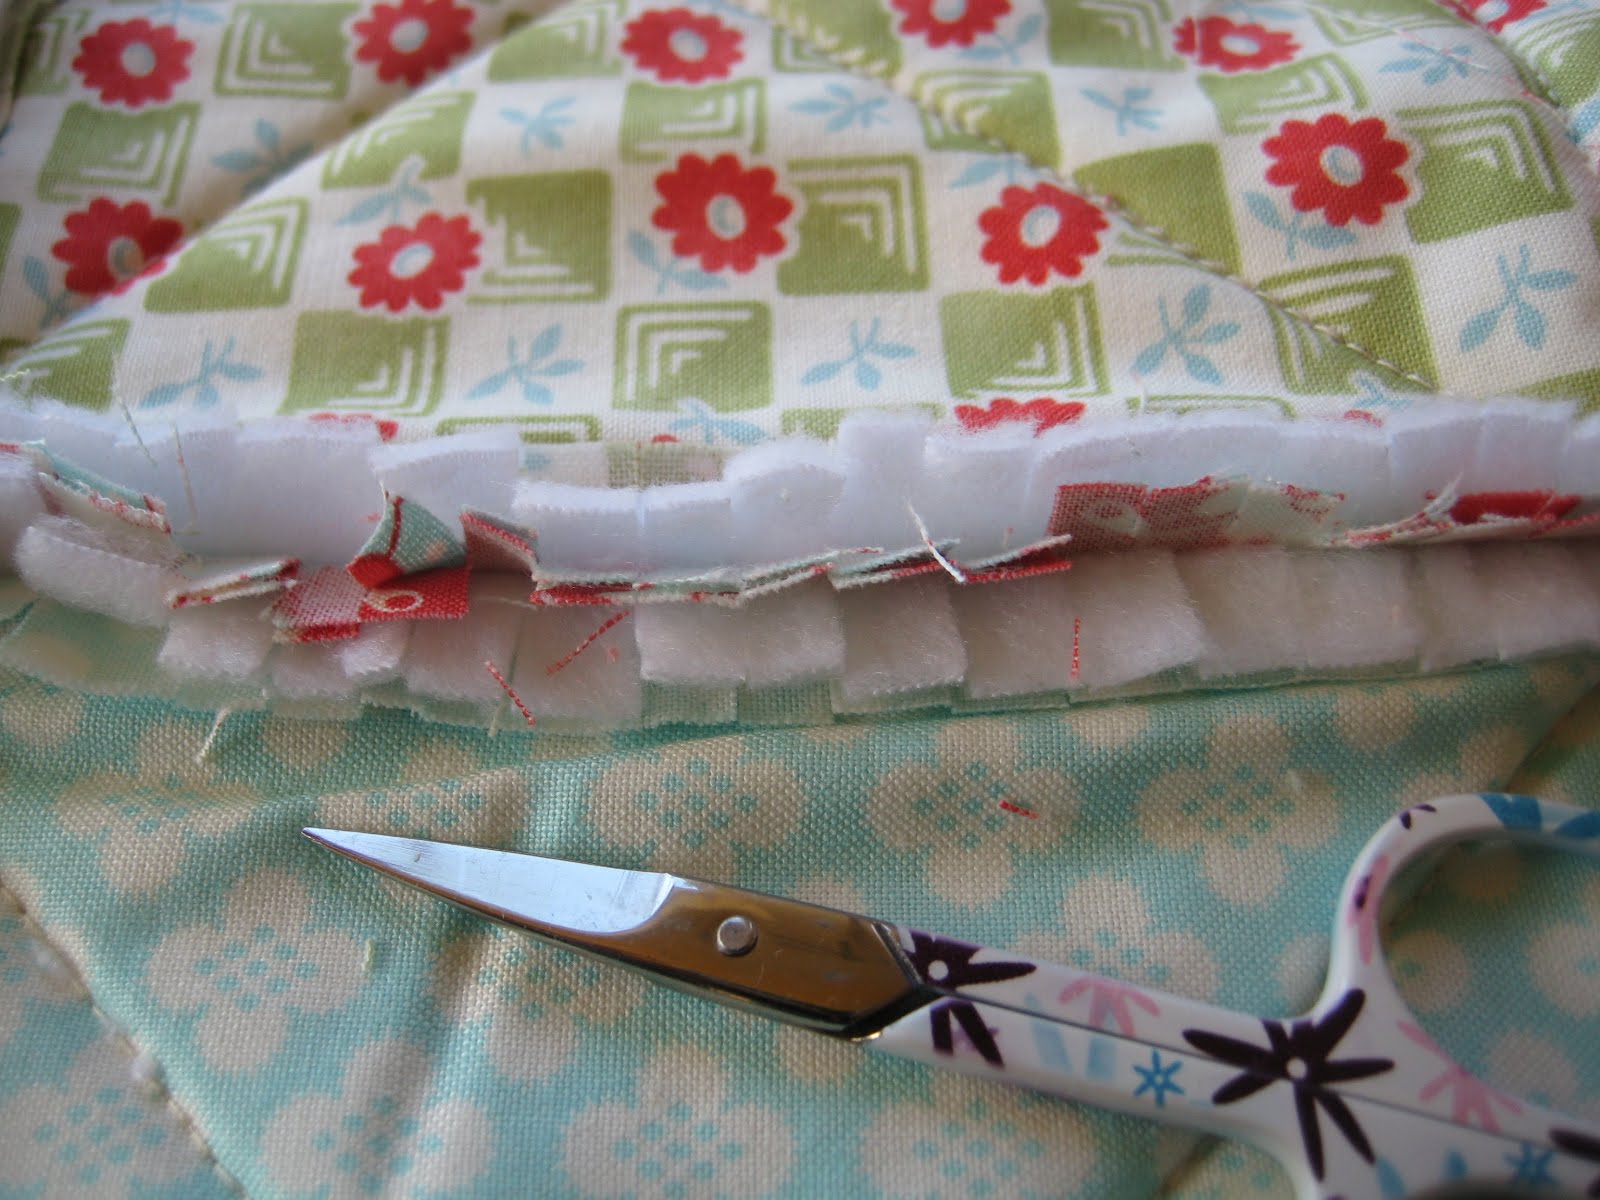
Step 7 – Snip little frays (roughly ¼” apart) along all of the ½” seams including the perimeter seam. Do not cut outside of the seam. Use scissors that have really sharp tips (I used applique scissors). I was able to cut through two fabric layers per snip.

Quilt Tutorials and Fabric Creations - Quilting in the Rain - Rag Quilt
Step 8 – Lastly, throw the quilt in the wash (cold water, gently cycle) and dryer (tumble dry low). Washing and drying the quilt will make the fringes you cut from the previous step soft and fluffy.

Quilt Tutorials and Fabric Creations - Quilting in the Rain - Rag QuiltThat’s it! As always, let me know if you have any questions and I’d be happy to help you out.

Happy Quilting!

Comments: 62 | Leave a comment


Lazy Sunday

Last Sunday was a lazy one. I spent more time looking at fabric online than sewing. I didn’t even take my furr nuggets on a walk; however, they seemed pretty lazy too!

Knowing that I wouldn’t have much time to sew once the work week started, I suddenly got non-lazy and whipped up this little pillow using scraps from my latest pillows.

The middle is a log cabin patchwork design. I didn’t really measure my pieces, I just kept adding on until the pillow top was the right size. It’s kind of nice doing improv patchwork and not measuring for once!

Now that the week is nearing an end, I have several projects lined up for this weekend and am looking forward to getting started. First, I need to finish quilting this. Then, I plan to finish my charm pack project I was working on. I’m just about done and will have the finished project posted soon.

That’s it for now… thanks for stopping by!

Happy Quilting πŸ˜‰

Comments: 6 | Leave a comment


Quilted Makeup Bag

I love all the things you can make from scrap fabrics. I whipped up this little bag in 45 minutes using scraps from my latest quilt. Make one yourself! 7 simple steps below.

Materials:

  • Scrap fabrics
  • Scrap batting
  • Coordinating thread
  • 10″ long zipper

Step 1: Using scrap fabrics, make the following: Two 8″x9″ rectangles (outer fabric) and two 7″x9″ rectangles (inner fabric). Also, cut two 7″x9″ rectangles from thin batting.

Step 2: Make two quilt sandwiches: Sandwich the batting in between the outer fabric and inner fabric; the wrong sides of the outer and inner fabric should be facing the batting. Quilt the two sandwiches however you like. As shown below, the extra 1 inch of fabric from the outer fabric should be at the top of each panel.

Step 3: Create a seam with the extra inch of fabric: Fold the extra inch of fabric in half lengthwise, then press with an iron. Then fold it over again onto the inner fabric; press again. As shown below, sew the seam down with a straight stitch.

When you’re done with steps 2 and 3, you should have two quilted panels with a finished top seam:

Step 4: Attach the zipper by lining up the finished seam along the length of the zipper. Stitch the quilted panel to the zipper using a 1/4″ seam allowance.

Repeat with the other panel on the other side of the zipper:

Step 5: Unzip the zipper at least half way down. With the outer fabric facing together (the inner fabric should be facing you), stitch a 1/4″ seam allowance around the perimeter (except where the zipper is).

Step 6: Create the base of the bag by puffing out the bottom of the bag, then pinching the corner together as shown below (it’s kind of hard to explain, but hopefully this picture helps).

As shown below, from the corner that you pinched measure 1.5″ and mark a line.

Then, sew a straight stitch along the line. Repeat on the other corner.

Your bag should have two little triangle ‘wings’ at the bottom:

Step 7: Clip the corner ‘wings’ off. And trim off any other unnecessary bulky fabrics, and extra zipper from the ends. Lastly, from the zipper opening (this is why you need to make sure it’s at least half way unzipped from step 5), turn it inside out!
That’s it πŸ™‚ I told you it was easy. How cute is that?! I know it’s only February, but I think I know what all my girlfriends are getting for Christmas πŸ˜‰

Comments: 18 | Leave a comment


Gummy Bears

When I see this quilt, all I can think of are gummy bears. The picture below explains. Putting a bag of gummy bears while quilting is a bad idea, because people like me end up eating the entire bag without even realizing it. I feel gummy even as as I type this.

Anyway, I’m not quite finished with this quilt. Just about done though! I plan to quilt it and bind it this weekend.

In my last post I mentioned I had to travel for work last week. While out of the rainy city of Seattle and in the desert of Nevada, I found their local quilt shop (being a fabric addict, I needed a hit). πŸ™‚ And of course I bought ‘rainy’ themed fabrics. :-p I must have been missing Seattle subconsciously.


Happy Friday everyone!

Comments: 5 | Leave a comment


Fabric + Chocolate = Happiness

Quilt Tutorials and Fabric Creations - Quilting In The Rain - Fabric + Chocolate = HappinessChocolates while sewing…could I ask for more?! Happy Valentine’s Day everyone!

On a different note, I’m going to be traveling this week for work which means less time to sew. :*( However, in a hurry to cram some last minute sewing therapy before my trip I managed to start two new projects. It’s probably wise to stick to one project at a time as to not get overwhelmed, but I couldn’t choose which fabrics to use first so I did both. Problem solved!

Anyway, I won’t tell you what these projects are until I’m completely done. But I will give you a glimpse or two. Here’s the first one:

Quilt Tutorials and Fabric Creations - Quilting In The Rain - Fabric + Chocolate = HappinessYup, those are charm squares. I got to use my new walking foot and quilted some random and fun straight stitching. This is the first time I’ve ever used a walking foot…and i LOVE it. Should have gotten one sooner.

Quilt Tutorials and Fabric Creations - Quilting In The Rain - Fabric + Chocolate = HappinessMy second project was in the first picture above (with the chocolates). I’ll be using each and every one of these lovely prints to finish it:

Quilt Tutorials and Fabric Creations - Quilting In The Rain - Fabric + Chocolate = Happinessoh yeah…
Quilt Tutorials and Fabric Creations - Quilting In The Rain - Fabric + Chocolate = Happiness8-[ )**

Quilt Tutorials and Fabric Creations - Quilting In The Rain - Fabric + Chocolate = HappinessThe above prints are a collection by Michael Miller called “Meadowsweet 2,” designed by Sandi Henderson.

That’s it for now. Not sure when I’ll be able to do my next post…but until then, happy quilting! πŸ™‚

Comments: 7 | Leave a comment


Site by Spunmonkey.