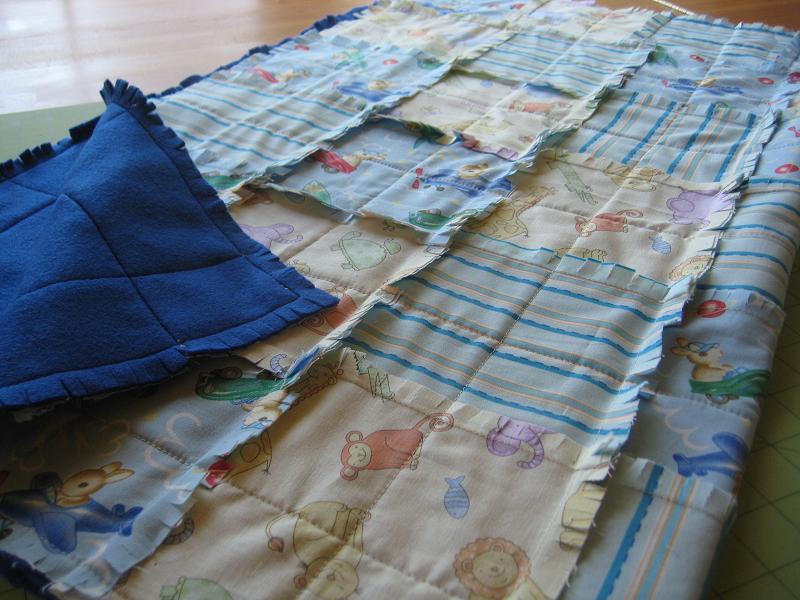
 This is a fun and quick quilt that doesn’t involve binding. Since I didn’t use batting for this quilt I decided to use a semi-thick fleece for the backing fabric to keep a fluffy feel to it. I love how this quilt is basically an “inside-out” quilt, where the seams are all on the outside as opposed to hidden beneath the quilt top. After one wash, the frays on the quilt top will become super soft (skip down to the last picture to see), softer with each wash 🙂
Finished baby quilt measures 33”x38”.
Materials:
- ¾ yards of 3 different fabric prints
- 1 yard of semi-thick fleece
- corresponding thread
Step 1 – From each of your 3 different fabric prints, cut 14 6.5” squares for a total of 42 squares. For quicker cutting, layer and fold your fabrics to cut multiple layers at once.

Step 2 –Arrange the squares in 6 rows of 7 squares each. In each row, sew the squares together: with wrong sides of fabric facing together, sew a ½” seam allowance. Start and end each stitch with a back-stitch.
 |
 |
Step 3 – After you’ve sewn the squares together in all 6 rows, sew the rows together: with wrong sides of fabric facing together, align the corners and pin to keep in place. Then sew a ½” seam allowance. Start and end each stitch with a back-stitch.
 |
 |
Step 4 – After all the rows have been sewn together, the quilt top should measure roughly 33”x38”. Lay the quilt top flat on top of the fleece. Baste to keep the quilt top and fleece in place: using jumbo size safety pins, pin where the seam intersections are (circled in red below). Start by pinning the center of the quilt and work your way out. Pin the sides and corners last.(Click pics to enlarge)
 |
 |
Step 5 – Now that your quilt top and fleece backing are basted together, you can start quilting! When quilting, always start from the middle of the quilt going outward. Start and end each stitch with a back-stitch.

I quilted straight lines going vertical and horizontal, forming squares. Below: Front and back of quilt (click pics to enlarge)
 |
 |
Step 6 – Trim the excess fleece backing around the perimeter of the quilt top. Then sew a ½” seam allowance around the perimeter of the quilt.
 |
 |
Step 7 – You’re just about finished! Lastly, using sharp fabric scissors (I used appliqué scissors), cut little frays (roughly ¼” apart) within all of the ½” seams. Do not cut outside of the seam.

That’s it! After a few washes, the frays will get softer and will look like this:


Comments: 8 | Leave a comment